")
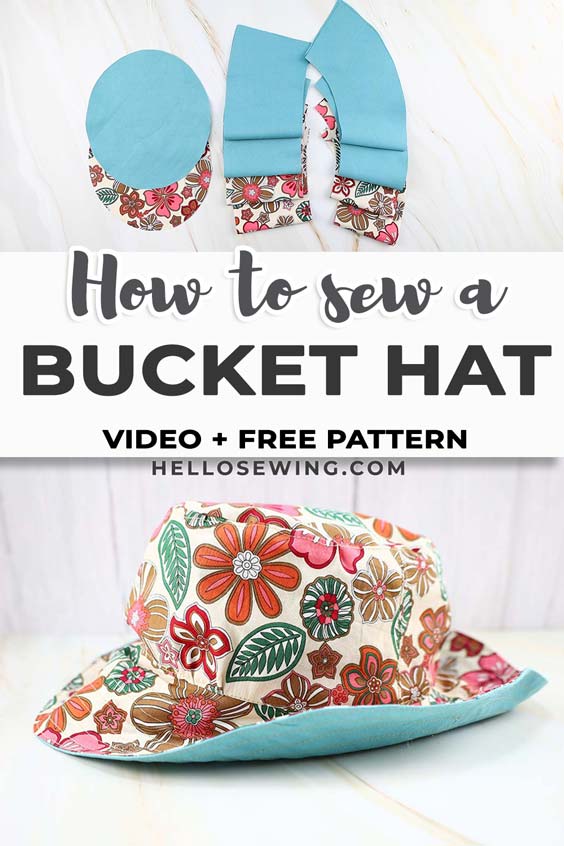
How to Make a Bucket Hat – Reversible Bucket Hat Pattern (VIDEO)
Learning to make the professional looking DIY bucket hat from our bucket hat pattern is an easy afternoon project. Finding bucket hats for children and adults can take some trawling through stores or online, and then they maybe don’t have your color or size so our DIY bucket hat is the answer – in the size you want, and the color and fabric you choose.
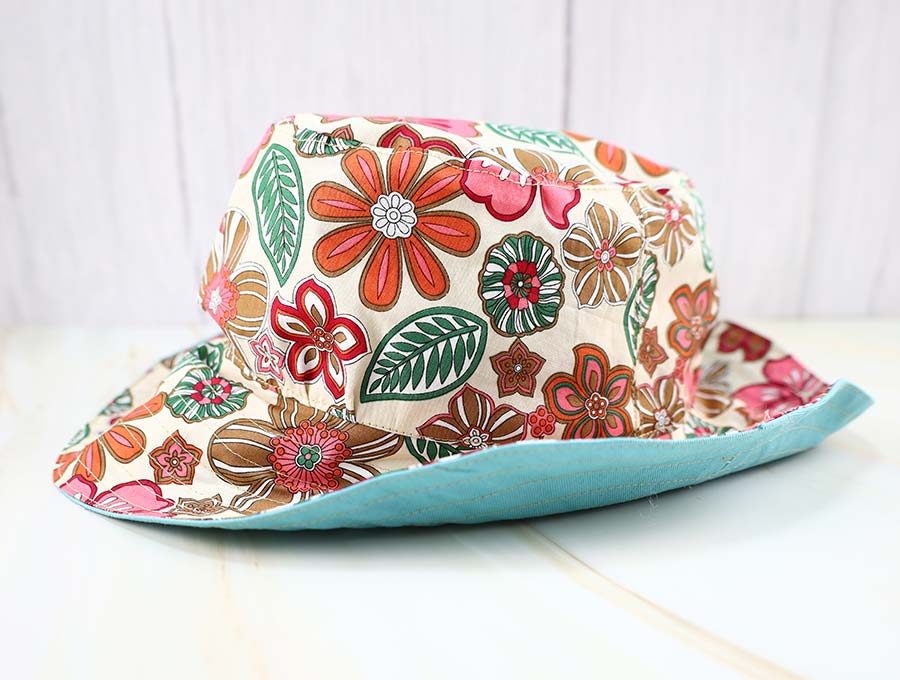
The DIY bucket hat pattern is fully lined and has stitching on the rim – a tough little hat that will last a long time. Once you have made one bucket hat you are going to want to make more for your family or as useful gifts. They’re much cheaper than buying bucket hats and we all know how fast children can outgrow or lose hats – they seem to discard them at random. So, equipped with our pattern you’ll be able to make bucket hats for everyone, from teens to seniors, and even for your partner’s fishing trips. Choose the appropriate fabric designs for the ages, and you’ll have a happy outdoor tribe.
Below you will find my step by step written bucket hat tutorial with VIDEO instructions for all the visual learners.
We occasionally link to goods offered by vendors to help the reader find relevant products. Some of the links may be affiliate meaning we earn a small commission if an item is purchased.
Table of Contents
- 1 How to make a bucket hat
- 2 Supplies and tools
- 3 How to Sew a Bucket Hat
- 3.1 DIY BUCKET HAT VIDEO TUTORIAL
- 3.2 How much fabric do I need to make a bucket hat?
- 3.3 REVERSIBLE BUCKET HAT INSTRUCTIONS:
- 3.4 STEP 1: Printing the bucket hat pattern
- 3.5 STEP 2: Cut out the fabric pieces
- 3.6 STEP 3: Stitch the brim pieces
- 3.7 STEP 4: Press seams of the brim pieces
- 3.8 STEP 5: Stitch the crown
- 3.9 STEP 6: Press and topstitch the crown
- 3.10 STEP 7: Mark the top in quarters
- 3.11 STEP 8: Pin the crown to the top
- 3.12 STEP 9: Stitch crown to the top
- 3.13 STEP 10: Pin the brim to the crown+top piece
- 3.14 STEP 11: Stitch the brim to the hat
- 3.15 STEP 12: Make the outer hat
- 3.16 STEP 13: Join the two bucket hats
- 3.17 STEP 14: Topstitch the brim of the hat
- 3.18 STEP 15: Nest the lining inside the outer hat
- 3.19 STEP 16: Topstitch the brim
- 3.20 STEP 17: Stabilize the brim
- 4 Bucket hat FAQs:
How to make a bucket hat
Supplies and tools
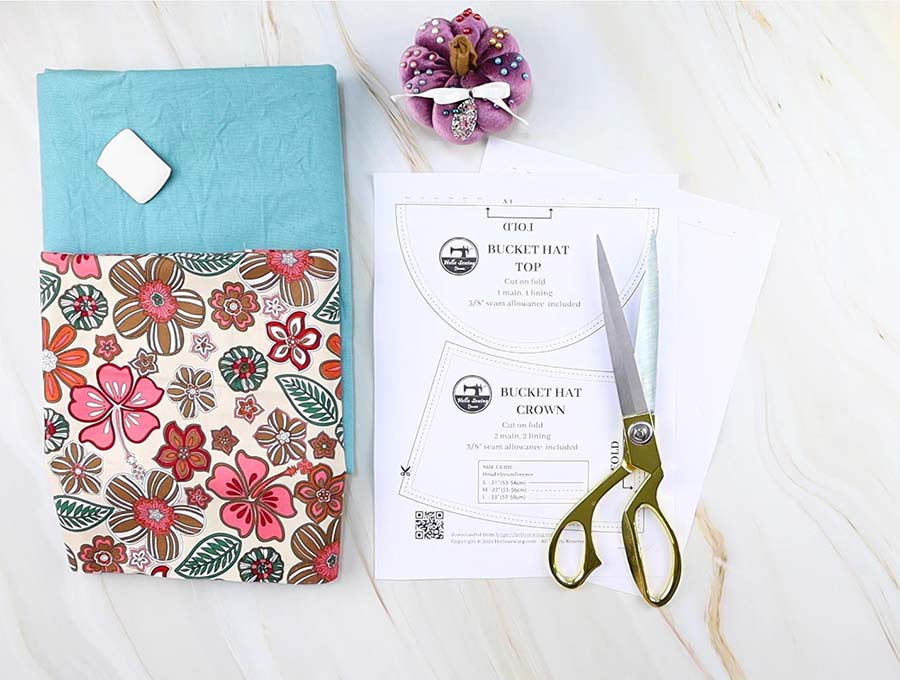
- fabric – 2 coordinating pieces of 100% tightly woven cotton (one main, one lining)
- matching thread
- the free bucket hat pattern below
- scissors (or rotary cutter and a cutting mat)
- ruler or measuring tape
- iron and ironing board
- sewing clips or pins
- sewing machine
DOWNLOAD: bucket hat pattern (Free PDF file) – DO NOT print from the browser! The hat will be HUGE. Download it on your computer, open with Adobe Reader or a similar program and print from there. Make sure you print at 100% (no scaling) and check the test line to make sure the pattern printed correctly! Even 1/8″ (3mm) difference will result in a very big hat
the seam allowance is 3/8″ (1cm) unless otherwise indicated and is included in the pattern.
IMPORTANT: If you can’t download the bucket hat template it may be your browser that is blocking the pop up download. In that case try a different device (phone, PC) or a different browser. You will also receive the pattern by email so make sure to also check your SPAM and PROMOTIONAL folders as sometimes attachments end up there.
Follow us for free patterns & tutorials! [easy-profiles]
How to Sew a Bucket Hat
Watch the diy bucket hat video first and then follow the written step by step instructions below.
Please enjoy and don’t forget to Like and SUBSCRIBE over on YouTube to be kept up to date with new videos as they come out.
DIY BUCKET HAT VIDEO TUTORIAL
How much fabric do I need to make a bucket hat?
This is a great way to use up those smaller pieces of fabric you have left over from previous projects – you will need just 14 inches (35 cm) of fabric that is just 36” wide for the outer fabric of the hat and another piece also 14 inches (35 cm) for the lining. If you are careful with cutting and depending on your fabric width and hat size, you can even get two hats out of this piece of fabric.
Alternatively you can use 2 fat quarters (one main, one lining) for the smaller size hat.
Many years ago patterns would dictate that you lay out the fabric, pin all the pattern pieces in places and then cut. This resulted in some wastage. Nowadays for home sewing projects you cut and move the fabric as needed to make the most of what you have.
REVERSIBLE BUCKET HAT INSTRUCTIONS:
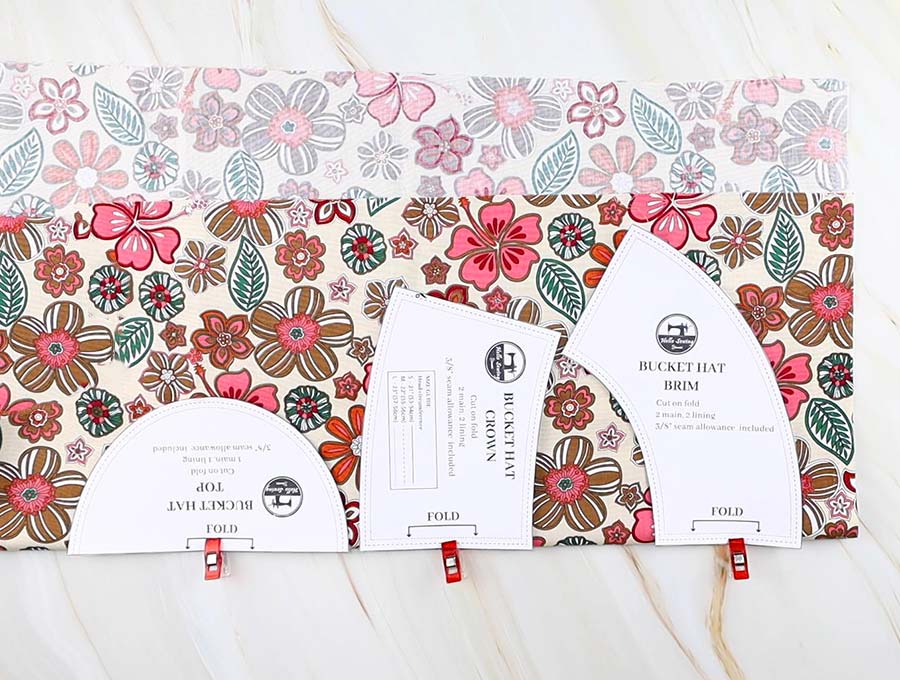
STEP 1: Printing the bucket hat pattern
Open up our PDF bucket hat pattern and print on A4 size paper after you have selected the ‘No scaling’ or print at 100% option. DO NOT PRINT directly from the browser. Download the pattern on your computer and open it up with Adobe Reader or similar PDF reader program and print from there. This will ensure you have the right size pattern pieces.
A 3/8 inch (1 cm) seam allowance is already included on the bucket hat template, so you do not have to calculate this in afterwards. The bucket hat pattern includes a test square –it will say 3” x 3” and by holding your measuring tape or ruler against it you will soon see if the bucket hat template has printed to the correct size.
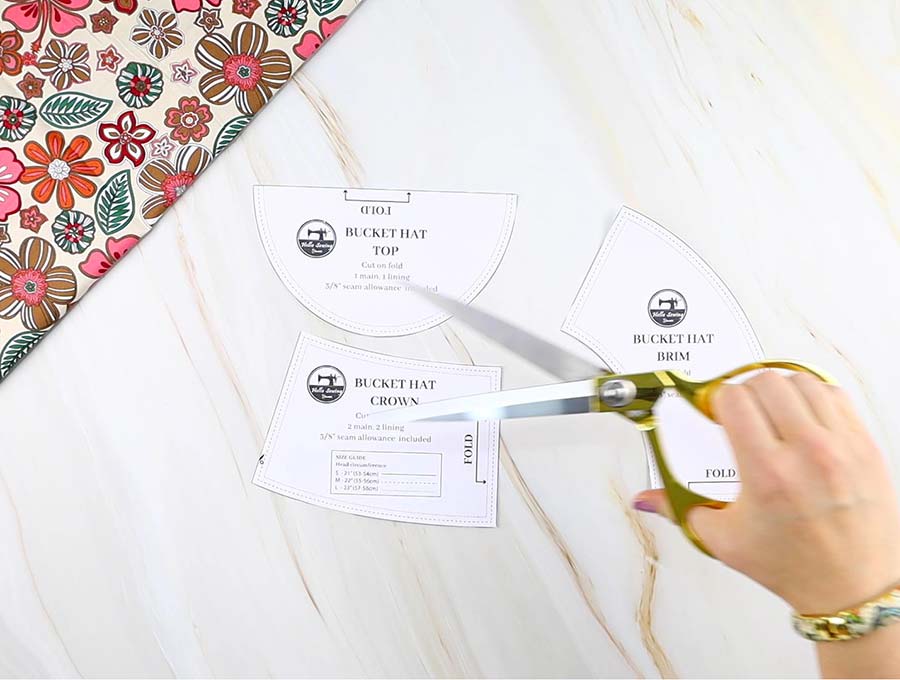
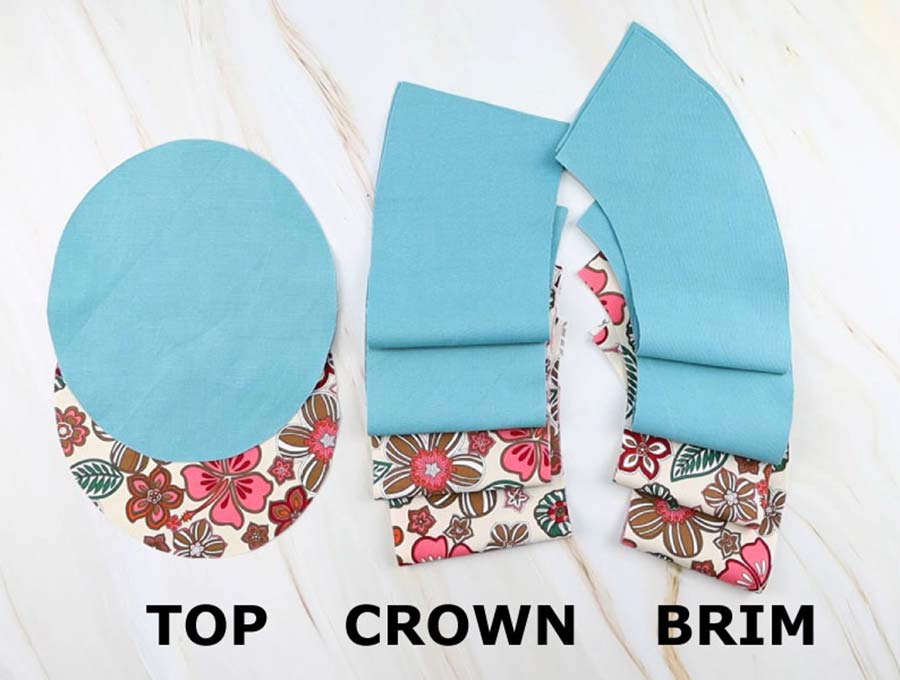
STEP 2: Cut out the fabric pieces
Place all bucket hat pattern pieces on the fold of the fabric as indicated on the pattern. Starting with the crown side pieces cut 2, then cut 2 pieces for the brim and lastly cut the single slightly oval crown piece.
With your outer fabric follow these same so you have all the outer and all the lining pieces cut and ready to sew. You’ll end up with a total of 10 fabric pieces (5 for the lining, and 5 for the outer)
TIP: You can squeeze this hat out of a narrow 14″ fabric piece. Open you fabric out –if it is 36” wide it will have a crease down the middle where it was folded onto the cardboard inner. If you are using a wide piece with no fold line then place it on your cutting table with the 14” vertically and 36” or 44” horizontally. Fold the sides in to meet the center and then proceed according to the instructions.
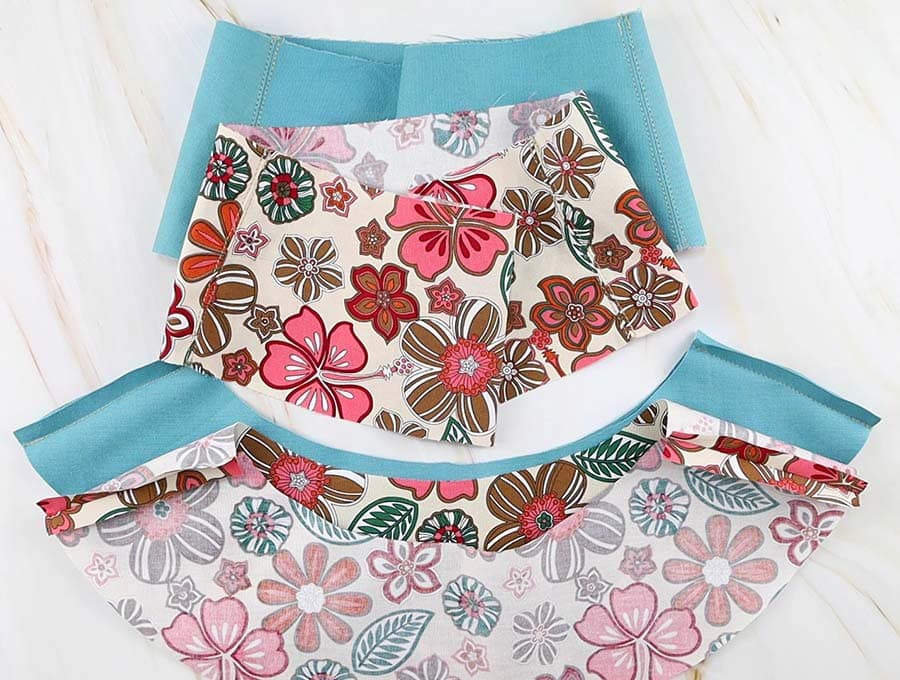
STEP 3: Stitch the brim pieces
We start with the lining for the brim, opening out the two semicircles and placing them right side to right side and stitching the side seams using 3/8 (1cm) seam allowance.
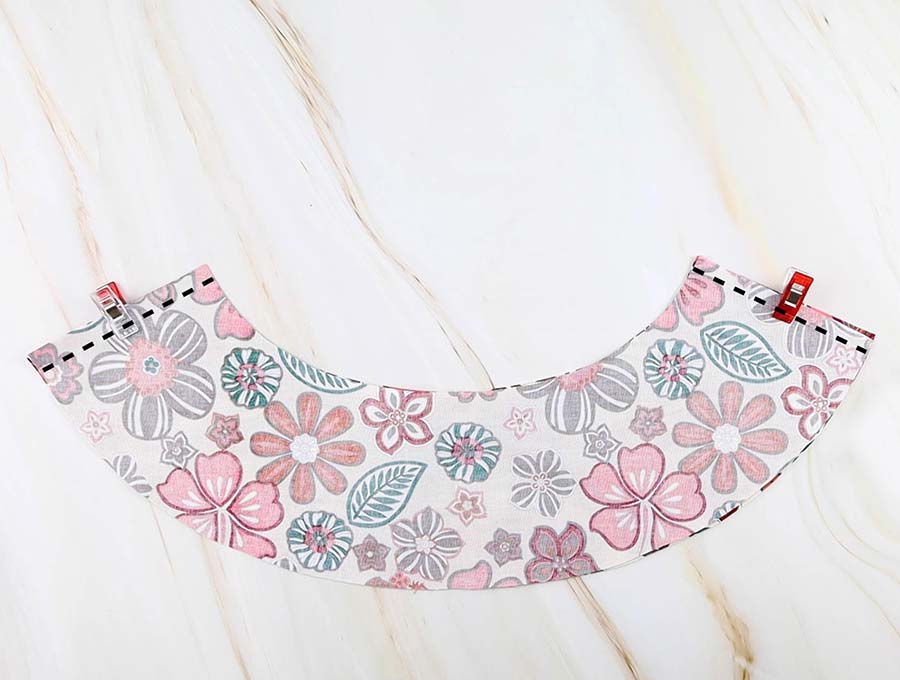
STEP 4: Press seams of the brim pieces
Once you have stitched all bucket hat pieces together, open up the circle you have created and iron the seams open, on the wrong side.
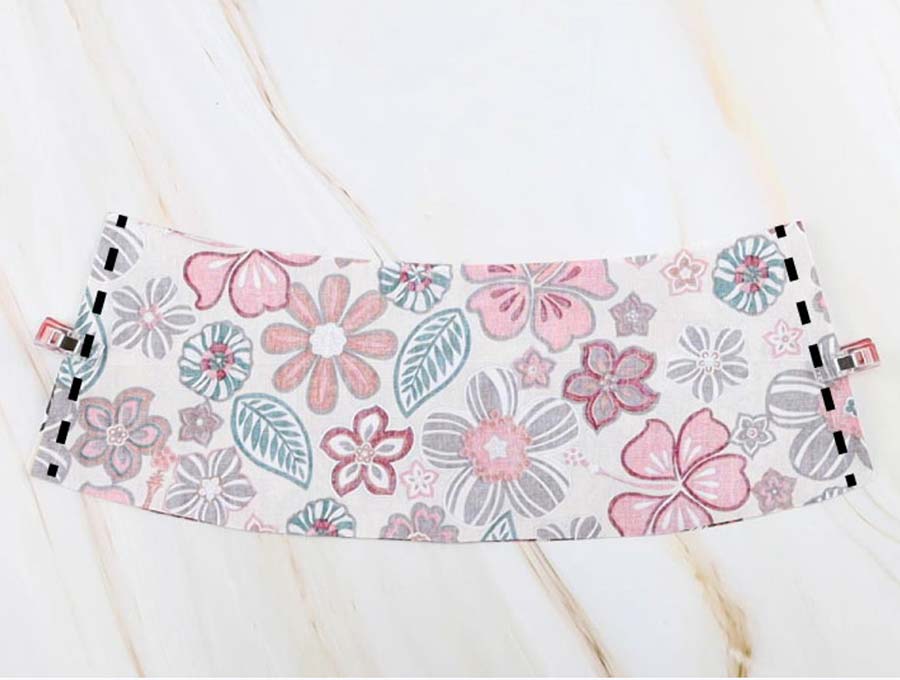
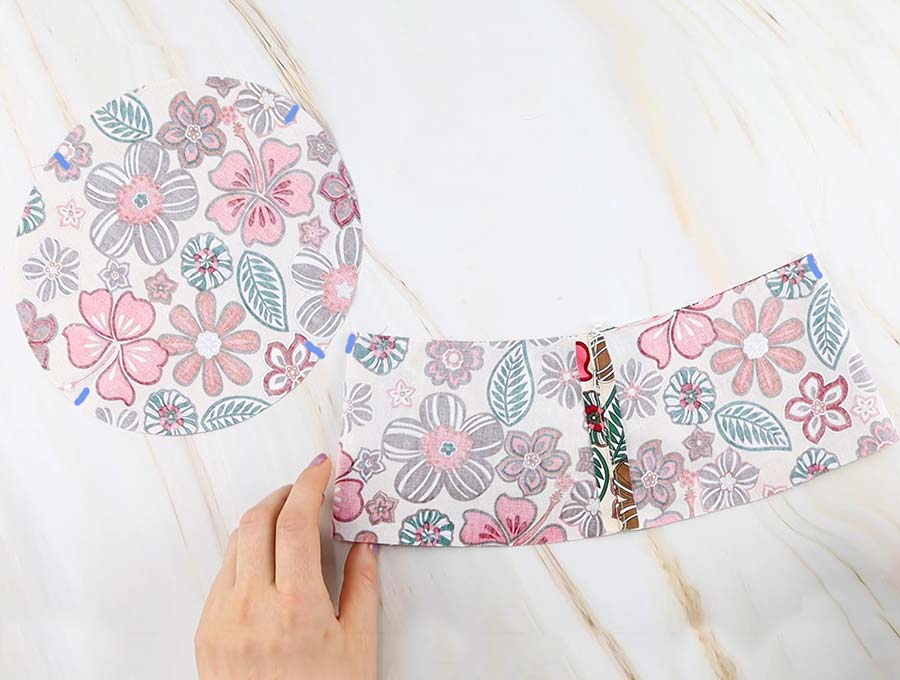
STEP 5: Stitch the crown
Take the two crown pieces of the hat and place them with right sides facing each other and stitch along each side of the the two side seams using the same seam allowance.
Open out the crown and fit it onto your head, or on the person you are making it for to check for fit. If t is too loose use your quick unpick tool on the seam and then stitch them both seams just a little further into the fabric to make it slightly smaller, if you have the opposite problem and it is too tight you will unpick and stitch with a smaller seam allowance, so that the hat fits comfortably.
STEP 6: Press and topstitch the crown
Now you are ready to carry on by pressing (or fingerpressing if you’d like) the side seams open.
To create a professional look run a row of topstitching on either side of each seam.
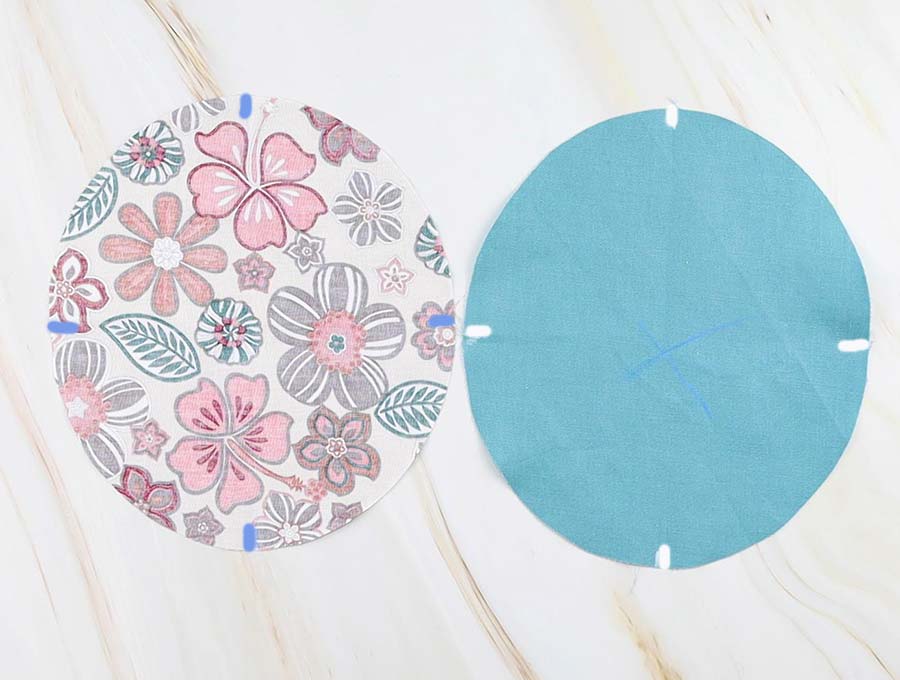
STEP 7: Mark the top in quarters
Place the oval crown piece on your table. You will notice it is not a true circle, but slightly oval. Swing the piece around so the longer part is vertical. Fold in half vertically and mark the side creases. Unfold and fold to the other side, then fingerpress to create creases and mark them with a fabric pen. The oval top in now marked in quarters.
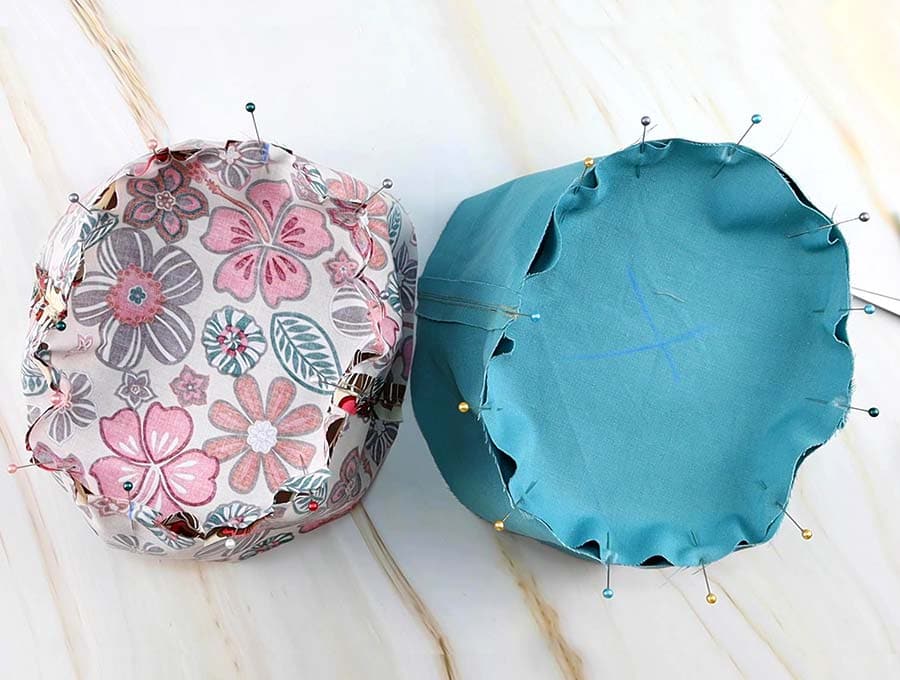
STEP 8: Pin the crown to the top
Take the crown piece you’ve sewn and find the center by each side by folding seam to seam.
Mark with a pin or a fabric marker in both places. Now take one side with the pin – it doesn’t matter which side and line it up with the hat front which will be the top of the oval. Pin the other center to the bottom side of the oval and the seams to either side. Now it just remains to keep pinning until the pieces fit together nicely.
You can make a nick with the scissors here and there to help fit the oval piece into the circular piece you have stitched.
STEP 9: Stitch crown to the top
Now you are ready to stitch, taking care not to run over any of the pins, so the top of the hat is joined to the sides. Use 3/8″ (1cm) seam allowance.
Once this is done, press the seam down to the crown. You can either use your iron, or just your fingers to help the seam allowance fold towards the crown. Topstitch all around the hat to catch that seam allowance that is facing downward form the crown.
STEP 10: Pin the brim to the crown+top piece
Time to fit the brim to the other part of the hat. Fold seam to seam , then crease and mark the centers of each side (as you did with the crown piece in step 8).
Line up the brim seams with those of the crown and pin them together on the wrong side of the fabric. Then pin the middle to the middle of each side and pin around the bucket hat making sure they are eased into each other smoothly.
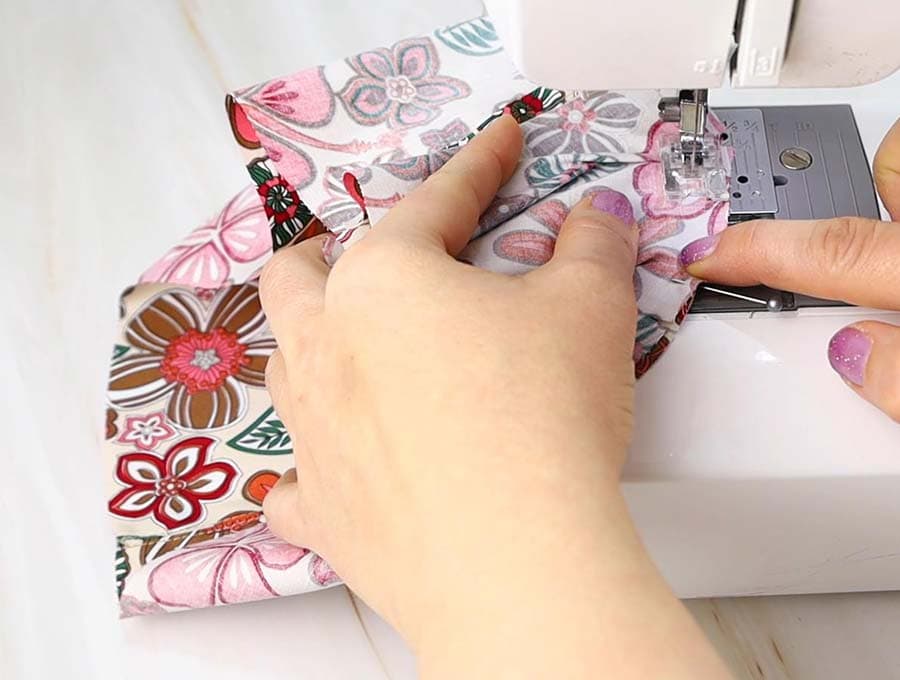
STEP 11: Stitch the brim to the hat
Stitch along where you have pinned with 3/8″ (1cm) seam allowance, and when you are done you’ll what is starting to look like a hat. This time you will turn the seam upwards toward the crown –the last time you turned it downwards. Run a row of top stitching along the outside to ensure the extra fabric is caught securely.
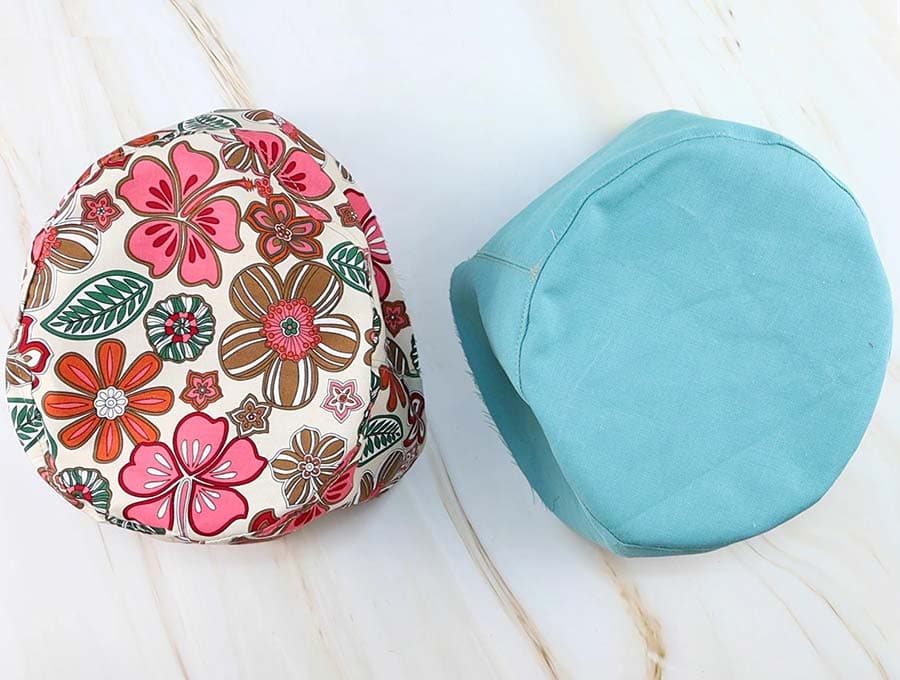
STEP 12: Make the outer hat
Repeat steps 3 to 10 with the outer fabric, to create two hat shapes.
*In the video I opted to sew in all crown pieces first, then all brim pieces, etc so you can see both lining and outer next to each other. While there is more than one way to skin a cat (or sew this hat), if you are just getting started, I definitely recommend you to make the lining first and then repeat for the outer layer.
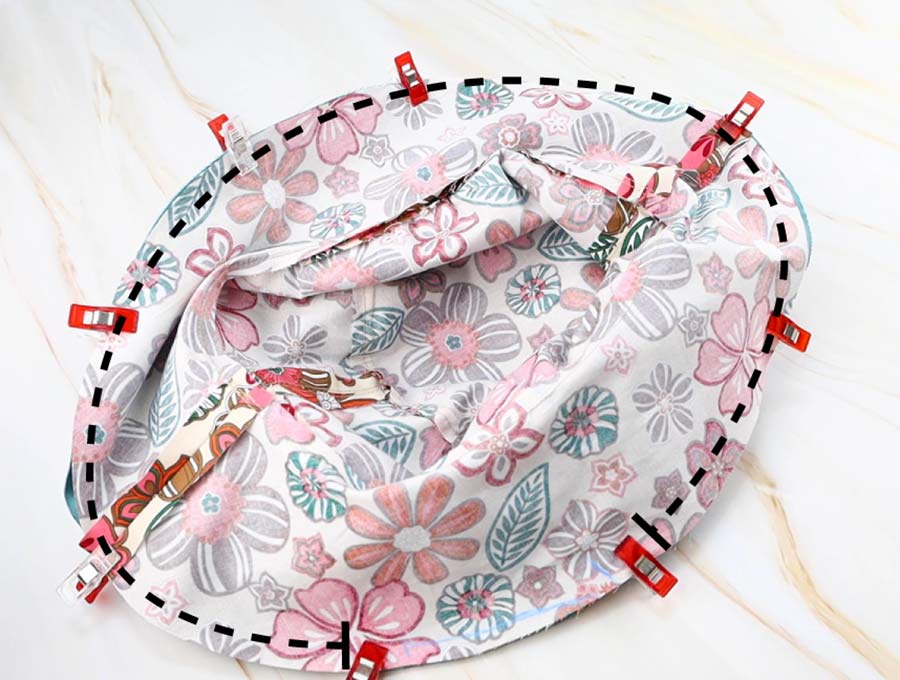
STEP 13: Join the two bucket hats
Place the two hats right side to right side and match up the seams of the lining with the outer fabric and pin in place then work around the brim pinning the two brims together.
STEP 14: Topstitch the brim of the hat
Stitch around the brim with 3/8″ (1cm) seam allowance, leaving a small gap of around 3 inches (10 cm) to reach into and turn the hat right way out by pulling through the gap.
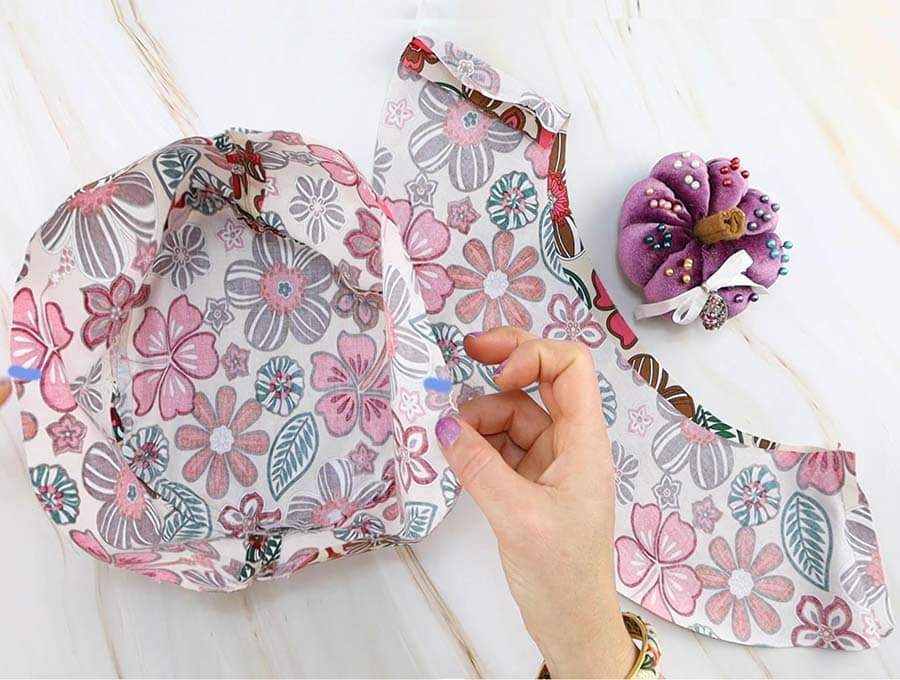
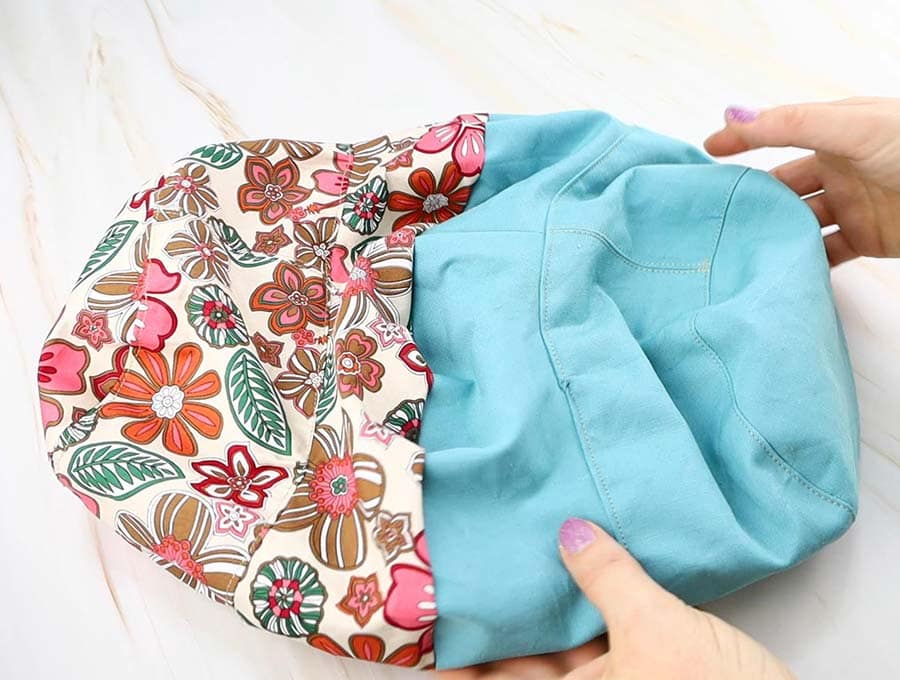
STEP 15: Nest the lining inside the outer hat
Fit the lining into the crown, and line up the brim, making sure the lining is slightly towards the inside of the hat, as you don’t want the lining showing on the outside of your bucket hat.
Pin in place and press the brim seams flat. Use your iron – I know many of you may be tempted to skip this step, but good pressing ensures a professional result – so I really recommend pressing the seams well. The fabric in the gap will naturally fold inwards – just make sure the turn-in is consistent with the seam allowance.
STEP 16: Topstitch the brim
Topstitch the outer brim catching the lining underneath so it stays in place.
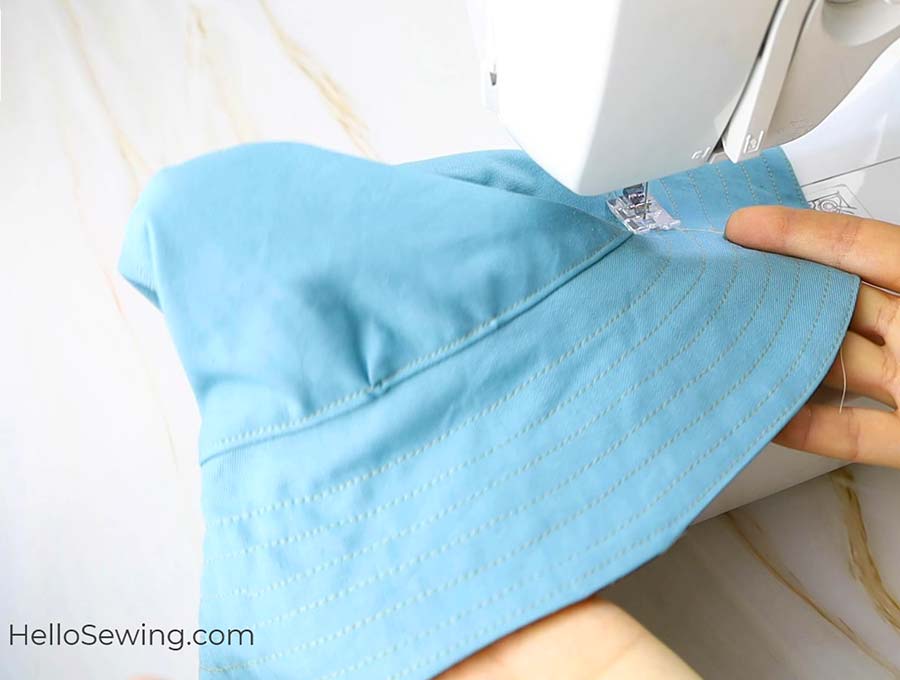
STEP 17: Stabilize the brim
Now top-stitch concentric circles around the brim. Before you start this measure the width of the brim and work out how many circles you will need spaced around 1⁄2 inch (1.25cm) apart and mark them with a fabric pen. You may want to space them a little closer (3/8″ or 1 cm) – just so you can work in the circles without leaving a big gap nearest the crown. These stitch lines help to stabilize the hat and you will most probably need 5 or 6 of them.
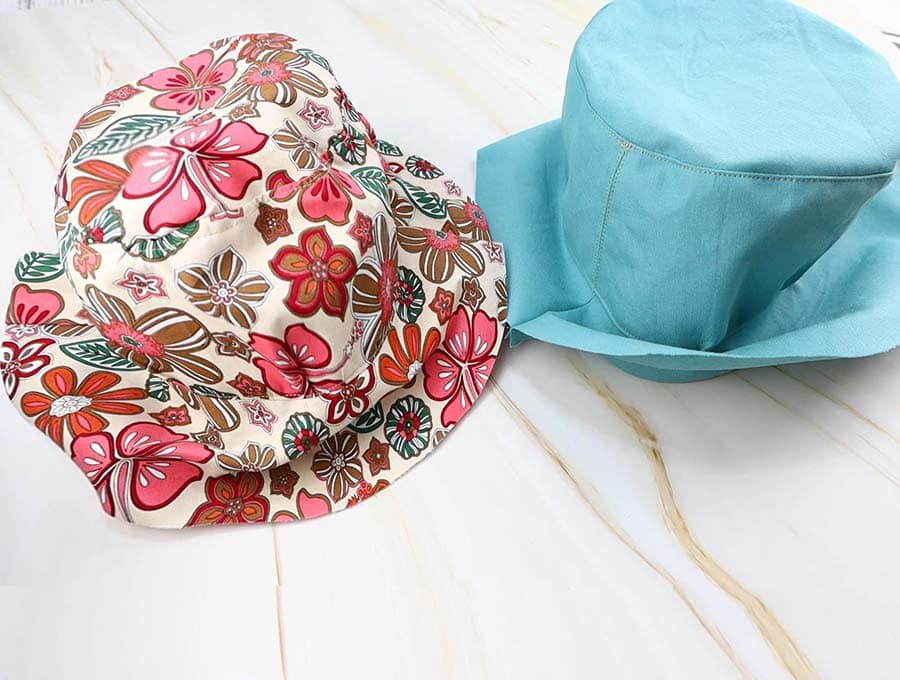
And you are done. How you liked this step by step tutorial how to make a bucket hat
Once you have the technique you can produce these practical DIY bucket hats at a much faster pace than the first one. You will never have to search for a bucket hat again as everyone in the family will have at least one. With the UV rays getting more intense you really can’t afford to go outside without a hat. Why not go searching through your fabric stash for some suitable pieces to start your production line of bucket hats?
Bucket hat FAQs:
Q: What fabric should I use?
A: A medium weight canvas or denim is always popular or a fairly stiff cotton.
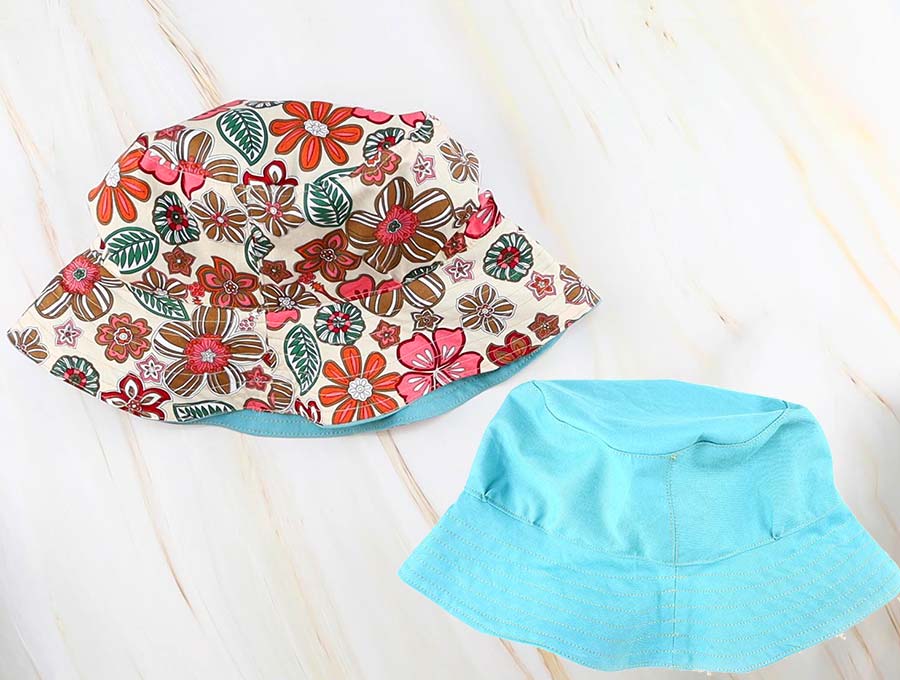
Q: Is this bucket hat reversible?
A: It can be reversible, particularly if you choose a plain fabric and contrast with a patterned fabric for the lining.
Q: Can I add a fastening to stop the hat blowing off?
A: Yes you certainly can. Add a cord (fitted with a toggle to adjust the length) and stitch it to the inside of the hat, on the side seams of
the crown side piece.
Q: Shouldn’t I be adding interfacing to stiffen the hat?
A: Although this is not necessary you can add interfacing – use a medium weight fusible one on the lining if you feel the fabric you have
chosen may not be firm enough. Mostly it is just the brim that needs the extra firmness to stop it flopping.
Do you like DIY Bucket hat pattern and tutorial? Pin for later:
Wanna be friends? Click HERE and follow me on Pinterest
RELATED:
- How to make a beret out of felt
- How to make a beanie hat
- Witch hat pattern and video tutorial