")
DIY Witch Hat Tutorial (VIDEO)
Halloween isn’t right without a witch costume, and a witch costume isn’t right without a proper witch hat! The ones in stores are pricey and hard to get, but that doesn’t mean your kid should go without one. Or you, Halloween costumes are not just for kids!
You can just make a DIY witch hat yourself!
It might seem difficult to make but that isn’t the case. This project is easy, fun, and it doesn’t even take long to finish. All you need is a step-by-step guide, like this one!
Keep reading and you will learn how to make a witch hat with ease!

Below you will find my step by step written tutorial with VIDEO instructions for all the visual learners.
We occasionally link to goods offered by vendors to help the reader find relevant products. Some of the links may be affiliate meaning we earn a small commission if an item is purchased.
Table of Contents
How to make a Witch Hat
Supplies and tools
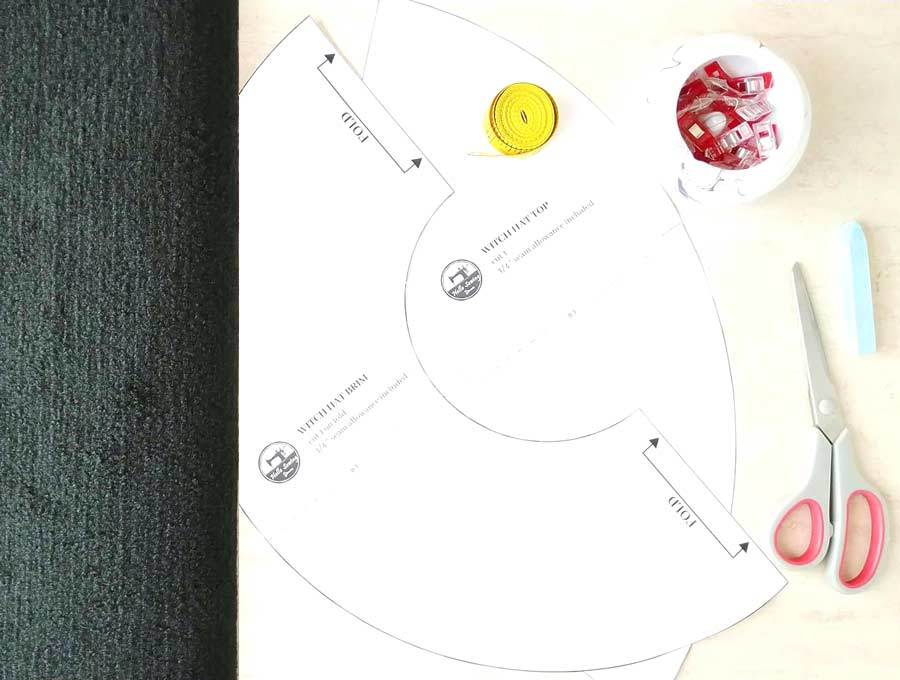
- fabric – premium felt 1/2 yard or something equally stiffer so that the hat can keep it’s shape
- matching thread
- scissors (or rotary cutter and a cutting mat)
- ruler or measuring tape
- fabric marking pen or sewist chalk
- iron and ironing board
- sewing clips or pins
- sewing machine (it’s an easy sew, but if you are using a stiffer fabric you use a heavy duty machine)
- Some wire or plastic tubing (optional)
DOWNLOAD: witch hat pattern template (Free PDF file)
Follow us for free patterns & tutorials! [easy-profiles]
How to Sew a Witch Hat
Watch the diy witch hat video first and then follow the written step by step instructions below.
Please enjoy and don’t forget to Like and SUBSCRIBE over on YouTube to be kept up to date with new videos as they come out.
Witch Hat VIDEO TUTORIAL
INSTRUCTIONS:
STEP 1: Take measurements for the witch hat template
Grab your measuring tape and measure the circumference of your head at forehead height. Add a 1/2 inch to that measurement. If you want the hat to be a bit loose, add one inch instead.
Next, decide how wide you want the brim of the hat to be. I like to have it about 18-19 inches wide, but you can make it bigger or smaller.
Last, you need to decide how tall you want the hat. Mine is 11 inches high

The free pattern I made fits 21-23 inch head circumference, has 19 inch brim diameter and is 11 inches high. If you fit that measurements, go ahead and use the pattern directly. If you need different measurements I’ll explain how to make your own witch hat pattern below in STEPS 1.A to 1.C. Don’t worry, you won’t need to do any math – you can use the free excel witch hat template calculator that I made for you!
How to make your own witch hat pattern in any size
Follow steps 1.A. through 1.C. if you are making your own pattern. If making the hat using the pattern provided, skip to STEP 2.
STEP 1.A.(OPTIONAL) Download the Witch hat template calculator
Witch hat pattern calculator download
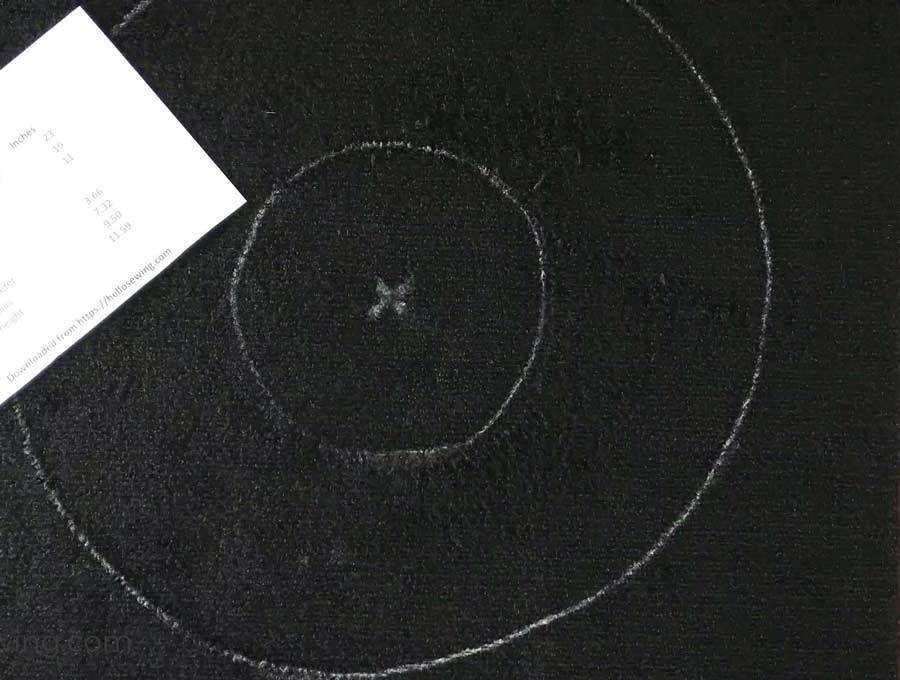
STEP 1.B. (OPTIONAL) Make the brim pattern
Divide your head circumference with 3.14 and you will get your head diameter.
Cut out a circle from a piece of paper with a diameter of your brim width, in my case, it’s 20 inches.
Then cut out a smaller circle inside that one, with a diameter as your head diameter you calculated earlier. The brim pattern is ready now.
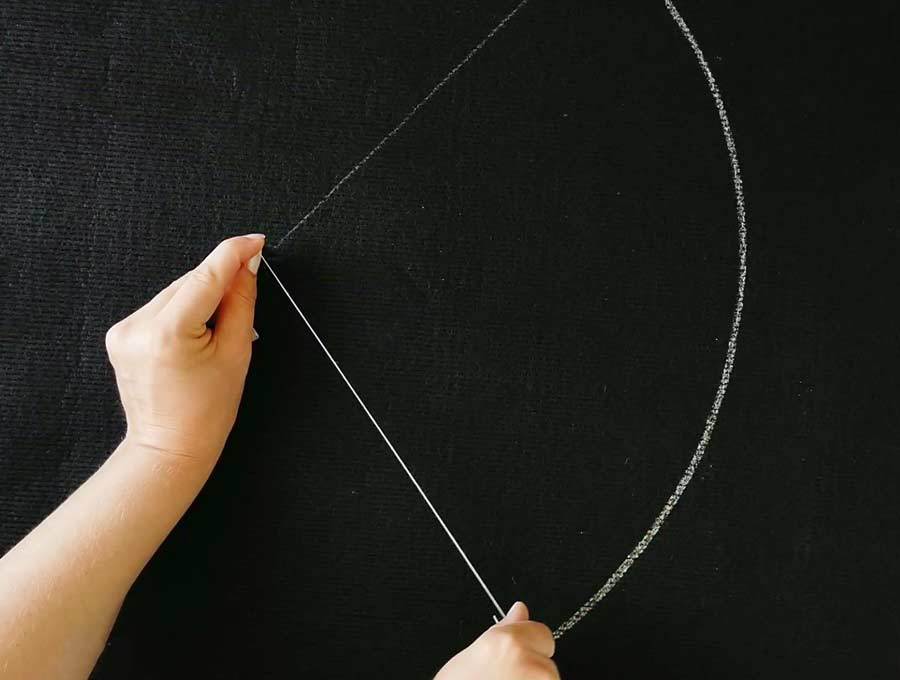
STEP 1.B. (OPTIONAL) Make the cone pattern
Grab a piece of paper and draw a line on it that’s a bit longer than your head circumference. Find its center and then draw a straight line upwards from it. The line should be a bit longer than the height you wish the hat to have.
Connect the two ends of the horizontal line with the endpoint of the vertical one, so that you form a triangle. Cut the triangle out and you will have your cone pattern.
STEP 2: Cut and pin the cone pattern
Trace and cut out the cone using the pattern. Fold the fabric in half (right sides together) so that the two straight edges align. Pin everything in place to secure. Put aside.
TIP: Use chalk to trace out the patterns – you can see it much easier on the black felt.
STEP 3: Cut out the brim pattern
Trace and cut out the brim using the pattern. To cut the inner circle fold the brim in half and cut out a small piece in the center. Open the fabric and cut out the inner circle through the
STEP 4: Sew the cone
Sew along the straight open edge with a quarter-inch seam allowance. Clip the seam allowance on the top point. Turn the whole thing inside-out and use your fingernails or something pointy to push the tip of the hat out.
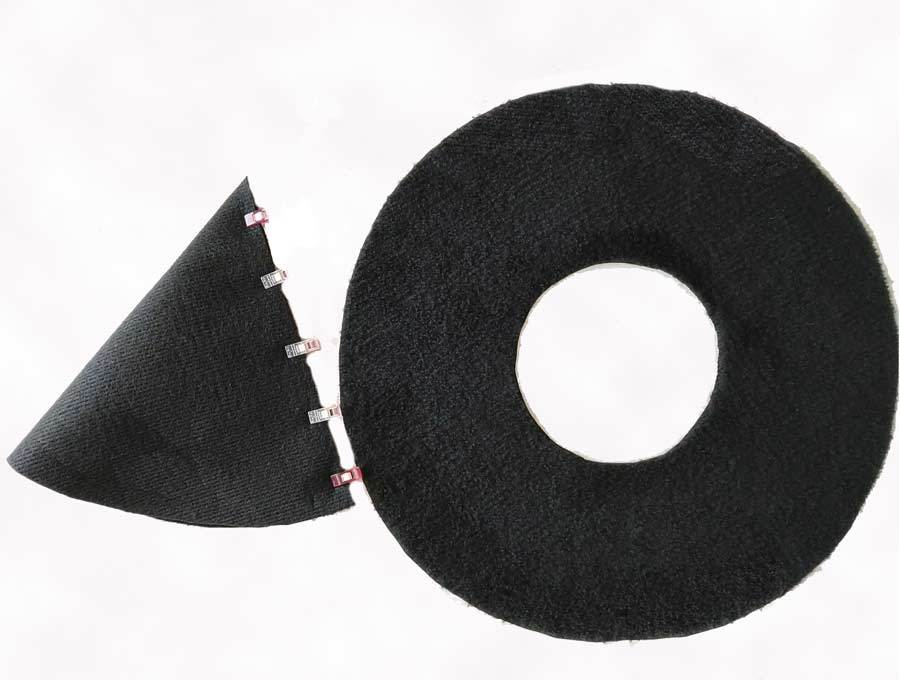
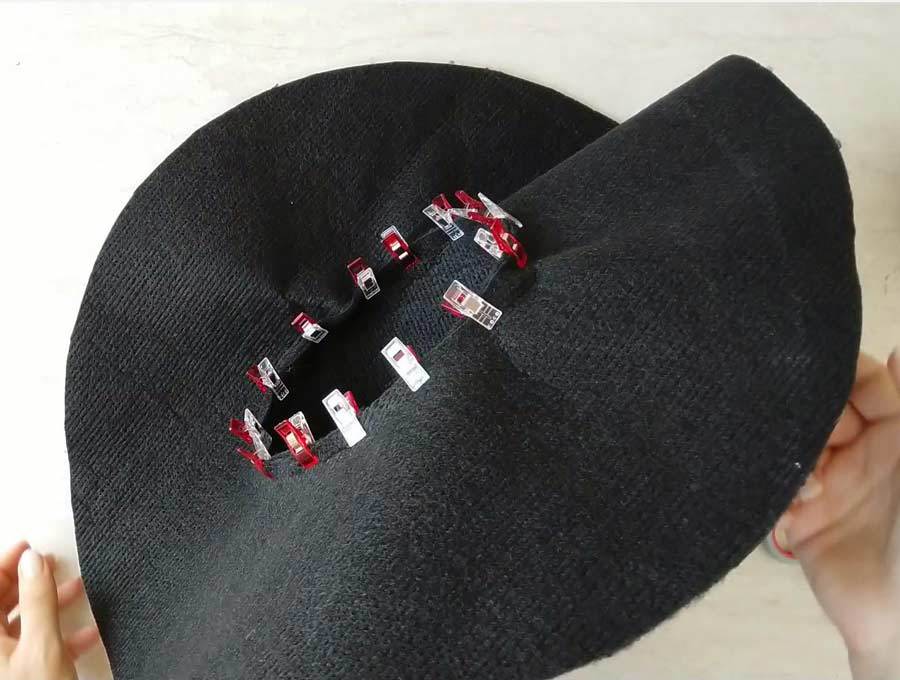
STEP 5: Sew the brim to the cone
Pin the bottom of the cone to the inside circle of the brim. Wrong side of the cone should be facing the wrong side of the brim.
You’re done! That’s how to make a witches hat!
STEP 6: (OPTIONAL) Stiffen the brim
If you want the brim to be a bit stiffer, you can strengthen it a bit.
You can fold its edge inwards for about a half of an inch all around and sew it in place.
You can also leave an opening on that folded edge and insert a wire or a plastic tubing inside and sew it in place. Just don’t forget to secure the ends of the wire or plastic together before you stitch the opening shut.

I hope you liked the DIY witch hat tutorial! Now that you know how to make a witch hat out of felt, try making it yourself and tell us how it turned out. Share your experience with us in the comment section below. Have fun trick or treating!

Do you like this? Pin for later:

Wanna be friends? Click HERE and follow me on Pinterest
RELATED:
- How to make a hooded cloak
- Beret sewing pattern
- DIY beanie in 5 minutes (no pattern needed)
- DIY bucket hat (REVERSIBLE)