
How to Make a Leather Tassel Keychain
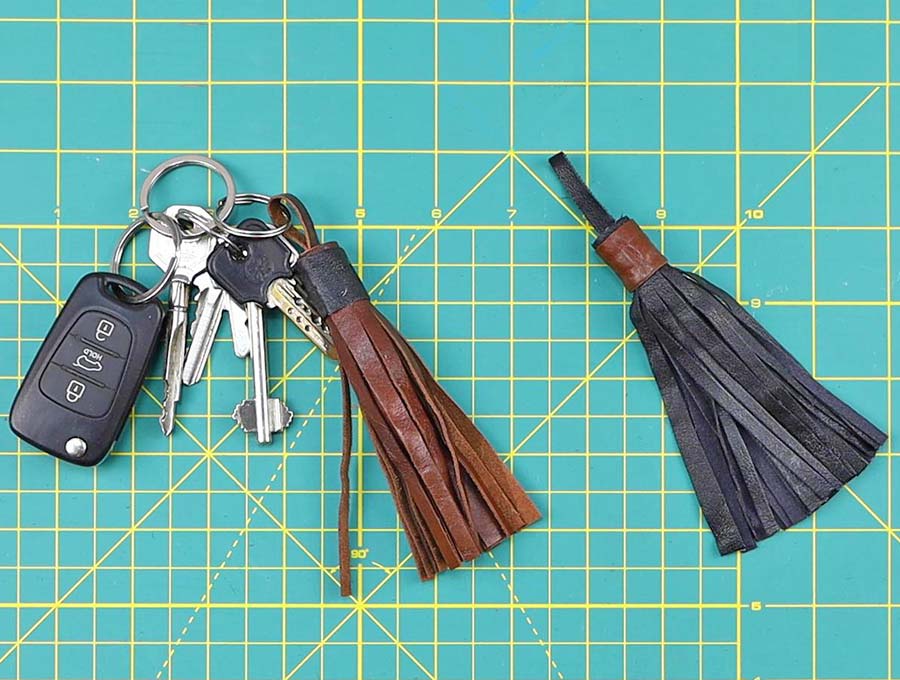
A real leather tassel keychain spells luxury and quality. You have seen leather tassels on goods in high end stores that just reek designer chic and Italian brands like Gucci and Prada, renowned worldwide for their leather accessories. Making leather tassels is creative, and If you want to know how to make professional looking leather tassels it is very simple, with our easy to follow instructions. Using the knowledge gained from this tutorial you will be able to upscale your purse or keychain, or even add an attractive leather tassel to a necklace. All you need is a couple of small pieces of leather, a rotary cutter or a pair of strong sharp scissors, a ruler, and leather glue, and then you are off on your creative journey to making leather tassels.
Leather comes in so many finishes that if you start looking for leather to make your tassels you may need to know the difference between dyes and stains. A dye will have been applied when the leather was cured and the color penetrates right through the leather, so if you turn the piece of leather over, the reverse side will be a similar color to the front of the leather – except the front side of the leather is all soft and smooth while the back has more of a suede finish. When you cut through the leather you will find the dye has penetrated right through. A stain on the other hand is applied to the surface of the leather and will color it to some extent but the natural leather will be visible under the stain – it’s something like when you distress furniture by adding a very thin layer of paint that allows the natural grain of the wood to shine through. When you turn over a piece of stained leather the back will be natural as the stain is only on the first layers of the leather.
Now leather comes in various thickness and grades. For your project you want a leather tassel that falls well, so you would go for a thinner leather, as you don’t want the leather tassel pieces sticking out at weird angles because it was too hard and thick. In the US leather weight is measured in ounces whereas in most of the rest of the world it is measured in millimetres using a gauge. The metric system is fairly easy because if you say you want a piece of leather that is 1 mm thick that is what you will get – a piece that is 1 mm thick, but if you are buying in ounces then it is a bit more complicated. Each ounce in leather-weight terms is equal to 1/64 of an inch. So, if a piece of leather is 3 ounces then it is 3/64 of an inch thick which equates to around 1.2 mm. If you are used to working in ounces then you tend to know that a 2 to 3-ounce leather piece will be fairly thin whereas an 8-ounce piece will be quite thick.
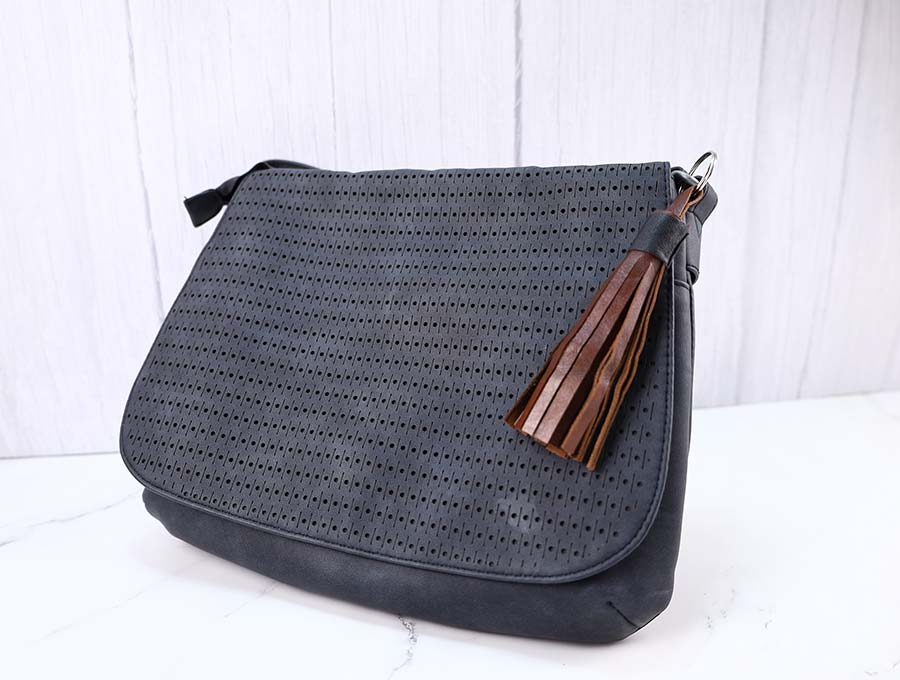
The color leather you choose can say worlds about your personality – imagine creating DIY leather tassels from bright pink leather for a festival type purse, or a leather tassel keychain that no one can miss. If you prefer a more classic look then the black and brown leathers will be a good choice. If you have a plain black purse then a tassel in turquoise can give it a pop of color. It’s a question of matching color to your style, be it artsy, casual, chic, or exotic.
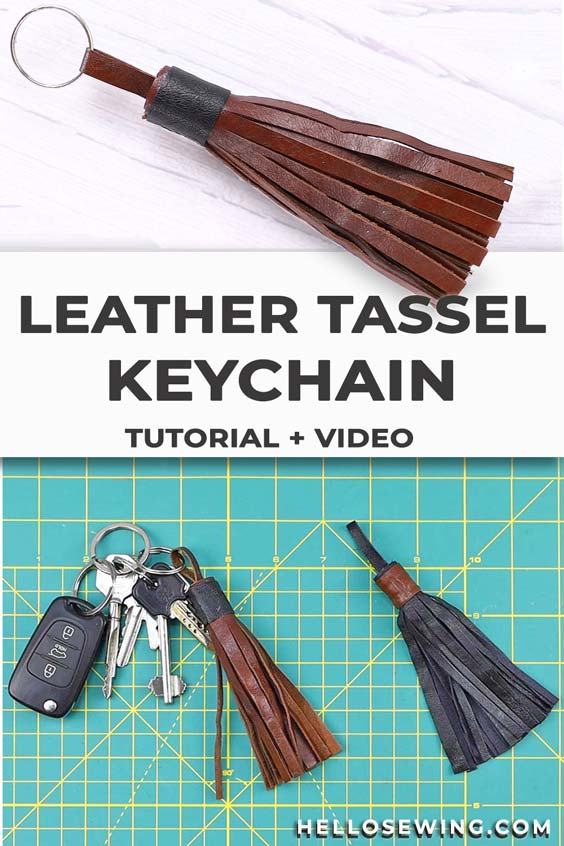
[image]Below you will find my step by step written tutorial with VIDEO instructions for all the visual learners.
We occasionally link to goods offered by vendors to help the reader find relevant products. Some of the links may be affiliate meaning we earn a small commission if an item is purchased.
Table of Contents
How to make a leather tassel
Leather Tassel Supplies and tools
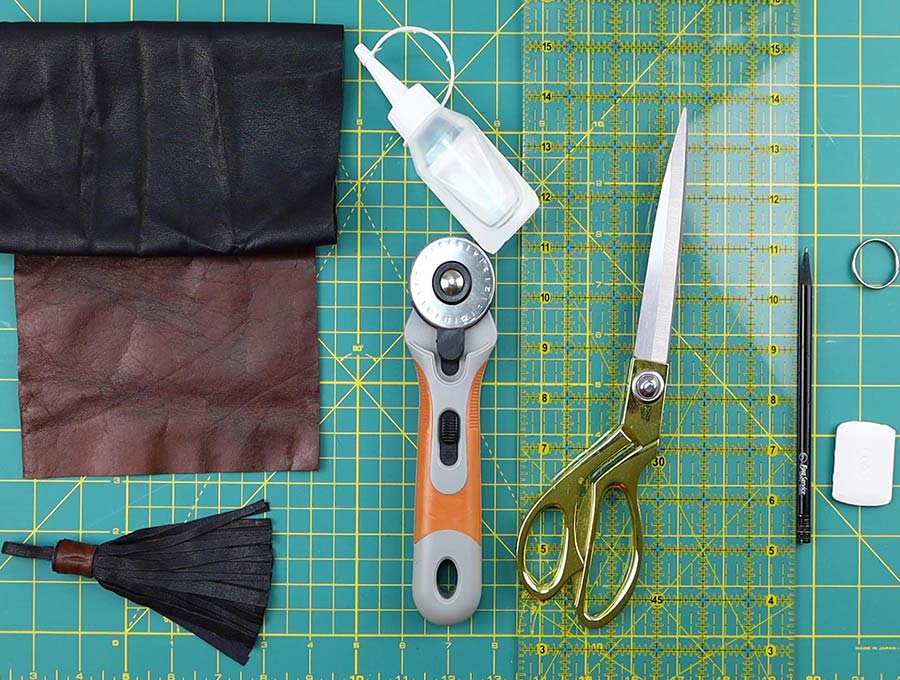
- fabric – 5 x 7″ leather or faux leather strip
- (optional) accent leather in coordinating color 3/4″ x 2″
- fabric glue or hot glue
- key ring
- scissors (or rotary cutter and a cutting mat)
- ruler or measuring tape
- pencil
Follow us for free patterns & tutorials! [easy-profiles]
Making the leather tassels
Watch the diy leather tassel video first and then follow the written step by step instructions below.
Please enjoy and don’t forget to Like and SUBSCRIBE over on YouTube to be kept up to date with new videos as they come out.
Leather tassel VIDEO TUTORIAL
INSTRUCTIONS:
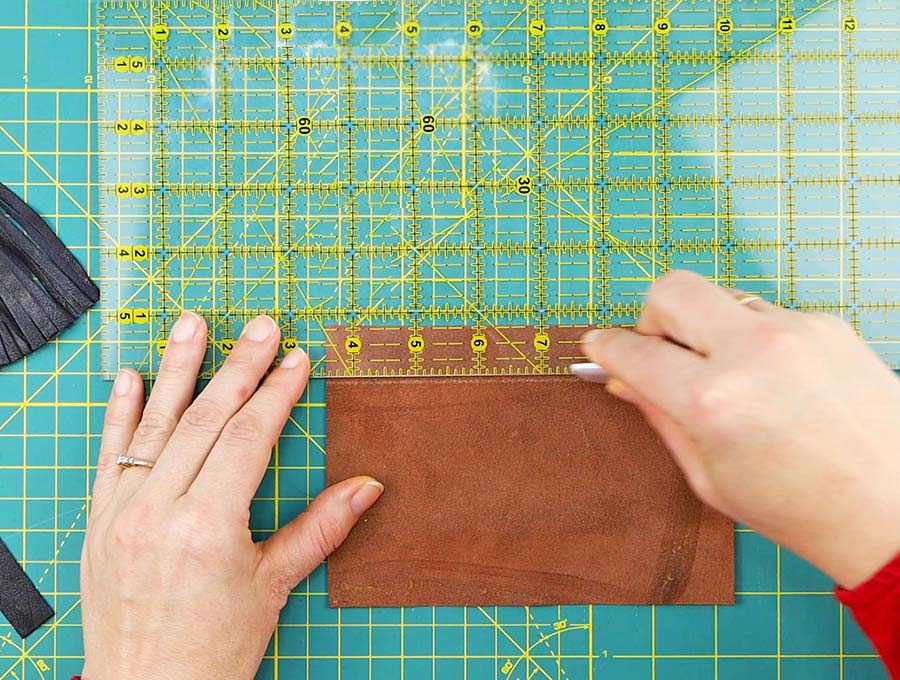
STEP 1:
Place your rectangular strip of 4.5 x 7” leather with right side down on a cutting board. Along the long side of the rectangle measure 1 1/8 inches from the top in the middle and at the two ends, and join them by drawing a line in pencil on the back of the leather. This will form the band at the top of the tassel.

STEP 2:
Now draw a line 1/8 of an inch from the top following the procedure to get it straight in Step 2. Cut carefully along the new line you have drawn using a rotary cutter or a sharp pair of scissors. This is the strip from which you will suspend the tassel. Set it aside for the moment.
STEP 3:
Mark very carefully on the back of the leather, using pencil, strips that are equidistant along the whole piece of rectangular leather, then cut using a rotary cutter or a sharp pair of scissors. You will have created a fringe. Ideally, they should be no more than 1/20 of an inch in width.
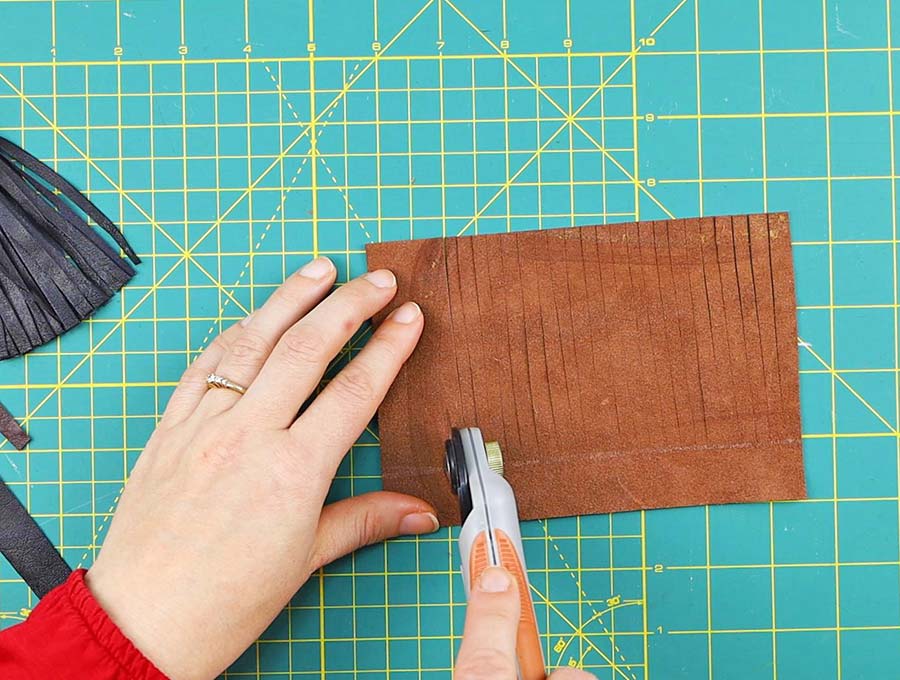
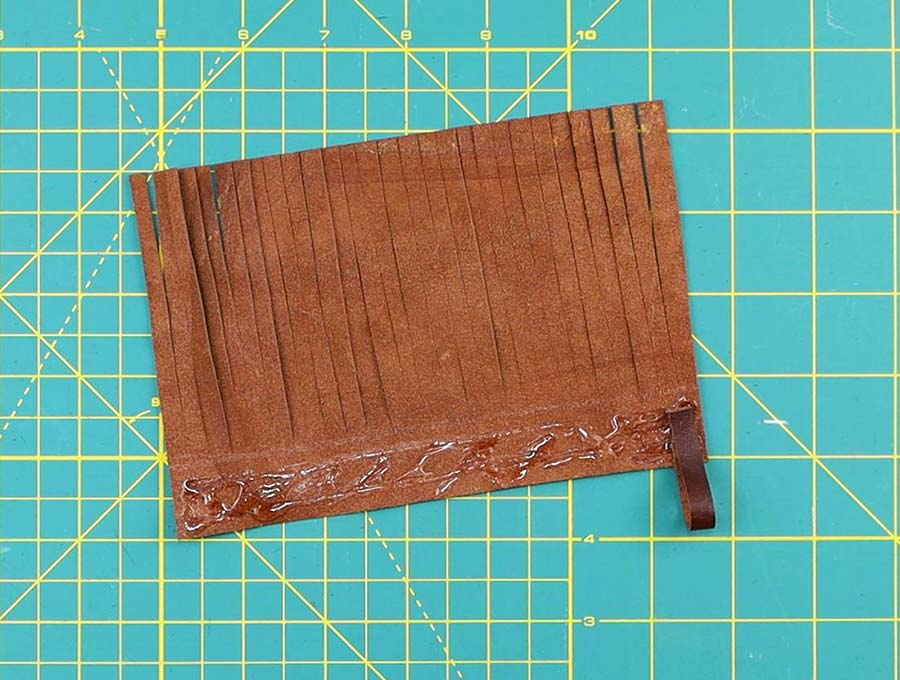
STEP 4:
The wrong side of the leather should still be uppermost on the board. Now take the thin strip that was cut in Step 2 and glue it in place on the left of the fringe, with the wrong side uppermost, taking the glue from the edge of the top of the fringe to around 1/3 of the way down the first piece of tassel. This will ensure that it will not easily be pulled out.
STEP 5:
Making sure the tassel hanger does not get rolled in by mistake commence rolling the tassel up gluing it onto on the 1-inch piece at the top of the fringe as you go.

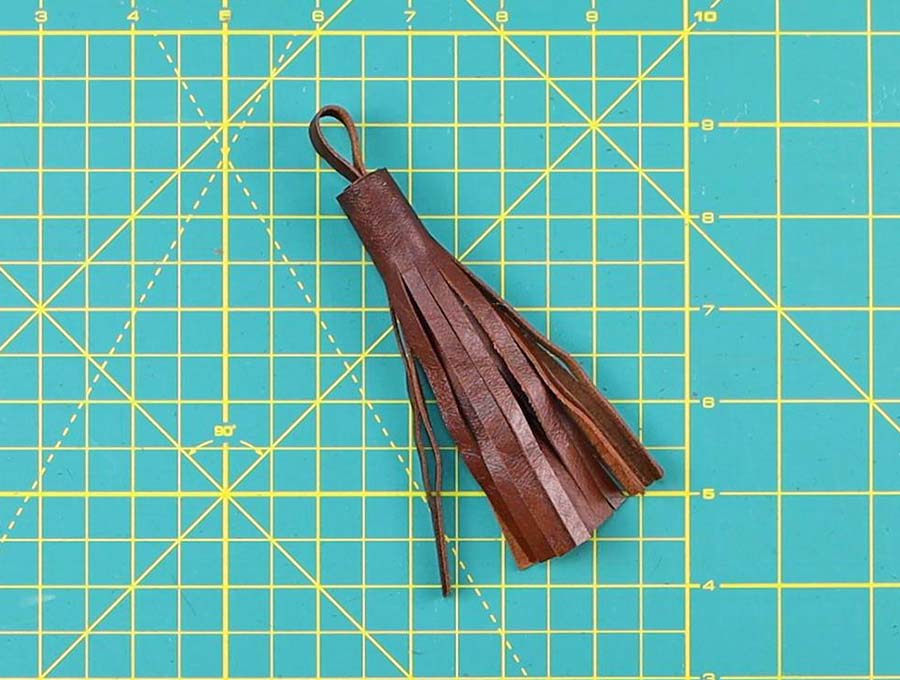
STEP 6:
When you get near to the end place the other end of the tassel hanger into the leather and glue in place the same way as you did in step 4, forming a loop with which you can attach the tassel to your personal items. Leave the tassel to dry somewhat, weighted down with some heavy books to stop the tassel unrolling.
STEP 7:
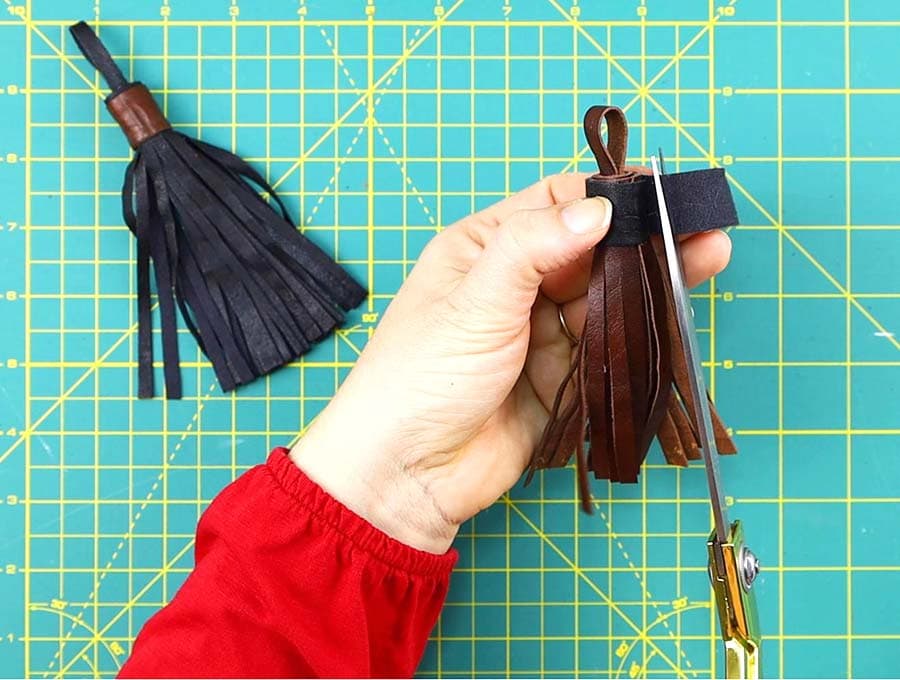
Steps 7 is optional. You may not want to create a covering for the tassel, however if your do this is how to proceed. From another scrap of leather cut a piece 1 inch wide and the circumference of the finished tassel. (Use a small piece of string to measure the finished circumference of the tassel – it will vary according to the thickness of the leather you have used.) Allow for a tiny bit extra length as you can trim it later, but you can’t add on once it is cut! Then glue the covering around the top neatly. It can be the same color or a contrasting color. Allow the glue to dry overnight on your DIY leather tassel.
Don’t wait – follow our leather tassel keychain tutorial and watch the video to see how easy making classy leather tassels can be. It’s almost guaranteed that once you have made one you will want to continue experimenting with using different colors and contrasts of leathers for stylish additions to your accessories.
Do you like this? Pin for later:
Wanna be friends? Click HERE and follow me on Pinterest
RELATED:
- How to make tassels out of yarn or embroidery thread
- DIY wristlet keychain