
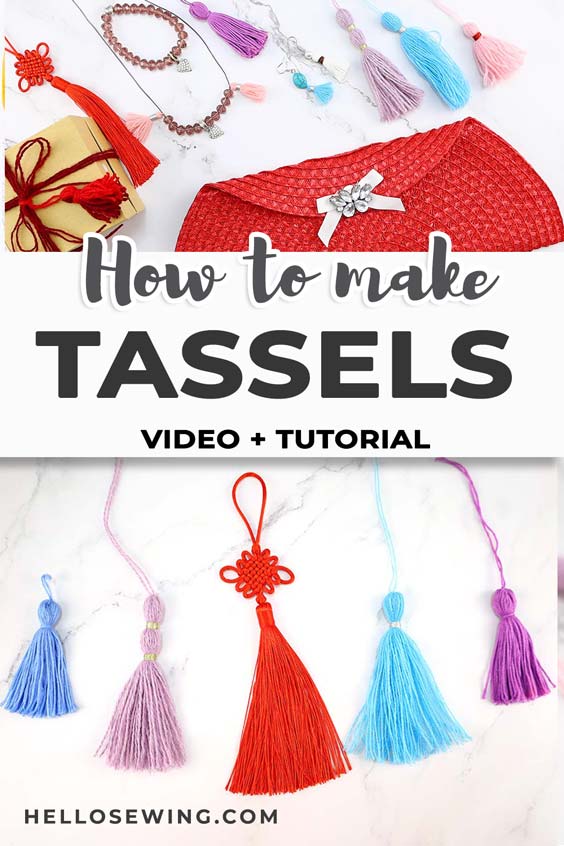
How to Make Tassels // DIY Tassel Out of YARN or Embroidery Thread
Learning how to make tassels yourself enables you to finish off projects with style. This easy step by step tutorial shows you how to go about making tassels yourself, in any color or weight of yarn you choose. It’s a good way to use up vintage embroidery thread, or extra yarn. There are two methods explained here – one for heavier cotton thread used for crochet or knitting and one for the skeins of embroidery thread. So now you know what to do with those extra skeins of embroidery thread or crochet cotton that have been hanging around.

To get started with making tassels out of yarn you will need embroidery thread, crochet cotton, or even cotton knitting yarn. I prefer cotton or pure wool as it has a much better feel and weight to it than synthetic knitting yarns. Let’s face it, people cannot resist running their fingers down a tassel, so let’s give them a good tactile, as well as visual, experience.
There are two methods to make handmade tassels– one is by winding yarn onto a piece of cardboard and the other is using a skein of embroidery thread.
We occasionally link to goods offered by vendors to help the reader find relevant products. Some of the links may be affiliate meaning we earn a small commission if an item is purchased.
Table of Contents
How to make tassels
DIY Tassels Supplies and tools
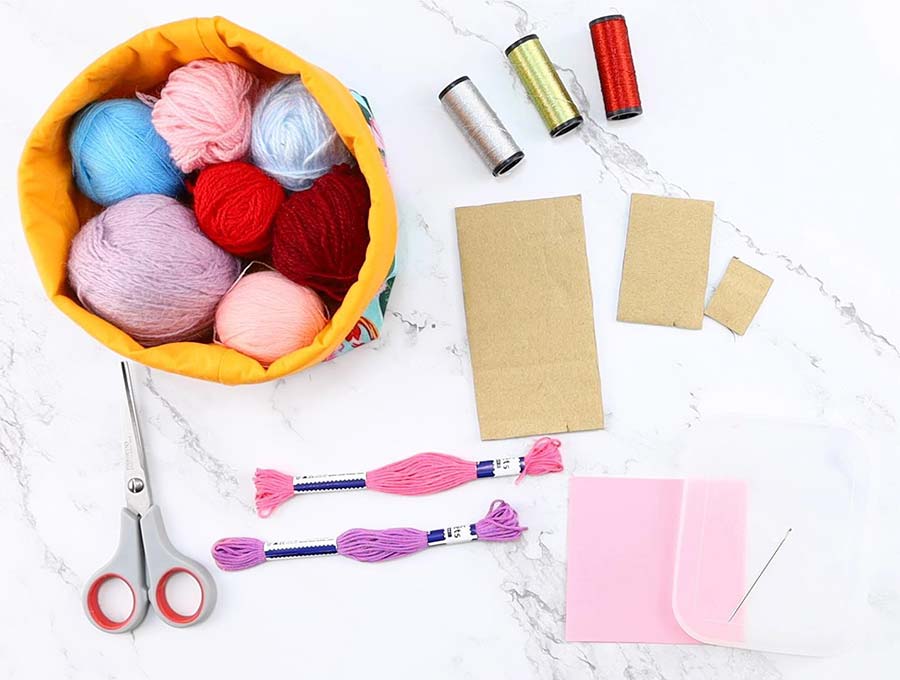
- Yarn thread or embroidery floss in the color of your choice
- piece of cardboard
- scissors
- ruler or measuring tape
- hand sewing needle with a large eye
- (optional) sparkly thread
Follow us for free patterns & tutorials! [easy-profiles]
How to make a Tassel – 2 Ways
Watch the diy tassel video first and then follow the written step by step instructions below.
Please enjoy and don’t forget to Like and SUBSCRIBE over on YouTube to be kept up to date with new videos as they come out.
DIY TASSEL VIDEO TUTORIAL
METHOD 1: How to make a tassel with YARN
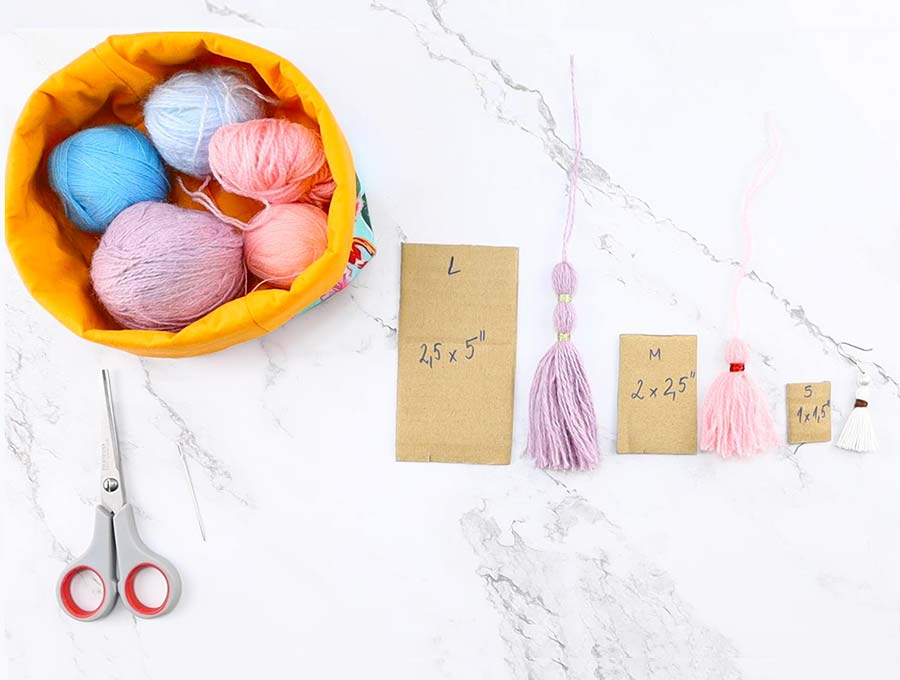
STEP 1: Prepare the cardboard
Choose the length of the tassel you want to make – will it be 3 inches, 4 or 5 or 6 inches long? Once the length is decided, cut a piece of cardboard (a piece from a cereal box will do), that is 2 inches wide and the length of your finished tassel plus ½ an inch. So, if you want to make a 5-inch-long tassel, you will mark out on the cardboard a rectangle that is 2 inches by 5 ½ inches. The extra half an inch is to give you some wiggle room for trimming the end of the tassel without making it shorter than your projected 5 inches.
Cut two pieces of thread about 10 inches long each if you are making a standard tassel, or cut one of the threads 15 inches if you are making a loop at the top of the tassel.
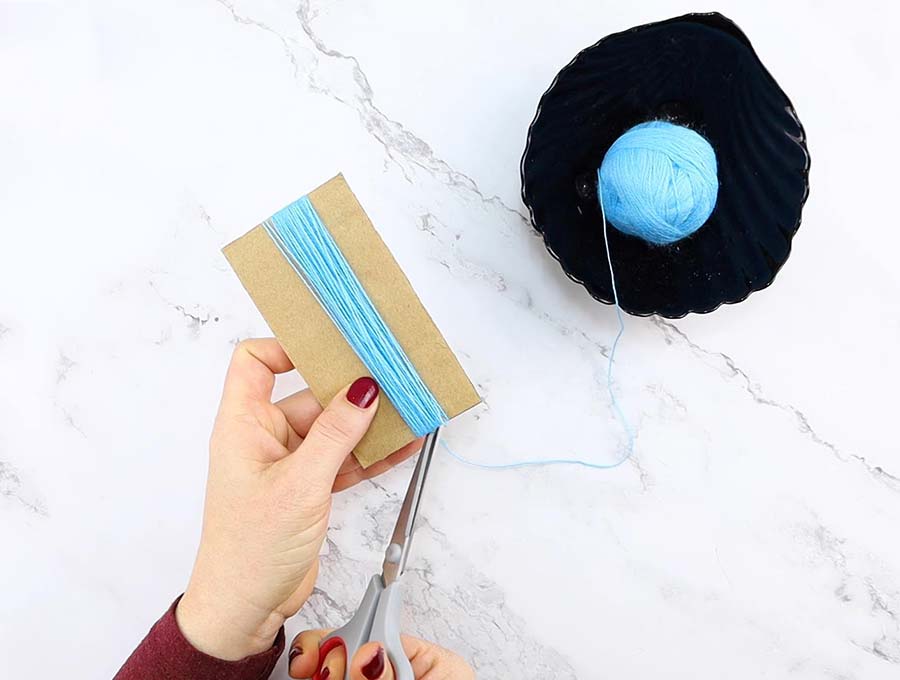
STEP 2: Wrap
Starting at one end begin wrapping the thread around the cardboard from long end to long end, until you feel there is enough yarn for the projected thickness of the tassel. The number of times you need to wind varies greatly depending on the thickness of your yarn and the desired thickness of the handmade tassel, but to give you some directions you’ll need to wind about 30-40 times for a standard sized tassel, 60-70 times for large tassel and 20-30 times for a mini tassel.
Start at the bottom of the piece of cardboard. When winding don’t pull the yarn too tight or the cardboard will start bending and you’ll end up with a tassel that’s shorter than planned.

STEP 3: Finish winding
Once you have enough yarn wound on the cardboard to make a substantial tassel, cut the thread in line with the bottom of the long side, so you don’t have one thread shorter than the rest of the tassel.
STEP 4: (optional) Create a loop
If you do not need a loop and want to attach the tassel directly to an object skip ahead to the next step.
Take a piece of yarn about 15 inches long and double it over so the ends meet. The top will be looped – now tie a knot in the loop about an inch from the bend. This will form the loop at the top of the tassel where it will be attached to the purse or whichever item you are decorating with tassels. Set it aside for the moment.
STEP 5: Tie the tassel
Use a piece of thread to tie the top of the tassel, make a knot to secure OR
Place the loop created in Step 4 facing upwards from the middle of the bundle of threads and carefully tie the loose ends around them, making sure to knot securely, leaving the ends to form part of the tassel.
STEP 6: Slip off the cardboard and cut the bottom
Now it is time to carefully cut through all the threads at the bottom end of the cardboard, holding the top firmly so the threads don’t slip off, then lay the bundle of threads straight.
STEP 7: Create the head of the tassel
Time to create the head of the tassel. Take the second piece of thread and tie it securely about ½ an inch down the head of the tassel. You may want to pass it around a couple of times, knotting it securely so it doesn’t slip.
STEP 8: Hide the ends
The two ends should not be cut short, but threaded onto a needle with a large eye and worked into the head of the tassel. If you cut them you risk the head of the tassel unravelling, and if you try to incorporate them they will always stick out from the tassel, detracting from the finished look.
STEP 9: Trim the ends
You are now ready to trim the yarn tassel ends even, and then it is ready to use wherever you choose. DIY yarn tassels are an excellent embellishment to add to anything from purses to curtains.
METHOD 2: How to make tassels with EMBROIDERY THREAD
STEP 1: Prepare the threads
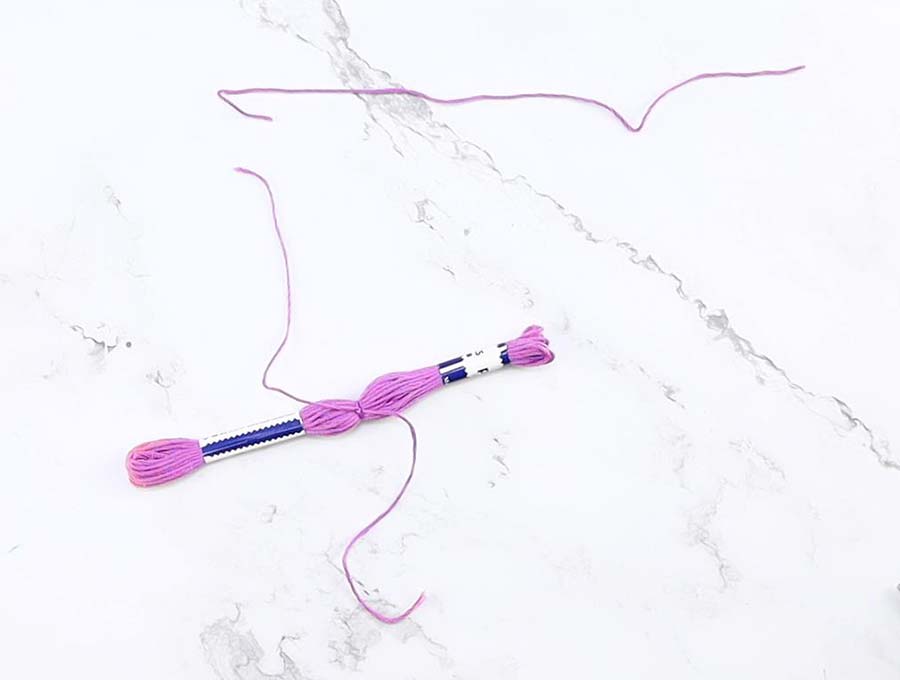
Take a skein of embroidery thread. Do not remove the paper pieces near the ends as leaving them intact makes the skein easier to work with. Carefully remove two 10-inch pieces of thread by pulling from the skein and cutting.
STEP 2: (optional) Create a loop
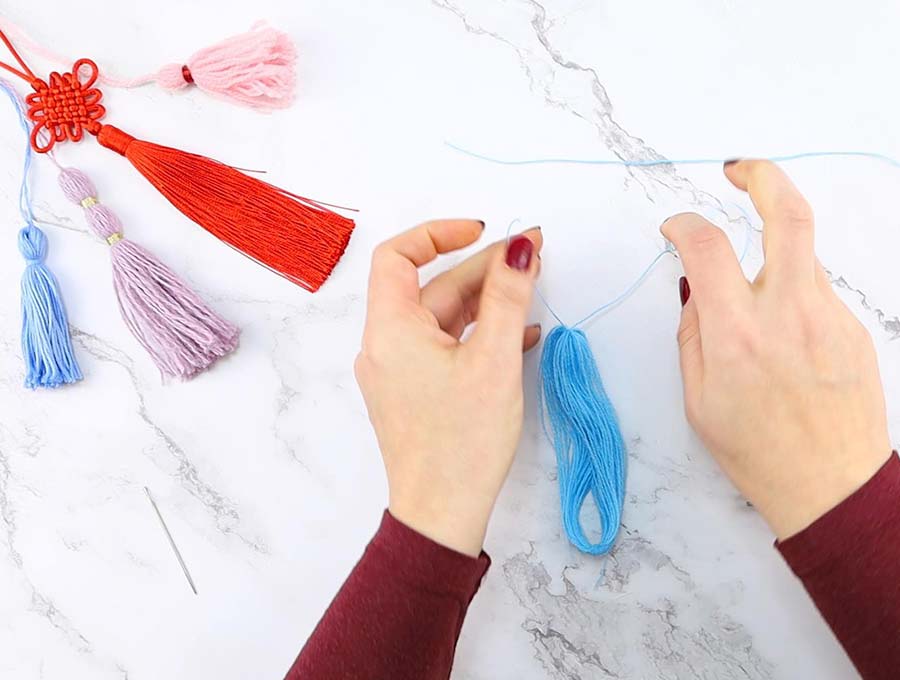
If you want a tassel with a loop to hang follow this step but if you do not need a loop and want to attach the tassel directly to an object skip ahead to Step 3. To create the loop double one 10-inch thread over so the ends meet. Now tie a knot in the loop about ¾ inch from the bend.
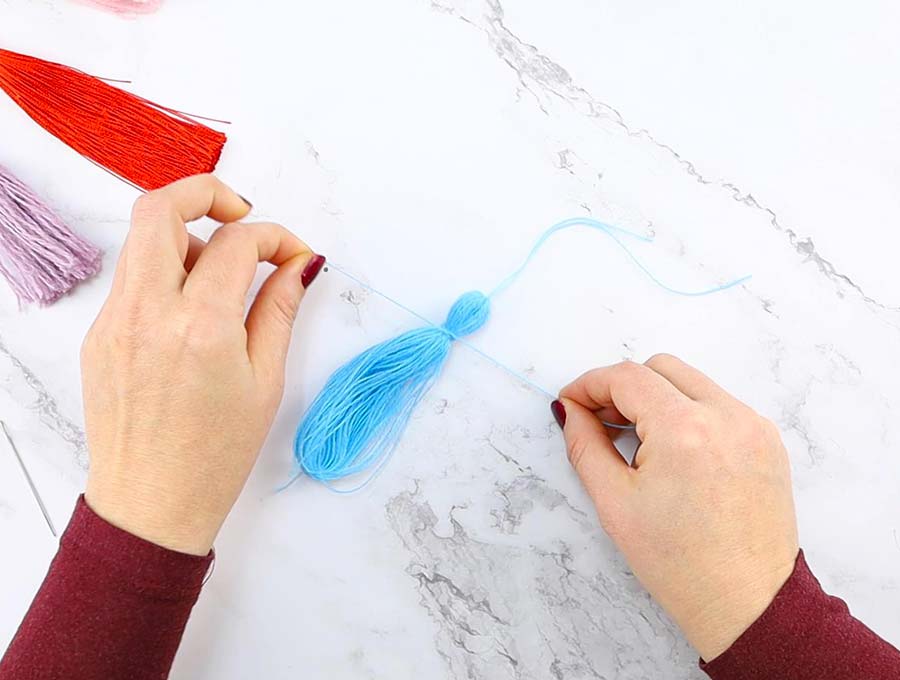
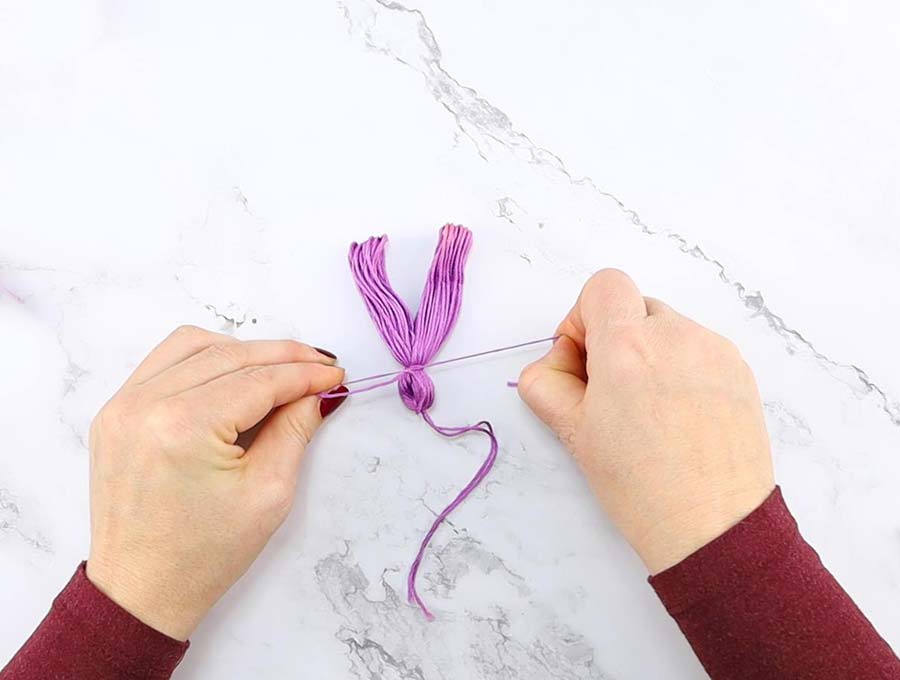
STEP 3: Tie the top
Fold the skein in half to establish the middle and tie one of the 10-inch pieces securely around the middle, keeping the loop at the top if you are making a looped tassel. If not then simply tie the bundle of threads together securely.
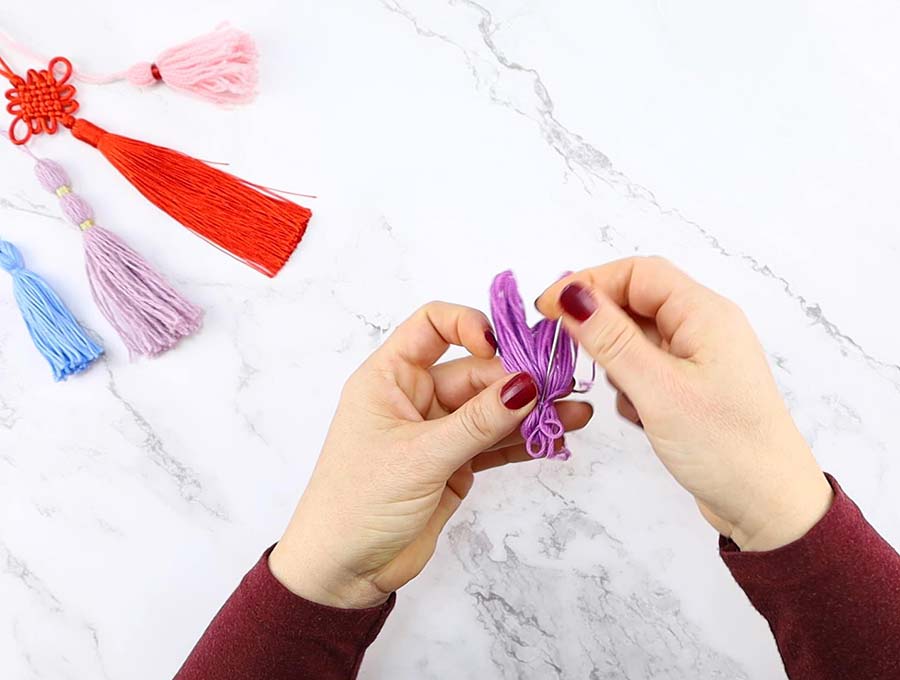
STEP 4: Remove the paper
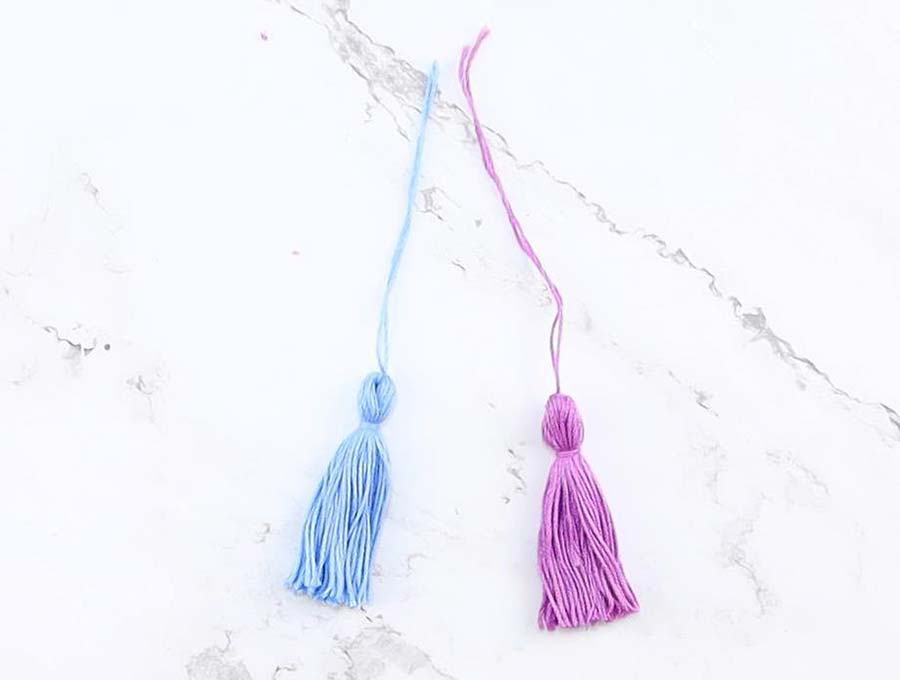
Remove the paper. Bend the skein so you now have a silky tassel and only need to add the piece to form the head.
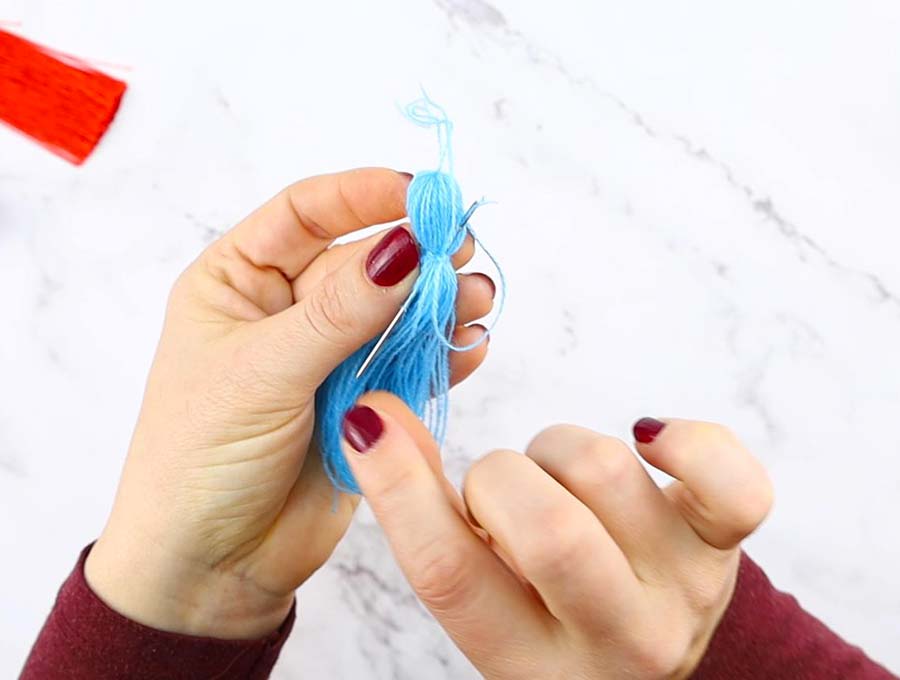
STEP 5: Create the head of the tassel
Take the second piece of 10-inch thread and secure it about 1/2 of an inch down from the top of the tassel, winding it around the tassel threads a couple of times to make it firm and tie securely.
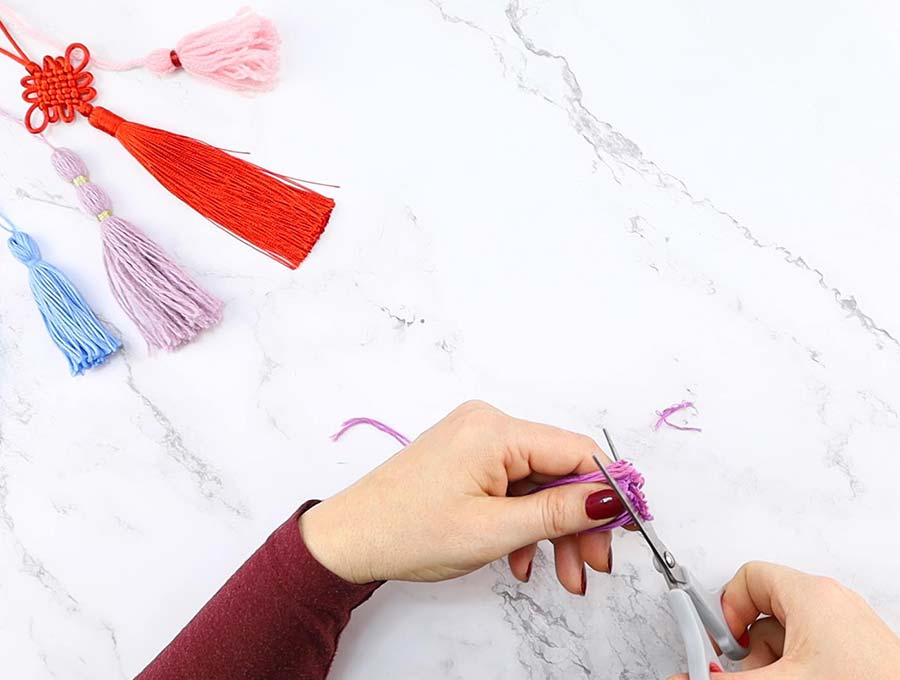
STEP 6: Snip the ends
Snip the ends
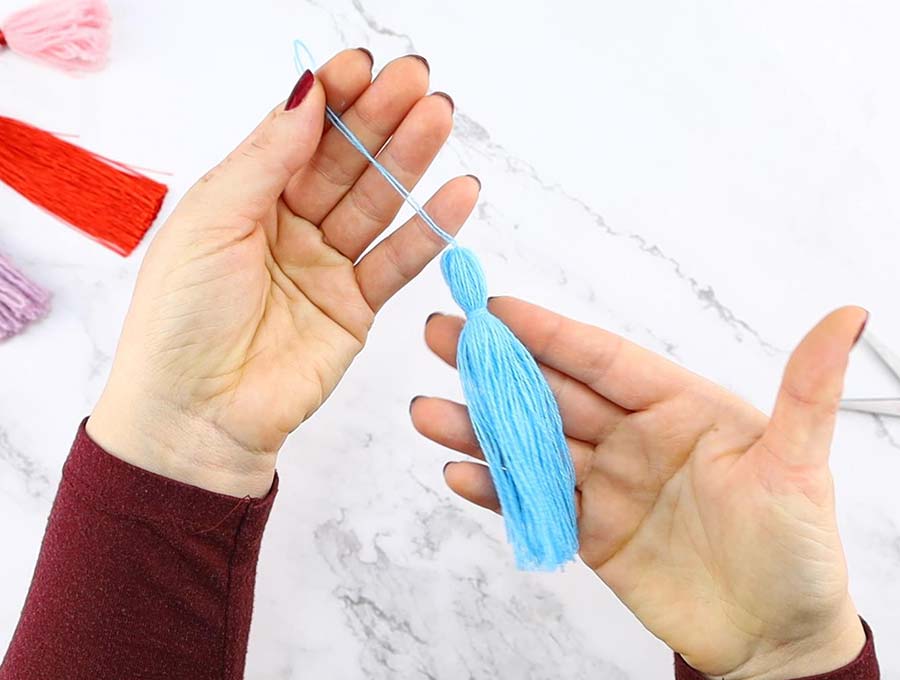
STEP 7: Hide the ends
Using an embroidery needle work the ends into the tassel head so there is no chance of the silk coming loose.
You now have a silky tassel ready to use.
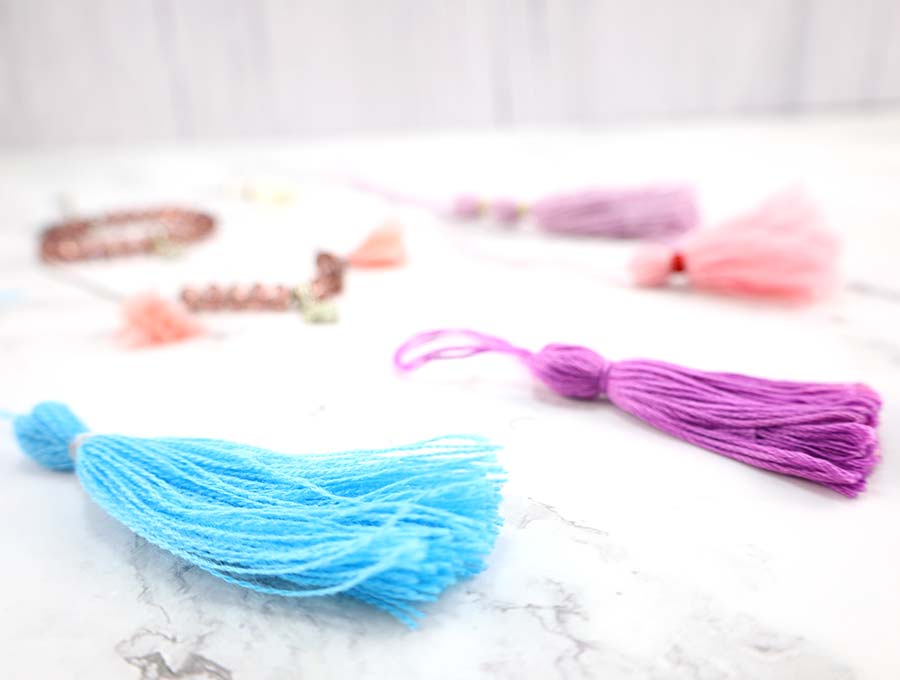
Imagine being able to add beautiful DIY tassels to purses, backpacks, beach bags, clothing, cushions and even curtain tiebacks. Follow our easy video tutorial which shows two methods of making tassels that can provide a personal and luxurious finish. It’s a good way to use up extra yarn or vintage embroidery thread. By altering the thickness of the yarn and length of the tassel you can make finished products that vary from dainty to statement tassels, often prompting visitors to ask where you bought them. You’ll be able to say, “Oh that, yes I’ve learned how to DIY tassels.”
Now that you know how to make tassels, you are going to want to make lots and lots of of tassels! It’s THAT easy

Do you like this? Pin for later:
Wanna be friends? Click HERE and follow me on Pinterest
RELATED:
PROJECTS TO ADD TASSELS TO:
RELATED PROJECTS USING YARN: