 + Free Pattern")
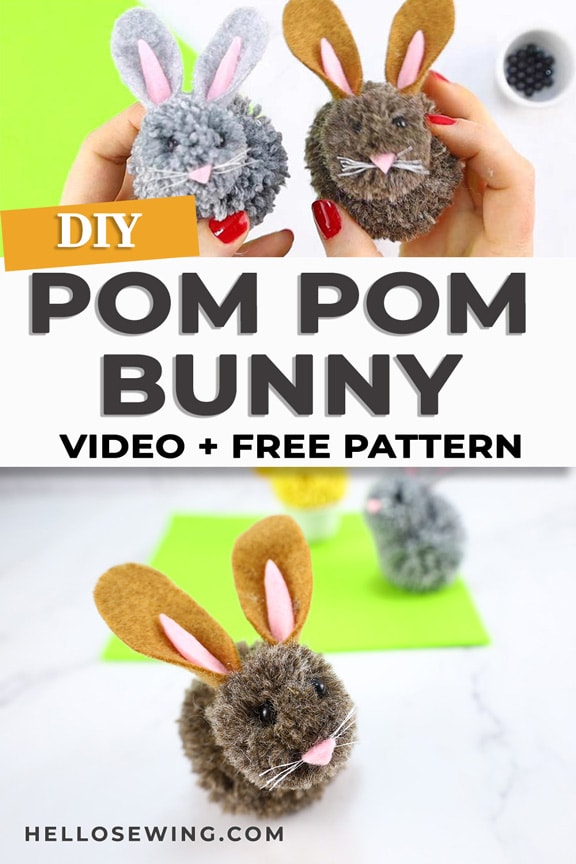
How to Make a Pom Pom Bunny (VIDEO) + Free Pattern
Easter is drawing ever so near and we know what that means. Bunnies!
Can you say Easter happened if there were no bunnies in your home? Not really, at least not in my home!
But getting real bunnies for just one day would be too cruel and over-the-top, not to mention messy. Lucky for us, yarn bunnies exist and they’re just as cute as real ones!
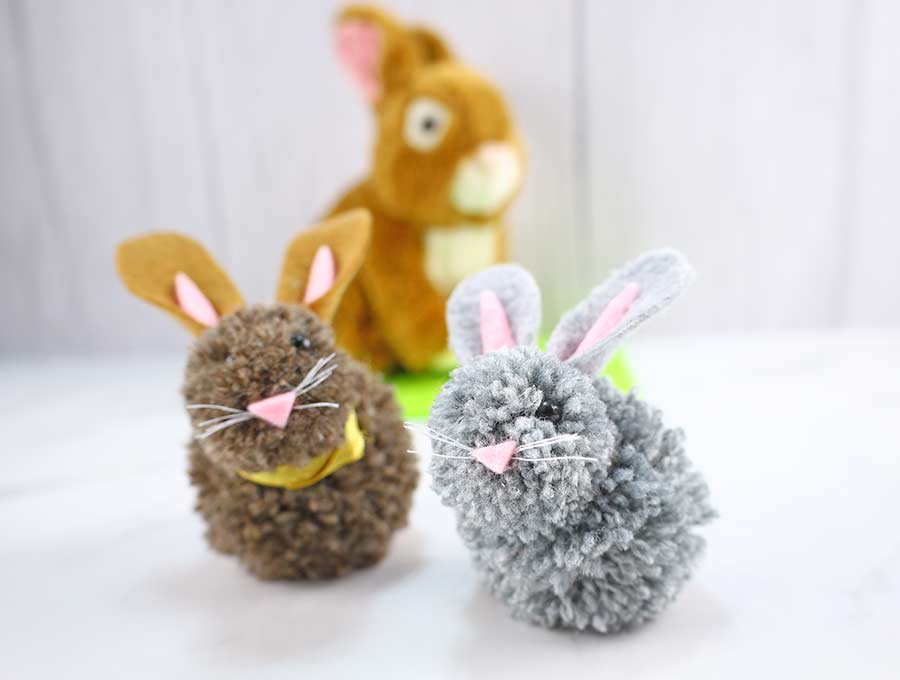
The first time I made a pom pom bunny, I was surprised how easy it was, and even more surprised how much everyone in my family went crazy over how fluffy and soft the bunny is. The kids just couldn’t get enough of them, so I immediately made a whole bunch of yarn rabbits.
As my early Easter present for you, today I’m going to show you how to make a pom pom bunny rabbit from scratch! I guarantee that you and your loved ones will love it.
Below you will find my step by step written pompom rabbit tutorial with VIDEO instructions for all the visual learners.
We occasionally link to goods offered by vendors to help the reader find relevant products. Some of the links may be affiliate meaning we earn a small commission if an item is purchased.
Table of Contents
- 1 How to make a Pom Pom Bunny
- 2 Supplies and tools
- 3 How To Make Yarn Bunnies
- 3.1 POM POM RABBIT VIDEO TUTORIAL
- 3.2 POM POM BUNNY INSTRUCTIONS:
- 3.3 STEP 1: Cut out the pom pom rabbit pattern pieces
- 3.4 STEP 2: Cut out felt
- 3.5 STEP 3: Make the bunny ears
- 3.6 STEP 4: Make the pom pom Easter bunny head
- 3.7 STEP 5: Make the pom pom bunny body
- 3.8 STEP 6: Join the body and the head
- 3.9 STEP 7: Attach ears and the tail
- 3.10 STEP 8: Glue nose and whiskers
- 3.11 STEP 9: Add eyes
- 4 FAQs, Tips and Troubleshooting:
How to make a Pom Pom Bunny
Supplies and tools
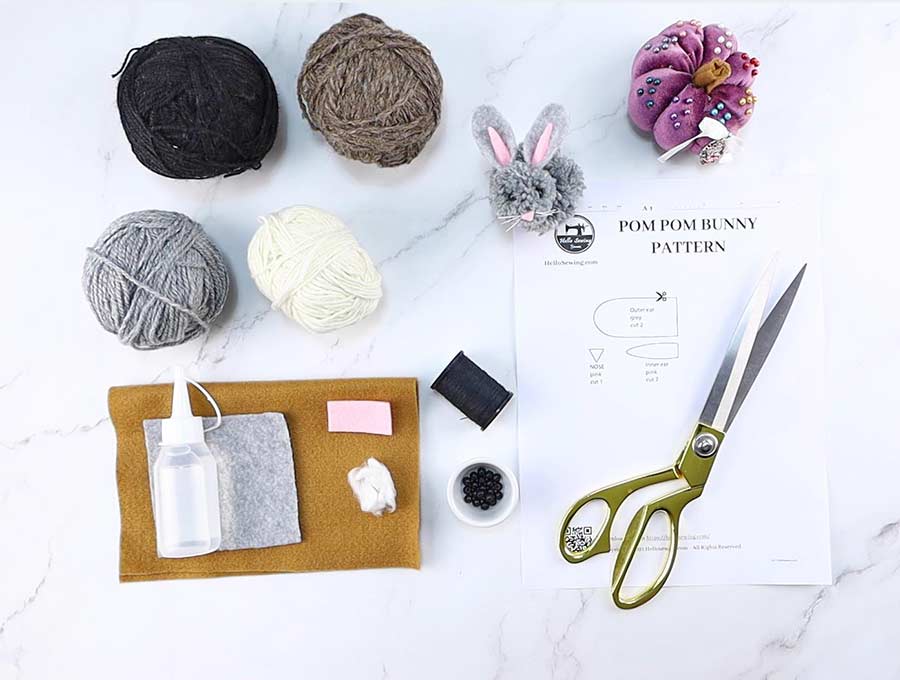
- yarn
- felt – grey/brown and pink
- black pony beads
- silicone glue, fabric glue or a hot glue gun
- scissors (or rotary cutter and a cutting mat)
- sewing clips or pins
- hand sewing needle and thread (optional)
DOWNLOAD: pom pom bunny pattern (Free PDF file)
Follow us for free patterns & tutorials! [easy-profiles]
How To Make Yarn Bunnies
Watch the diy pom pom bunny rabbit video first and then follow the written step by step instructions below.
Please enjoy and don’t forget to Like and SUBSCRIBE over on YouTube to be kept up to date with new videos as they come out.
POM POM RABBIT VIDEO TUTORIAL
POM POM BUNNY INSTRUCTIONS:
STEP 1: Cut out the pom pom rabbit pattern pieces
There are three pieces you’ll need to cut out – outer ear, inner ear and nose.
If you don’t have a printer, just freehand the design on a scrap of paper. You can use my template as a guide or use your imagination to come up with a different shaped ears and nose.
STEP 2: Cut out felt
Use the bunny pattern to cut 2 outer ears out of the brown/grey felt, 2 inner ears and 1 mount out of pink felt.
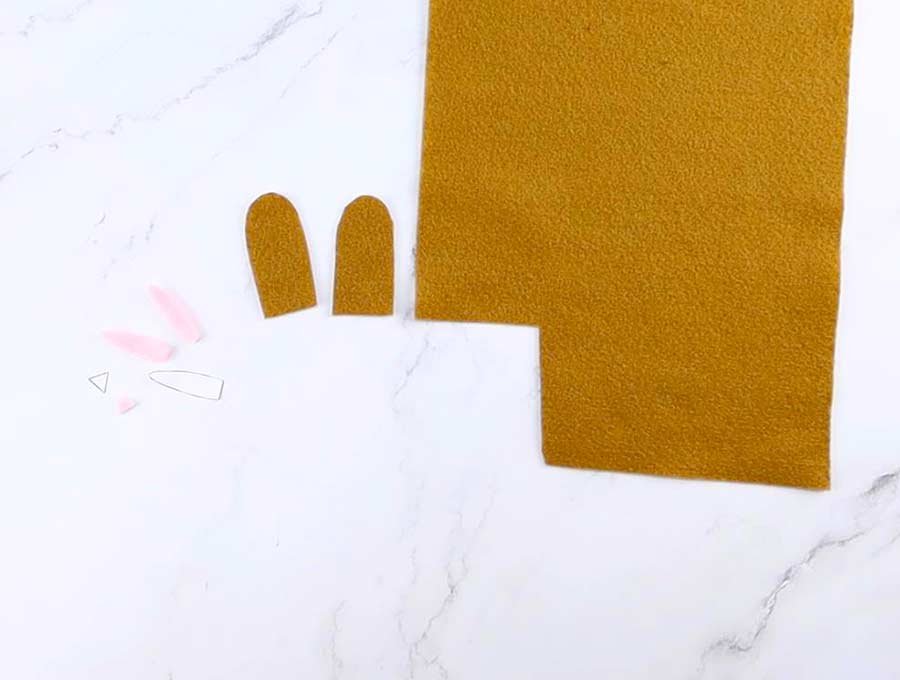
TIPS: For the outer ears try to use a felt that’s the same color as the bunny body.
It’s best to use pink felt for the inner ears, but if you don’t have it, you can use contrasting felt as well.
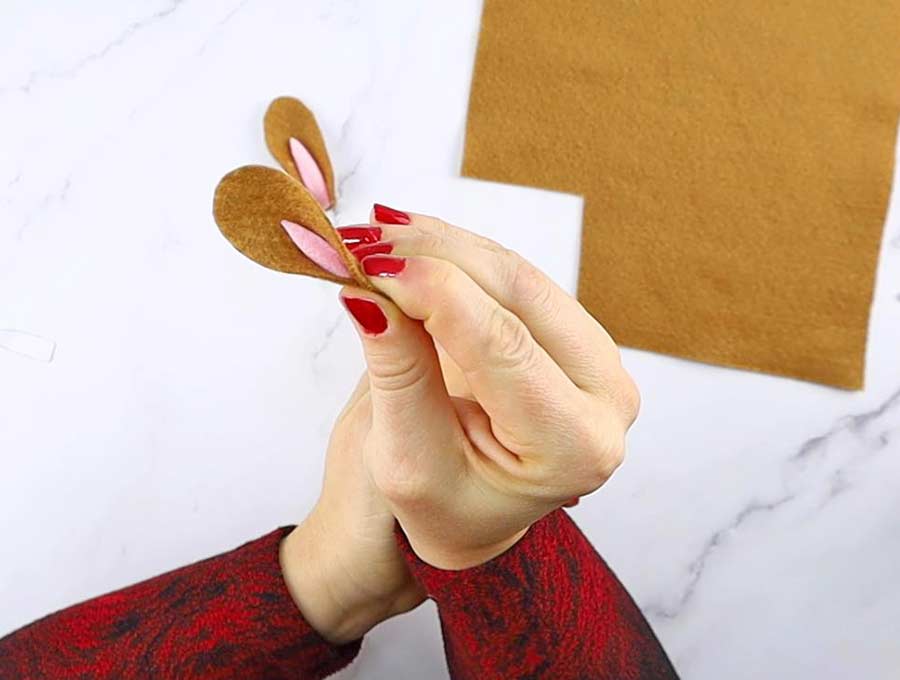
STEP 3: Make the bunny ears
Apply a small amount of glue in a T-shape on the outer ears.
Place the smaller felt pieces onto the larger ones and glue them together. Pinch their bottom edges of the outer ears to glue them in place like that to form the ears. If you are using a glue that needs some more time to dry use small clips to hold the ears pinched together until they are completely dry.
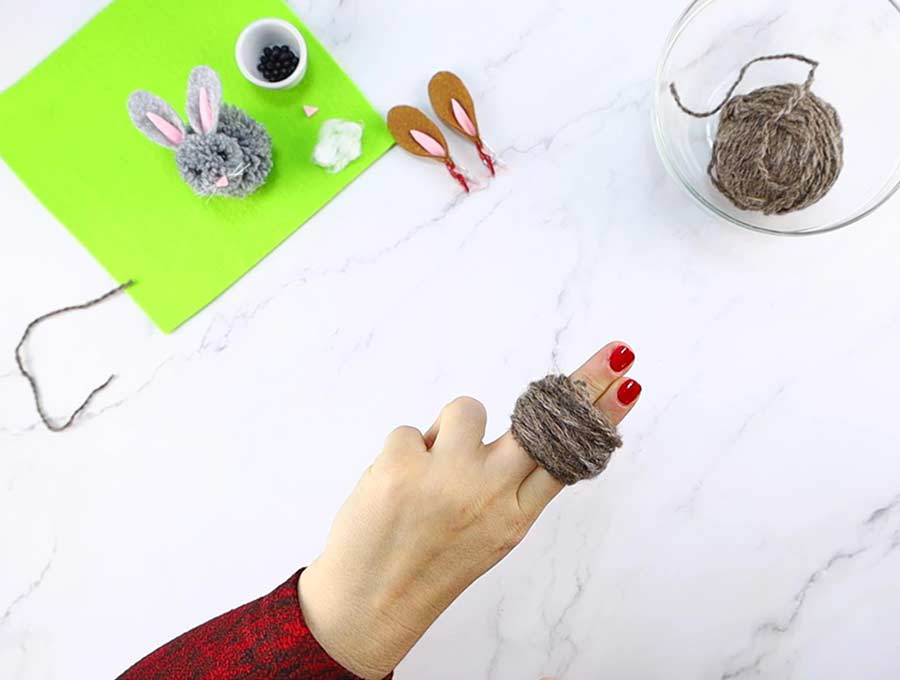
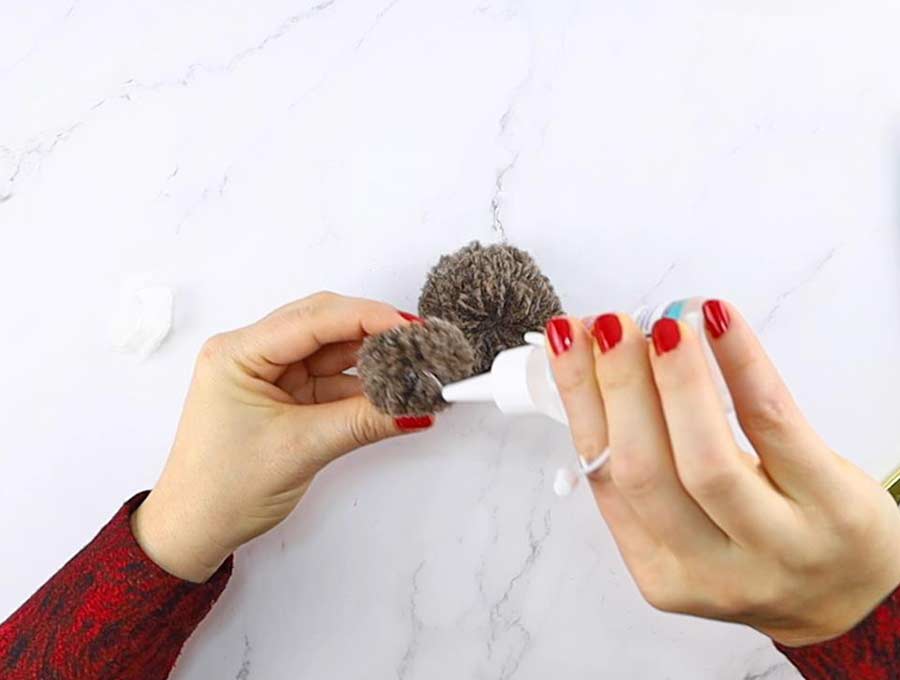
STEP 4: Make the pom pom Easter bunny head
Grab some yarn and wrap it around your index and middle fingers. about 60 times. Slide it off your fingers but keep it wrapped.
Cut a piece of yarn about 10 inches long and tie it tightly around the yarn you just took off your fingers. This will keep the wrapped yarn in place so that it won’t unravel.
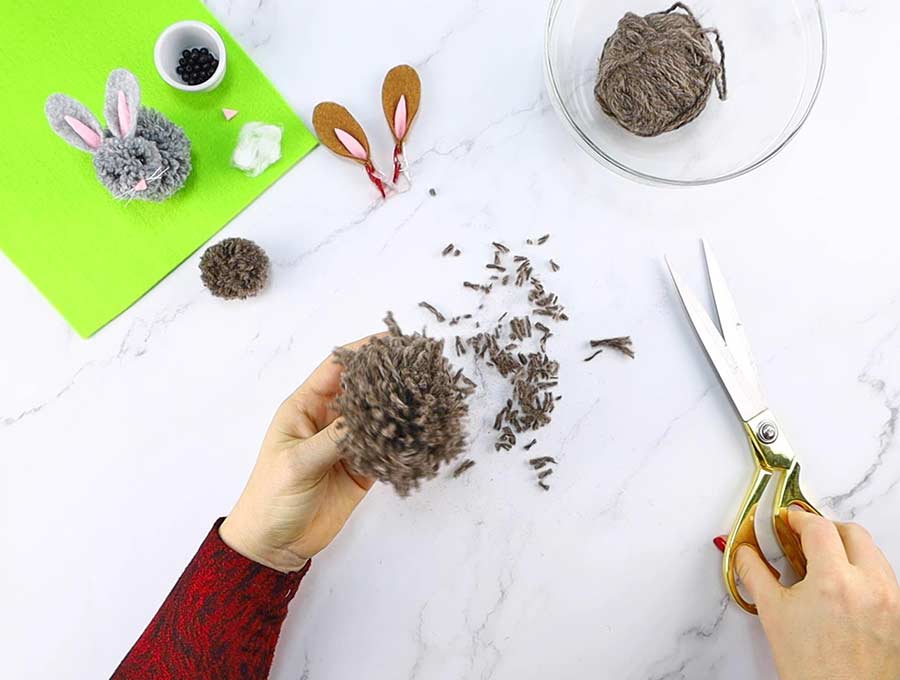
Now you can take your scissors and cut all of the loops to form a pom pom. You will get a bit uneven pom pom, so use your scissors to shape it into a nice ball shape. You’ll need to trim it A LOT.
STEP 5: Make the pom pom bunny body
Repeat for the larger pom pom. The only difference is the size of the pom pom
This pom pom must be at least double the size of the head. So instead of wrapping the yarn around your index and middle finger, you should wrap it around your entire hand.
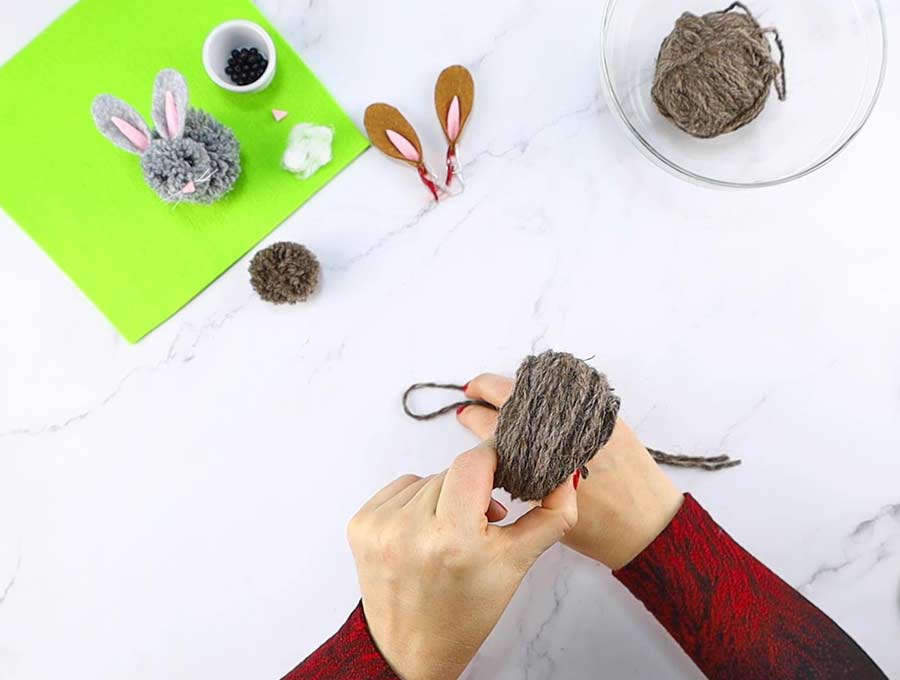
The rest is identical to the previous step, slide the yarn off your palm carefully, tie the yarn, cut all the loops, and trim the pom pom into a ball shape.
An alternative method for making the heads and the bodies of the yarn bunnies
If you already have a pom pom maker or a cardboard pom pom template, you can use that instead of your fingers. Just remember that the body should be about twice the size of the head.
In my opinion, the method with your fingers is easier and quicker, so I prefer it over using templates or pom pom makers.
STEP 6: Join the body and the head
Now you need to glue the body to the head. You can use plain fabric glue, or a glue gun for all gluing in this project. Make sure to put enough glue to keep the parts well connected.
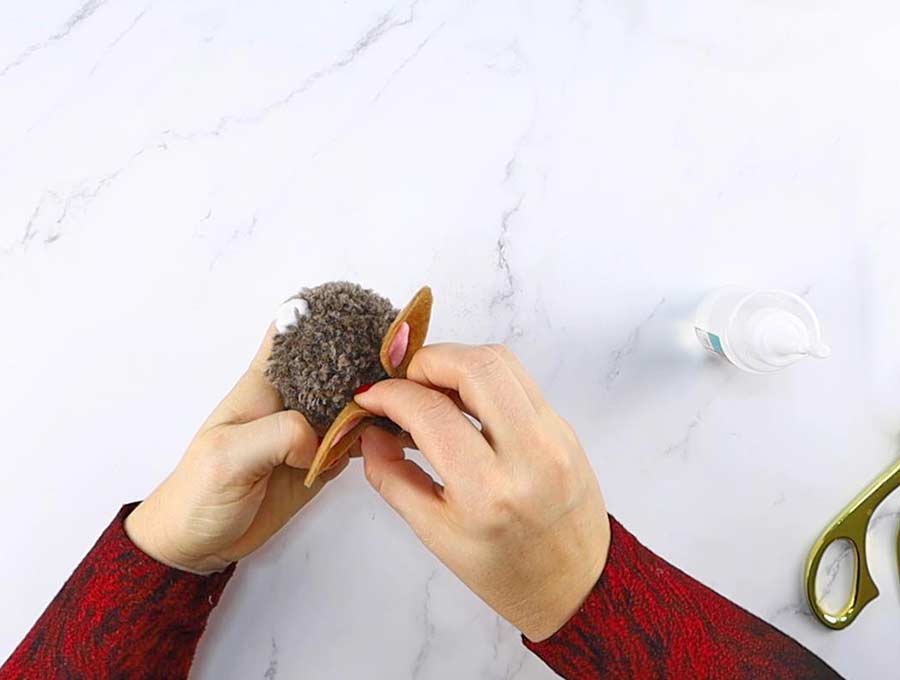
STEP 7: Attach ears and the tail
A bunny isn’t a bunny if it doesn’t have that cute, fluffy tail! So the final step of this project will be to make a bunny tail.
Take a cotton wad, roll it between your palms to make it into a cotton ball. Then apply some glue to it, and stick it onto the back of the bunny.
Glue the ears to the head
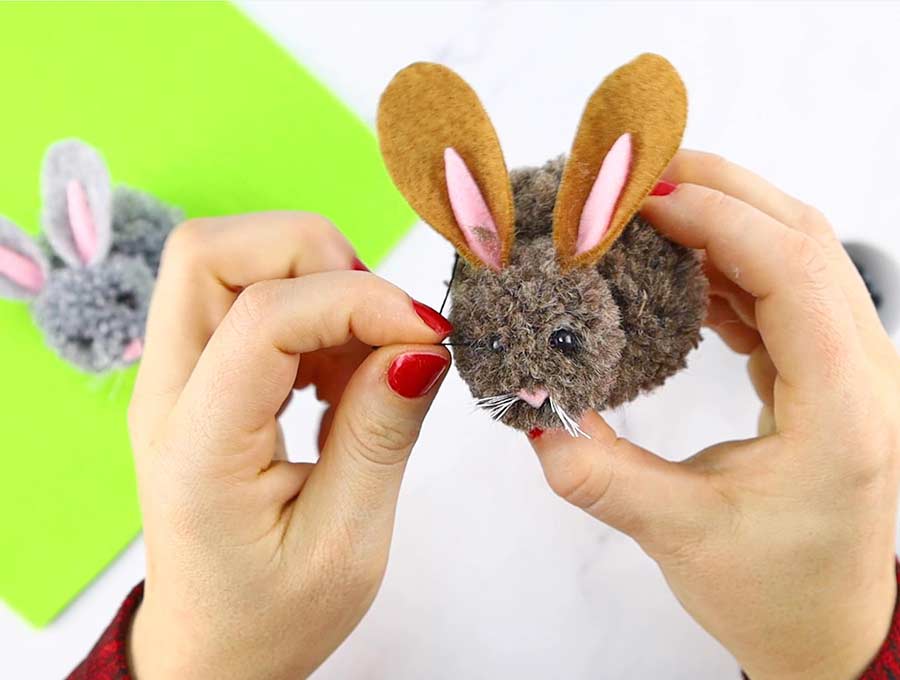
STEP 8: Glue nose and whiskers
Use several loops of clear thread to create the whiskers. Pinch the looped thread in the middle and glue it to the nose.
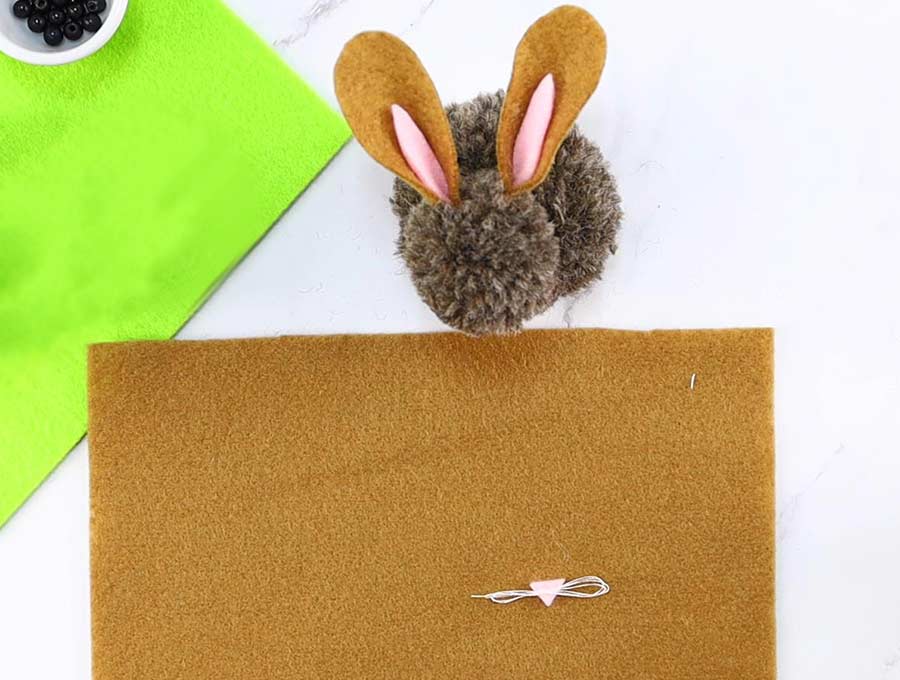
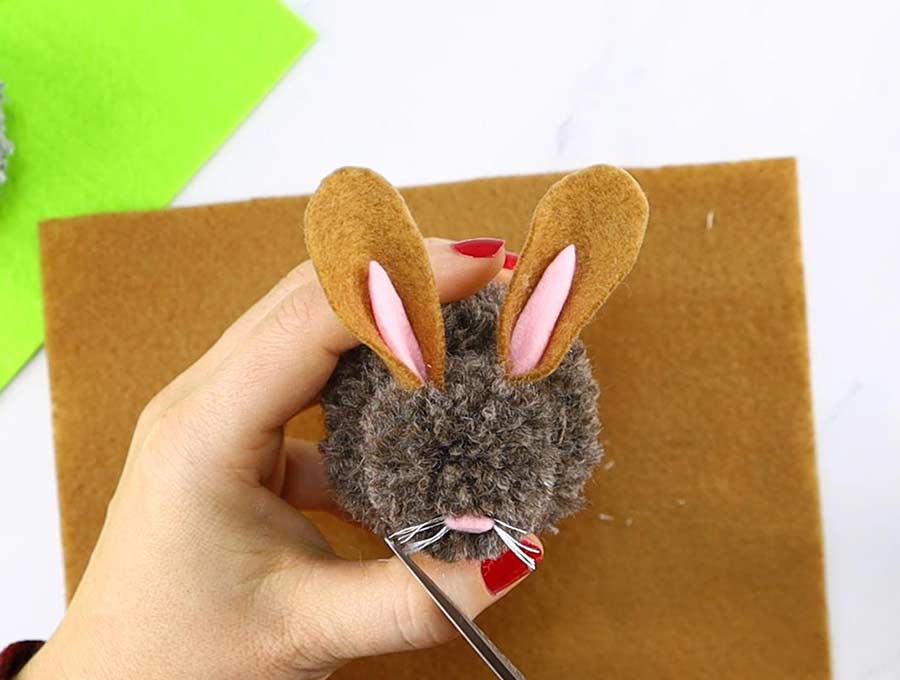
Glue the nose to the bunny’s face.
Now snip the loops and trim the whiskers a bit to make them even.
STEP 9: Add eyes
Use two black pony beads as eyes. Either glue them on, or hand sew them.
You can glue this to the bunny’s head, but I prefer to sew them in using black thread and hand sewing needle.
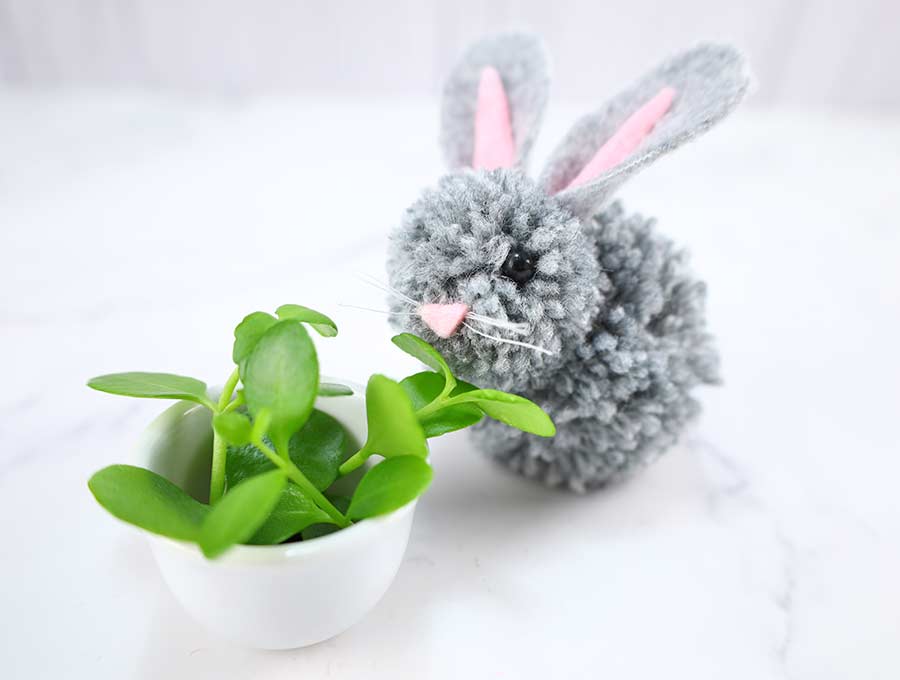
That’s it! Your new pom pom Easter bunny is ready to spread joy and cuteness!
What do you think about this tutorial of ours? I hope you were able to learn how to make a pom pom bunny with! There’s still some time left until Easter, but that doesn’t mean you need to wait. Go ahead and try making a few of these bunnies right now! Then come back and let us know how they turned out in the comment section below, we appreciate your feedback! Have a happy Easter!
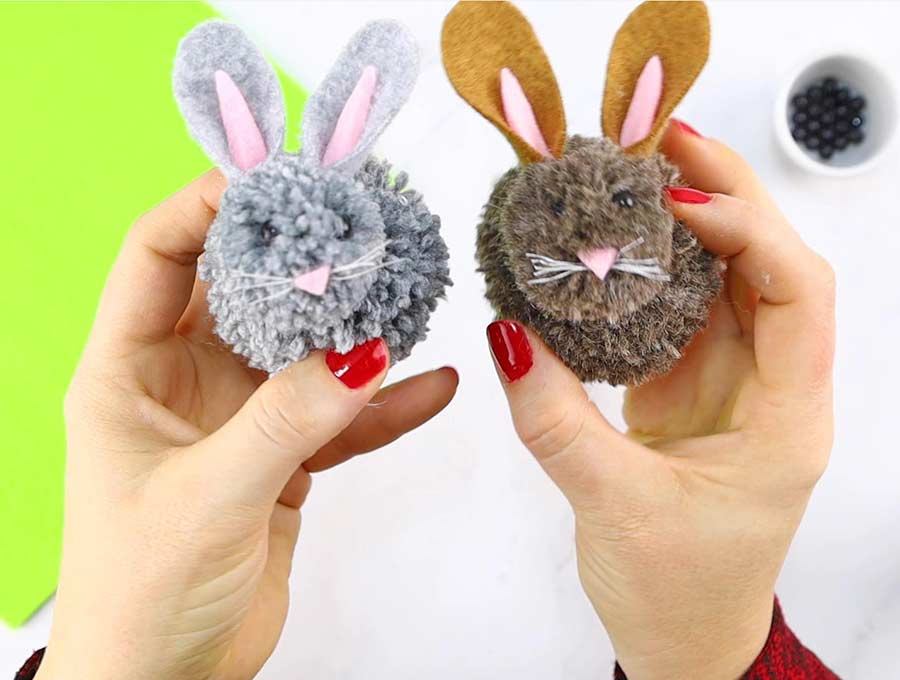
That’s it your pom pom bunny rabbit is ready! Make him a friend, as these yarn rabbits look best in pairs (or multiples – I can’t get enough of them)
FAQs, Tips and Troubleshooting:
- How many times do I need to wrap the yarn? 60-80 times for the small pom pom, and 80-120 for the large pom pom. The thicker the yarn, the less times you need to wrap it around to achieve the same effect. If you are using a standard yarn, go with the larger number. All in all it really depends how thick you want your pom pom to be.
- Help! I tried to tie the yarn strand as tight as possible but the yarn strand breaks when I pull it hard. No worries – double the strand and you’ll be good.
Do you like this? Pin for later:
Wanna be friends? Click HERE and follow me on Pinterest
RELATED: