
Cute Fabric Easter Egg + Free Sewing Pattern and VIDEO Tutorial
Jazz up your Easter home décor with fabulous fabric Easter eggs. They are super easy to make and work wonderfully in all kids of Easter home décor arrangements. Be warned though, making them is addictive! You can’t just stop at making a single fabric egg. The bright side is that the Easter egg pattern calls for such a small amount of fabric, that they are super quick and easy to sew.
These DIY fabric eggs are also great to use for an easter egg hunt. They are guaranteed to provide tons of fun – after all what is not to like about a fun Easter egg plushie? No more worries that the little ones will break the Easter eggs a bit too early.
The best thing about those fabric eggs is that they can never go wrong. But.. you will not be able to eat them either. Let’s get started on this easy Easter home décor craft.
Below you will find my step by step written tutorial for the egg plush pattern and full VIDEO instructions for all the visual learners.
We occasionally link to goods offered by vendors to help the reader find relevant products. Some of the links may be affiliate meaning we earn a small commission if an item is purchased.
Table of Contents
- 1 How to Make a Fabric Easter Egg
- 2 Fabric Easter Eggs Supplies and tools
- 3 How to Sew Fabric Eggs
- 3.1 Fabric Eggs VIDEO TUTORIAL
- 3.2 FABRIC EGG PLUSH INSTRUCTIONS:
- 3.3 STEP 1: Download and cut out the Easter egg pattern
- 3.4 STEP 2: Cut the fabric
- 3.5 STEP 3: Layer fabrics
- 3.6 STEP 4: Pin
- 3.7 STEP 5: Stitch the fabric egg halves
- 3.8 STEP 6: Assemble the fabric egg
- 3.9 STEP 7: Pin around the fabric easter egg
- 3.10 STEP 8: Sew around
- 3.11 STEP 9: Trim and turn inside out
- 3.12 STEP 10: Stuff the egg with stuffing
- 3.13 STEP 11: Stitch the gap
How to Make a Fabric Easter Egg
Fabric Easter Eggs Supplies and tools
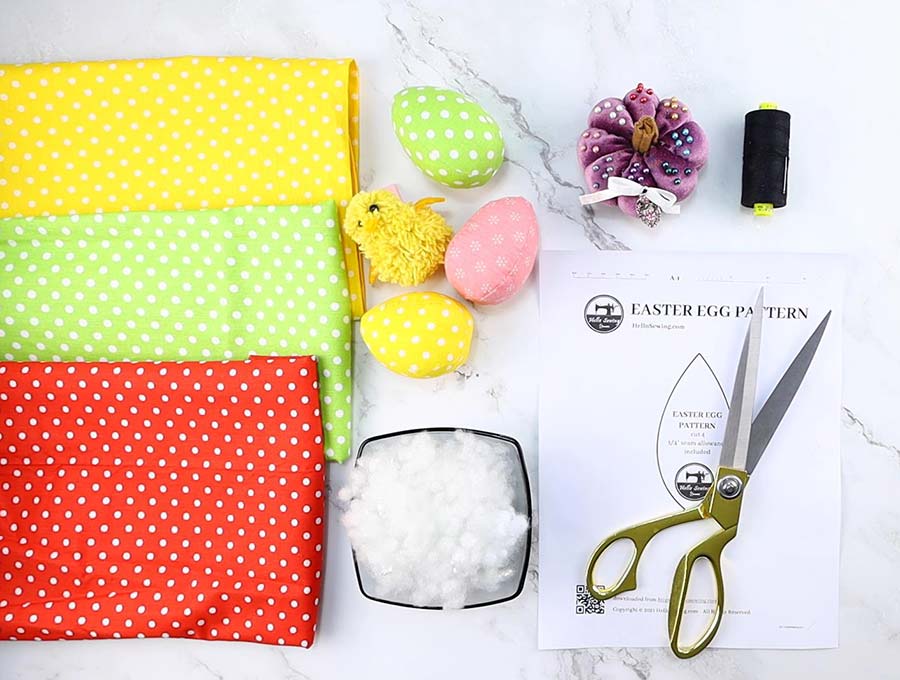
- fabric – few pieces of cotton fabric
- matching thread
- polyester stuffing
- fabric egg sewing pattern (link to the free template below)
- scissors
- pins
- sewing machine (it’s an easy sew, even your kid’s hello kitty machine can handle this let alone anything better)
- iron and ironing board
DOWNLOAD: Fabric Egg sewing pattern (Free PDF file)
Follow us for free patterns & tutorials! [easy-profiles]
How to Sew Fabric Eggs
Watch the diy fabric eggs video first and then follow the written step by step instructions below.
Please enjoy and don’t forget to Like and SUBSCRIBE over on YouTube to be kept up to date with new videos as they come out.
Fabric Eggs VIDEO TUTORIAL
FABRIC EGG PLUSH INSTRUCTIONS:
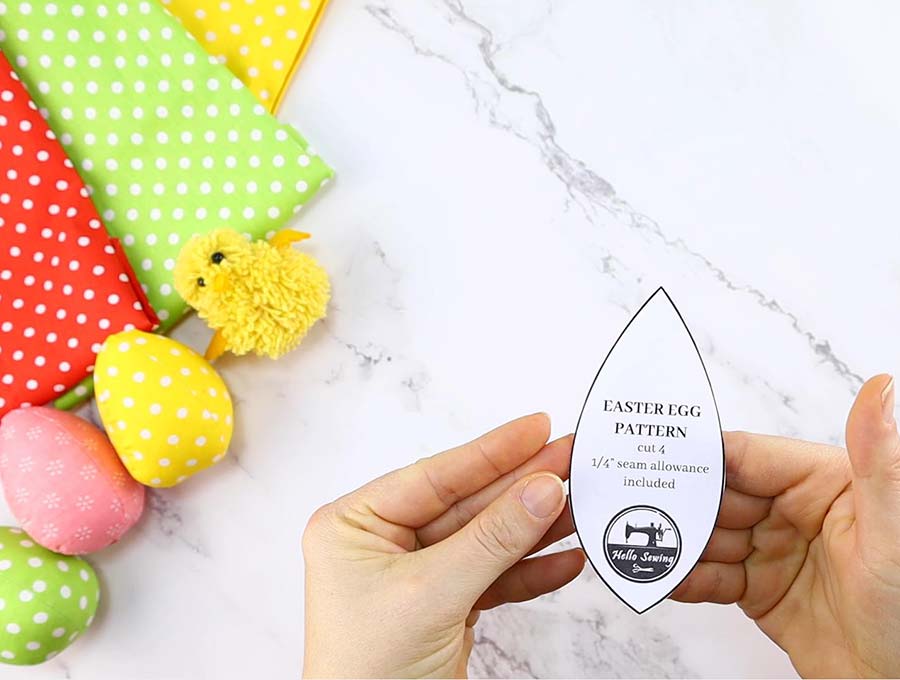
STEP 1: Download and cut out the Easter egg pattern
Download our free fabric egg pattern from the link above. Make sure to print it out at 100 % (no scaling at all, so that you get the correct sizing). Measure the test line to ensure it printed correctly. Cut around the easter egg pattern. This simple egg quarter template is all you need to sew an easter egg.
Seam allowance is ¼” (6mm) and is already included.
TIP: Prepare your fabric – wash, dry and PRESS it in advance, as you will not be able to press the egg once its formed.
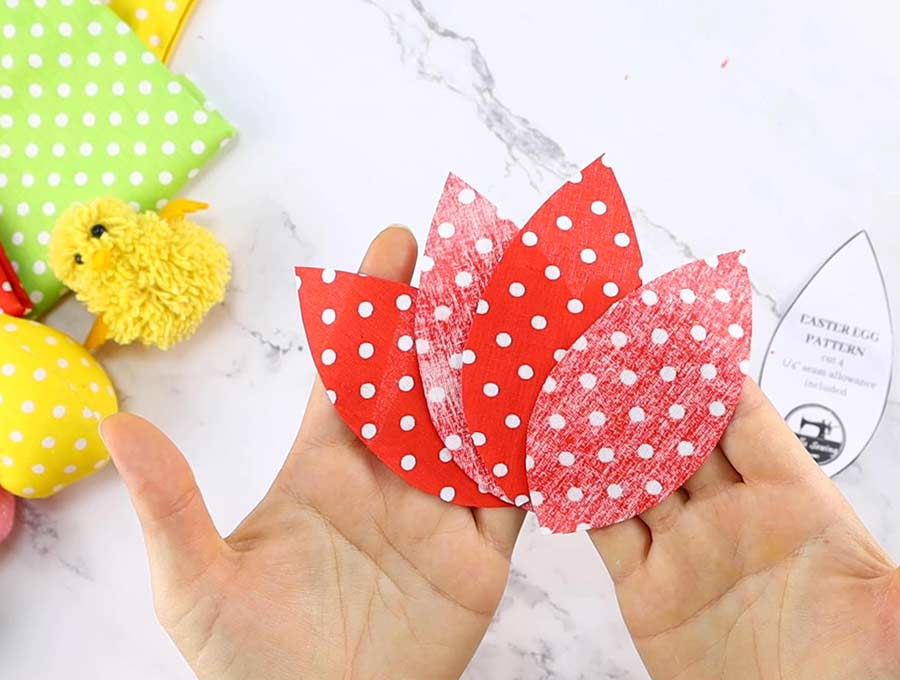
STEP 2: Cut the fabric
Cut out 4 pieces of fabric according to the Easter egg pattern. The easiest and quickest way to do that is to fold the fabric in fourth, with right sides together.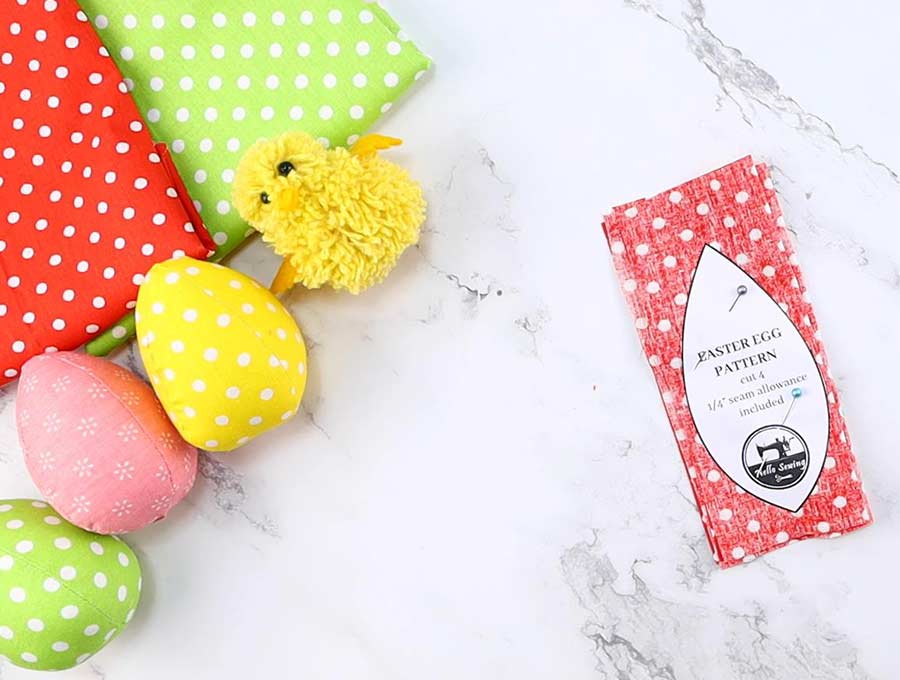
Pin the egg pattern to the fabric using could of pins and cut it out. You will end up with four egg quarters. These simple fabric pieces are all you need to make the fabric egg plush. It takes very little fabric, so you can even use up some of the scraps. Some of my readers shared they love their Easter eggs to be as colorful as possible, so they used 2 different fabrics per fabric egg. It does not matter whether you will place the egg template on the grain or on the bias, you just need to fit it on the fabric.
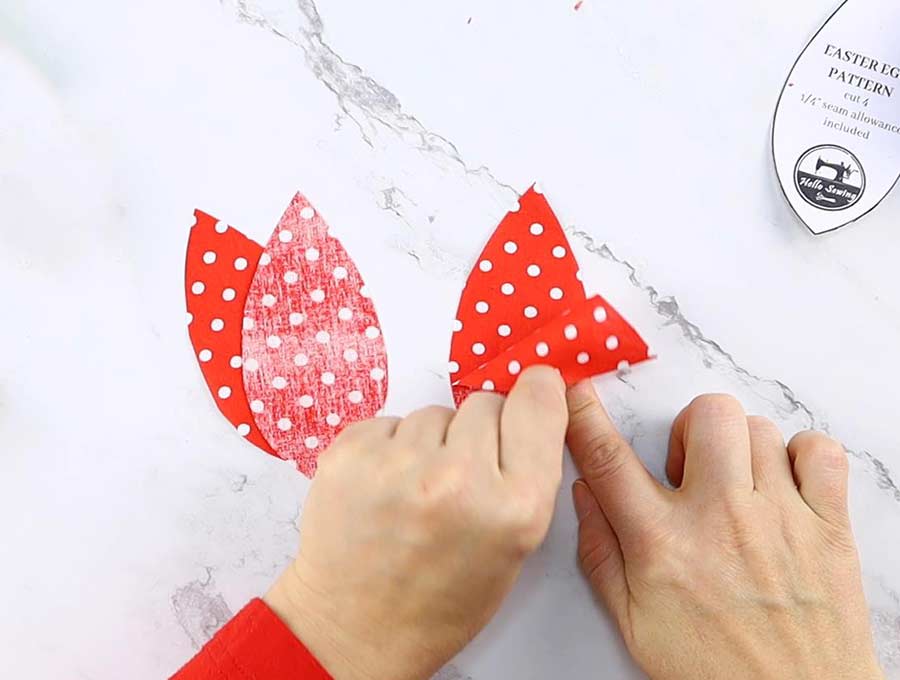
STEP 3: Layer fabrics
Take two of the egg quarters and place them on top of each other, with their right sides together. Note that the top of the egg template is a little bit pointier than the bottom. You want to keep all the tops together and all of the bottoms together.
Repeat for the remaining 2 egg pieces
STEP 4: Pin
Pin each of the egg halves in place

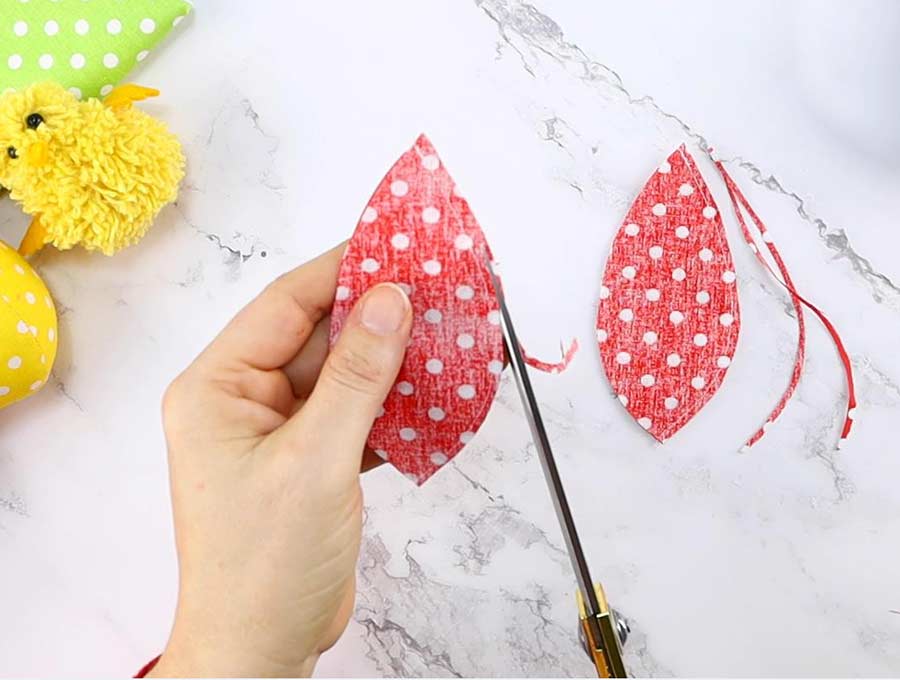
STEP 5: Stitch the fabric egg halves
Stitch down the right side of each half egg using a quarter of an inch seam allowance. I would recommend you to use smaller stitches as it is just easier for the machine to turn corners when using smaller stitches, than if using larger stitches.
Trim down the seam allowance with sharp scissors OR clip it. You don’t need to measure this, just trim a bit of the extra fabric. This step is optional, but it will allow the fabric egg to look even better.
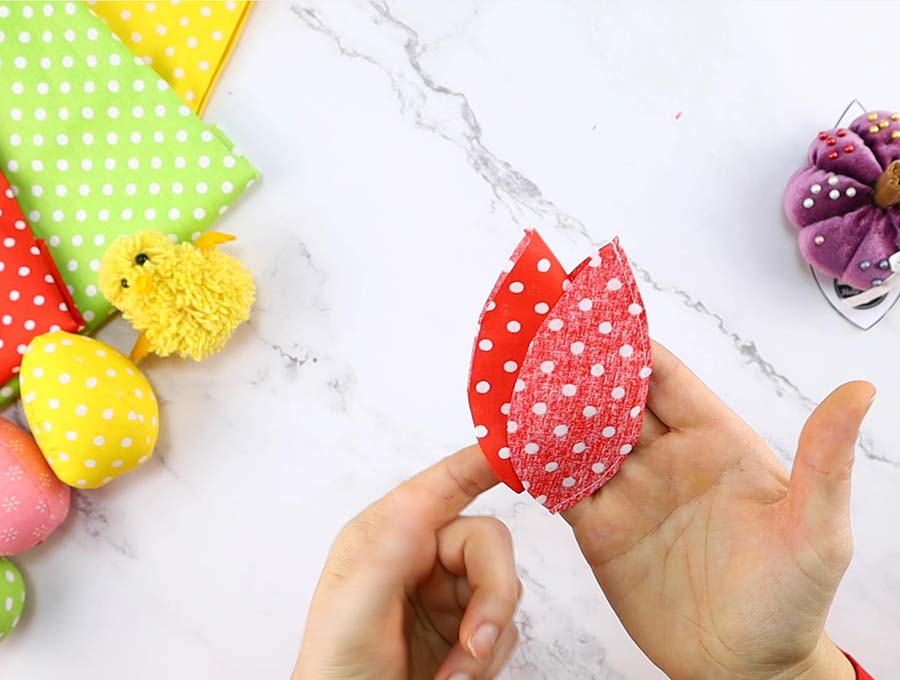
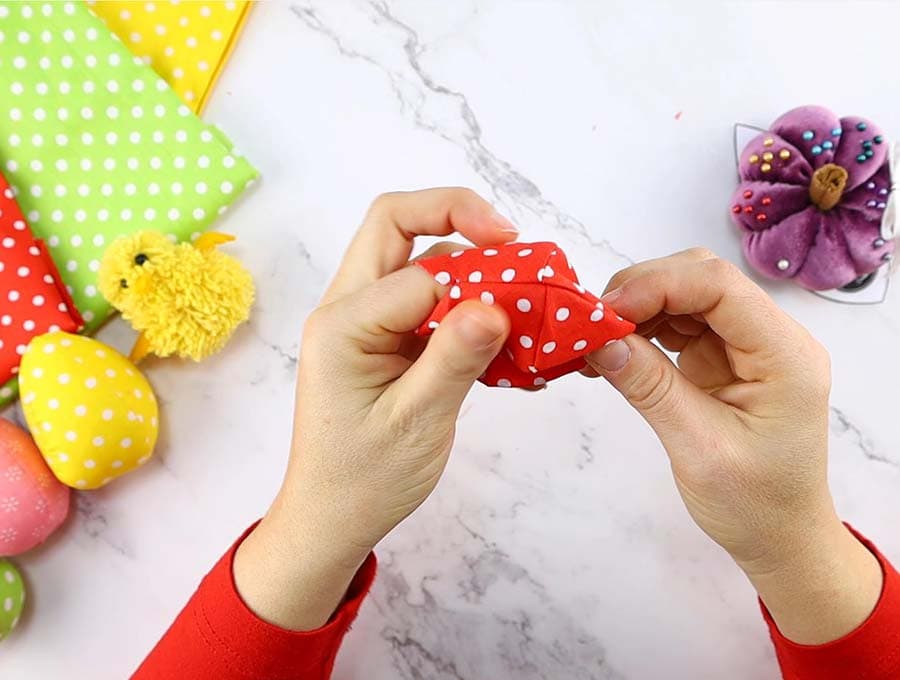
STEP 6: Assemble the fabric egg
Take the two egg halves and turn around one of them. Use your fingers to push out the seam allowance, then slide it into the other. You need to place the egg halves right sides together.
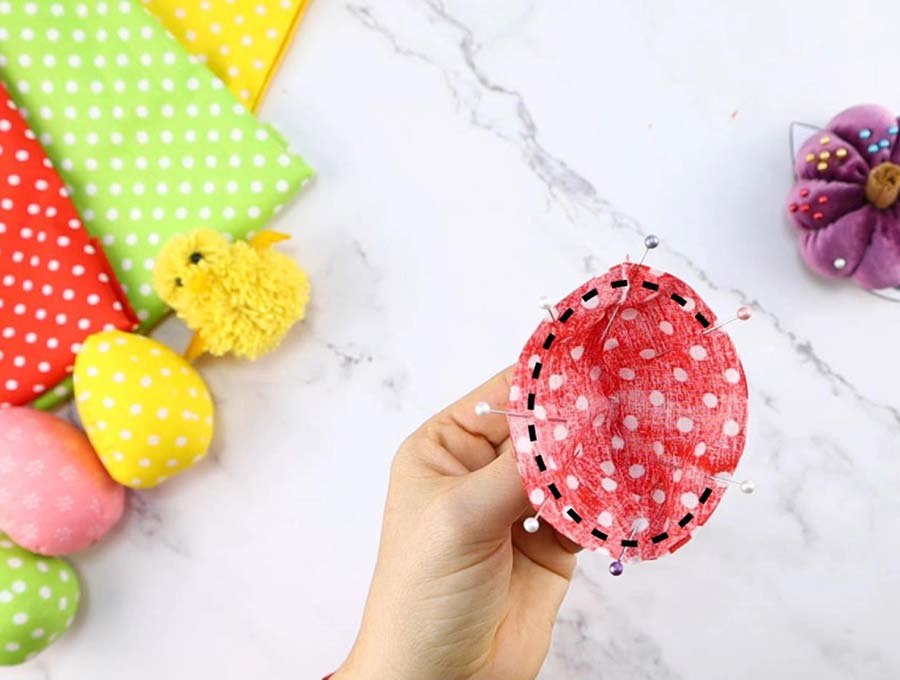
STEP 7: Pin around the fabric easter egg
Match the seam allowances on the top and the bottom of the egg. Fingerpress seams in opposite directions. Make sure one seam goes in one direction and the other seam in the opposite direction. This will nestle those seams together and will prevent unnecessary bulk at the seams. Pin everything in place.
STEP 8: Sew around
Sew around the fabric egg, and leave an 1 ½ inch gap for turning
STEP 9: Trim and turn inside out
Trim the seam allowance all around the easter egg, but don’t trim the gap. Why? Because if you trim it down, it will be really difficult to stitch it closed later
Turn the fabric egg around and push out all seams using your fingertips. Taking the time to do this guarantees your fabric egg would look its best.
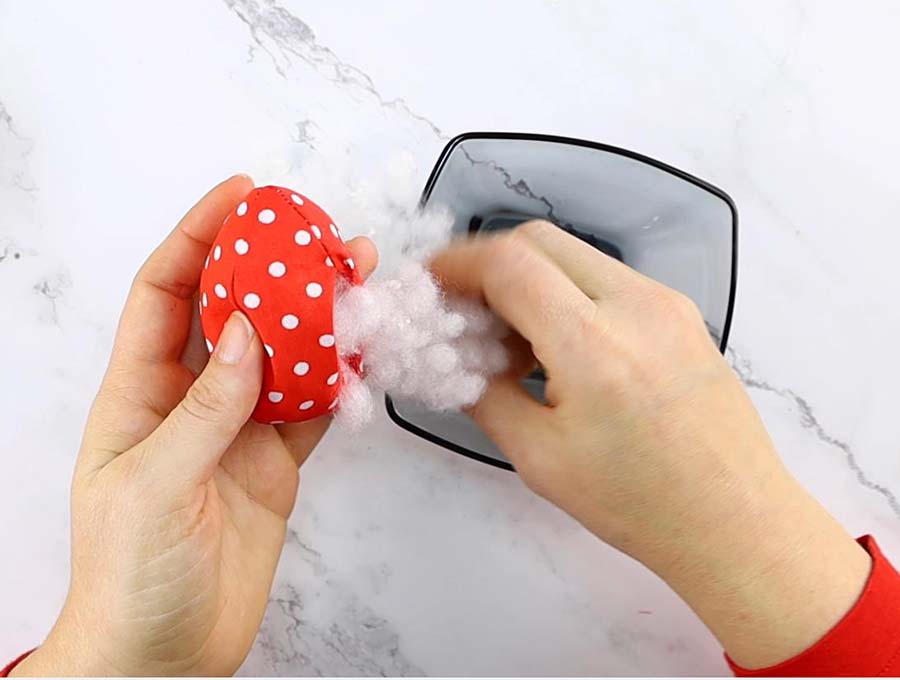
STEP 10: Stuff the egg with stuffing
Stuff it to your liking. I’d like the stuffing to be fairly firm as it pushes out the seam allowances
STEP 11: Stitch the gap
Hand sew the fabric Easter egg using a ladder (invisible) stitch.
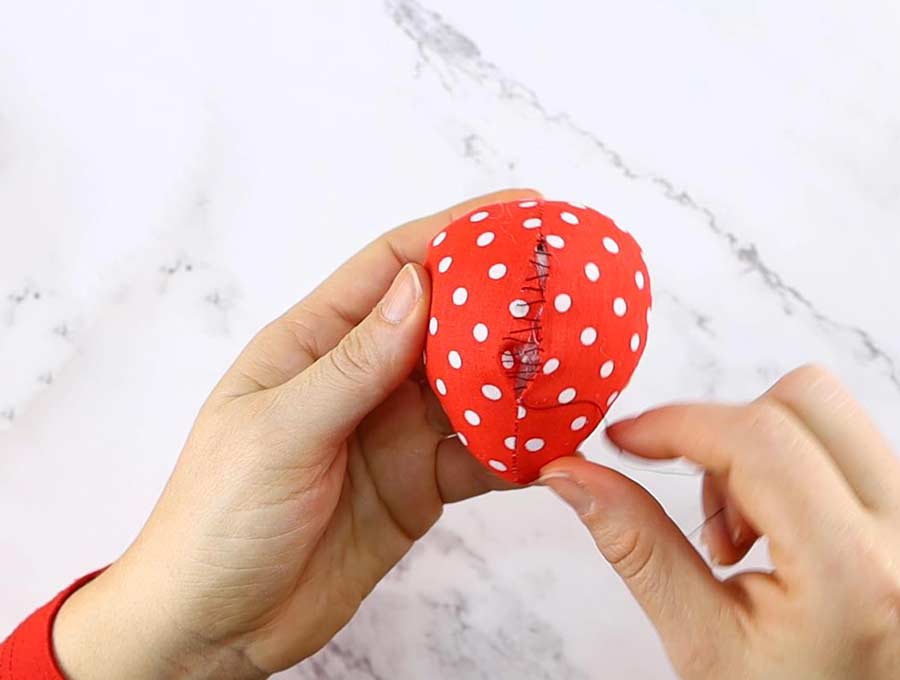
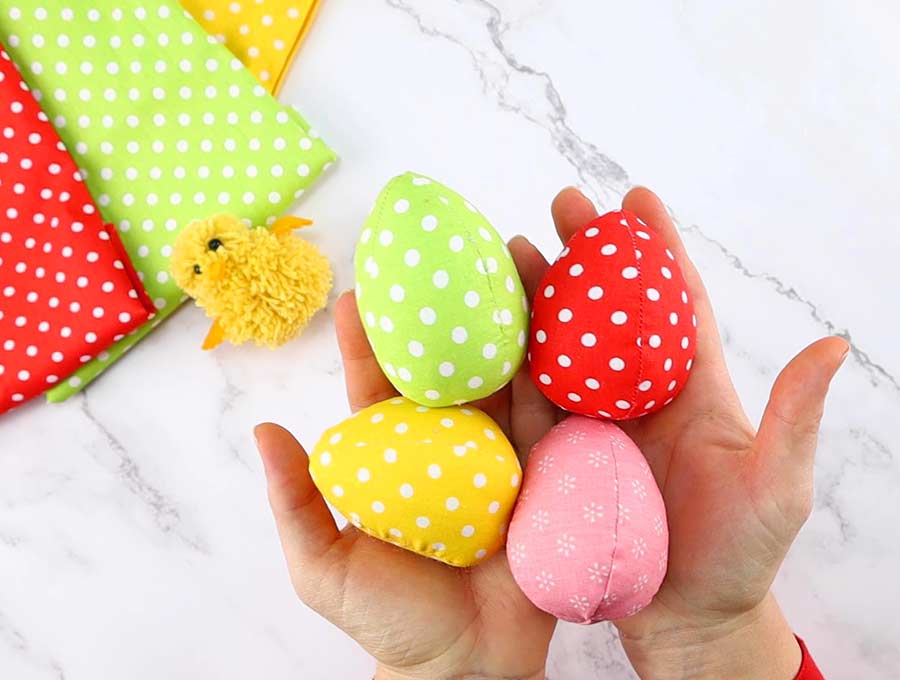
Your Easter egg plush is ready
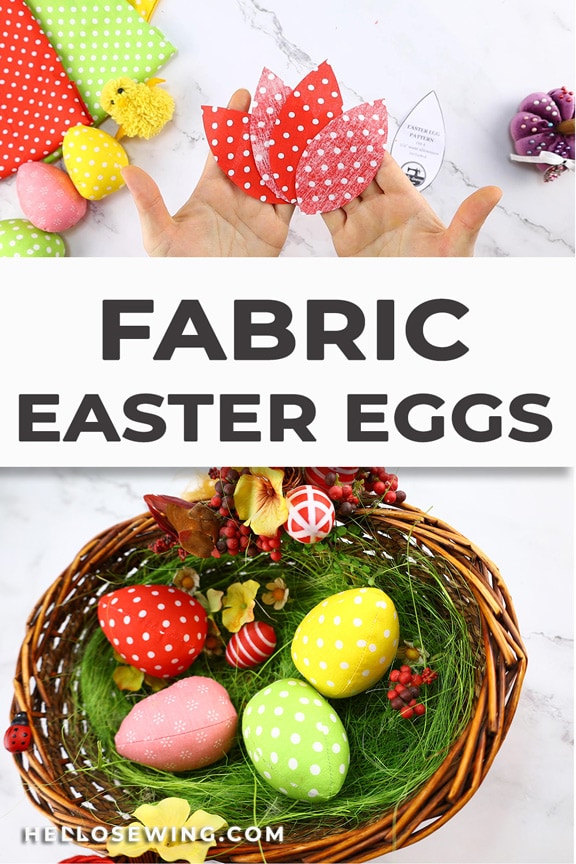
Sew enough fabric eggs to fill a basket!
These fabric Easter eggs are such an eye candy, and work wonderfully in all kids of Easter home décor arrangements. You can give an easter egg plush to each of the kiddos or include them in the easter egg hunt
I hope you liked our DIY fabric easter egg pattern and tutorial. If so, share with your friends and family both in person and on social media!
Do you like our Easter egg pattern and tutorial? Pin for later:
Wanna be friends? Click HERE and follow me on Pinterest
MORE SPRING and EASTER SEWING PROJECTS:
- Adorable Pompom bunnies
- Spring themed DIY fabric book cover
- Our favorite Easter sewing projects
- Cutest little pom pom chicken