
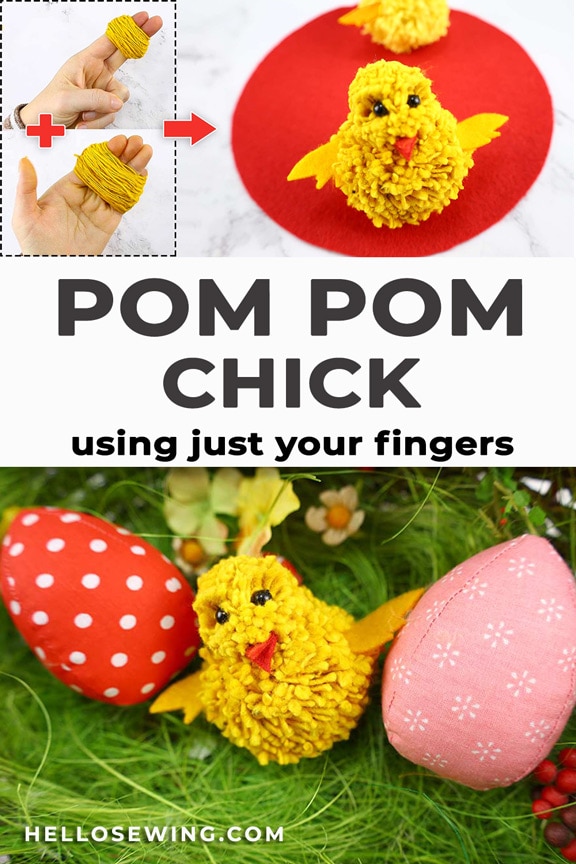
How to Make Pom Pom Chicks Using Your Fingers
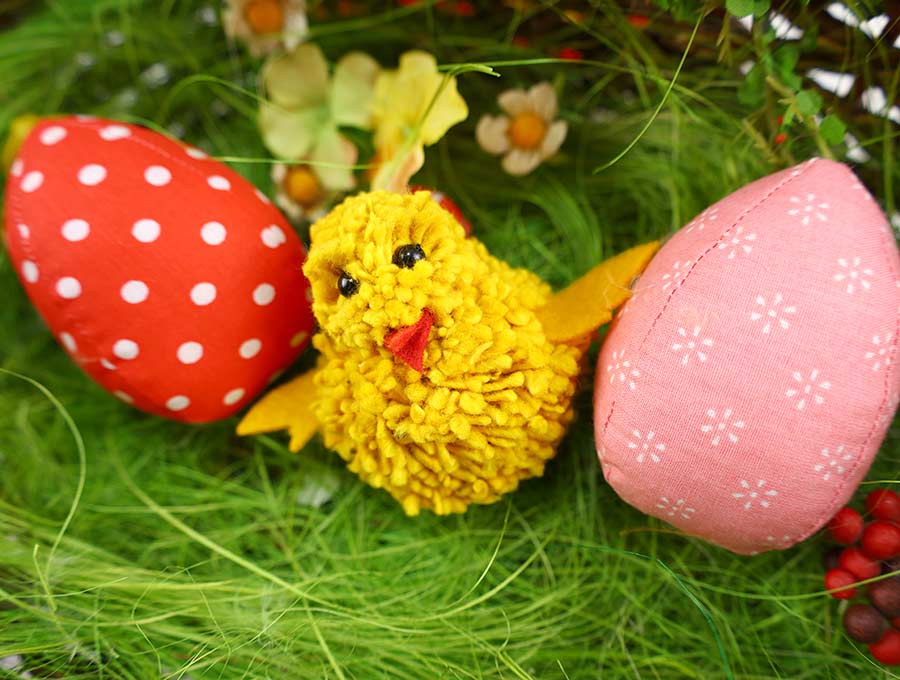
These pom pom chicks are so cute with their chubby bodies, tiny beaks and wings.
I love these fun DIY yarn crafts. The best thing is that you don’t need any fancy tools to make these DIY pompom chicken. All you need to make the pom poms is yellow yarn, scissors and your hands! Pretty clever, ha!
These handmade yarn chicks make cool toys for the little ones. The yarn chicks are so easy to make that even the smallest of crafters can make them. This is one of those Easter crafts that is ton of fun and the end product is irresistibly adorable. Let’s dive right in and I’ll show you step by step how to make a pom pom chick using your fingers. You can use the same method to make these adorable pom pom bunnies and jazz up your Easter home decor.
Below you will find my step by step written yarn chicken tutorial with VIDEO instructions for all the visual learners.
We occasionally link to goods offered by vendors to help the reader find relevant products. Some of the links may be affiliate meaning we earn a small commission if an item is purchased.
Table of Contents
- 1 How to make Pom Pom chicks
- 2 Supplies and tools
- 3 DIY Pom pom Chicken Tutorial
- 3.1 Pom Pom Chicks VIDEO TUTORIAL
- 3.2 DIY POMPOM CHICK INSTRUCTIONS:
- 3.3 STEP 1: Make a small pom pom
- 3.4 STEP 2: Make the larger pom pom
- 3.5 STEP 3: Assemble the yarn chick
- 3.6 STEP 4: Draw a pattern
- 3.7 STEP 5: Cut out the felt
- 3.8 STEP 6: Attach the wings to the body
- 3.9 STEP 7: Attach the beak to the face
- 3.10 STEP 8: Attach the eyes to the face
How to make Pom Pom chicks
Supplies and tools
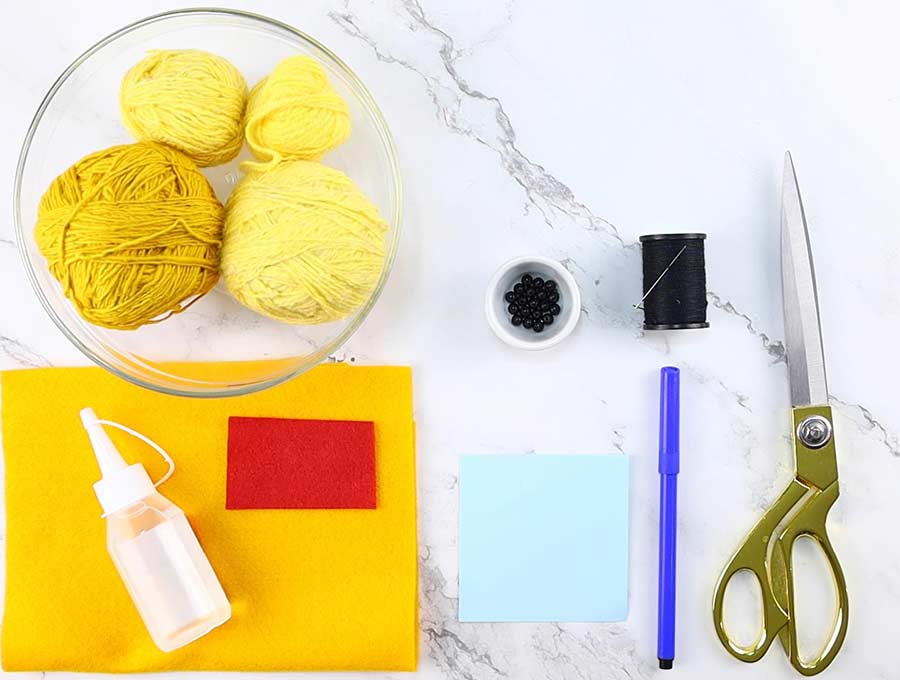
- yellow yarn
- orange felt
- red felt
- black beads for the eyes
- sharp scissors
- silicone glue or a glue gun
- pen and paper
Follow us for free patterns & tutorials! [easy-profiles]
DIY Pom pom Chicken Tutorial
Watch the diy pompom chick video first and then follow the written step by step instructions below.
Please enjoy and don’t forget to Like and SUBSCRIBE over on YouTube to be kept up to date with new videos as they come out.
Pom Pom Chicks VIDEO TUTORIAL
DIY POMPOM CHICK INSTRUCTIONS:
First – gather your supplies. You can use either standard yarn or chubby yarn. If you choose to use the latter, you won’t have to wind it so many times and it will be a bit faster. No matter what yarn you choose to use, you need to wind it enough times to make a full and fluffy looking pom pom. I’ll go into the details below.
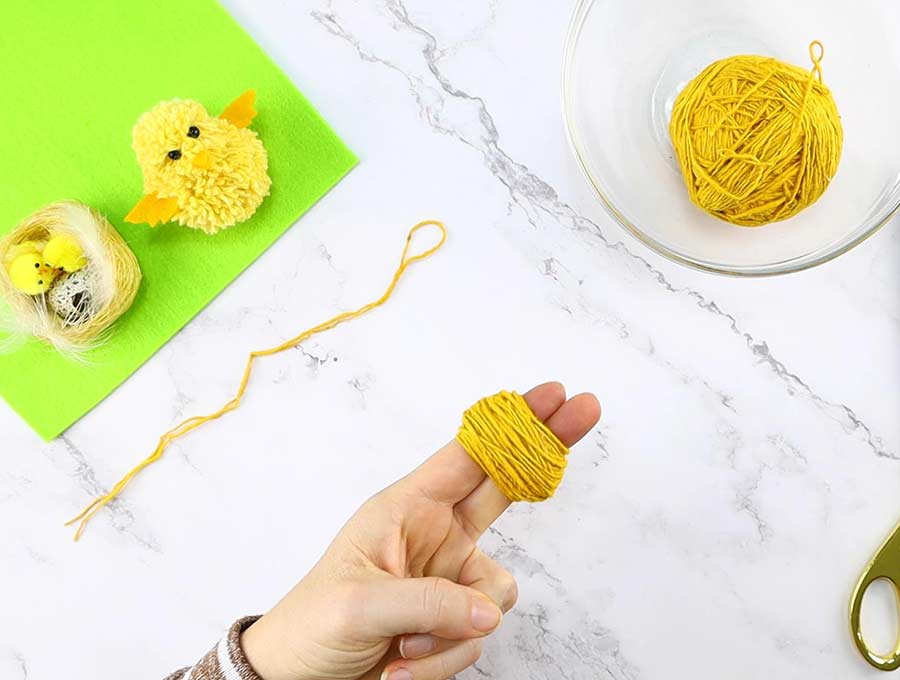
STEP 1: Make a small pom pom
The small pom pom will become the Easter chick’s head.
First, cut out a piece of yarn ~10 inches (25cm) and place it on your workspace. Then start winding yarn around two of your fingers.
- If you are using regular thickness yarn, you’ll need to wind it about 80 times.
- If you are using chunky yarn, wind it 60 times
Slide the yarn off your fingers carefully, so that the loops won’t fall apart. Take the string of yarn you cut at the beginning and tie it around the middle of the loops. Make sure to tie it tightly with a knot to secure it in place. You need to pull the ends of the yarn strand as hard as you can.

TIP: If the yarn strand breaks for some reason, cut out a piece that is twice as long and just double it.
Cut all the loops through the middle using a sharp pair of scissors. Work your way around the whole circle.
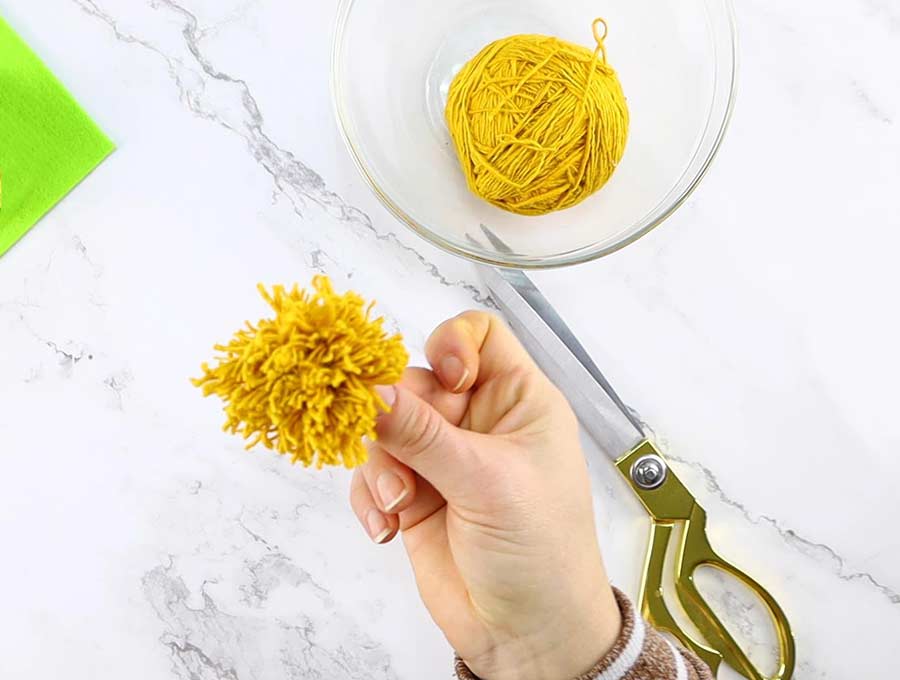
Now trim and shape the pom pom until it’s even and looks like a perfect ball. Trimming the pom poms takes about 5-10 minutes per pom pom. Taking your time to trim the ball will produce better looking pompoms.

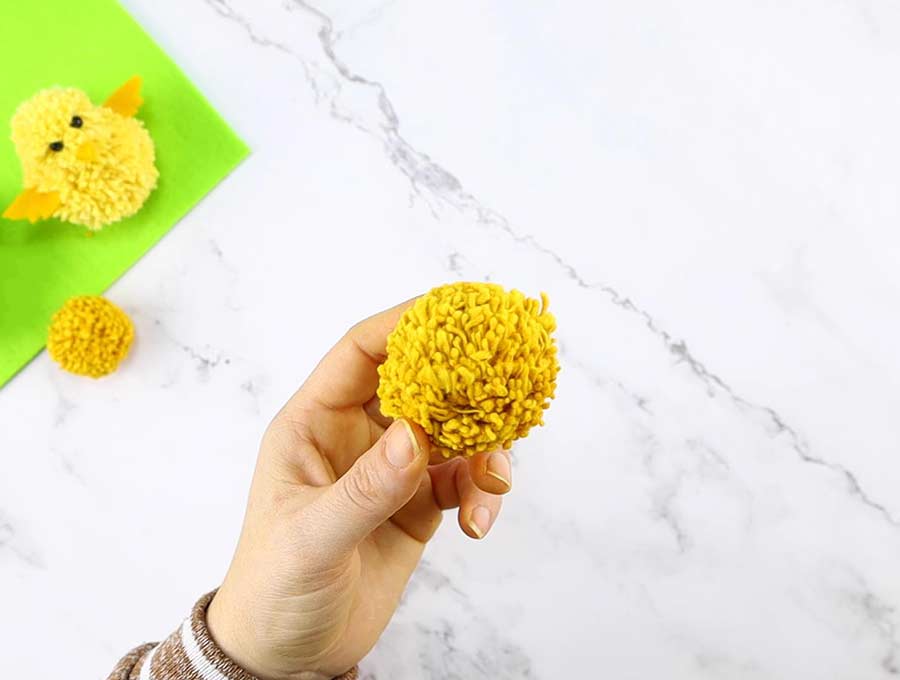
STEP 2: Make the larger pom pom
Repeat the same steps to make the larger pom pom that will become the body of the pompom chicken. This time wrap the yarn around your hand instead of your fingers and wrap it about 120 times for the regular thread yarn and 100 times for the chunky yarn.
TIP: Trimming the pom poms is a bit messy, so make sure to get a newspaper or an old sheet
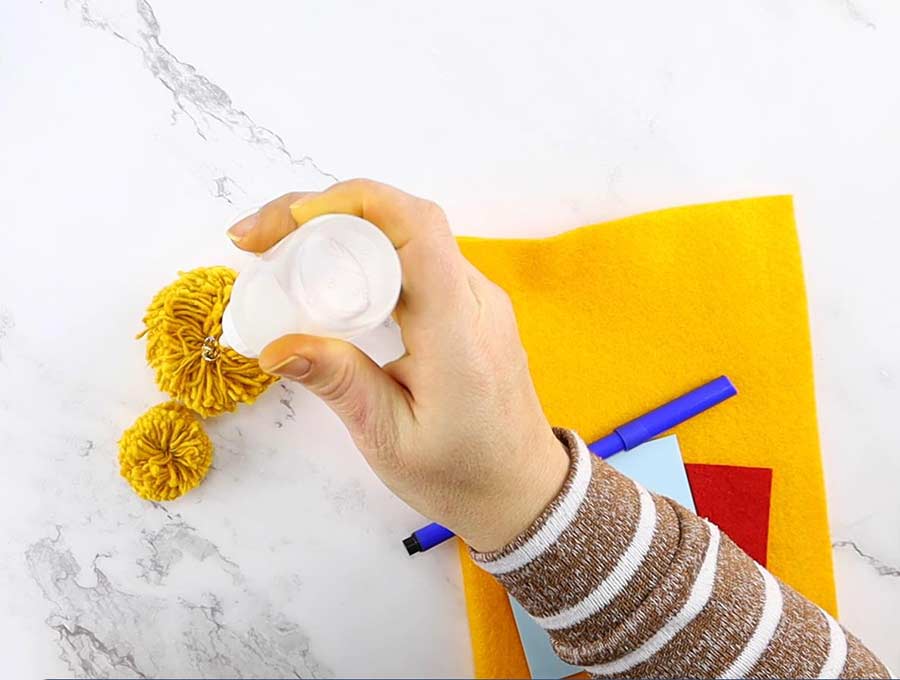
STEP 3: Assemble the yarn chick
Glue the head of the chick to the body. Use a generous amount of glue on one of the pom poms and then carefully press the second pom pom on top of it.
You can use either silicone glue or hot glue gun to glue the pompoms together. Let the glue cure.
STEP 4: Draw a pattern
Draw a pattern for the wings and the beak of the pom pom chick. It doen’t need to be fancy – just a diamond shape for the beak and a simple wing like shape for the wing. Here’s how mine look:
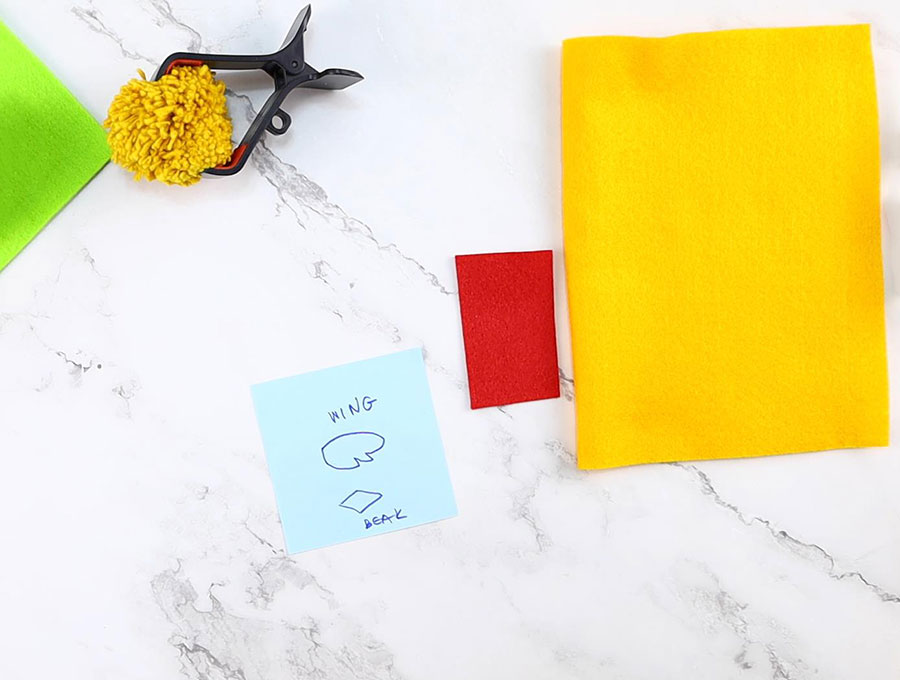
STEP 5: Cut out the felt
Cut out your paper pattern and use it to cut out wings and beak from felt. You’ll need two wings and one beak per yarn chick.
I’m using orange felt for the wings and red felt for the beak of my pom pom chick.
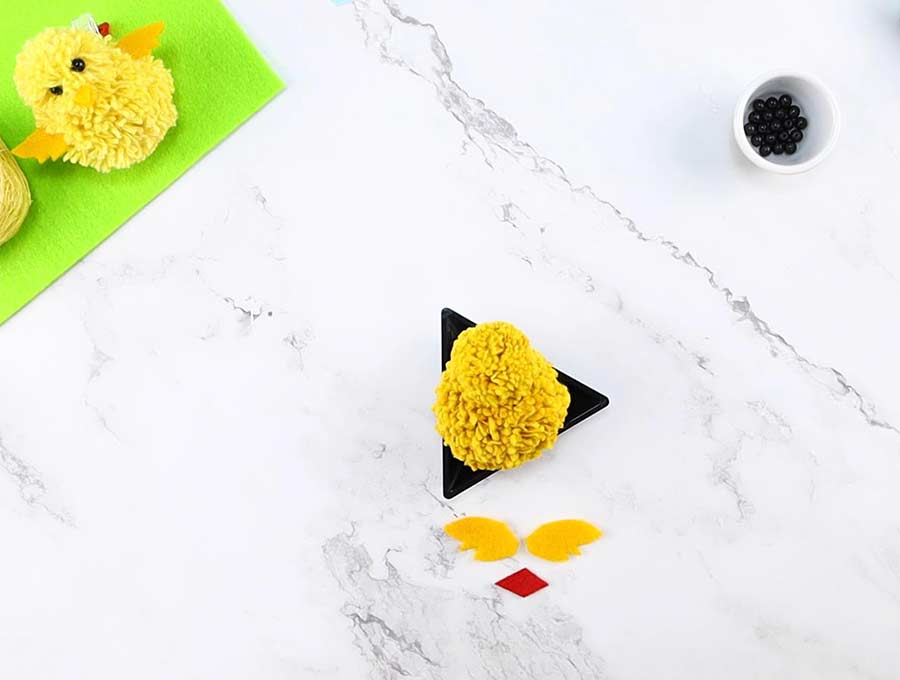
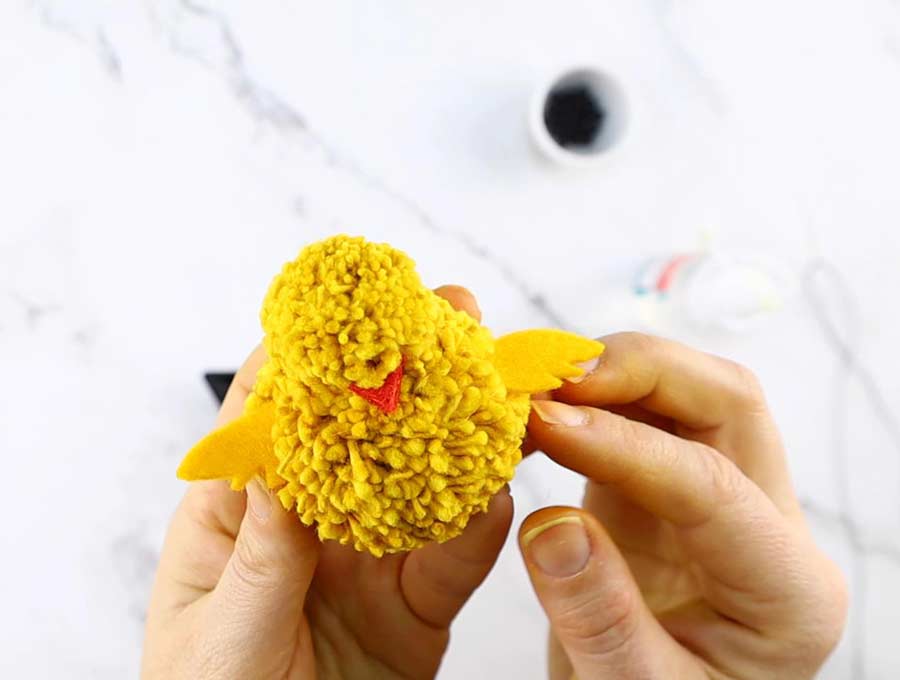
STEP 6: Attach the wings to the body
Use a small dab of glue on either side of the yarn chicken to glue wings to the body.
STEP 7: Attach the beak to the face
Add another small dab of glue in the middle of the beak and press the diamond closed. Now add another dab of glue on the outer side of the fold and glue the beak to the face.
STEP 8: Attach the eyes to the face
Glue or sew the eyes to the head. I’d like to sew them just to be on the safe side, but it is fine if you decide to glue them to the face.
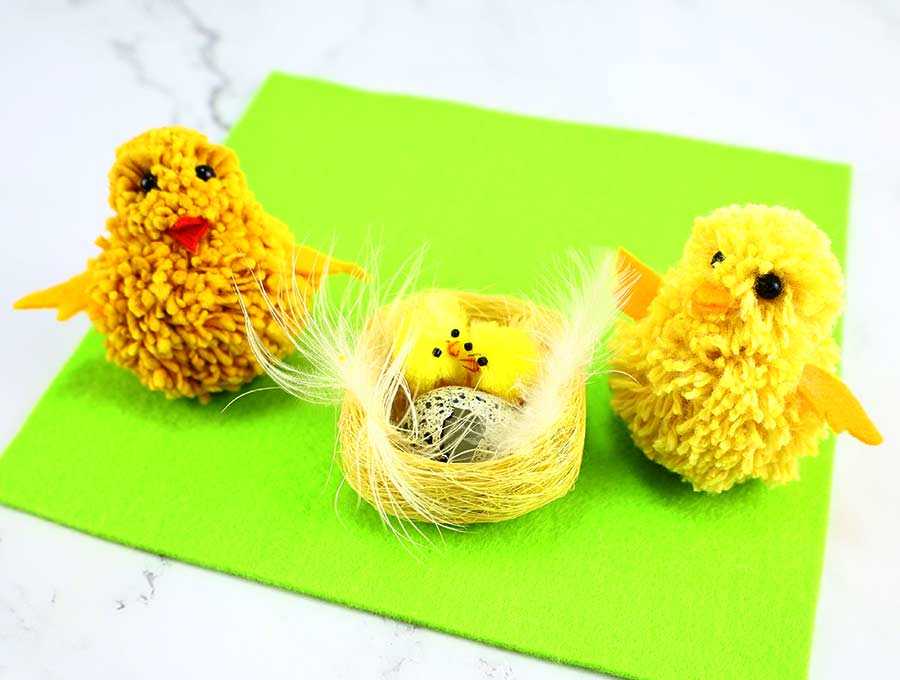
The pom pom chick is now complete!
Don’t stop at just one. Pom pom chicks look so cute in pairs, and I made a basket full of fabric easter eggs and creatures. They look soo adorable together and make gorgeous Easter home décor. Plus the kids like to play with the yarn chicken which makes my heart melt.
Do you like this Pompom chick DIY? Pin for later:
Wanna be friends? Click HERE and follow me on Pinterest
RELATED: