

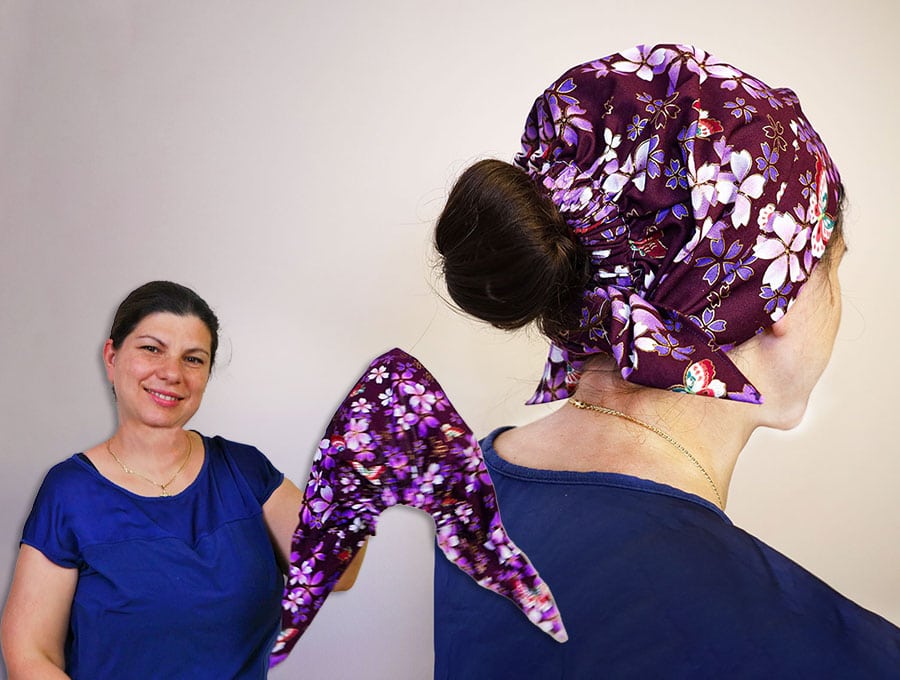
DIY Elastic Summer Turban Hat // Easy Sewing Pattern
When you have a few spare minutes and a piece of cotton fabric on hand, this super easy summer turban hat with elastic comes together quickly to keep your hair securely in place during outdoor activities.
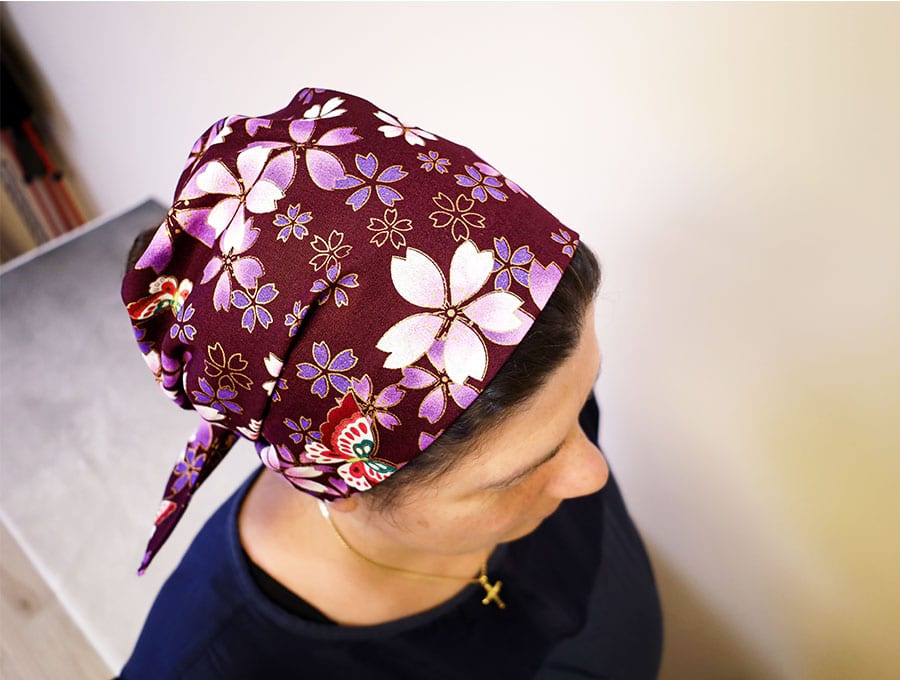
It shields your scalp and hair from harsh UV rays that can contribute to skin cancer, and helps prevent color-treated hair from fading and drying out. Strong wind—like when you’re cruising along on a boat or a bike—can tangle, knot, and ultimately break hair strands as you try to comb it out afterward. Covering your hair keeps its natural oils locked in, protecting it from harsh elements that would otherwise dry it out and leave it frizzy.
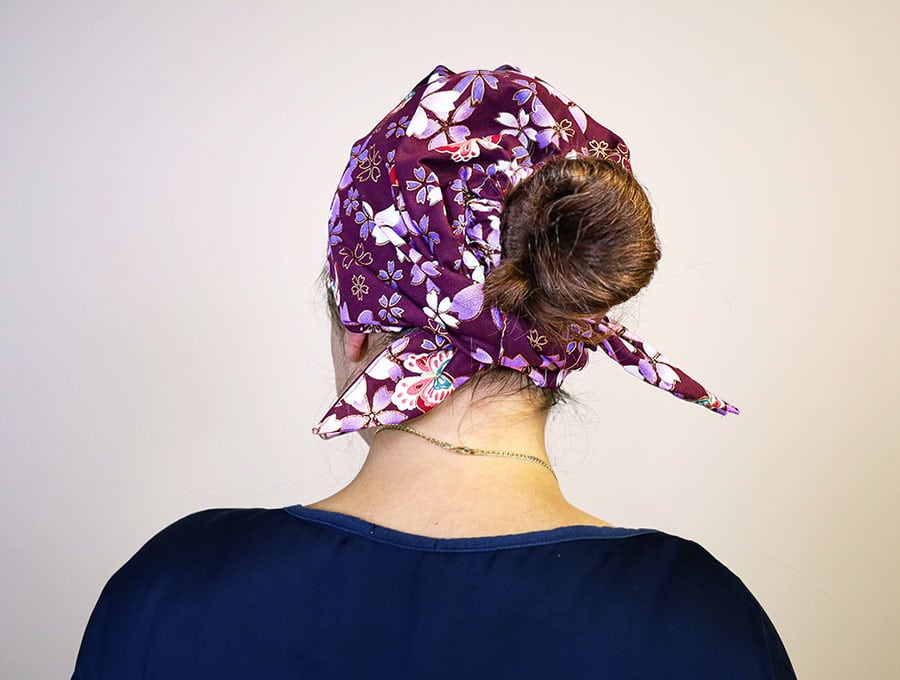
So, if you have a suitable piece of cotton on hand, let’s start sewing!
Below you will find my step by step written tutorial with VIDEO instructions for all the visual learners.
We occasionally link to goods offered by vendors to help the reader find relevant products. Some of the links may be affiliate meaning we earn a small commission if an item is purchased.
How to make the Elastic Summer Turban Hat
Supplies and tools
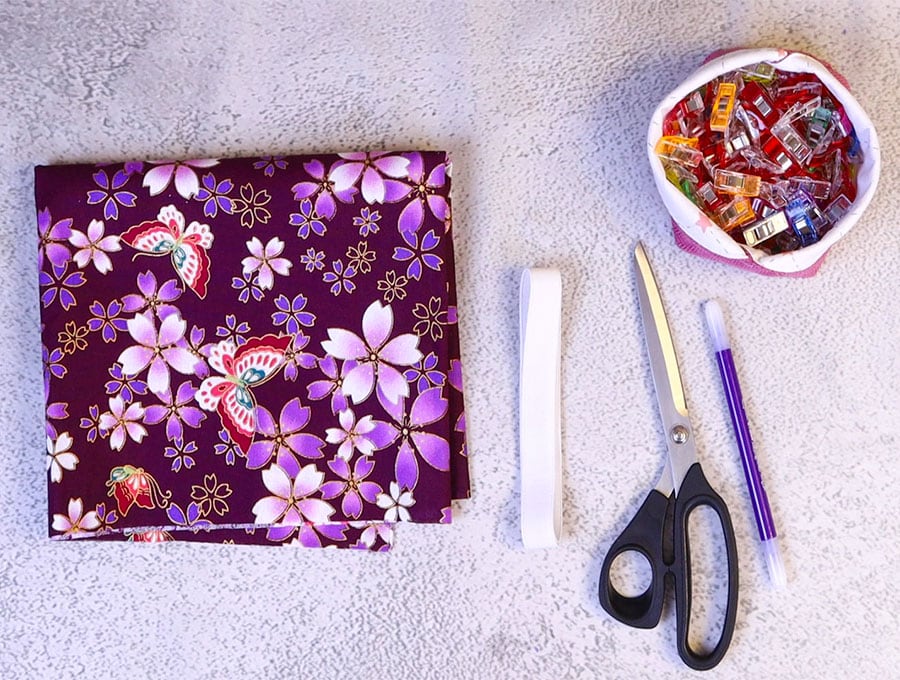
- fabric – woven cotton
- matching thread
- scissors (or rotary cutter and a cutting mat)
- ruler or measuring tape
- iron and ironing board
- sewing clips or pins
Follow us for free patterns & tutorials! [easy-profiles]
How to Sew an Elatic Tie Turban Hat
Watch the diy summer turban hat video first and then follow the written step by step instructions below.
Please enjoy and don’t forget to Like and SUBSCRIBE over on YouTube to be kept up to date with new videos as they come out.
Elastic Summer Turban Hat VIDEO TUTORIAL
INSTRUCTIONS:
STEP 1:
Choose a suitable piece of cotton fabric and cut to 37 ½ x 16 ½” (95 x 42 cm)
STEP 2:
Along one long side turn up ¼” (6 mm) and press in the fold, then turn up another ¼” (6 mm) and press. Repeat with the other long side.
STEP 3:
Stitch along the folded seam on each side, as close to the double folded edge as possible. Backtack at the start and finish.
STEP 4:
Place the fabric right side up on your worktop and fold the lower long side up to line up with the other long side. Make sure the corners line up and clip the folded short sides.
STEP 5:
Stitch down the short sides 3/8” (1 cm) from the edge.
STEP 6:
Clip off the corners near the fold to reduce bulk, then open and flatten out the fabric at the ends to form a triangle on either side of the seam. Press the seam open. Repeat with the other short side.
STEP 7:
Turn the fabric so the seams for the short sides are hidden within the triangle.
STEP 8:
Stitch along the longest side of the triangle at each end to enclose the fabric – this will form the tie at the back of the head. I like to be guided by the stitching from the first fold you stitched, simply running a line of stitching over it to keep it all neat.
STEP 9:
Place the fabric right side down on your ironing pad, longest sides parallel with the top and bottom of your worktop. Fold up the bottom edge 1 1/2” (4 cm) and press in the fold.
STEP 10:
Turn so the big fold you pressed is now at the top and press in a smaller fold 1” (2.5 cm) along the edge.
STEP 11:
Stitch as close to the edge as possible of the smaller fold of 1” (2.5 cm), backtacking at the start and finish.
STEP 12:
Take your piece of elastic and measure ¾” (2 cm) from one end and draw a line vertically down the elastic, then measure 5” (13 cm) and draw another vertical line ¾” (2 cm) from the end – if there is excess elastic cut it off.
STEP 13:
Insert the elastic into the 1” (2.5 cm) fold using a safety pin or a bodkin. Line up the marks you made with each end of the seam – the seam will be at an angle and a small portion of the elastic will stick out – don’t worry about this – just pin in place, once you are sure the elastic along the length is lying flat nd there is not twist in it.
STEP 14:
Stitch down each end of the elastic, following the slant and backtacking over the ends so it is securely fastened.
STEP 15:
Pull the elastic a little and cut off the piece that extends beyond the fabric seam – pass a lighter over the end of the elastic to seal. Repeat with the other side.
STEP 16:
Fold the fabric over so the triangular points meet each other, right sides out and stitch along from the point to where the elastic starts, at each end, taking care to keep the side with the pressed fold, away from the stitch line.
STEP 17:
Stitch the part where the big fold for the front meets the triangular corner, to hold it in place, with a hand sewing needle, catching the folded edge to the fabric and knotting off securely. Repeat with the other side.
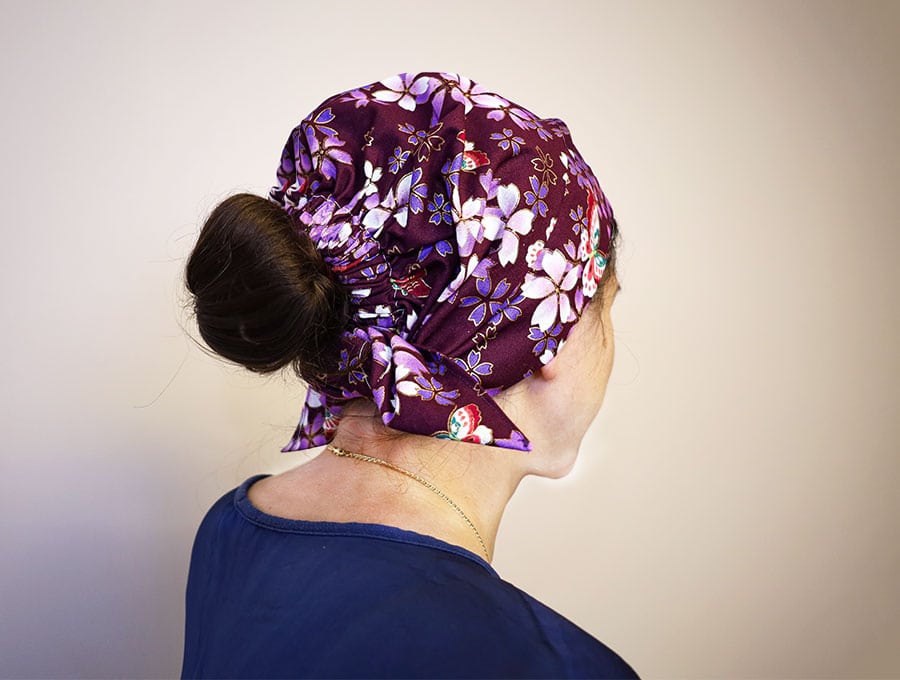
The summer turban hat is now ready to wear.
Whether you are out on a boat on the water, riding a bike, sunbathing, doing stuff to the exterior of the house or gardening this season the elasticated summer turban hat will keep your hair from being windswept, out of your face and protected from excessive sun. You can combine it with a sunhat or peaked cap for skin protection too. Its super easy and comes together in a few minutes.
If you enjoyed this tutorial then please like and subscribe.
Do you like this? Pin for later:
Wanna be friends? Click HERE and follow me on Pinterest
RELATED: