 with 2 diferent kinds of stems")
DIY Fabric Carrot (Large or Small) with 2 diferent kinds of stems
What goes with Easter besides the bunnies and Easter eggs? Carrots for the bunnies! These fabric stuffed carrots that come in two sizes are great for pretend play when children feed the carrots to their plush bunnies. They’re also fun for Easter table decoration. And, if you draw faces on the carrots you can have a whole family of carrots for some great imaginative play with the kids. Grab the printable carrot pattern below and make a large or a small carrot in just a few simple steps.
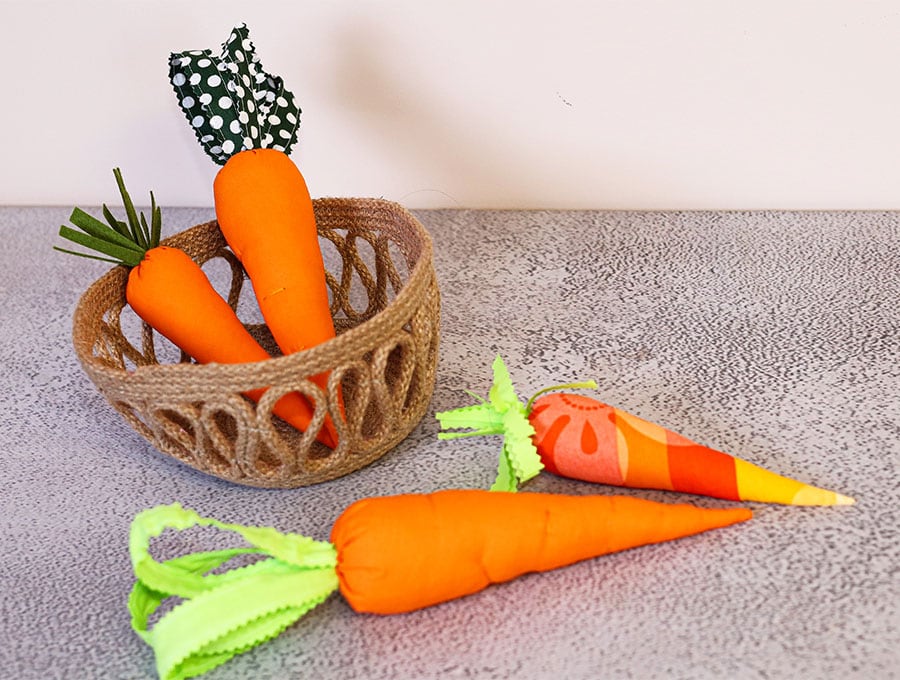
Orange quilting cotton is a good choice for the carrot but you can use any opaque orange fabric, or even one with a pattern as long as the majority of the print is orange.
We do have a mini carrot video too but the difference here is all the options for the stems and for making the actual carrot – read on for all the details.
Below you will find my step by step written tutorial with VIDEO instructions for all the visual learners.
We occasionally link to goods offered by vendors to help the reader find relevant products. Some of the links may be affiliate meaning we earn a small commission if an item is purchased.
How to make the fabric carrot
Supplies and tools
- fabric (body) – orange quilting cotton
- fabric (stems) – green quilting cotton or felt
- polyester stuffing
- hand sewing needle and thread
- (optional) orange thread for the wrinkles (scars) on the carrot
- matching thread
- scissors (or rotary cutter and a cutting mat)
- ruler or measuring tape
- iron and ironing board
- sewing clips or pins
DOWNLOAD: Fabric carrot pattern [Free pdf file] 2 sizes, 2 stem options
Follow us for free patterns & tutorials! [easy-profiles]
How to Sew a fabric carrot
Watch the diy large fabric carrot video first and then follow the written step by step instructions below.
Please enjoy and don’t forget to Like and SUBSCRIBE over on YouTube to be kept up to date with new videos as they come out.
fabric carrot VIDEO TUTORIAL
Finished size:
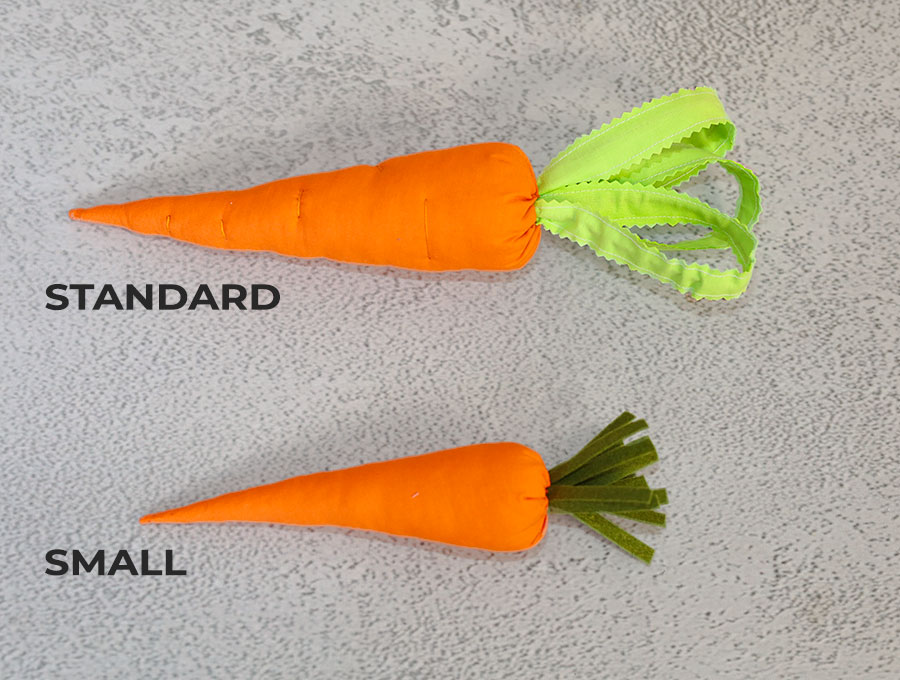
Standard (large) carrot
- without stems: 22 cm long x 5.7 cm wide, girth 18cm
- with wired stems: 31 cm long
- with felt or cotton stems: 28 cm long
Small carrot
- without stems – 17cm long x 4.5 cm wide, girth 15 cm
- with stems: 22 cm
INSTRUCTIONS:
STEP 1:
Print out the two carrot sizes – the standard and the small, and cut out the patterns. Place aside.
STEP 2:
Fold your fabric, right sides facing each other. Place the portion of the pattern marked ‘fold’ aligned to the fold on the fabric and either pin in place and use scissors to cut out, or place some weights and cut out with a rotary cutter on a self-healing cutting mat.
STEP 3:
Stitch down the open side of the fabric after placing a strong thread down the center fold, and catching the thread with your machine stitching at the pointed end of the carrot – this just helps making turning the carrot shape the right way out so much easier later.
STEP 4:
Cut 6 strips of greenery for the top of the carrot. The fabric lengths needn’t be green – you could make a blue carrot top, or in my case, I did one with white polka dots on a black background. Adjust the width and length of the strips to suit the size of the carrot – small or standard.
STEP 5:
Place your six strips of fabric in sets of 3 with the right sides facing outwards.
STEP 6:
Stitch down each side of the 3 sets of strips 1/8 of an inch (3 mm) from the edge.
STEP 7:
Turn the carrot shape the right way out by pulling gently on the thread at the top of the carrot. You may have to help get the process started by pushing in the pointy tip of the carrot.
STEP 8:
Take the 3 strips you sewed and push some florist’s wire through the tubes after turning the ends of the wire over with a pair of pliers, or your fingers, so they don’t poke through the material. Set aside for now.
STEP 9:
Turn over the top end of the carrot ¼ of an inch (6 mm) and finger press or press with an iron.
STEP 10:
Open out the fold and hand sew, using running stitches, along the fold line. You will gather these later on to form the top of the carrot, so leave a good length of thread at either end.
STEP 11:
Take the three strips into which you inserted the florist’s wire and bend in half.
STEP 12:
Stuff the carrot with polyfill stuffing until it is firm, ensuring the filling is pushed down into the point FIRST so it is not floppy.
STEP 13:
Pull up the thread a bit to gather the top of the carrot, then insert the bent strips into the top of the carrot and start gathering the thread tighter to hold the strips, pushing in the raw edges of the fabric as you go.
STEP 14:
Once you have the fabric gathered then push your needle through the middle of the fabric strips, and stitch to the carrot top to secure them firmly in place. Knot and end off the cotton.
STEP 15:
To make the wrinkles in the carrot, you can either twist and turn the carrot, squishing it so the stuffing moves a little to make the wrinkles. Alternatively stitch in the wrinkles. Thread your hand-sewing needle, with orange cotton and knot the end. Go in through the top of the carrot – where the knot will be hidden among the gathers. Bring the needle out where you want your first wrinkle to be and make a large stitch, then bring the thread back over the stitch and pull a bit to create the wrinkle, then take the needle and push it in where you started the wrinkle and bring the needle out further down where you want to make the next wrinkle. Pull to ensure the first wrinkle is firmly stitched. Repeat, until you have a few wrinkles in your carrot. To end, make a small stitch and create a loop with the thread. Insert the needle under the stitch and pass it through the loop twice, then pull the thread tight to form a knot at the base. To hide the tail, insert the needle back into the same hole the thread is coming from and bring it out about an inch away from the knot. Pull slightly and snip the thread close to the fabric so the thread tail snaps back inside the carrot, hiding it.
STEP 16:
If you are creating carrot characters for the kids to use for imaginative play then add some eyes, eyelashes for girl carrots, a mouth and nose to create a whole family of characters, from grandparents, to parents and kids. You can do this with permanent marker, or stitch the eyes, mouth and nose with black thread.
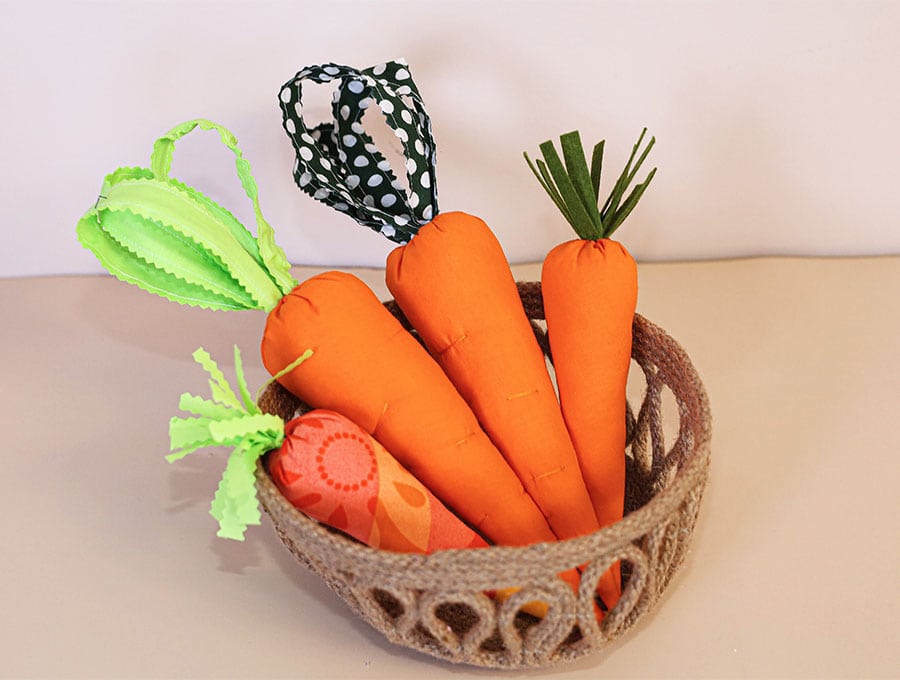
Here comes the carrot family! Create a bunch of carrots for young kids to play with or to act as Easter décor that’s a bit different from the usual bunnies and chickens. Our colourful carrots can be made from the free printable pattern available at HelloSewing.com, use up extra fabric pieces in your stash. and are such fun. By the way, the carrots only take about ten or so minutes to make and come in two sizes – baby carrots and adult carrots. Listening to kids conversations between the carrot family will provide plenty to smile about as they imitate the mannerisms and way various people speak, all through the carrots.
We hope you enjoyed this tutorial and give us a like and subscribe. Our subscribers get all the latest videos first and have a lot of fun trying out our variety of fun and practical projects designed to keep children amused, to add personal touches to your home or to give as gifts. This Easter, instead of simply an overload of chocolate eggs give the gift of imaginative play with a carrot family for young ones to have hours of entertainment, long after the chocolate eggs have been consumed and forgotten.
Do you like this? Pin for later:
Wanna be friends? Click HERE and follow me on Pinterest
RELATED: