")
DIY Faux Fur Infinity Scarf (VIDEO)
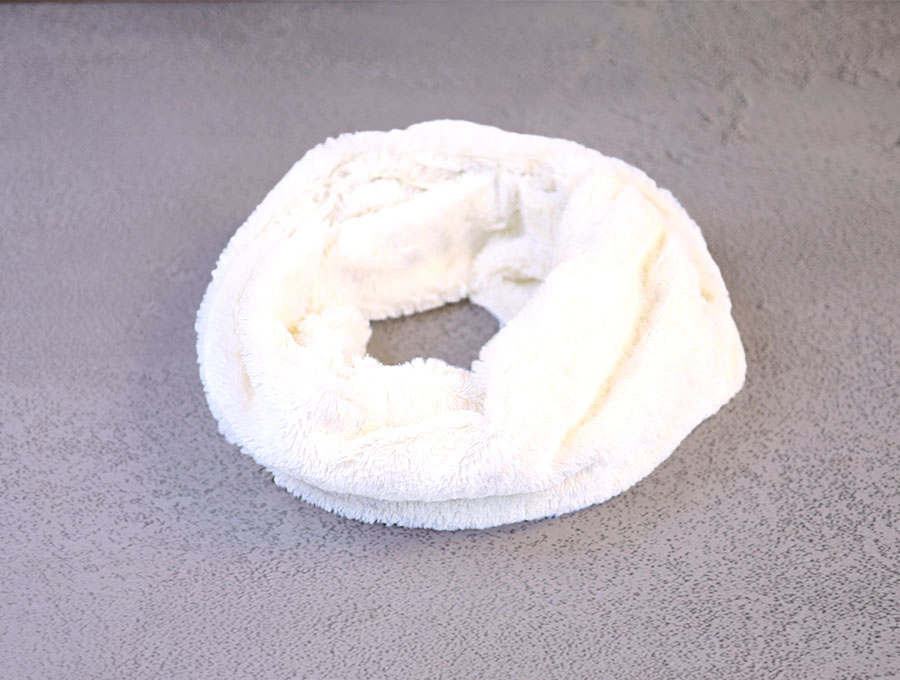
Imagine nestling into this super-soft faux-fur infinity scarf as the cold winds start blowing in this season. It’s a ten-minute make that has a luxe look and feel. Once you make one you’ll want to make them in a range of colors for yourself, friends and family. They make a perfect December gift when the snow lies thick on the ground.

Ten minutes to spare, a length of faux fur and a sewing machine will net you an infinity scarf that will turn heads! It’s such a plus to be warm yet elegant; and this faux-fur infinity scarf unites a stylish fashion statement and practicality. The extra bonus? It’s really very easy to make with just two seams.
Below you will find my step by step written tutorial with VIDEO instructions for all the visual learners.
We occasionally link to goods offered by vendors to help the reader find relevant products. Some of the links may be affiliate meaning we earn a small commission if an item is purchased.
Table of Contents
How to make the faux fur scarf
Supplies and tools
- fabric – half a yard of 150cm (60 inch) wide faux fur fabric with a slight stretch on it
- Nail scissors or a sharp craft knife for cutting the fur
- fabric marking pen
- matching thread
- scissors (or rotary cutter and a cutting mat)
- ruler or measuring tape
- sewing clips or pins
Follow us for free patterns & tutorials! [easy-profiles]
How to Sew a Faux Fur Scarf
Watch the diy faux fur scarf video first and then follow the written step by step instructions below.
Please enjoy and don’t forget to Like and SUBSCRIBE over on YouTube to be kept up to date with new videos as they come out.
Faux Fur Scarf VIDEO TUTORIAL
INSTRUCTIONS:
Before you start with this project there are a few little tips for cutting faux fur:
- Always mark and cut your faux-fur on the wrong side.
- Use a craft knife to cut through the backing fabric, trying not to cut through the fur pile, rather pulling this apart gently once the backing fabric is cut.
- If you don’t have a craft knife use nail scissors to cut the backing fabric, making small snips. Avoid a rotary cutter as it will cut the fur pile and make it look patchy.
- Before stitching remove the bits of loose fur so they don’t get caught up in the sewing machine or your stitches.
STEP 1:
Lay out your fabric on the wrong side, making sure the stretchy part of the faux fur is on the longside, and mark where you need to cut to create the rectangle of 16 x 60 inches (40 x 152 cm).
STEP 2:
Use the small embroidery or nail scissors to cut through the backing using small cuts so the hair pile of the fur is kept intact.
OR
Cut using a craft knife, that slices through the backing, lifting slightly from the self-healing cutting mat, so the fur pile is kept intact. This minimizes the amount of fluff and saves a patchy look later when you stitch the fabric.
STEP 3:
Fold the fabric on the long side with the right sides inside and clip along the edges.
STEP 4:
Stitch from one end of the long edge to the other end, ½ an inch (1.25cm) from the edge, backtacking at the start and finish.
STEP 5:
Reach your arm into the tube you have stitched and pull the end up so you have the right sides inside. Line up the ends and clip them together.
STEP 6:
Stitch ½ an inch (1.25cm) from the edge, leaving a gap of 3 inches (7.5 cm) opposite the seam. When you stitch the seam ends open them so they side lie flat. Backtack at the start and finish.
STEP 7:
Pull the scarf through the gap so it is the right way out.
STEP 8:
Using a matching thread and a hand sewing needle close the gap in the following way:
Turn the raw edges of the gap in, in line with the seam, and using the needle stitch from side to side across the gap, pulling the thread tight towards the end of the gap, so you have an invisible seam as the stitches will vanish into the fur pile. Finish by knotting the thread twice and trim.
And that’s all there is to it. Your infinity scarf is ready to drape around your neck. Enjoy the softness and protection against biting winds. It’s also a really cool fashion statement. If you enjoyed this super quick and easy projects then give us a like and subscribe to HelloSewing for more quick and practical sewing tutorials.
Do you like this? Pin for later:
Wanna be friends? Click HERE and follow me on Pinterest
RELATED: