
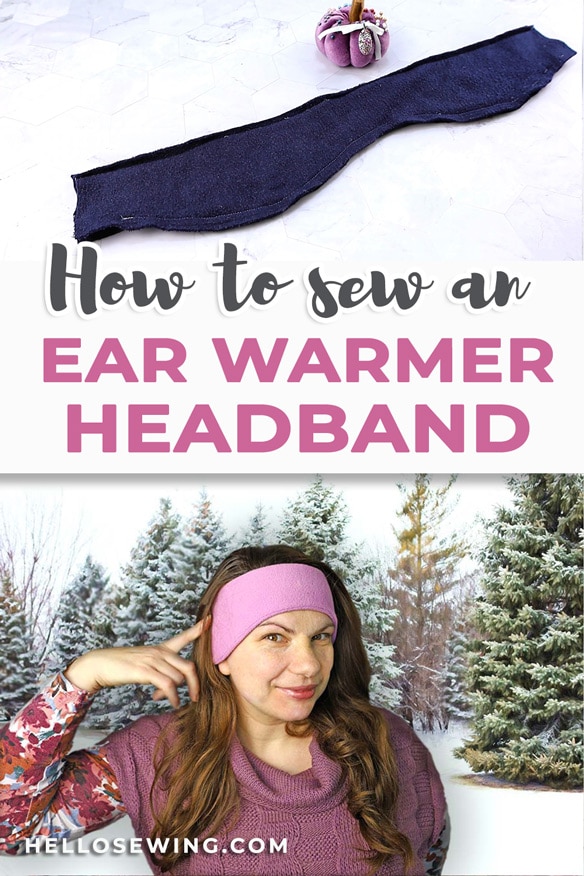
DIY Fleece Ear Warmer Headband Tutorial and Free Pattern
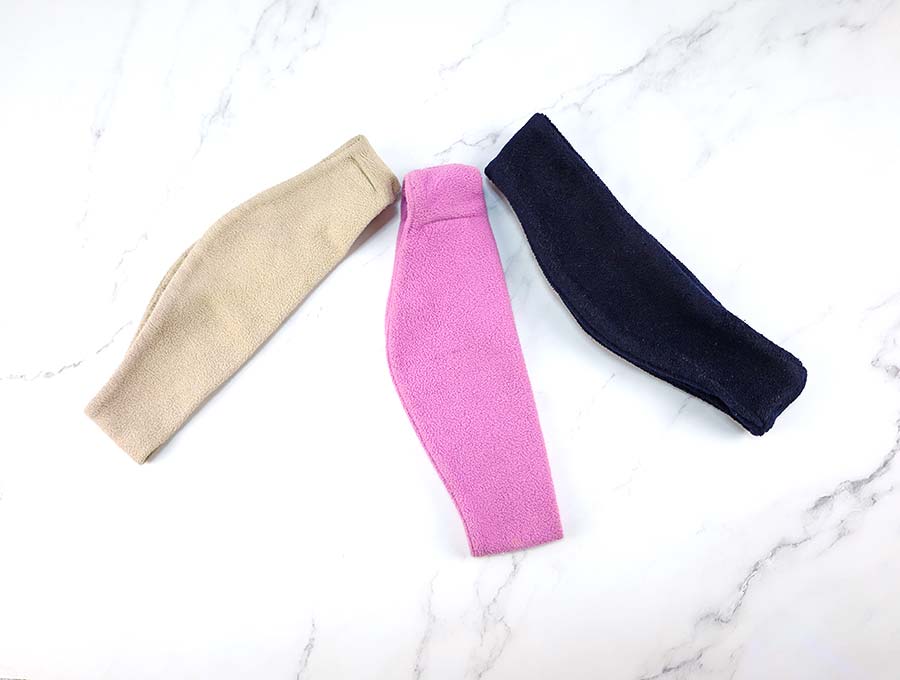
Few years ago I got a wonderful gift – a fleece ear warmer that kept me warm during the cold winter days. I loved it as it kept my ears as warm as my body, and I could still wear a ponytail. It’s made of soft fleece and is really comfortable and stylish so I decided I need few more. Unfortunately, I couldn’t find exactly the style and color combo I wanted, so I decided to make my own.
Here is how to make a fleece ear warmer headband which is great for the winter
Below you will find my step by step written tutorial with VIDEO instructions for all the visual learners.
We occasionally link to goods offered by vendors to help the reader find relevant products. Some of the links may be affiliate meaning we earn a small commission if an item is purchased.
Table of Contents
- 1 How to make an ear warmer headband
- 2 Supplies and tools
- 3 How To Sew a Fleece Ear Warmer Hearband
- 3.1 Ear Warmer Headband VIDEO TUTORIAL
- 3.2 FLEECE EAR WARMER HEADBAND INSTRUCTIONS:
- 3.3 STEP 1: Download and print the ear warmer pattern
- 3.4 STEP 2: Cut the fleece fabric
- 3.5 STEP 3: Layer pieces
- 3.6 STEP 4: Sew long edges
- 3.7 STEP 5: Turn the tube
- 3.8 STEP 6:
- 3.9 STEP 7: Turn around
- 3.10 STEP 8: Pin the gap
- 3.11 STEP 9: Stitch the gap
How to make an ear warmer headband
Supplies and tools
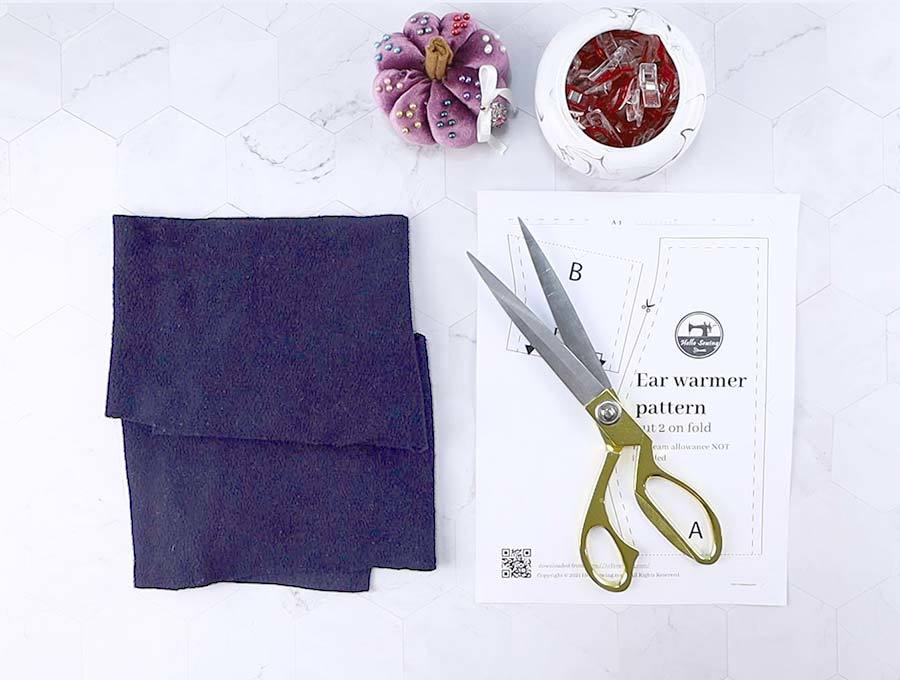
- fabric – 1/4 yard of fleece
- matching thread
- ear warmer headband pattern (free download below)
- scissors (or rotary cutter and a cutting mat)
- ruler or measuring tape
- iron and ironing board
- sewing clips or pins
- sewing machine
DOWNLOAD: fleece ear warmer headband pattern (Free PDF file)
Follow us for free patterns & tutorials! [easy-profiles]How To Sew a Fleece Ear Warmer Hearband
Watch the diy ear warmer video first and then follow the written step by step instructions below.
Please enjoy and don’t forget to Like and SUBSCRIBE over on YouTube to be kept up to date with new videos as they come out.
Ear Warmer Headband VIDEO TUTORIAL
FLEECE EAR WARMER HEADBAND INSTRUCTIONS:
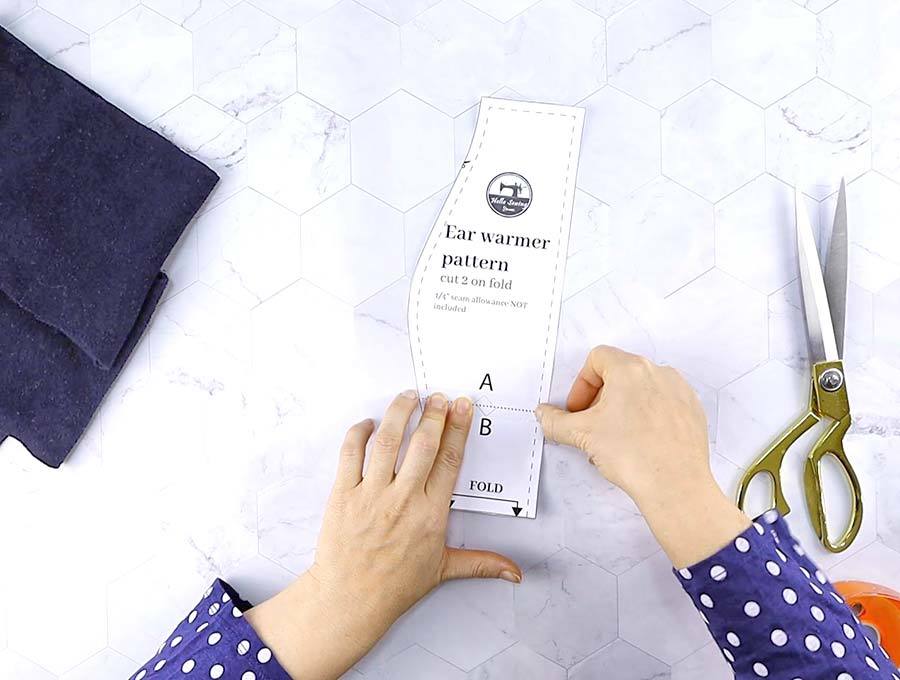
STEP 1: Download and print the ear warmer pattern
Download the template above (it’s completely free for our email subscribers) and print it out. It consists of two pieces. Trim the excess paper and tape both pieces together as shown. The seam allowance is 1/4″ and is already included in the fleece headband pattern
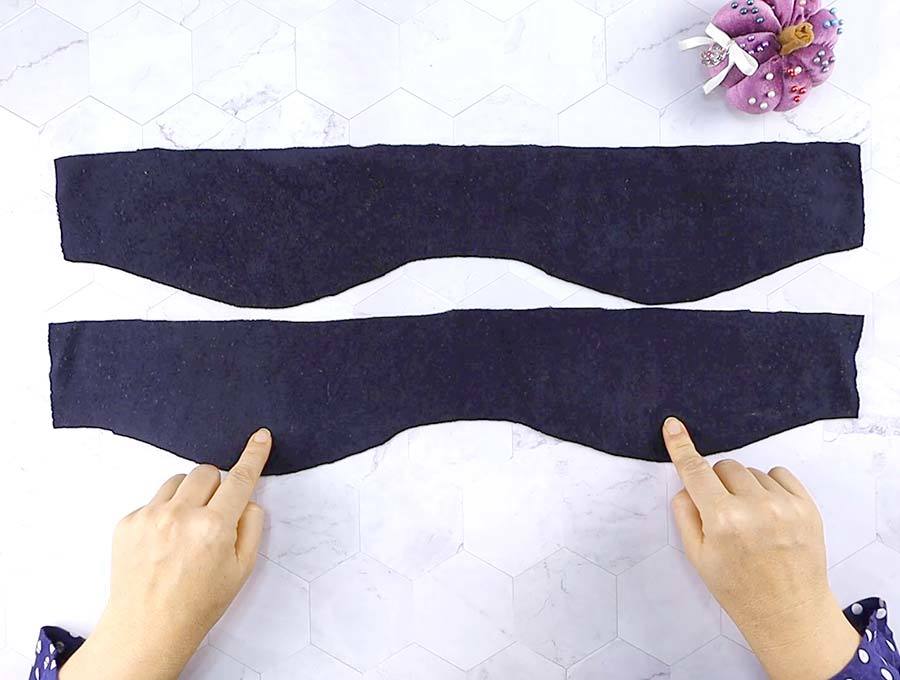
STEP 2: Cut the fleece fabric
Fold fabric in half and place ear warmer pattern on the fold. Pin the pattern to the fabric or use pattern weights to keep it in place, then carefully cut according to the pattern. Unfold the first piece.
Repeat the same for the second piece
TIP: As always I recommend pre-washing your fabric so you can get rid of any possible shrinkage later.
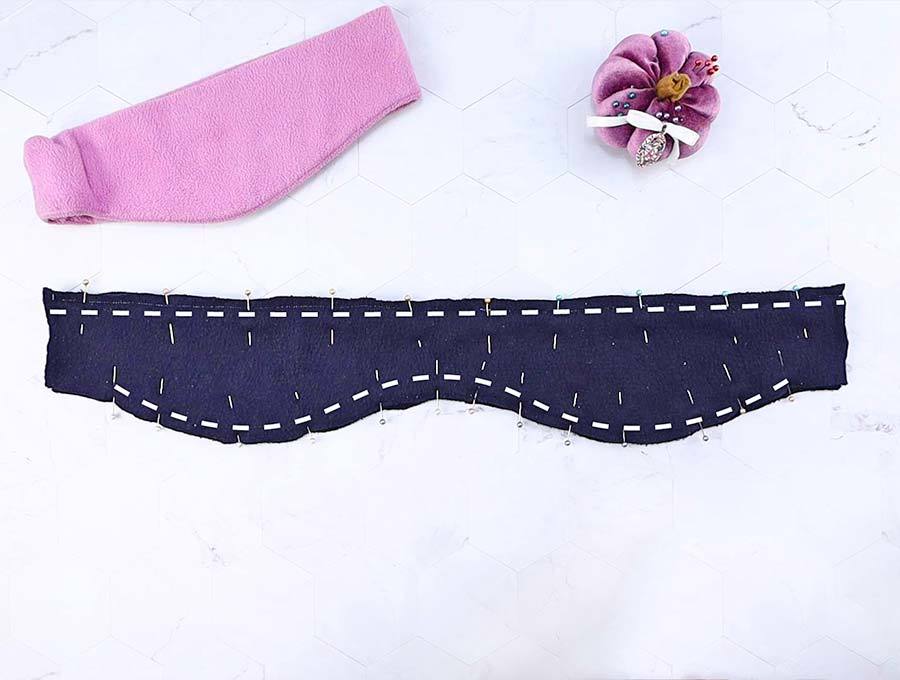
STEP 3: Layer pieces
Place pieces on top of each other, right sides facing and pin them together.
STEP 4: Sew long edges
Sew the long edges, leave 1 inch gaps on either side so you can turn the tube inside out later.
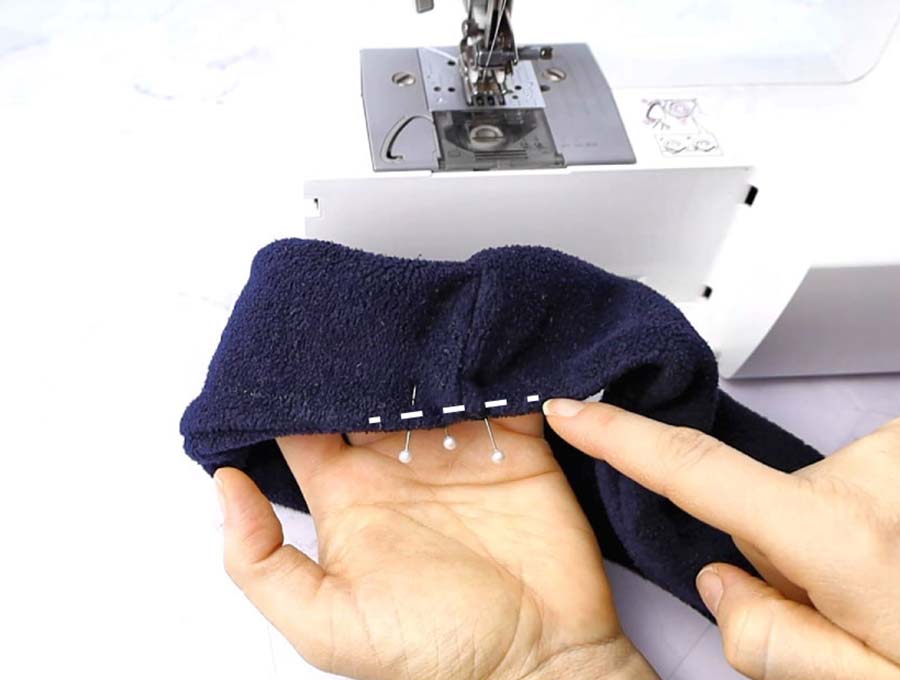
STEP 5: Turn the tube
Turn tube halfway, match short ends and pin them together. Make sure you are matching the side seams as well.

STEP 6:
Stitch around the short raw ends, about 1/4 inch from the edge. Backstitch at the beginning and the end.
STEP 7: Turn around
Turn right side out through the seam gap you left earlier.
Push out the seams using your fingers. Go around the whole thing and push them as well as possible.
STEP 8: Pin the gap
Fold in the raw edges and pin them in place.
STEP 9: Stitch the gap
You can either handsew or machine sew the gap closed. If you want to go faster, use your machine and stitch as close to the edge as possible.
If you are handstitching – use a ladder (invisible stitch) to close the opening of the ear warmer.
Do you like this? Pin for later:
Wanna be friends? Click HERE and follow me on Pinterest
RELATED: