
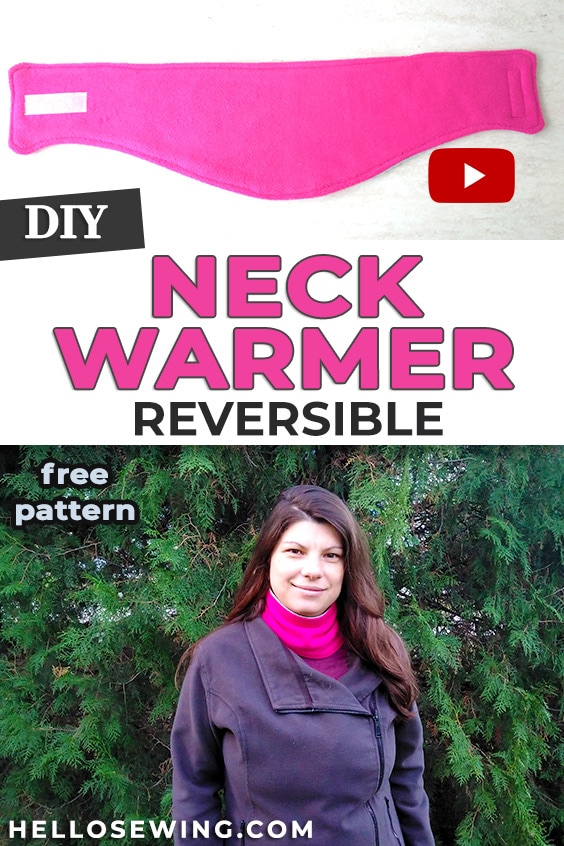
How to Make a Fleece Neck Warmer | Pattern and Video
Winter is just around the corner and I started to pull out the winter clothes. So I decided it is the perfect time to share how to make a neck warmer.
This project is super easy to sew, even for complete beginners, and is an excellent solution for those of you who don’t want to wear the bulky traditional styles or just want a stylish addition to their winter wardrobe.
Use the free fleece neck warmer pattern to make your own reversible neck warmer with Velcro closure. It is one of the four scarf tutorials on this site, and is my choice for the coldest weather. It’s bright, reversible and super easy to put on and off WITHOUT ruining your hairstyle.
The last feature seems to be super important for my teen who says that this DIY neck warmer is his favorite scarf JUST because of that.

Below you will find my step by step written tutorial with VIDEO instructions for all the visual learners.
We occasionally link to goods offered by vendors to help the reader find relevant products. Some of the links may be affiliate meaning we earn a small commission if an item is purchased.
OTHER SCARF TUTORIALS
Looking for the cowl scarf pattern? Then, check out my other neck gaiter pattern and use fleece instead. There are two styles to choose from – lined and unlined.
If the weather is too warm for fleece yet, why don’t you sew up this easy infinity scarf from flannel or colorful cotton? I used pink plain and this scarf makes me smile every time I put it on.
Last but not least, here is my scarf face mask pattern. It is a great way to keep your mouth and nose covered and be fashionable at the same time! Plus, it’s a lifesaver for people with tracheotomy, who are otherwise forced to wear two masks at once – one for their face, and one to cover the place on their neck from where they actually breathe!
So, without further ado, let me show you how to sew a reversible neck warmer from warm, soft, snuggly fleece.
How to make a Neck Warmer
Supplies and tools
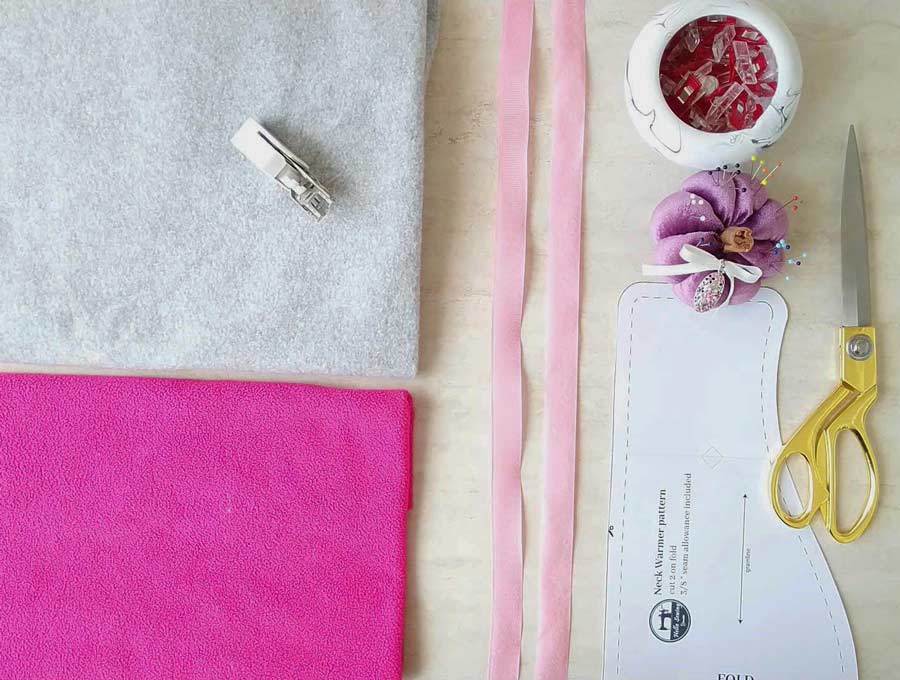
- fabric – 2 pieces of fleece in different colors (for a reversible scarf)
- matching thread
- scissors (or rotary cutter and a cutting mat)
- ruler or measuring tape
- iron and ironing board
- sewing clips or pins
- sewing machine
DOWNLOAD: Fleece neck warmer pattern (Free PDF file)
Follow us for free patterns & tutorials! [easy-profiles]
How To Sew a Neck Warmer
Watch the diy neck warmers video first and then follow the written step by step instructions below.
Please enjoy and don’t forget to Like and SUBSCRIBE over on YouTube to be kept up to date with new videos as they come out.
DIY Neck warmer VIDEO TUTORIAL
INSTRUCTIONS:
STEP 1: Download and print the neck warmer pattern
The pattern consists of two pages. Print them out at 100% without any scaling as it will distort the template. Trim the second page and tape it to the first one. Cut out the neck warmer pattern.
NECK warmer pattern size
The soft and cozy fleece neck warmer pattern is unisex and almost universal – it works well for kids aged 9 and up, men and women.
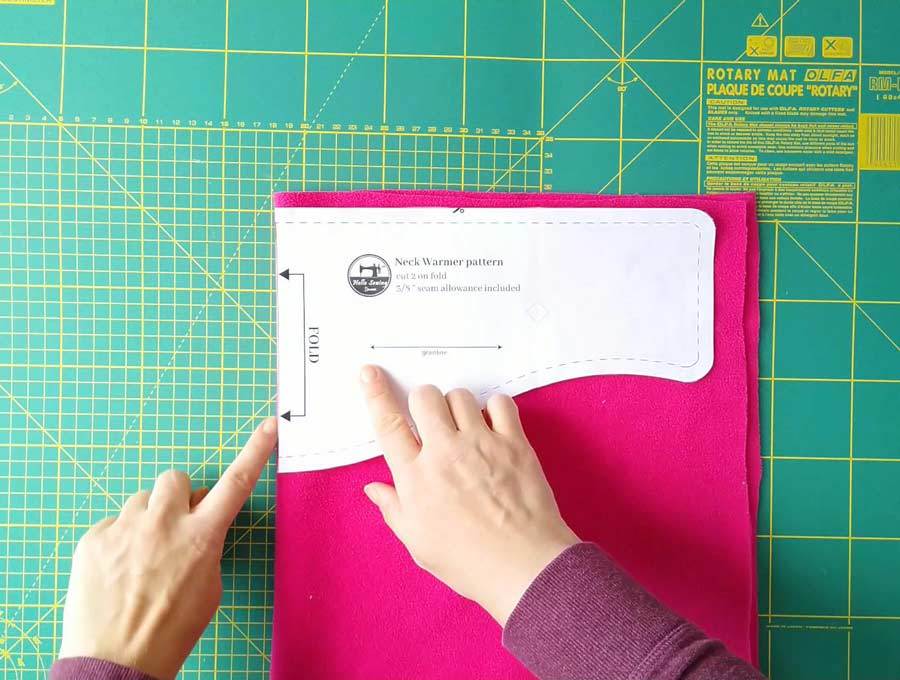
STEP 2: Cut out the fabrics
Fold the fleece fabric in half and place the pattern on the fold. Pin or use clips so that the pattern won’t shift. Cut according to the neck gaiter template. Repeat for the second fabric piece. Unfold the fabrics – you will have two identical fleece pieces.
The seam allowance is 3/8” (1cm) and is already included in the pattern.
TIP: Fleece has more stretch in one direction than the other. However, you don’t need to worry about stretch with this pattern as it uses Velcro closure.
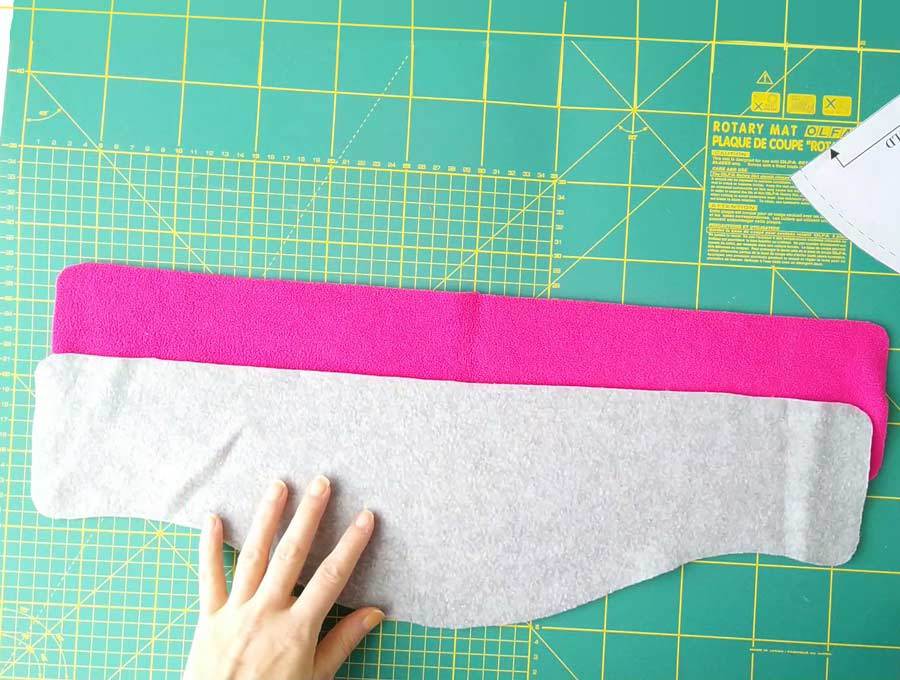
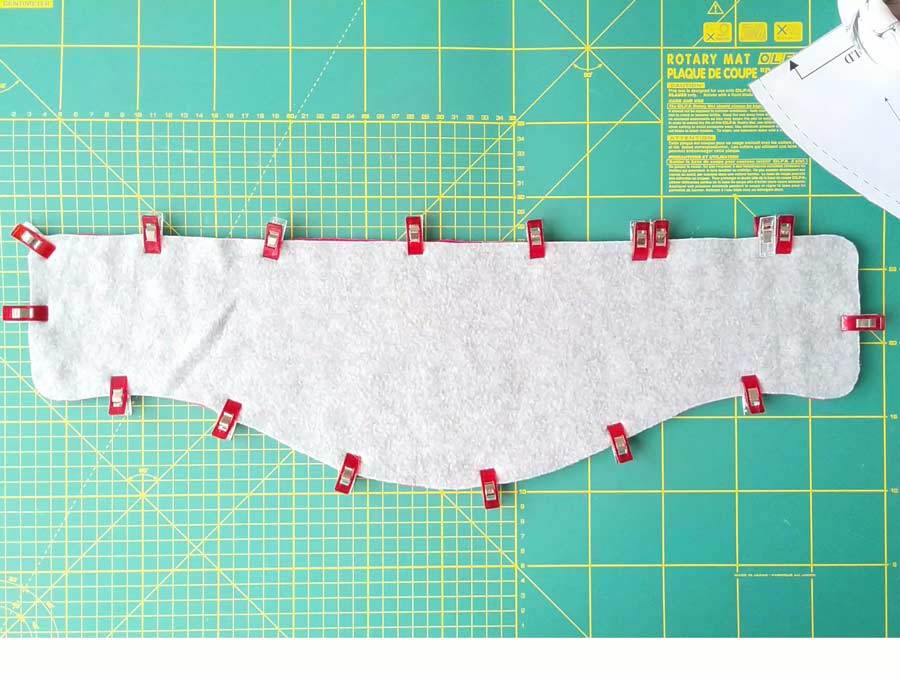
STEP 3: Pin
Place the two fabrics on top of each other, with the wrong sides facing. Pin along all sides and leave a 2-inch opening for turning along the top back ed.
TIP: I find it really useful to mark the beginning and the end of the gap either using double pins or double clips
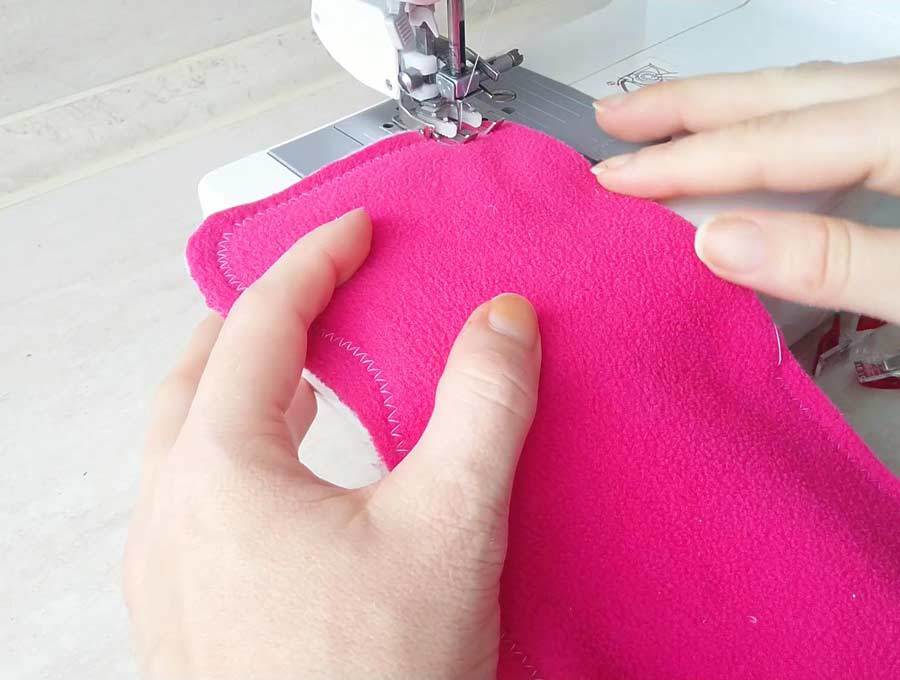
STEP 4: Sew the fleece neck warmer
Sew around the neck warmer using either a regular stitch or a zig zag. Backstitch at the beginning and the end of the seam to make it more durable. Trim the threads.
TIP: Use a walking foot (even feed foot) if you have one. It’s a game changer and makes sewing through thick or knit fabrics sooo much easier
STEP 5: Turn around
Turn the whole neck cowl around through the opening you’ve left earlier. Push out the corners using a pencil (NOT your scissors or something too pointy as it may rip through the fleece). Fold the fleece ends around the gap and pin them.
Press with an iron if you want a more polished look and you are not in a hurry to finish it as soon as possible.
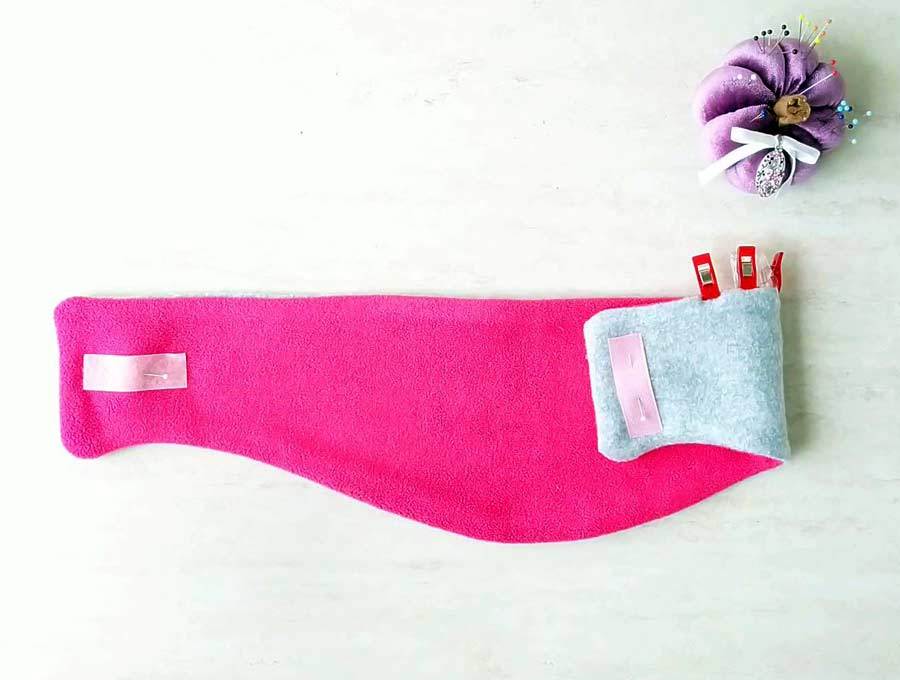
STEP 6: Pin the hook and loop fasteners
Cut one hook and loop strip, 2 inches long.
Place finished neck warmer on a flat surface with the straight edge on top. Place the loop part of the Velcro strip about 1/2inch from the left edge and center it vertically. The long side of the Velcro should be parallel to the long side of the neck warmer.
Flip the neck warmer and place the hook part of the Velcro strip about 1/2 inch from the edge. The long part of the Velcro should be parallel to the short side of the neck warmer. Basically, the loop and hook parts should form a cross.
STEP 7: Topstitch and sew the fastener
Sew around the whole thing using ¼ inch seam allowance. This will also close the opening for turning.
Sew around all four sides of each of the Velcro strips and back stitch the beginning and the end to secure.
TIP: If you want a snugger fit, you can add two loop strips on each side. However, using one is more than enough for us.
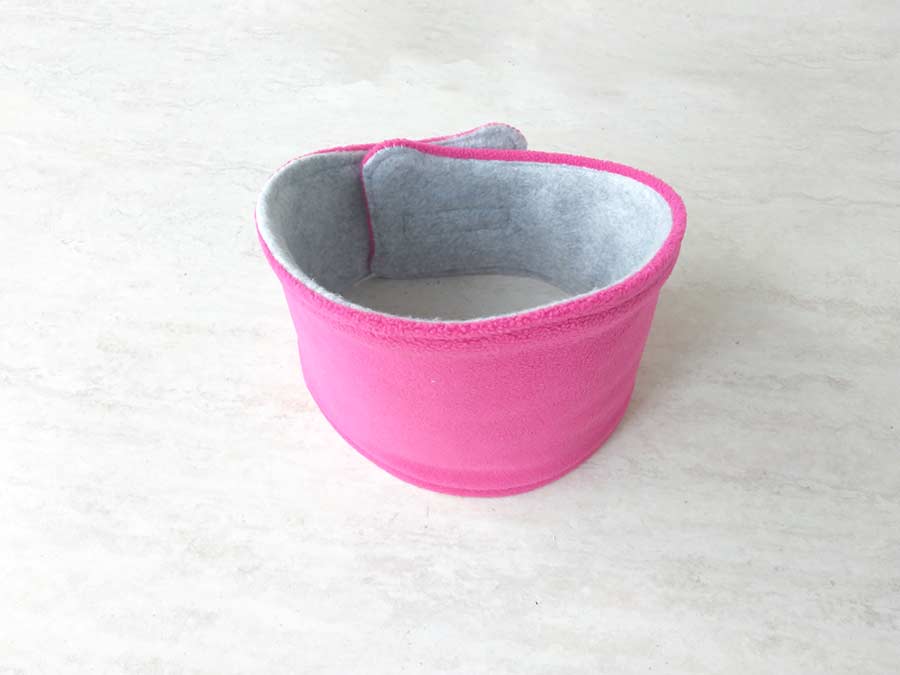
Congrats! Your DIY neck warmer scarf is all ready to keep you warm during the chilly winter days. You can now braze the cold weather without any fear. Both you, your partner and your kids will be warm and cozy wearing the fleece neck warmers, and all ready for the winter fun ahead!
This is such a quick and easy project, but makes a wonderful and practical gift for almost anyone. Now when you know how to make a neck warmer, you can whip a bunch for everyone in the family (or maybe use as gifts). Use two fun colors for a reversible one, or use one subtle color to go along with most of your wardrobe. It’s all up to you.
Have you made a bunch of neck warmers from the same fleece color? Fret not, you can quickly personalize it with an embroidered monogram or go the lazy way and just embellished each one with a tiny stitch of different bold colors for quick sorting.
I must confess that my husband and teenage son never know which pair of socks belong to who until I came up with the brilliant solution to embellish everyone’s socks with different color of thread. My son got the green, and hubby got the blue. I can now proudly say that they sort the laundry without asking me for each pair of socks! And that rocks!
Do you like this? Pin this fleece neck warmer tutorial for later:
Wanna be friends? Click HERE and follow me on Pinterest
RELATED: