

DIY Mini travel jewelry pouch
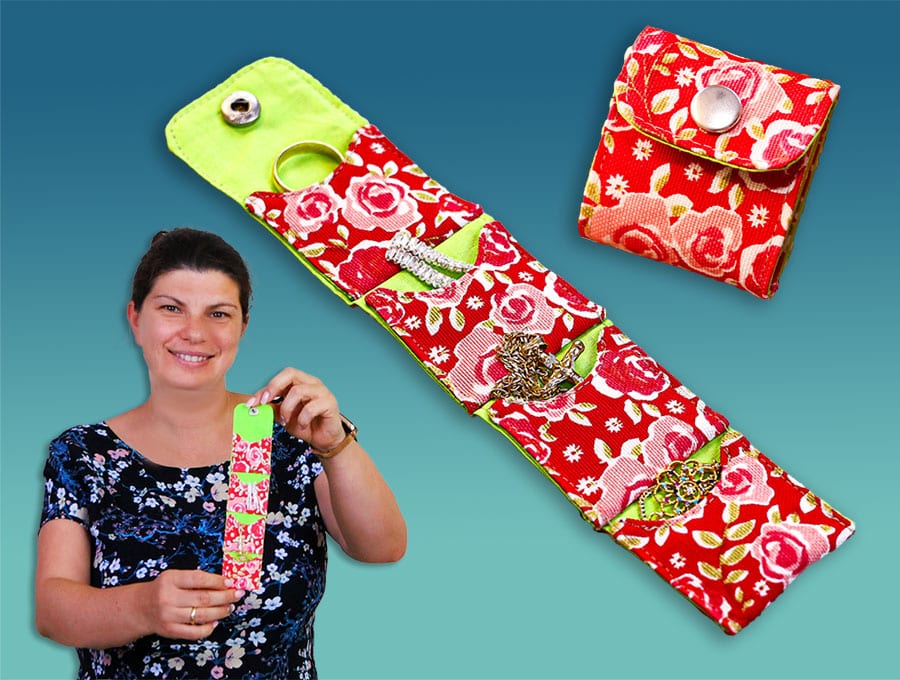
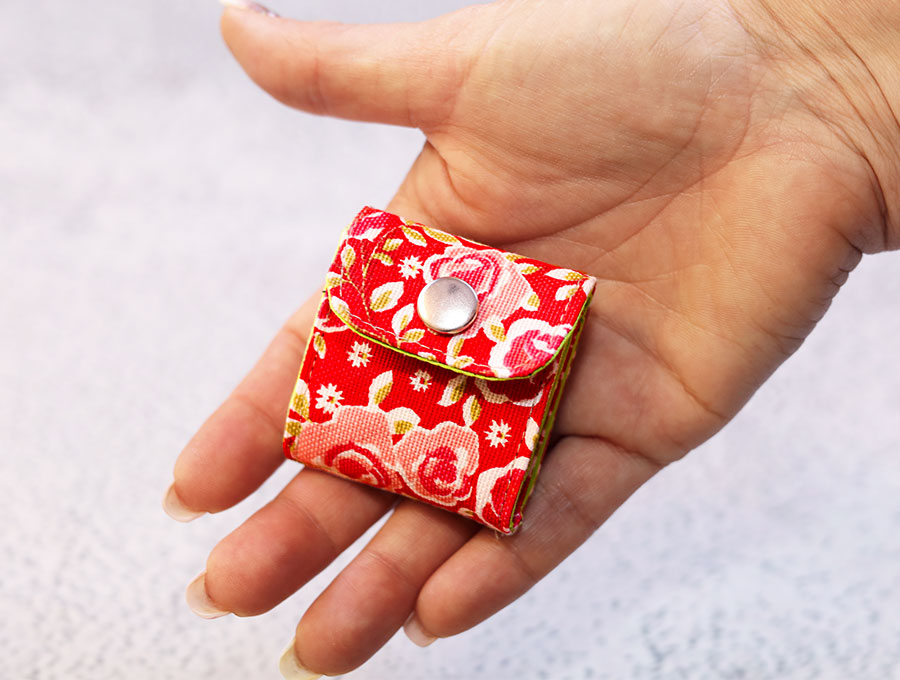
“I couldn’t think of a better gift than this mini travel jewelry pouch. It’s perfect to keep my rings and things protected and all in one place,” enthused a friend. So, here we go with the mini travel jewelry pouch. It’s small enough to not take up a load of space in your luggage, it’s soft enough to protect your jewelry and most importantly you can take your jewelry off and store it all together in your handbag or backpack, so items don’t get forgotten in hotel rooms. The pouch may look complicated, but it comes together so incredibly easily with the help of our free printable mini travel jewelty pouch pattern.
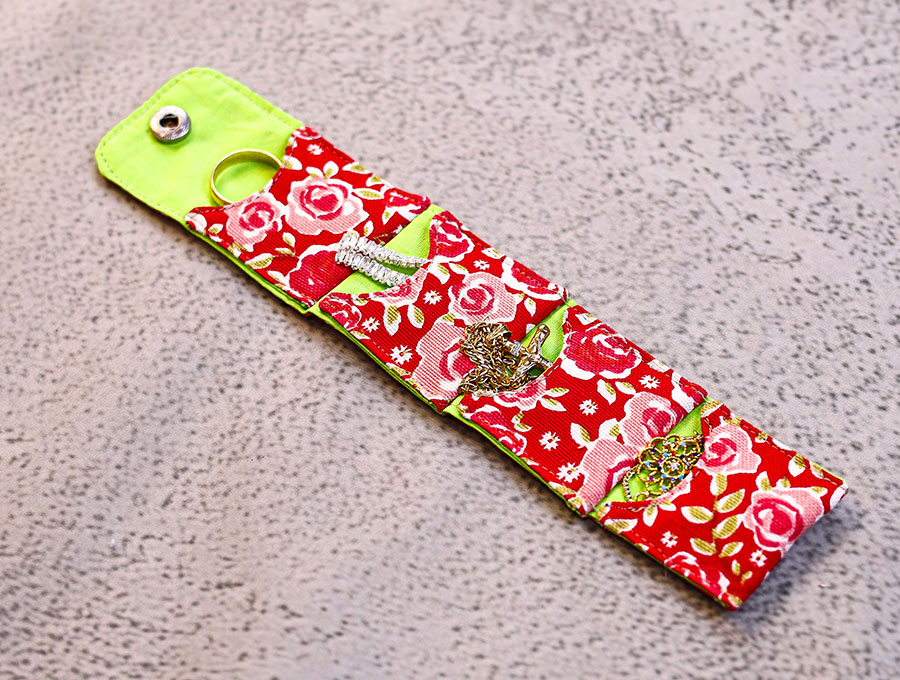
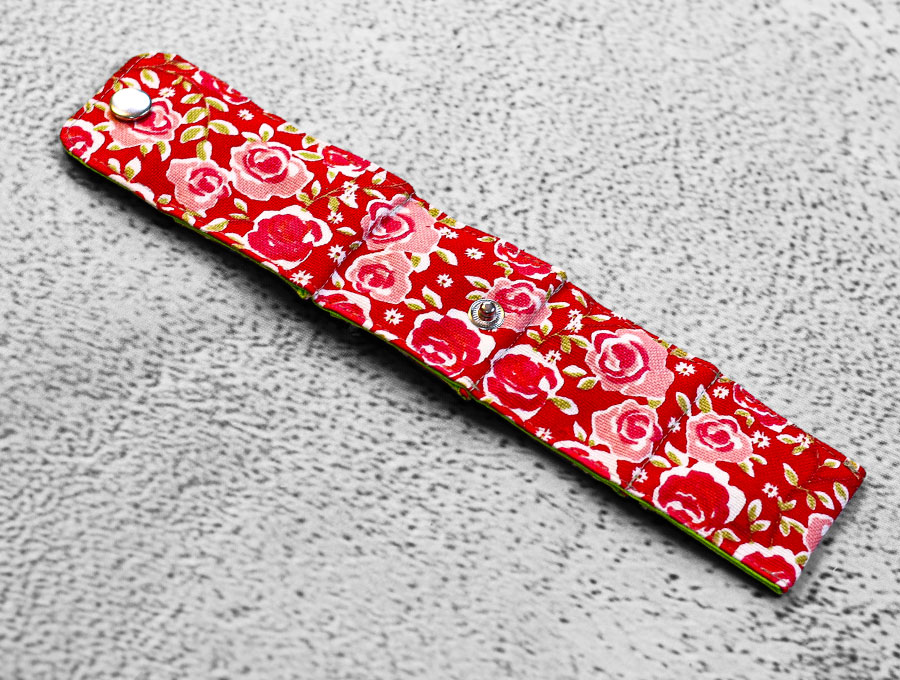
Four separate pockets for jewelry items in a mini travel pouch that rolls up and closes with a snap fastener is a practical present for travellers who like to keep their jewelry safe instead of sliding it into random pockets of their purses or backpacks. Now’s your chance to use up those fabulously opulent little pieces of fabric for this pouch. Start sorting through your stash now for some gorgeous remnants of luxury fabric or pretty cottons to make the mini travel jewelry pouch.
Below you will find my step by step written tutorial with VIDEO instructions for all the visual learners.
We occasionally link to goods offered by vendors to help the reader find relevant products. Some of the links may be affiliate meaning we earn a small commission if an item is purchased.
How to make the small travel jewelry pouch
Supplies and tools
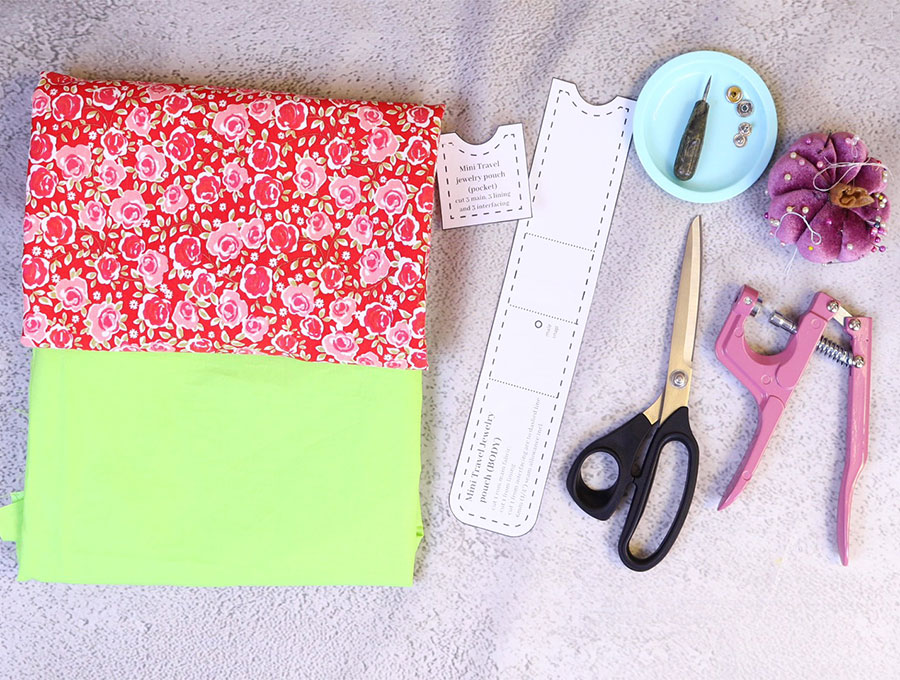
- fabric – 2 pieces of woven cotton (one main, one lining)
- fusible interfacing
- matching thread
- scissors (or rotary cutter and a cutting mat)
- ruler or measuring tape
- iron and ironing board
- sewing clips or pins
- plastic snaps (you will need a sewing awl and snap pliers
- press studs
DOWNLOAD: Mini travel jewelry pouch pattern [Free pdf file]
Link not working? Try this alternative link instead
Follow us for free patterns & tutorials! [easy-profiles]
How to Sew a Mini Travel Jewellery Bag
Watch the diy travel jewelry pouch video first and then follow the written step by step instructions below.
Please enjoy and don’t forget to Like and SUBSCRIBE over on YouTube to be kept up to date with new videos as they come out.
Mini Jewelry Bag VIDEO TUTORIAL
INSTRUCTIONS:
STEP 1:
Download and print out the free mini travel jewelry pouch from HelloSewing.com, then cut out the 2 pattern pieces on the solid line. Then proceed straight to Step 3.
If you don’t have access to a printer you can make your own pattern as we show you how in Step 2.
STEP 2:
To make your pattern:
- Cut the body from a piece of paper to measure 2 ½ x 12” (6.5 x 30.5 cm).
- Cut the pocket piece to measure 2 ½ x 2 ½” (6.5 x 6.5 cm).
- To shape the pocket piece measure and mark ¼” (6 mm) from each side at the top of the square, then fold, and finger press the fold, open out again.
- On the center fold measure down 3/8” (1 cm) from the top and make a mark.
- Draw a curve to join the top mark to the center mark. Fold the paper again and cut the curve on the fold so both sides are equal.
- Open out and place the square with the cut out curve at the top of the body pattern, lining up with the sides and top. Transfer the curve using a pencil or pen.
- Fold and cut out the curve.
- At the other end of the paper fold in half and draw a gentle curve to round off the square corner. Cut through the two layers of paper. Your pattern is now ready.
STEP 3:
Take your fabric and cut as follows
- 1 body piece outer 2 ½ x 12” (6.5 x 30.5 cm)
- 1 body piece lining 2 ½ x 12” (6.5 x 30.5 cm)
- 3 of pocket piece outer 2 ½ x 2 ½” (6.5 x 6.5 cm)
- 3 of pocket piece lining 2 ½ x 2 ½” (6.5 x 6.5 cm)
STEP 4:
Trim your printed pattern pieces down to the dashed lines, then lay them over your fusible interfacing and cut as follows:
- 3 of pocket piece
- 1 of body piece
If you made your own pattern cut the interfacing ¼” (6 mm) smaller all around.
STEP 5:
Place outer fabric right side up and over it the lining wrong side up. Place main pattern piece over the layers and cut out the curve at the top, then trim the corners at the bottom as indicated on the pattern.
STEP 6:
Place the 3 pocket outer fabric pieces right side up in a row, over them place the lining wrong side up, then use the pocket pattern to cut the curve away at the top, repeating until all sets are done.
STEP 7:
Place the outer body piece and three outer pocket pieces wrong side up on your ironing pad and over them place the corresponding pieces of interfacing, sticky side down. Press to fuse. Turn each piece over to the right side and complete the fusing by pressing with your iron.
STEP 8:
Place each piece of lining right side up and over each piece place the corresponding fused outer – right sides inside. Pin or clip each set together.
STEP 9:
Stitch around the body piece ¼” (6 mm) from the edge, leaving a gap on one side towards the lower third of the piece of 3” (7.5 cm).
STEP 10:
Stitch around each pocket piece¼” (6 mm) from the edge, leaving a gap of 1” (2.5 cm) at the base towards the middle.
STEP 11:
For each of the 4 pieces fold the raw edges of the gap back in line with the seam and finger press.
STEP 12:
Trim each of the 4 pieces by cutting across to remove a small triangle of material from the square corners. Any curved edges need to have small nicks made in the fabric so it can ease around the curve when turned. Trim a little fabric from the top of the body and pocket pieces. All this trimming and nicking is worth it as it makes for a smoother finish when turned.
STEP 13:
Turn each piece the right way by pulling carefully through the gap. Use a turning tool to press out the corners neatly and make sure the seams are pushed out and lying flat. Turn in the raw edges of the gaps in line with the seams and give each piece a press with your iron.
STEP 14:
Top stitch around the curved edges at the top of the 3 pocket pieces and the top of the body of the jewelry pouch, backtacking at the start and finish of each piece.
STEP 15:
Place the pattern piece on your worktop and over it place the body piece, lining side up. Transfer the marks from the pattern piece that indicate the position of the 3 pockets to the lining side with an erasable fabric marking pen, then use a ruler to join the sides markings with 3 straight lines.
STEP 16:
Flip over the body piece and pattern. You will see a round dot which is where the snap fastener goes – mark it on the outer side. Then use an awl to make a small hole through which to insert the snap fastener shank, from the lining side, attach the top half of the fastener stud from the outer side, then use the snap fastening tool to attach.
STEP 17:
Starting from the bottom of the body piece with the lining side uppermost, pin each pocket piece, lining side up, to one of the marked lines. You will find the upper part of the pocket is very close to the next pocket base, so fold back the fabric slightly to attach the next pocket base as you proceed up the length of the body piece.
STEP 18:
Once all pockets are in place stitch across the base of each pocket piece, 1/8” (3 mm) from the edge, backtacking at the start and finish of each line of stitching. You may need to move the upper part of the next pocket away slightly as you stitch.
TIP: Because there are a lot of layers you may find it useful to fold a few of layers of scrap cloth and place them under the presser foot just behind your fabric, to ease the start of each line. You also may need a slightly heavier needle to get through all the layers.
STEP 19:
Flip each pocket piece up so the outer fabric shows. Pin in position. Fold the last section with the curved indent up to form the last pocket.
STEP 20:
Stitch along each side 1/8” (3 mm) from the edge from top to bottom of the length of the body piece, backtacking at the start and finish.
STEP 21:
Fold the length of the body up, pocket by pocket up until you have the snap you inserted earlier showing. Fold the curved top down and mark where the other half of the snap will line up with the snap base.
STEP 22:
Use an awl to make a small hole and insert the top half of the snap. Use the snap fastening tool to complete the snap.
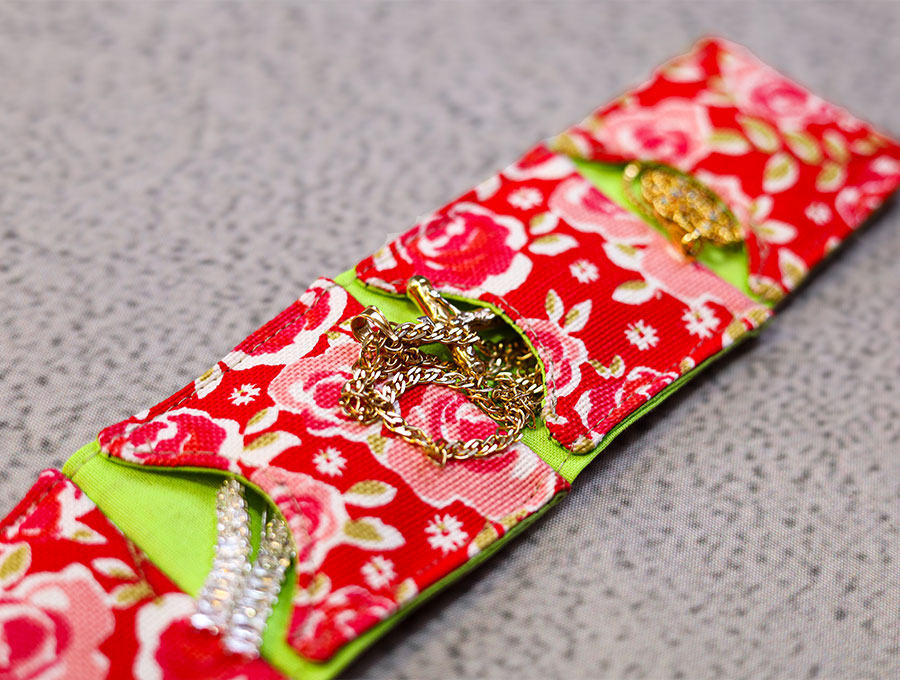
Have a little test run inserting rings, earrings, a pendant and delicate chain bracelet into the four pockets. Fun isn’t it? And it was a lot simpler to make than it looked.
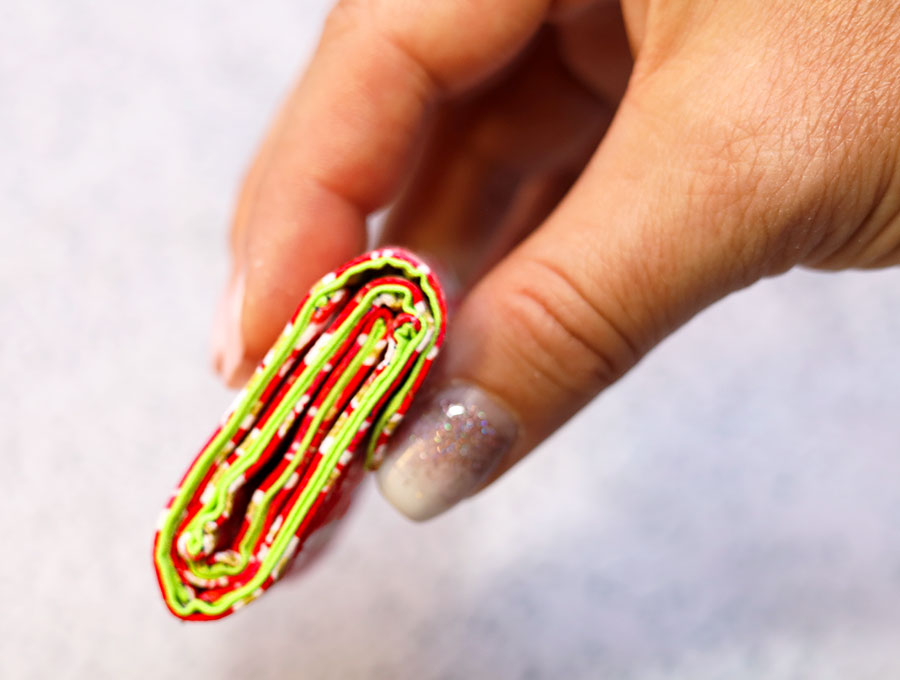
Please like and subscribe if you had fun doing this project, or if it’s one you want to earmark for making later. My friend, who is so enthusiastic about this project has said she is making a whole lot of these mini travel jewelry pouches to give to friends who are going away on trips. It makes a change from the usual cosmetic pouches or travel size toiletries people often receive. She has already started sorting out her embroidered satins, and other luxe fabrics for these.
Do you like this? Pin for later:
Wanna be friends? Click HERE and follow me on Pinterest
RELATED: