

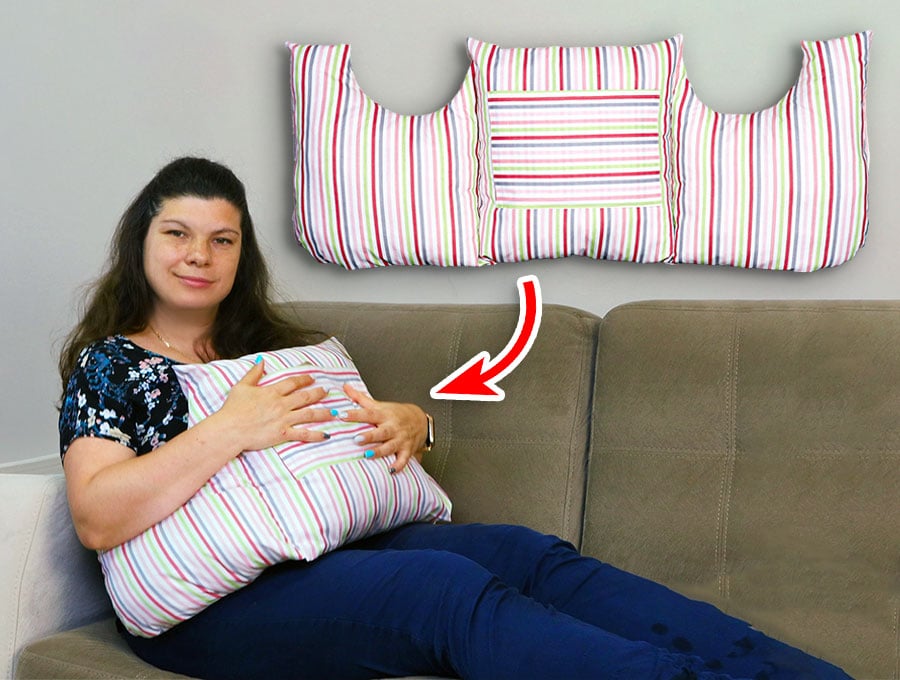
DIY Surgery Recovery Pillow
If someone you love is heading into surgery, this might be the most thoughtful thing you can sew for them. This recovery pillow is one of those projects that’s equal parts practical and heartfelt. It helps with coughing and deep breathing after surgery, protects tender incision sites, and makes car rides home so much more comfortable than they would be otherwise. And the best part? It works for just about ANY type of surgery — c-sections, heart surgery, shoulder surgery, back surgery, breast augmentation, you name it. You can use it across the abdomen, chest, or back depending on what’s needed.
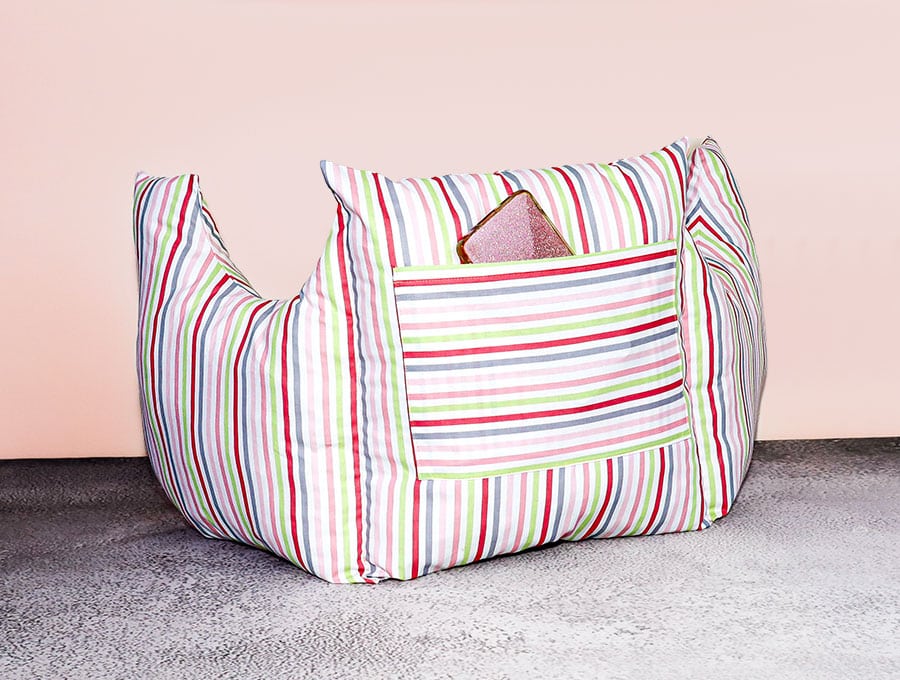
Oh, and did I mention the optional pocket? You can face it inward to hold an ice pack against the chest, or flip it outward to keep a phone, remote, or even a book within easy reach. Because when you’re recovering, having everything right there matters more than you’d think. Simple, useful, and made with so much love. Let’s make one!
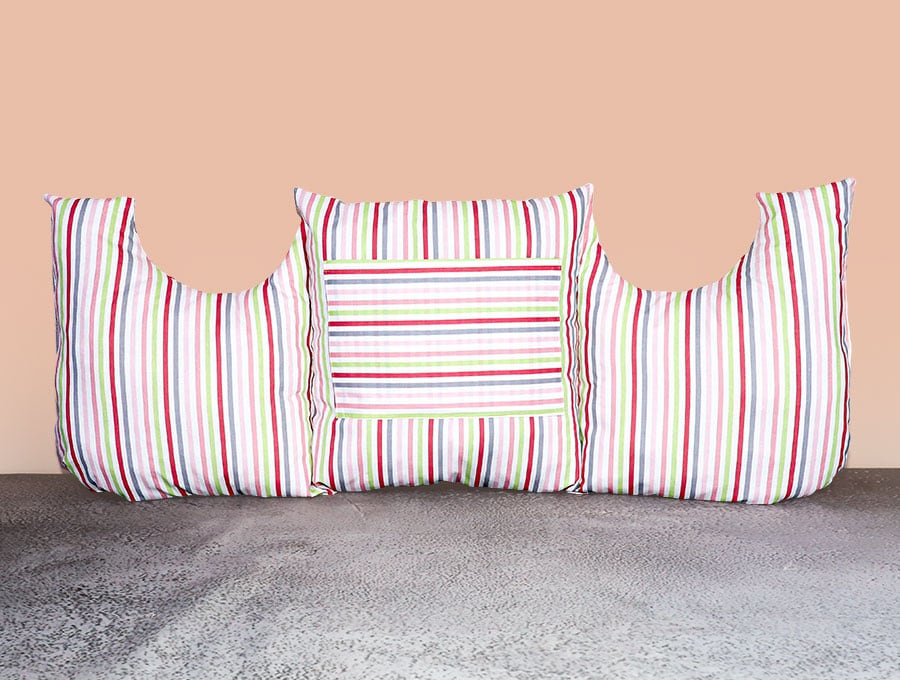
Below you will find my step by step written tutorial with VIDEO instructions for all the visual learners.
We occasionally link to goods offered by vendors to help the reader find relevant products. Some of the links may be affiliate meaning we earn a small commission if an item is purchased.
How to make the surgery recovery pillow
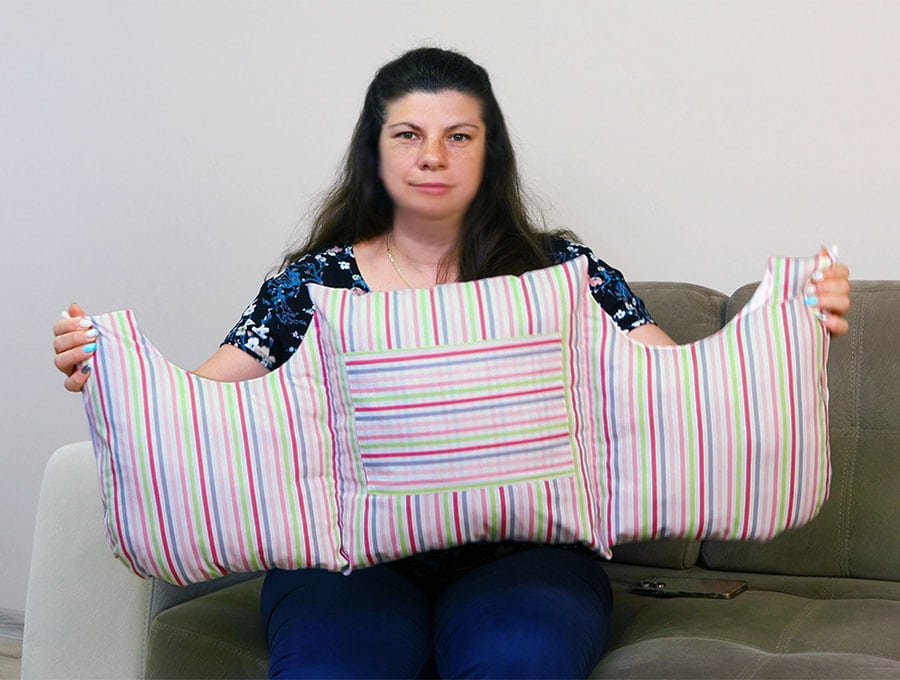
Supplies and tools
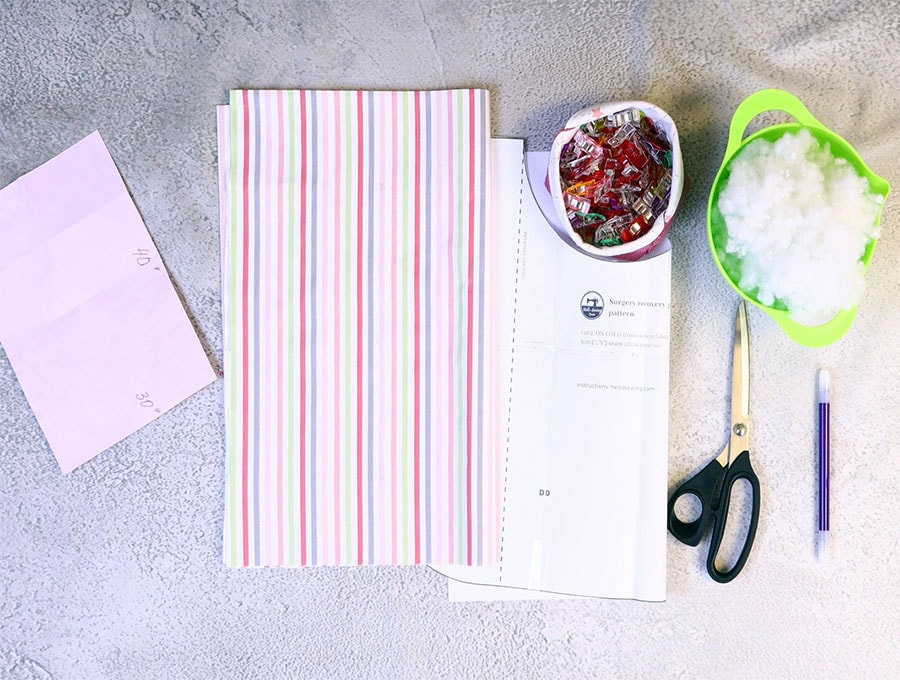
- fabric – 2 pieces of woven cotton (one main, one lining)
- polyester stuffing
- matching thread
- scissors (or rotary cutter and a cutting mat)
- ruler or measuring tape
- iron and ironing board
- sewing clips or pins
DOWNLOAD: Surgery Recovery Pillow pattern [Free pdf file]
Follow us for free patterns & tutorials! [easy-profiles]
How to Sew a Surgery recovery pillow
Watch the diy surgery recovery cushion video first and then follow the written step by step instructions below.
Please enjoy and don’t forget to Like and SUBSCRIBE over on YouTube to be kept up to date with new videos as they come out.
Surgery Recovery Pillow VIDEO TUTORIAL
What is a Masectomy Pillow?
A surgical recovery pillow — sometimes called a mastectomy pillow, heart pillow, or seatbelt pillow — is a small, supportive cushion designed to ease pain and protect sensitive areas after surgery. Ours is shaped to nestle under an arm, hug the chest, and sit between the body and a seatbelt, cushioning incisions from pressure, bumps, and accidental knocks during everyday movement. It also comes with an optional pocket for storing your phone and/or glasses, if worn away from the body, and if you turn it around with the pocket close to the body it can accommodate an ice-pack or a small heat pack. This is especially useful when you find it difficult to reach across for items on a side table.
This handmade version will make a welcome gift for a friend or family member during recovery, since a soft, fitted pillow can make a real difference in comfort during those first few tender weeks, especially when you have to contend with boisterous children, and pets.
The DIY surgical recovery pillow is a simple, rewarding sewing project you can finish in an afternoon.
INSTRUCTIONS:
STEP 1:
Either print out the free DIY Surgery Recovery Pillow pattern from HelloSewing.com or make your own pillow pattern as shown in steps 2 and 3. If you have printed out the pattern jump ahead to STEP 4.
STEP 2:
To make your own pattern:
Take a piece of paper 40 x 30” (100 x 75 cm) – a large newspaper sheet will do – you may have to tape a couple together, or tape whatever paper you have, like brown craft paper, to create the right size.
STEP 3:
Fold the right 30” (75 cm) side to meet the left 30” (75 cm) side. Then fold from the bottom up so you have a piece 20 x 15” (50 x 37.5 cm). The closed fold right and bottom and the four open sides left and top. Open out again.
STEP 4:
Mark 7” (18 cm) along from the top right corner. Find a plate or circular kitchen object with an 8” (20 cm) diameter and place to the left of the mark, and draw the half circle that reaches down into the fabric. Take a smaller circular object and use it as a guide to round off the lower left corner. Cut along the marked lines, then open out your pattern.
STEP 5:
Place the pillow fabric wrong side up on your worktop, the 40” (100 cm) length parallel with the top and bottom of the worktop, then fold from bottom to top, then from right to left, so you have 4 layers of fabric.
STEP 6:
Place the pattern piece you printed out, with the pattern fold on the right lining up with the fabric fold on the right. If using the pattern, you created in Steps 3 and 4, fold it into 4 and place on the fold. Weight the pattern in place and cut the fabric.
STEP 7:
To make the pocket (which is optional) cut a piece of fabric 10 x 12” (25 x 30 cm).
With the wrong side up, turn in the short sides each by ¼” (6 mm) and press, then fold in again ¼” (6 mm) and press.
STEP 8:
Fold the bottom of the pocket piece up by ¼” (6 mm) and press, then fold in again ¼” (6 mm) and press.
STEP 9:
Fold the top side in by ¼” (6 mm) and press, then fold in again 3/4” (2 cm) and press. Clip all the corners in place to hold the folds, then stitch along the top of the pocket as close to the fold as possible.
STEP 10:
Fold the pocket in half and finger press the fold, then align the pocket with the center of the pillow, placing it 4” (10 cm) down from the top. Pin in place.
STEP 11:
Stitch down one side, along the bottom and up the other side, backtacking at the start and finish. It is optional if you want to stitch a line down the middle of the pocket to create two pockets.
STEP 12:
Place the fabric right side up, then fold the bottom up, so the right sides face each other and line up the edges. Mark a gap of around 4” (10 cm) on each side, around the middle of the sides. Clip the edges together.
STEP 13:
Stitch around the edges using a 3/8” (1 cm) seam allowance, making sure to leave the gaps open.
STEP 14:
Fingerpress the edges of the gap open in line with the seam. Cut across the corners of the pillow to reduce bulk, taking care not to cut too close to the stitch line. Lastly, cut small V notches, or small nicks into all the curved areas to ease the fabric when turning.
STEP 15:
Turn the pillow the right way out by pulling the fabric through one of the gaps, using a turning tool to press out the seams neatly, then give a press with an iron.
STEP 16:
Fold the left-hand side over to the right in line with the start of the armhole and press along the fold line. Then fold the right side over to the left and press along the fold line from the point where the armhole starts. Press in the folds with an iron.
STEP 17:
Unfold and stitch straight down the right-hand fold of the pillow from top to bottom starting and ending with a backtack.
STEP 18:
Next stitch down the pillow from the top on the left-hand fold, but leave a large gap of around 6” (15 cm) in the middle, to be able to reach the front section for stuffing it later. Backtack on either side of the gap.
STEP 19:
Start stuffing the pillow from the gaps on each side. The central area will be stuffed from the left through the gap you left in the fabric. Once it is all puffed up and the stuffing is evenly spread, then pin the gap in the left side of the central section, taking care no stuffing gets in the way of the needle when you stitch the gap closed.
STEP 20:
Stuff the side panels, then turn the fabric in, in line with the seam and pin or clip each of the side gaps closed. Switch to a zipper foot, then stitch the gaps.
Your pillow is now ready to gift. It is unbelievable how useful these are. They can be used against the chest to help a person keep warm and to shield against small knocks that can be so painful when recovering from surgery. They are perfect to use in the car too, taking the pressure off the seatbelt against your body.
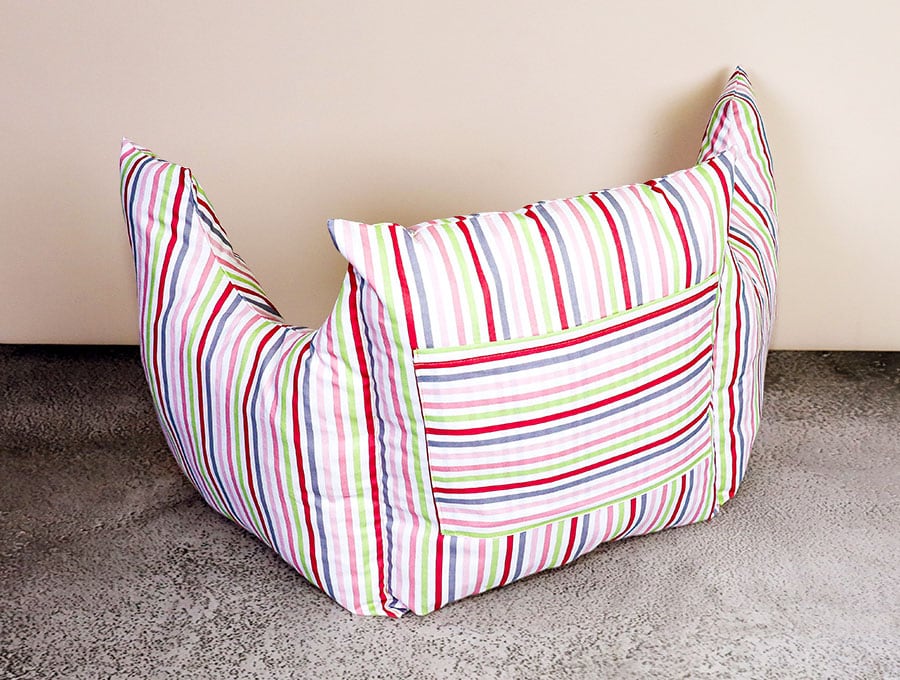
Make this pillow from our free pattern to gift to someone who is due to undergo surgery in the chest or abdominal area. It will shield them from small knocks as they recover. It is also perfect for wearing in the car to ease the pressure of the seatbelt. Made from cotton fabric and hygienic Fiberfil it is super quick to sew and will be such a blessing. The extra pocket can be used to keep items like a cell-phone, chap stick, and glasses at hand. After anaesthetic lips need moisturizing and when you’re sore having to reach across to a nightstand for items you use frequently becomes quite an issue.
Please share with anyone who may have a family member undergoing surgery, and don’t forget to like and subscribe if you want to be first to access our new projects as we post them.
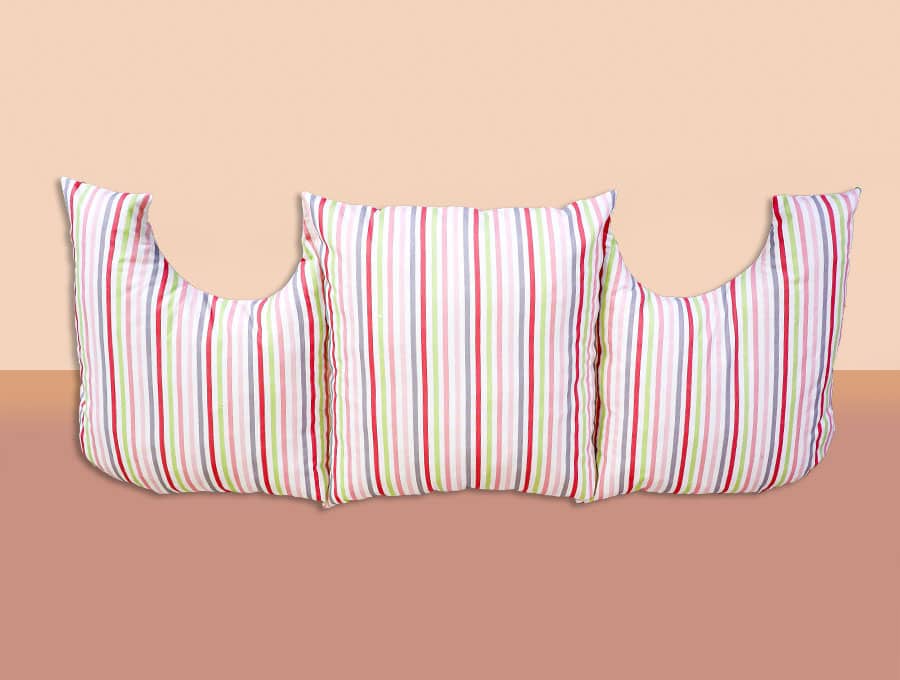
This surgery recovery pillow might just be the most meaningful thing you sew this year. Whether you’re making it for yourself or gifting it to someone going through a tough recovery, it’s the kind of handmade project that truly makes a difference. Something that says “I made this just for you” — and that means everything when someone is healing. 💛
And if you loved this project and want more patterns and tutorials like this one delivered straight to your inbox, make sure you’re subscribed to my newsletter! I share new patterns, fun sewing inspiration, and all kinds of projects you’ll actually want to make — totally free.
Do you like this? Pin for later:
Wanna be friends? Click HERE and follow me on Pinterest
RELATED: