 [VIDEO]")
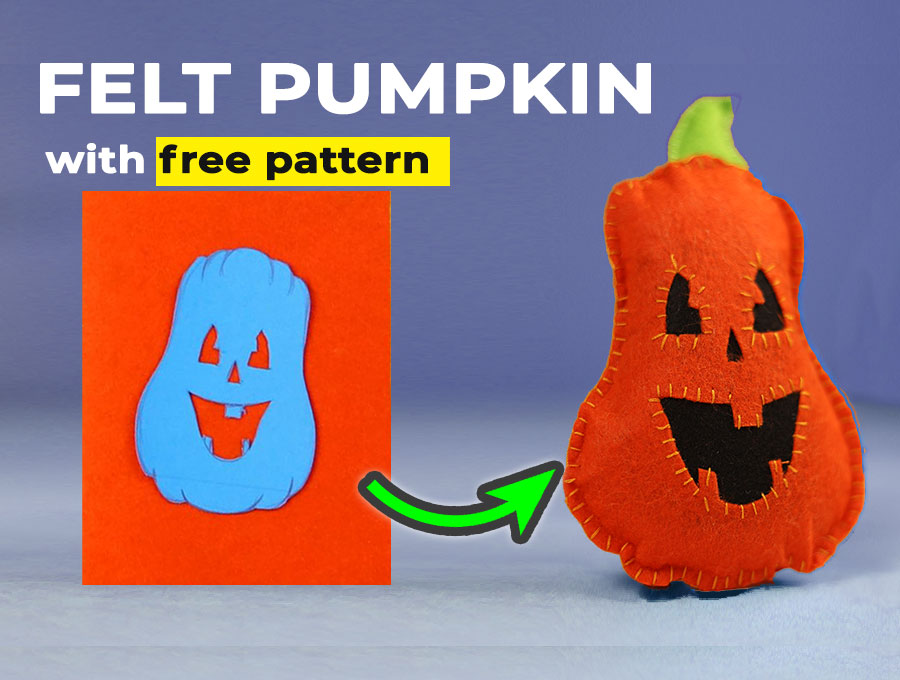
DIY Felt Pumpkin (with a Free Pattern) [VIDEO]
This super easy and fully hand-sewn felt pumpkin decor is a great project to tackle with children or grandchildren. We have supplied the printable free pattern. All you will need is some orange felt, a little black felt and a tiny bit of green for the pumpkin stem, a little filling and your enthusiasm. If you like you can make a number of these to string together to hang over a door way. If stored well they will last for years, providing Halloween décor fun as people pass under the grinning pumpkins. When you sew thee along with the kids it makes for a great lesson, with a purpose!
This hand-stitched project is really easy and a great one to tackle with the kids. First, watch our visuals to see how simple it is to make the grinning felt pumpkin character. Then, print out the free felt pumpkin pattern and get cutting and stitching to create the character along with kids – they can each create one, then put them together in a garland. All you need is some felt, a little fiber filling, a sewing needle and thread. This DIY felt pumpkin project is a great one to bring the family together as you all prepare for Halloween.
We occasionally link to goods offered by vendors to help the reader find relevant products. Some of the links may be affiliate meaning we earn a small commission if an item is purchased.
Table of Contents
How to make a Felt Pumpkin
Supplies and tools
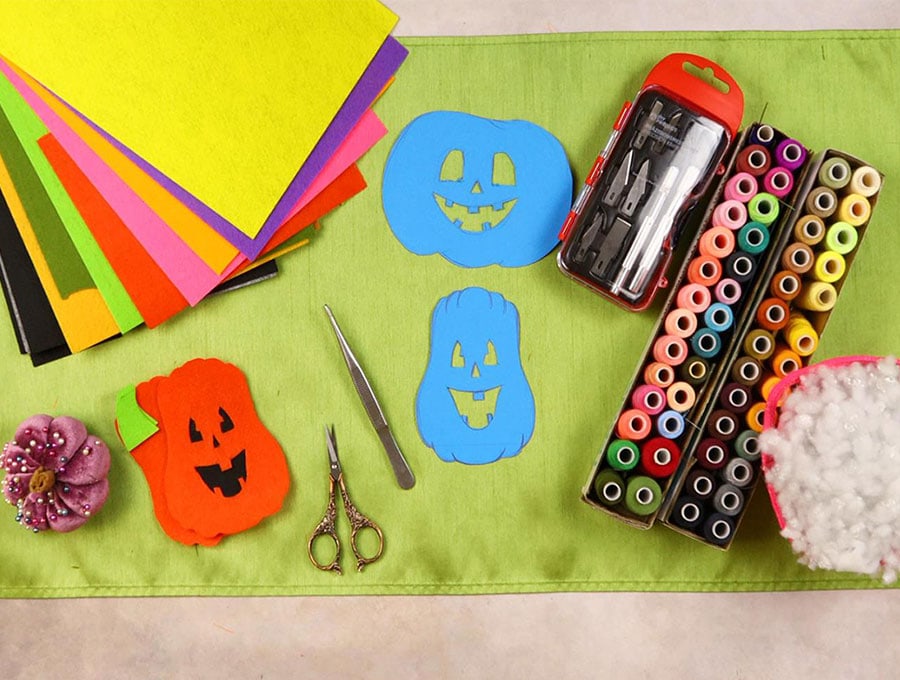
- Our free printable paper pattern (below)
- Orange felt for the body of the pumpkin
- Scraps of black felt for the eyes and mouth of the pumpkin character
- Small scrap of green for the pumpkin stalk
- Orange and black thread
- Embroidery needle
- Precision cutting knife and a self-healing cutting board )
- Small quantity of stuffing for the pumpkin
- scissors (or rotary cutter
- sewing clips or pins
DOWNLOAD: felt pumpkin pattern (coming soon) [Free pdf file]
Follow us for free patterns & tutorials! [easy-profiles]
How to Sew a Felt Pumkin Decoration
Watch the diy felt pumkin video first and then follow the written step by step instructions below.
Please enjoy and don’t forget to Like and SUBSCRIBE over on YouTube to be kept up to date with new videos as they come out.
Felt Pumpkin Decoration VIDEO TUTORIAL
INSTRUCTIONS:
STEP 1:
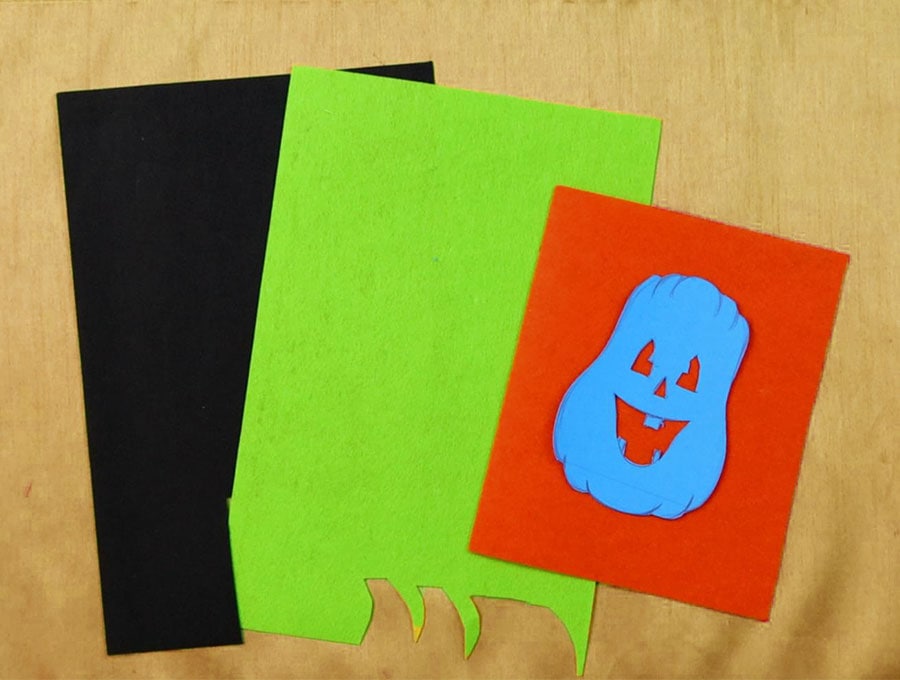
Print out the free felt pumpkin pattern pieces and trim out the excess paper.
Make sure you download the pattern to your computer and print to 100 % or no scaling.
STEP 2:
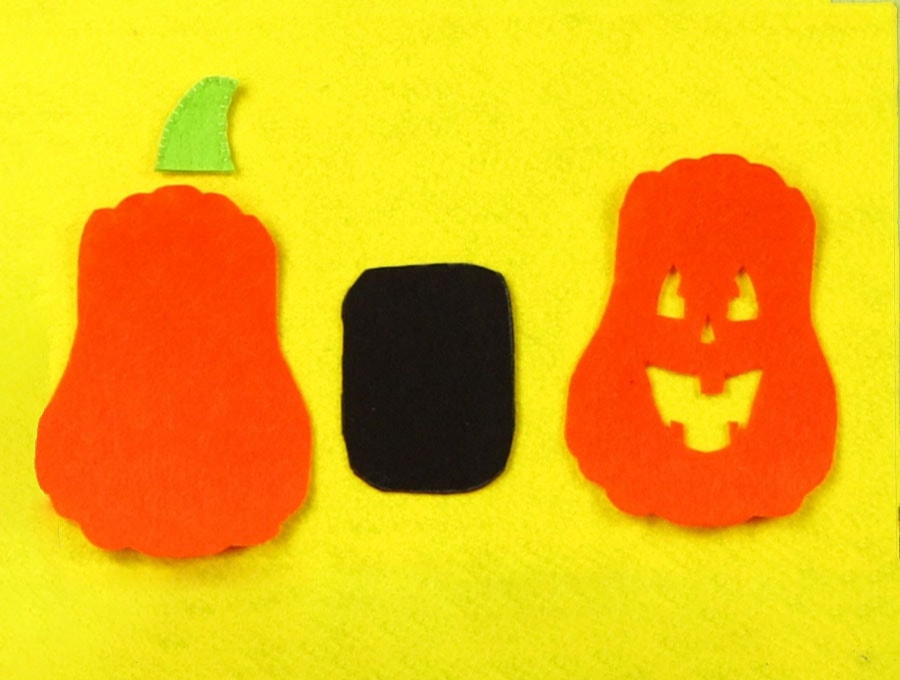
Place the pattern pieces over the orange felt for the front and back of the pumpkin and cut them out.
Cut out 2 pumpkin stalks out of green felt and the backing piece out of black felt.
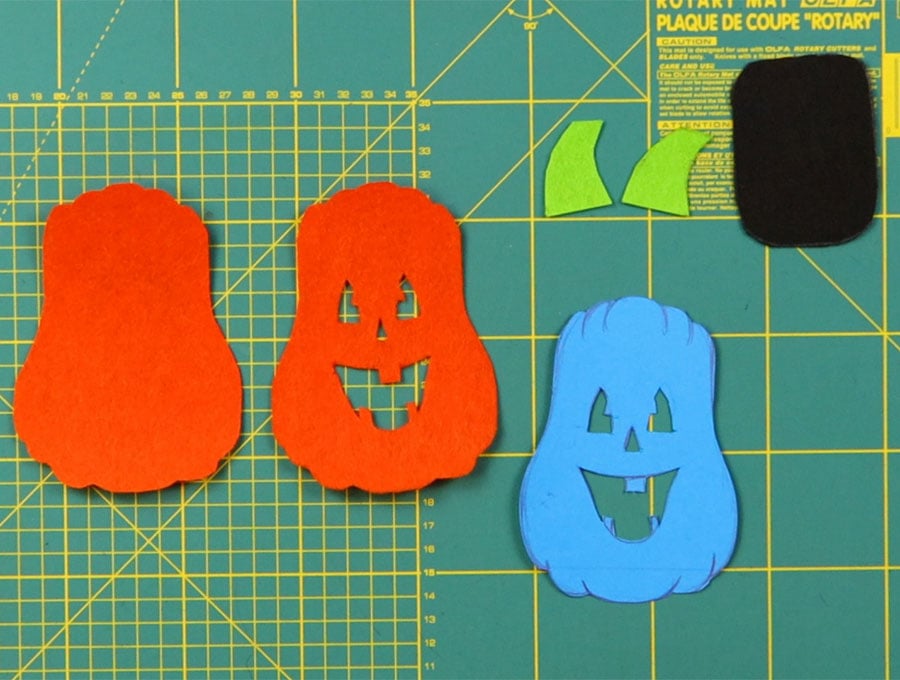
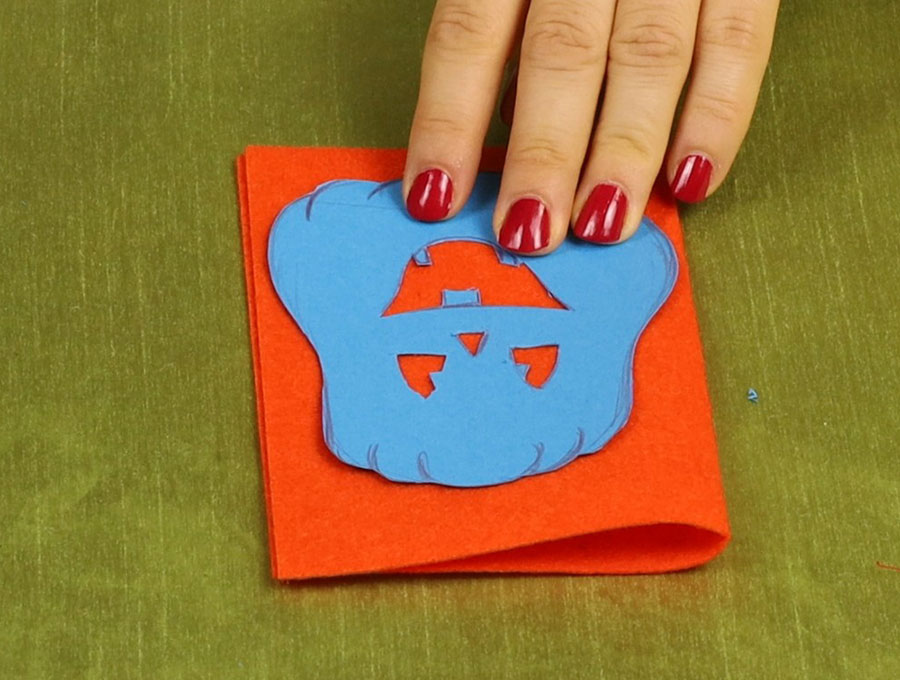
Using a precision craft knife and the self-healing cutting board cut out the eyes and mouth from the front piece of the pumpkin. This is a step best handled by an adult or an older child, with safety precautions in mind.
STEP 3:
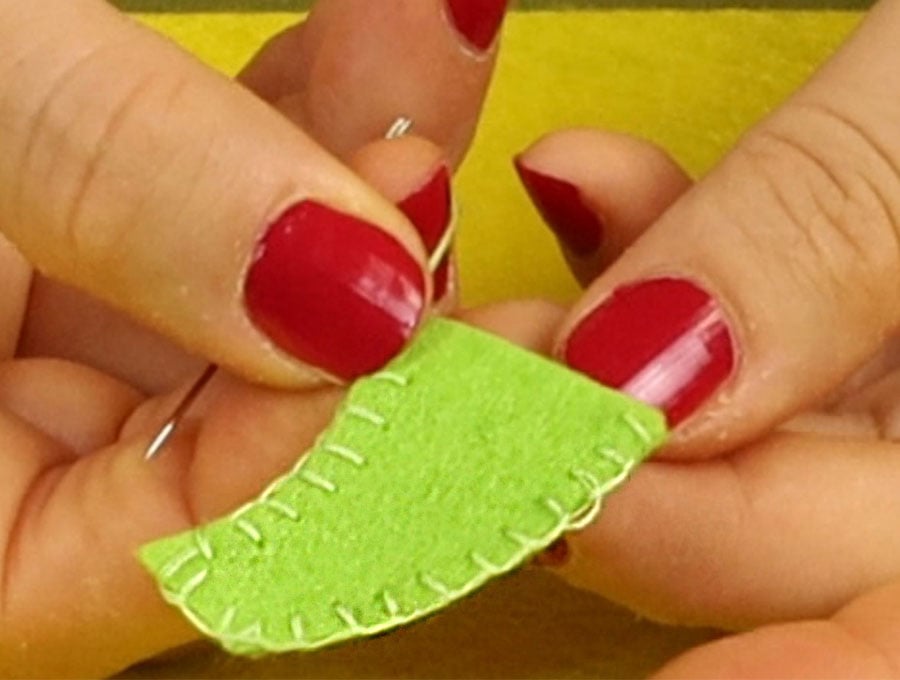
Pin together both pieces for the green pumpkin stem and stitch them together.
STEP 4:
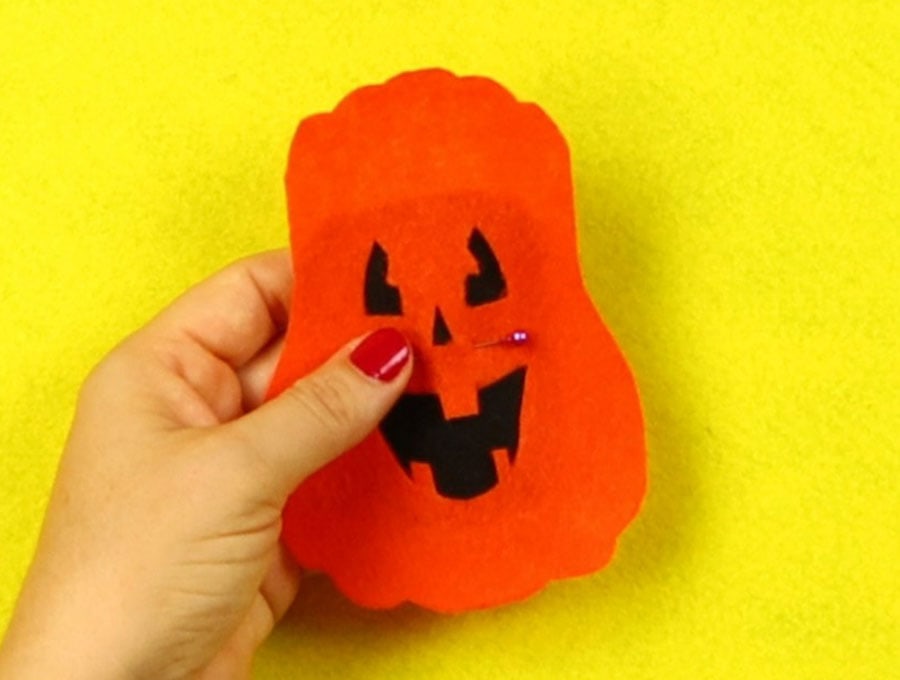
Position the black pieces of felt behind the mouth and eyes of the pumpkin, then pin them together to keep the black felt to the back of the pumpkin face.
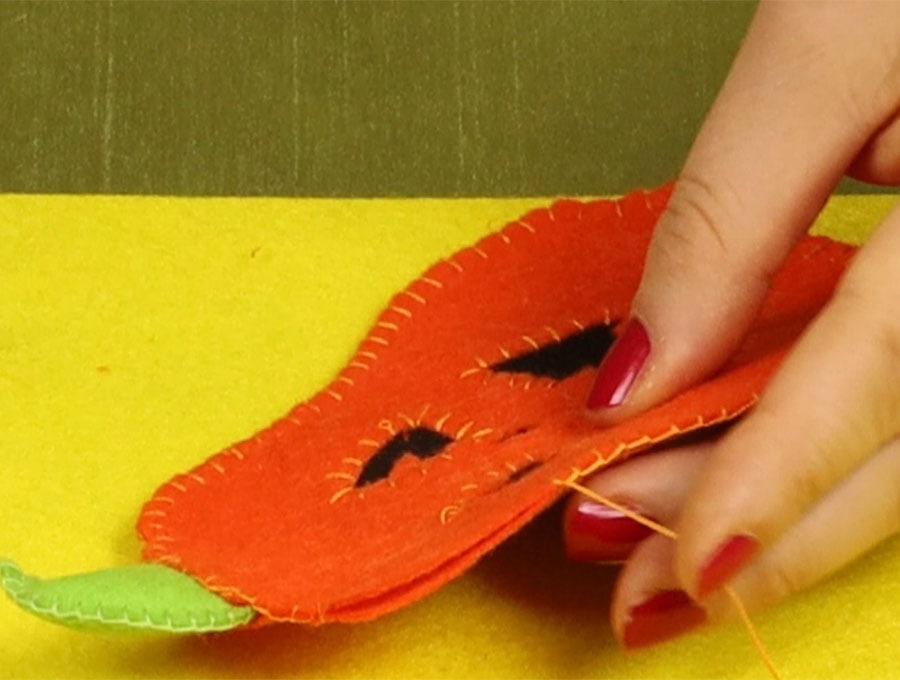
STEP 5:
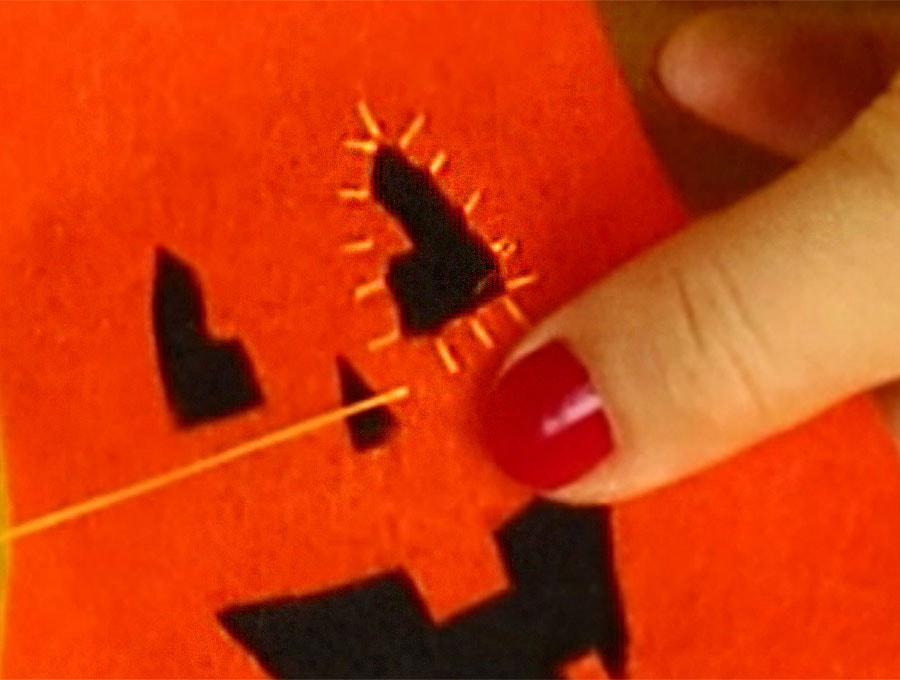
It’s time to give your felt pumpkin some character by hand-stitching around the eyes and mouth with the orange thread.
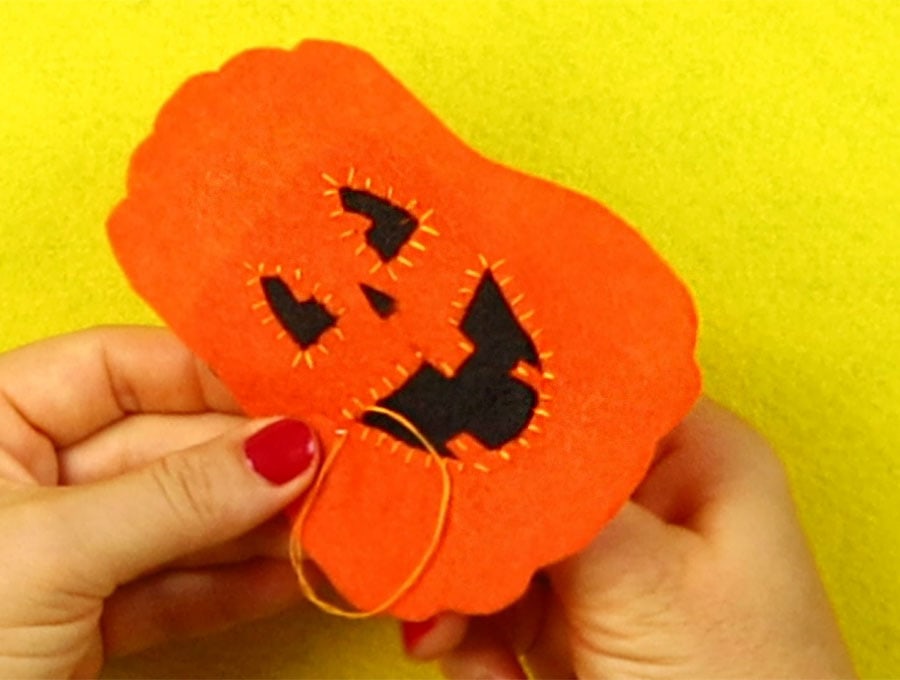
You can extend the stitches around the eyes to create eyelashes, if you like.
STEP 6:
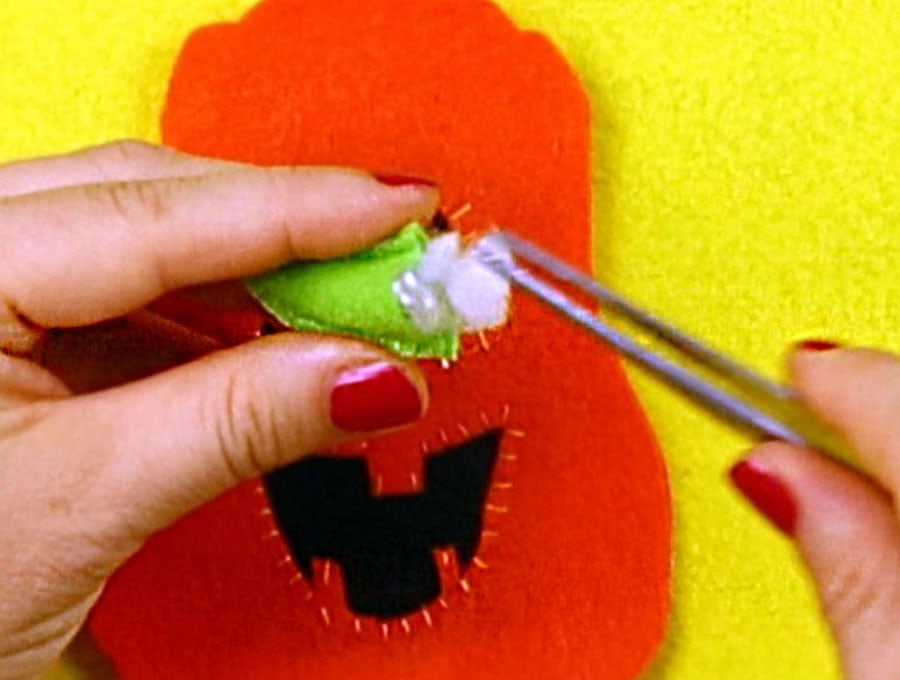
Fill in the stalk with some polyfill.
STEP 7:
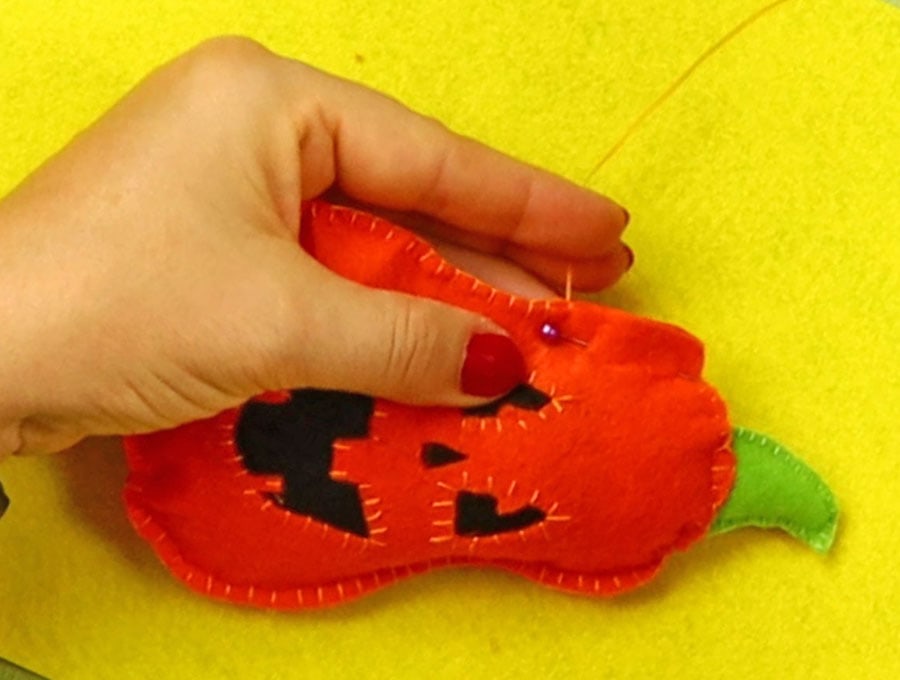
Line up the front and back of the pumpkin and clip or pin together. Insert the stalk to the top of the head and secure with a pin.
STEP 8:
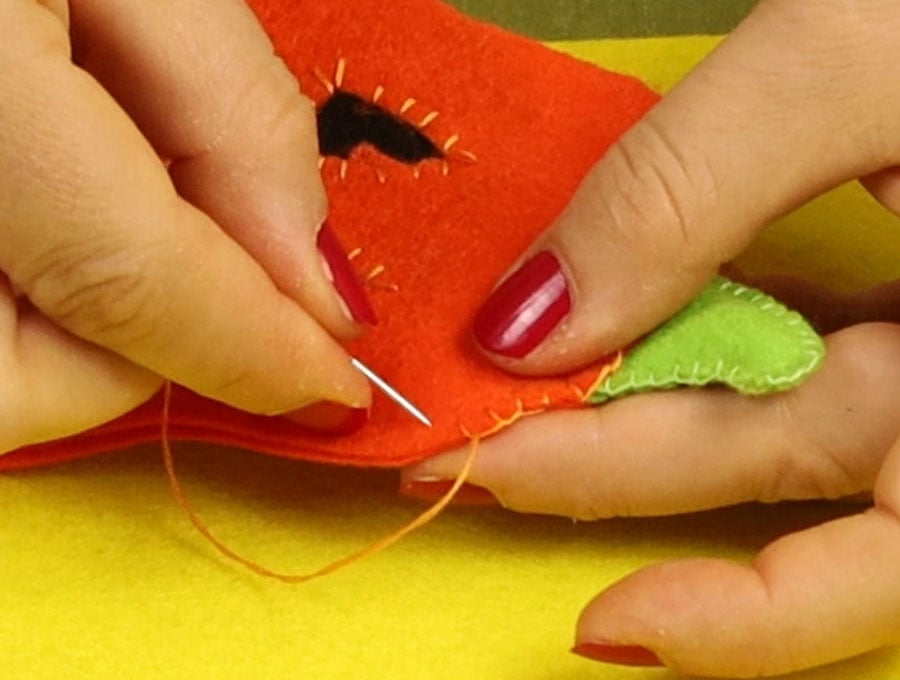
Using a matching orange thread, doubled up, start making small stitches to secure the two sides together. Start stitching just before the stalk, sew all around, leaving a gap of approximately 1½ inches (4cm) on the side of the pumpkin through which to insert the stuffing.
STEP 9:
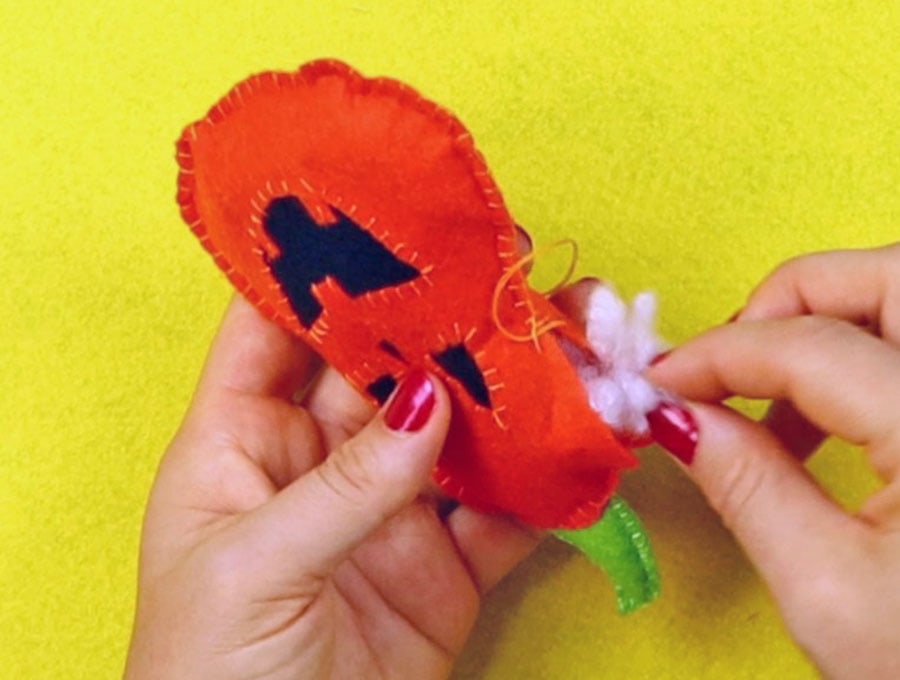
Stuff the pumpkin carefully, putting in small bits at a time and using a chopstick or the back of a pencil to push the stuffing towards the edges.
STEP 10:
Once sufficiently full, continue stitching to close the gap.
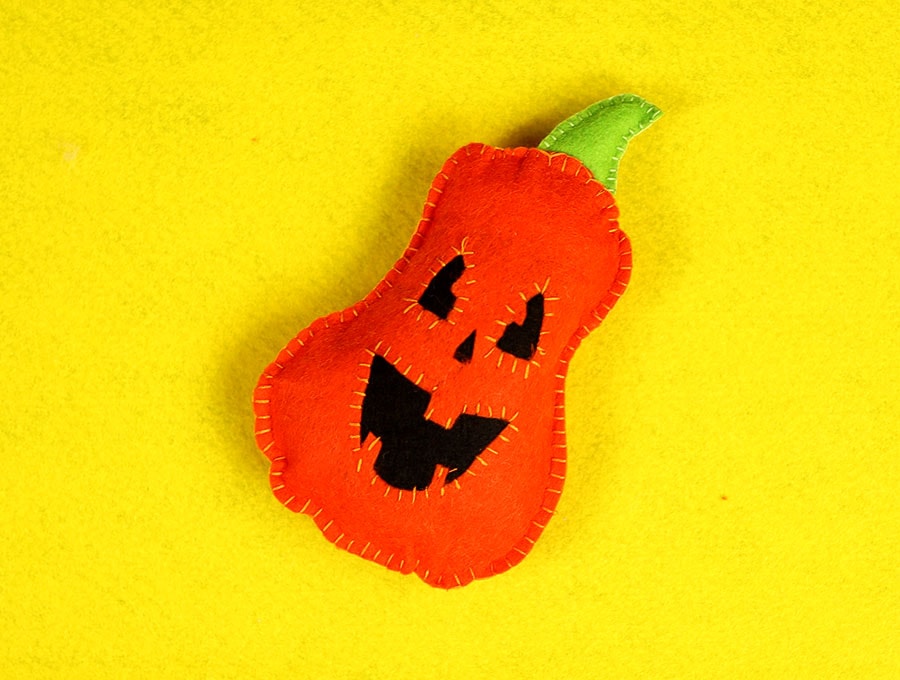
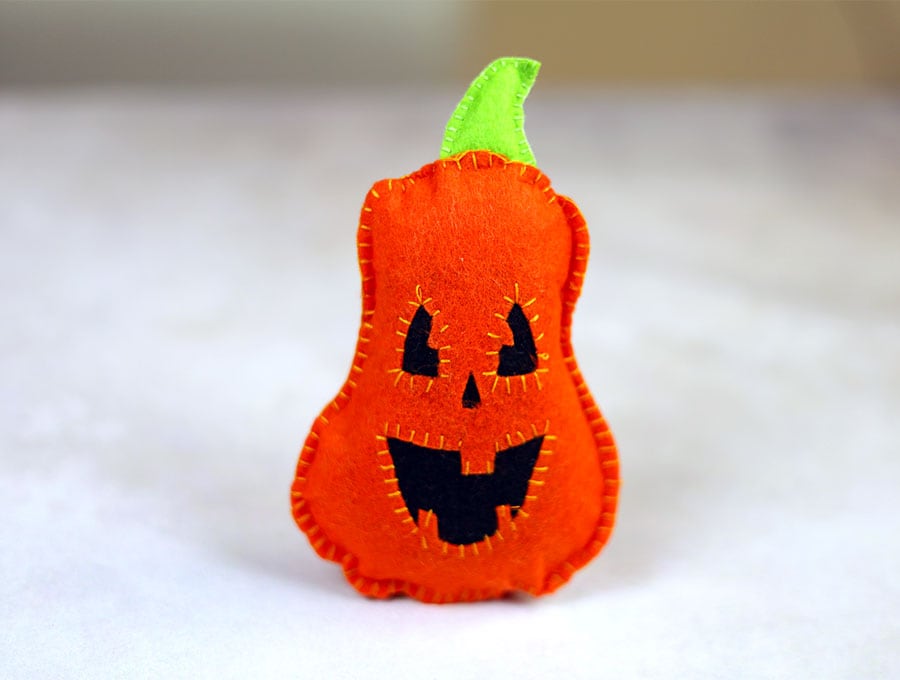
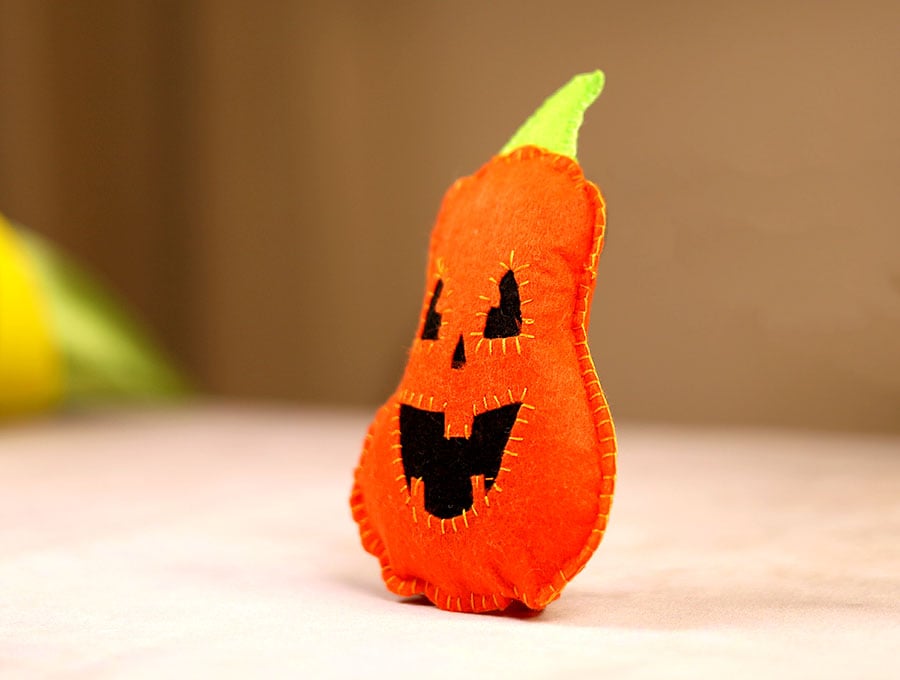
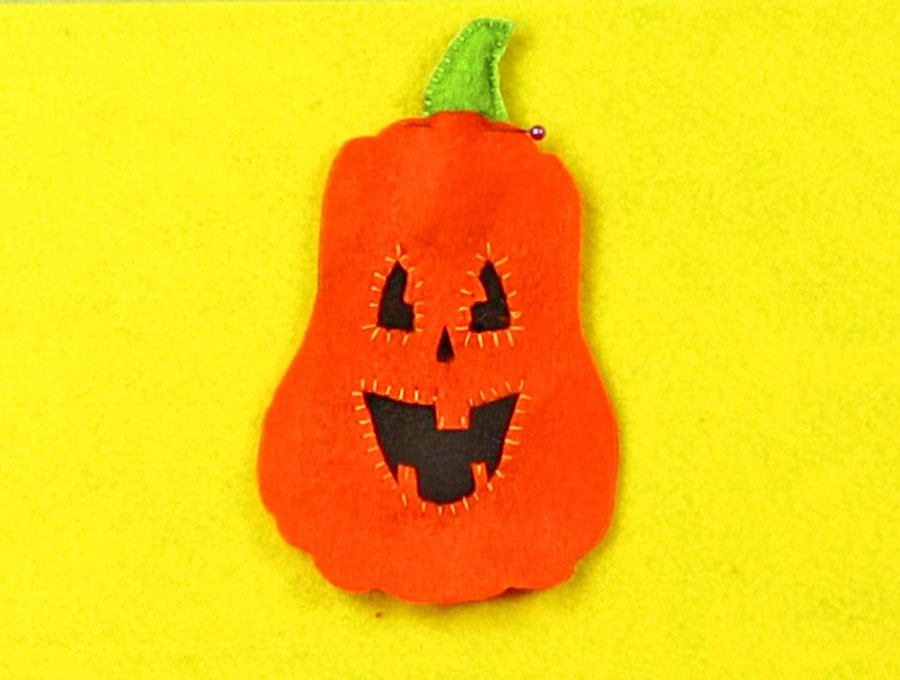
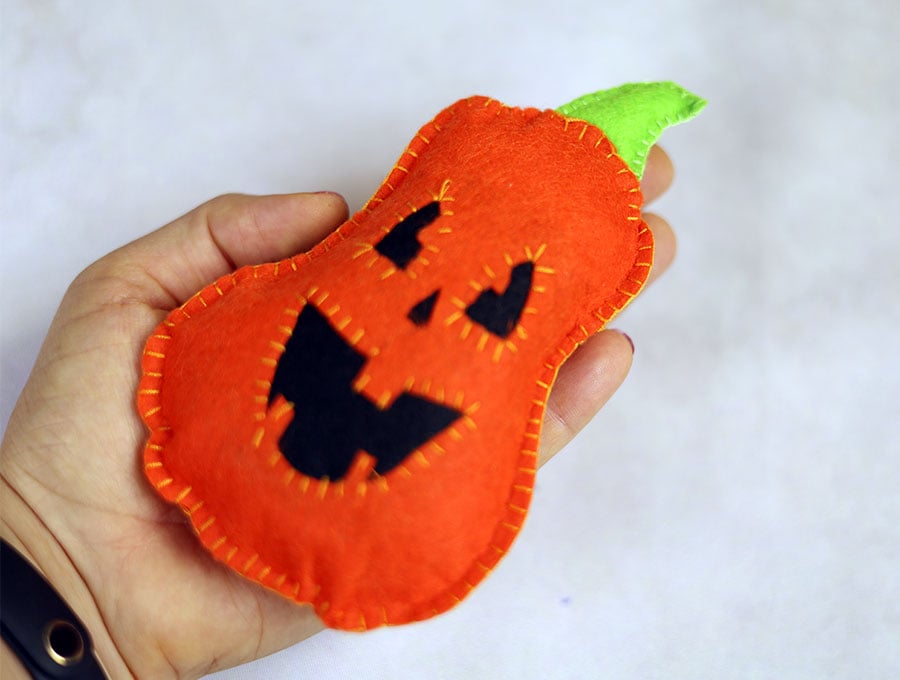
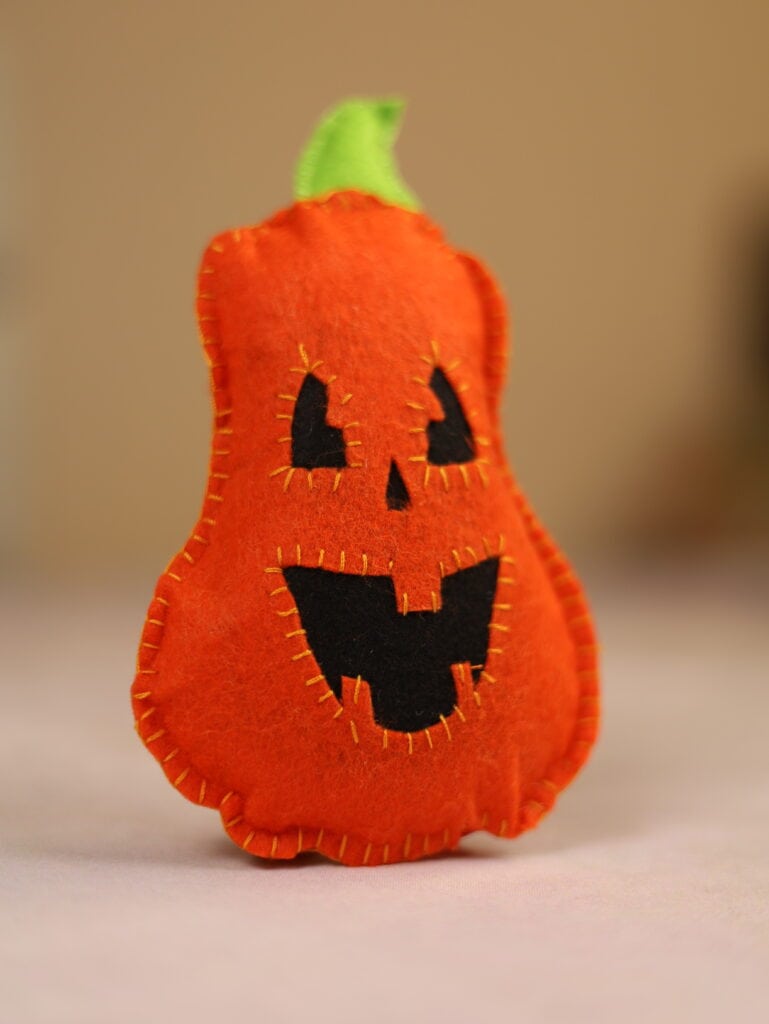
Voila the felt pumpkin is ready
and here’s how it looks from the back
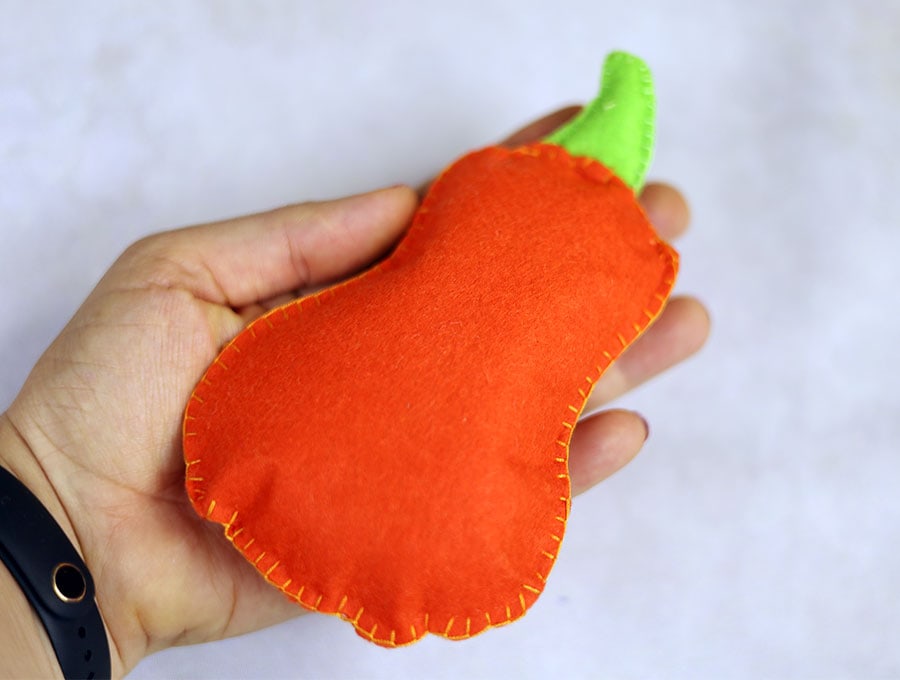
Your little pumpkin character is complete and can be used as a table décor piece, hung from a cord over a door handle, or strung together with a few other pumpkin characters for a doorway or fireplace garland. Once you have made one felt pumpkin you’ll want to make more – it’s a great project to do with kids as they learn to sew – and the fun part is seeing their sewing efforts on display for Halloween! If you loved making our pumpkin character then please like and subscribe to have more fun projects delivered straight to your inbox. We would love to see what you do with the pumpkin character so please share your photos in the comments section.
Do you like this? Pin for later:
Wanna be friends? Click HERE and follow me on Pinterest
RELATED: