
DIY Draft Stopper for Doors or Windows – 2 Ways
When the winds howl and snow lies on the ground the last thing you want is winter’s icy breath reaching through the gaps at the bottom of doors or windows. So, with your comfort in mind we present the DIY draft stopper. It is also known as the door snake, draft guard, draft blocker, breeze blocker and door or window draft stopper – whatever you choose to call it doesn’t matter much – the draft stopper is there to keep you comfortable and warm.
Just follow our easy step-by-step instructions to make draft blockers for doors or windows, using material from your fabric stash. We even have a free downloadable pattern to make and adorable Scotty dog and a Dachshund Door or simple window guard.
Below you will find my step by step written tutorial with VIDEO instructions for all the visual learners.
We occasionally link to goods offered by vendors to help the reader find relevant products. Some of the links may be affiliate meaning we earn a small commission if an item is purchased.
Table of Contents
- 1 How to make a draught excluder
- 2 Draft guard Supplies and tools
- 3 How to Sew a draft stopper
- 3.1 DIY draft guard VIDEO TUTORIAL
- 3.2 DIY DRAFT BLOCKER INSTRUCTIONS:
- 3.3 STEP 1: Measure your window or door
- 3.4 STEP 2: Cut out the fabric
- 3.5 STEP 3: Fold and pin
- 3.6 STEP 4: Sew
- 3.7 STEP 5: Trim the corners and turn inside out
- 3.8 STEP 6: Fill the tube with insulation
- 3.9 STEP 7: Pin and stitch the open end
- 4 Draft Guard FAQ:
How to make a draught excluder
Draft guard Supplies and tools
- fabric – home décor fabric or woven cotton (one patterned, one plain if making the doggy draft stopper)
- matching thread
- scissors (or rotary cutter and a cutting mat)
- ruler or measuring tape
- iron and ironing board
- sewing clips or pins
- sewing machine
for the doggy draft stopper you will also need:
- thin grosgrain ribbon
- polyfill stuffing
- uncooked rice
Follow us for free patterns & tutorials! [easy-profiles]
How to Sew a draft stopper
Watch the diy draft stopper video first and then follow the written step by step instructions below.
Please enjoy and don’t forget to Like and SUBSCRIBE over on YouTube to be kept up to date with new videos as they come out.
DIY draft guard VIDEO TUTORIAL
DIY DRAFT BLOCKER INSTRUCTIONS:
We cut the DIY draft blocker 8 inches high – when folded over and seamed this gives a fairly wide draft stopper. Now the gap you are trying to block may be only ½ an inch, but the cold air getting through will make the interior of the door colder close to the gap. By making the draft guard wider than the actual gap we ensure heating in the room is more efficient by blocking any cold air, so it can’t cool the door near the gap.
The fabric you choose should be fairly sturdy. Denim or corduroy are good choices, as will a durable thick cotton. You can easily repurpose an old pair of jeans, pants or jacket for this project, by opening the inner seam along the leg and cutting to the size you require. Try to avoid lightweight fabrics as they will not hold up to frequent use. Choose darker colors for the door draft stoppers as they will be moved more frequently as people enter and leave a room. Window stoppers can be made of lighter colors to create a cheery ambience in the room as they will tend to stay cleaner, being elevated from floor level. I’m thinking of window draft stoppers in prints that incorporate pinks, purples, greens and yellows to create that spring time feeling everyone is wishing for as they wait out the winter.

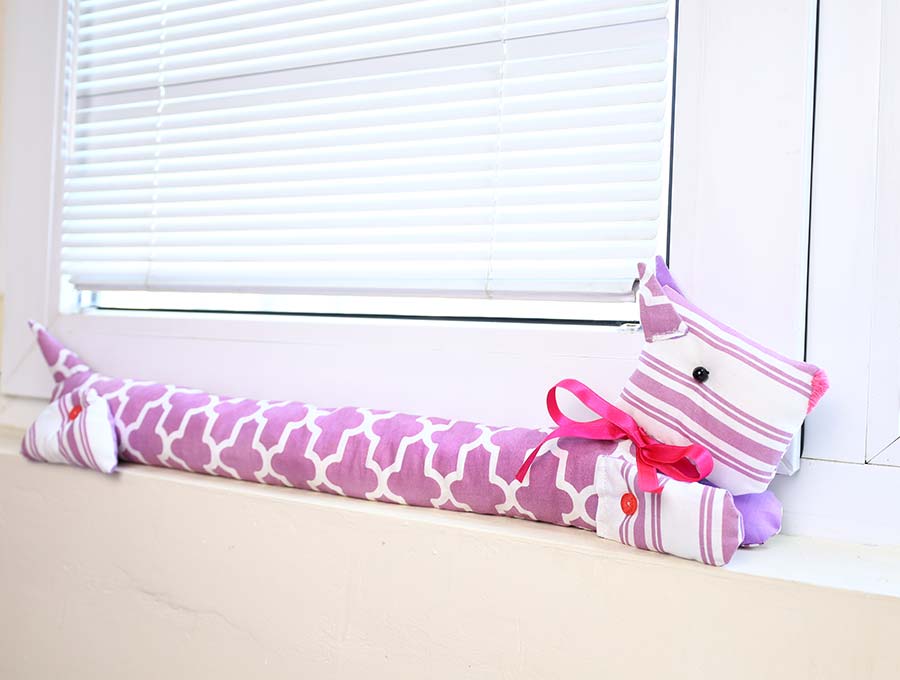
In the FAQ section we have options for making adorable Scotty or Dachshund DIY draft stoppers. Check out the downloadable patterns for these two. The Scotty dog will look adorable in a black faux fur fabric, and you can finish him off with a tartan neck ribbon. The dachshund will look great in a brown corduroy, brown faux fur or denim.
Below we show you how to make a door draft stopper.
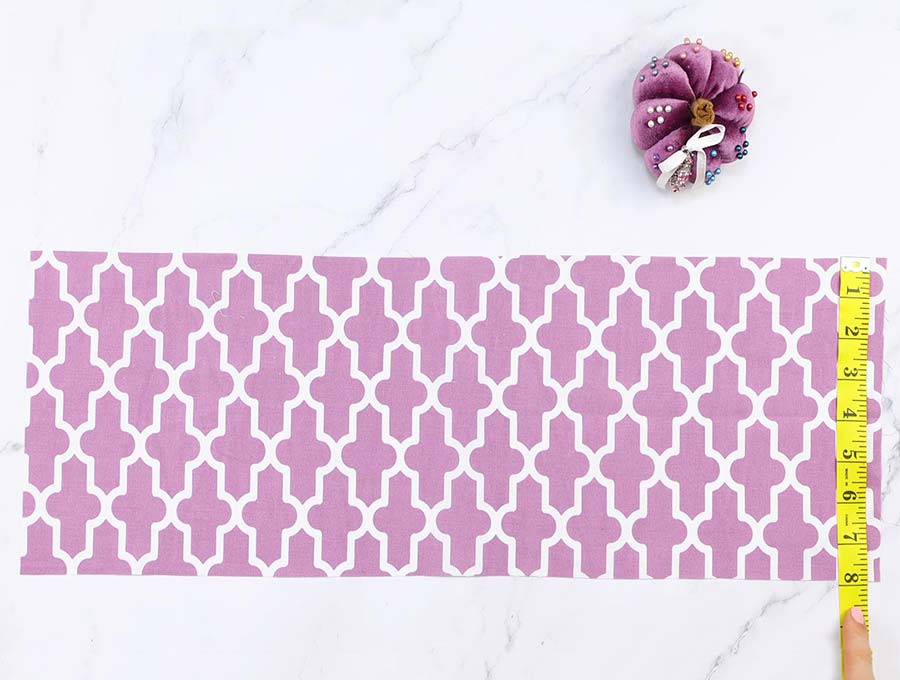
STEP 1: Measure your window or door
Measure the length of the door or window that needs blocking. Now add on four inches to that measurement before starting to cut your fabric. Let’s assume the door you want to create the DIY draft stopper for is the standard 36 inches wide, so adding 4 inches brings us to 40 inches. Now, no matter what size the gap is that you want to cover always cut the material 8 inches high.
STEP 2: Cut out the fabric
Now you have your dimensions cut out the fabric ( in the example it will be 40 x 8 inches)
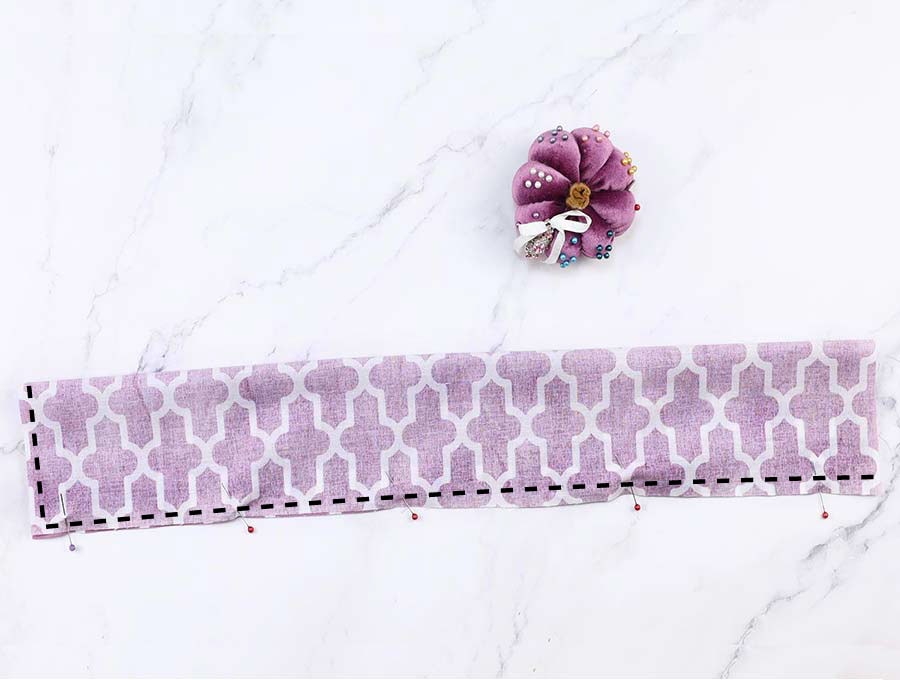
STEP 3: Fold and pin
Fold the fabric in half along the 40 inch length, with right sides facing each other and pin or clip the edges together once they are neatly lined up.
STEP 4: Sew
Head over to your machine and stitch along the long edge, backtacking at the start ½ inch from the edge of the fabric. When you come to ½ inch from the end of the long side leave the needle down, lift the machine foot and swing the fabric to create a neat corner, put down the machine pressure foot and carry on to the end, backtacking when you finish.
STEP 5: Trim the corners and turn inside out
Cut across the two corners on the short side, not too close to the stitching, to remove excess fabric, then turn the door- stopper tube the right way out, using a chop stick or similar type of blunt instrument to poke out the corners so they are neat.
STEP 6: Fill the tube with insulation
Fill the tube with insulating materials. It is up to you whether you use beans, lentils, river sand, rice or kitty litter. Don’t go for bean bag filler only as the small polystyrene balls will be too light – you need some weight to make sure it stays in place and stops the drafts. I’d like to use a mix of 2/3 fibrefill and 1/3 rice, beans or sand to get enough weight.
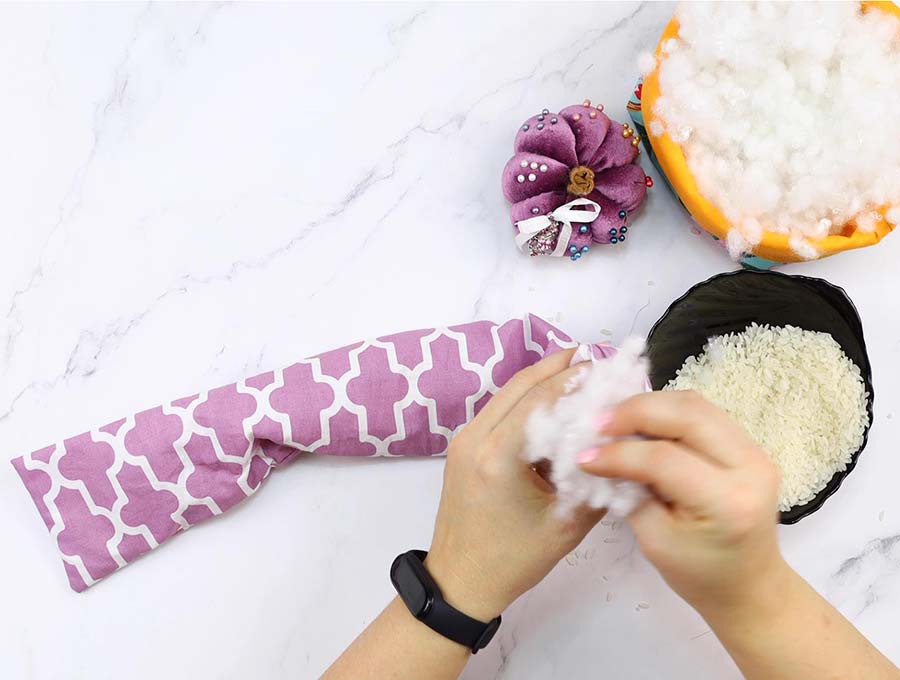
Tip: Don’t overstuff the tube. If the draft guard is too stiff, it won’t fit snugly against the door or window.
When you fill make sure there is room enough to sew the end closed The door stopper should not be too full as it needs to be able to mold to the bottom rail of the door and the threshold, to ensure the gap is sealed. It should also wedge in against the door frame snugly, which that is why you have the extra inch on either side once it is completed and seam allowances have been accounted for.
STEP 7: Pin and stitch the open end
Pin the open end, allowing ½ inch to be tucked in. Shake the filler so the end is free of filler when you sew ¼ inch from the edge, back tacking at start and finish.
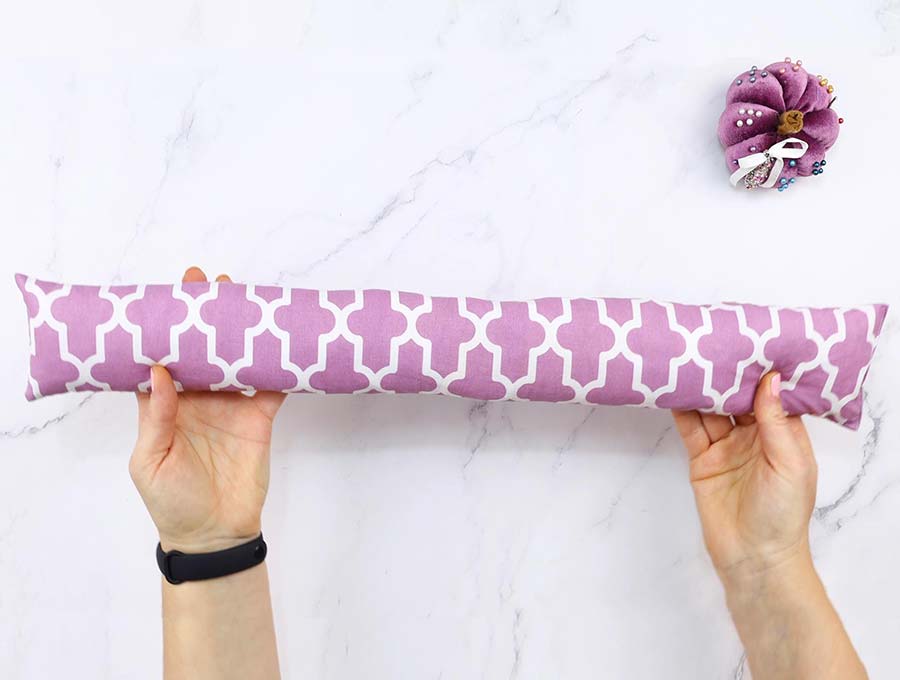
The homemade draft stopper is now ready to be used.
Draft Guard FAQ:
Q: Seeing as it is called a door snake how can I make it look like a snake?
A: This is really quite easy. Use the basic pattern, choose a snakeskin print fabric, then add on an eye, and a black felt forked tongue when you sew the end closed. The only problem might be that the kids want to play with it rather than leaving it to its function of blocking drafts. I would suggest making a couple more identical ones – if they are not identical kids will insist your door draft blocker is superior to theirs and still remove it to play with it.
Q: I’d like to make my door draft guard look like a log – how do I do this?
A: If you don’t have log printed fabric then choose a dark brown fabric and once you have cut it out watch this little video
that shows how to easily draw a wood grain. Using a black permanent marker then draw the wood grain onto your fabric before sewing up your draft excluder.
Q: What is the best filling for a door draft stopper?
A: You need a filling that is heavy enough so the homemade draft stoppers don’t move easily, dense enough to keep the drafts out and easily available. One that works really well and keeps plastic out of landfill is to stuff your DIY door draft stopper with plastic bags. Just make sure they are clean and dry and stuffed densely enough to be effective. Other good fillings aside from the ones mentioned in this article are buckwheat hulls, and crushed walnut shells. As for the best filler – I’d go with commercial kitty litter because it usually has a pleasant scent and the material used will absorb odors and moisture, should snow or rain blow through the gap.
Q: I’ve seen door stoppers in dog shapes – how do I do this?
A: Watch the video to see how to turn the basic draft guard into a cute dog. You will need to cut 2 sets of ears, front legs, back legs, a head and a tail. Everything is clearly explained in the video above
Once you have completed your DIY draft guard you will probably realize the benefits fairly quickly. The room will be warmer and you’ll probably be spending less on heating. Then you’ll have recycled clothing that probably would have gone into landfill and if you have recycled the stuffing – like polyfiber from old pillows you were going to toss out, you’re even being more conscious about recycling.
These door and window draft guards are perfect particularly if you are renting a property and the landlord isn’t doing anything about making sure door and window frames fit properly. Instead of suffering you’ll be proactive in making sure you keep those heating bills down and yourself warm.
If you liked this DIY door and window draft stopper then subscribe to get more projects with step-by-step instructions and free video tutorials delivered directly to your inbox.
Do you like this? Pin for later:
[***pin img****]Wanna be friends? Click HERE and follow me on Pinterest
RELATED:
Have cold hands? Make one of these
Sew Mittens out of old sweaters (QUICK + EASY)
Sore neck muscles? Make this rice heating pad to soothe the pain
Fleece mittens with faux fur lining (w.*Free* pattern in 3 sizes)
20 brilliant ideas to upcycle old sweaters (#11 is GENIUS)