
Quilting FAQ Answered! Our Top Tips to Help Deal with Annoying Quilting Issues
Before you start quilting:
The first step to a successfully machine quilted quilt is preparation of the quilt sandwich: The day before you plan to quilt, take your batting out and spread it out on a spare bed or someplace it can be left to breath and expand without being moved too often.
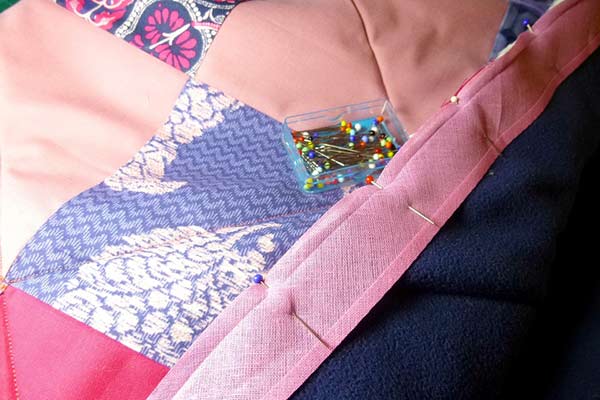
Basting your quilt properly is one of the keys to machine quilting. Start by pressing and either starching or sizing your quilt back. Adding sizing or starch will add body to the fabric and help eliminate tucks on the back. Press your quilt top, making sure that all seams go in the correct direction. Lay your quilt back on a flat, clean surface with the wrong side up. Being careful not to stretch the backing fabric, tape it in place. Lay the batting on top of the quilt back, smoothing it out. A large ruler will help considerably. Next, place your quilt top, right side up, on top of the batting. Again, use your acrylic ruler to help smooth all the wrinkles out. The backing and batting should be at least two inches larger than the quilt top on all sides. Smooth out the quilt top and baste in place. Special quilters basting safety pins or temporary spray adhesive both work well. For a large quilt, I recommend pin-basting. Use the special quilting pins as they are much easier to use. If using safety pins, don’t pin where you will be quilting so you don’t have to stop to remove pins until you are done.
Once basted, you are ready to quilt. Your sewing area should be clear. If your quilting area is slippery, use a quilting spray or a Teflon sheet to reduce the slippage. Make sure your sewing machine and chair height are correct and you are all set.
How do you decide to quilt your quilt?
If doing a meandering design on the whole surface of your quilt, start in the center filling up the center area as you work out towards the edge.
 If you have straight lines that go across your quilt, use a walking foot and do them first. Start in the center of the quilt and quilt from the top of the quilt edge all the way to the bottom. Work your way first to one side and then the other. If your lines are both vertical and horizontal, do all the vertical lines before doing the horizontal lines. Let your sewing machine and walking foot do their job. Don’t push or pull the quilt thru the foot and don’t let the weight of the quilt “pull” on the needle or machine.
If you have free motion quilting to do in the blocks, do them after all the straight-line work. Gridlines or stippling should be done after your design is done so that you can stop/start in the correct area and completely fill in the work area.
What you should consider before you start quilting:
You can leave the decision how to quilt your projects for after your top is basted. You can come up with the decision while designing the top or while working one it. However, before you thread the needle there are several things to consider:
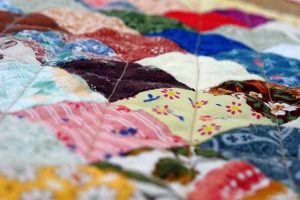
Select the right fabrics (that go well together)
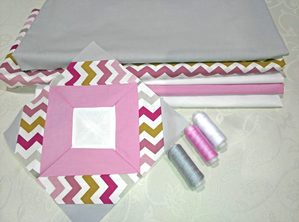
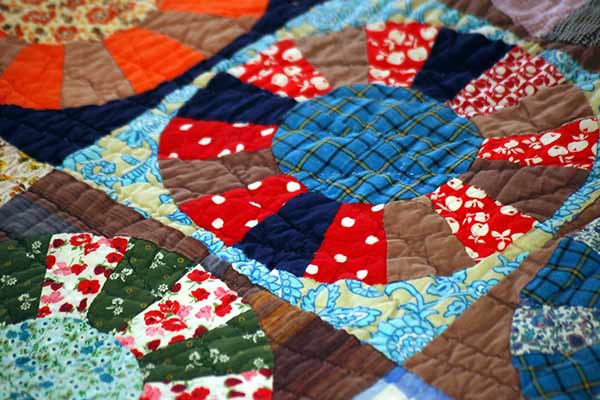
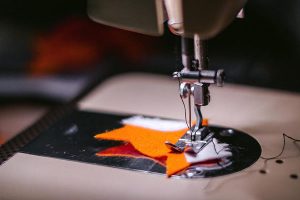
Image available for Creative Commons use, license 4.0
This is probably the most important step. The final quilt largely depends on the right fabrics choice. Beginners should start with 100 % cotton fabric ONLY. Learn to mix colors well – always try to select colors from the same color family and mix variety of patterns. Pay attention not to select the same pattern size for the whole quilt, or it will look really busy. Start small and take your time to learn – a small baby quilt or a lap quilt are an excellent choice for a beginner quilting project.
Pre-wash or not?
Most of the time it is simply a matter of personal preference. Some quilters pre-wash everything, some don’t pre-wash anything at all, and some only pre-wash bright colors that are prone to bleeding. So decide by yourself. The only case I certainly don’t recommend pre-washing is when making wall hangings because the finish could help deter fading from the light.
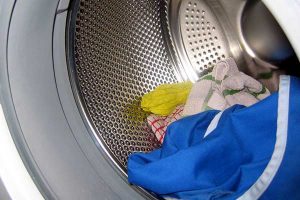
In any other case, if you are going to pre-wash, separate colors and wash in warm water with a phosphate-free detergent. Dry until damp, then press and stash the fabrics. To help reduce frayed edges avoid cuts that are smaller than 1/3rd and clip corners on the diagonal. For smaller cuts use one of the washing machine lingerie bags.
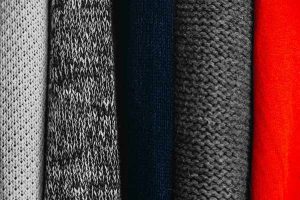
Batting
They come in polyester, cotton, cotton/poly blends, wool, and silk. Different battings have different attributes. Read and understand them all so you understand them and use the correct batting for your project. Finishing techniques can be different and this will affect the distance between quilting lines.
Backing fabric
I highly recommend a print with lots of movement for a new machine quilter. It will not show the quilting as well, so any mistakes that may have been made, aren’t as easily noticeable. If you want your quilting to stand out, use a solid colored backing.
Threads
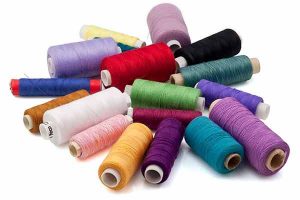
Seek balance when choosing threads! The quilting should not be a distraction but subtly enhance the quilt design. Ideally, you want your bobbin thread to blend with your backing fabric and with your top thread. You can choose from hundreds of threads for your quilt top. When choosing your top and bottom threads seek balance and try them on scraps to adjust your tension before starting your main project.
Needle
Your needle should be new and appropriate for your fabrics and thread size. Try to use a needle especially for quilting rather than a universal one.
Marking

There is a huge selection of marking products available to you. Some must be used before the basting process is started while others can be done after. Chalk pounces should be used after basting and are easily removed. Golden Threads makes a product that eliminates the need to mark on your quilt at all. Another product comes pre-marked! All have their own advantages and disadvantages so choose according to your own preferences.
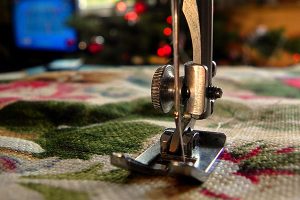
Machine
Having a good and hassle-free quilting machine is crucial. It is quite nerve breaking if the needle is breaking every so often or the thread keeps breaking. Don’t make it easier to give up, even if you don’t have the funds for a high quality machine, there are plenty of good budget/value options.Here are our guides to the 3 types of quilting machines:
- For beginners – home sewing machines for quilting: https://hellosewing.com/best-sewing-machines-for-quilting/
- For intermediate quilters – mid arm quilting machines: https://hellosewing.com/best-mid-arm-quilting-machines/
- For the professional quilter – long arm quilting machines https://hellosewing.com/best-long-arm-quilting-machines/
How to master the art of quilting?
Read, learn and practice! Most quilters I know all have at least couple of machine quilting books. Those are filled with excellent quilting designs you can follow. If you prefer live face to face experience, then sign up for a machine quilting class for hands-on experience. Most importantly remember, like learning a musical instrument, the art of machine quilting takes practice, practice, and practice.