
DIY Ikea Bag Pouch // Keeps Ikea bags rolled into handy little pouches // Ikea bag hack
You loved the Shopping Bag Keeper so much — and told me it made such a difference to the clutter in your cars — so I thought, what about that giant blue IKEA bag rattling around in the trunk?
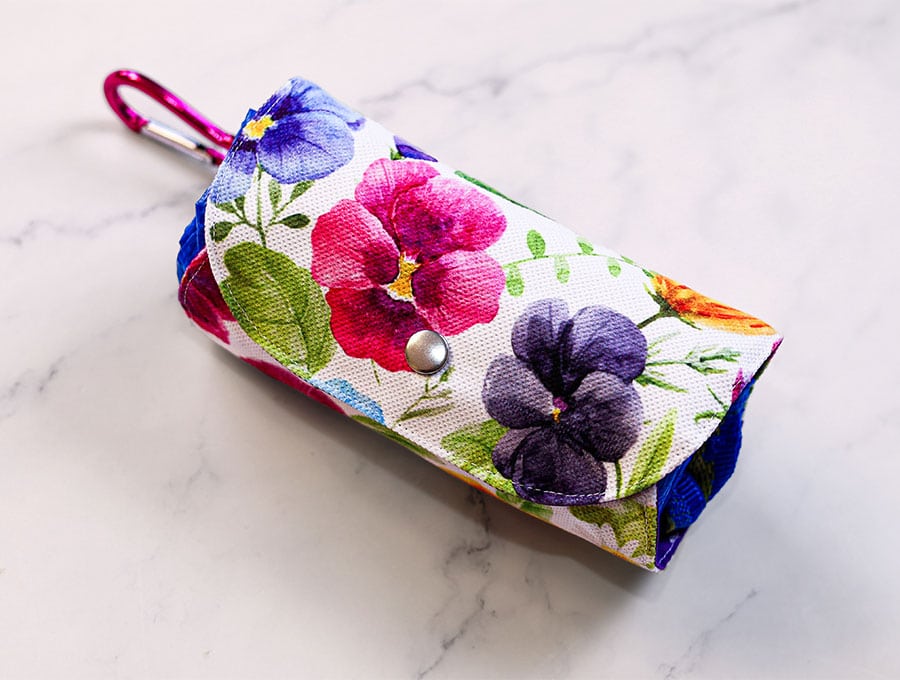
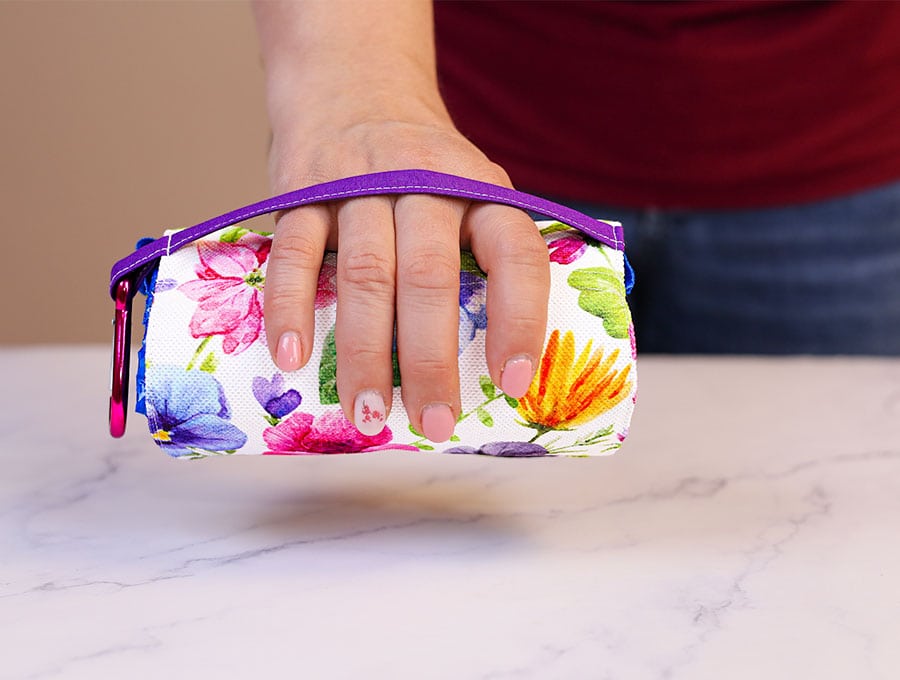
I’m so excited to share my new IKEA Bag Pouch pattern today. It folds your IKEA bag into a neat little pouch with a handy handle and a loop to clip onto a carabiner, so it stays exactly where you want it. Same satisfying idea as the Bag Keeper, new problem solved!
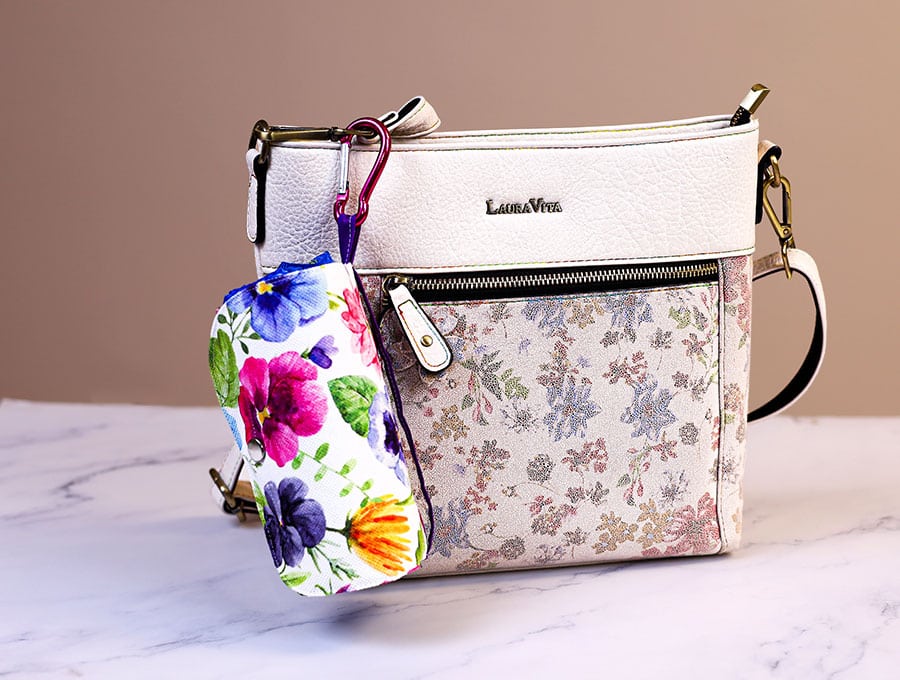
Although this is for an Ikea bag it can be made to fit any sturdy reusable store bag that can handle a large capacity. We all know how much room those bags take up in your vehicle and in a trolley, so enter the bag pouch that keeps the store bag firmly rolled up taking up minimal space until you need it. We have even designed it with a loop to attach to a snap hook so it can be hung from a handbag or a belt loop.
Below you will find my step by step written tutorial with VIDEO instructions for all the visual learners.
We occasionally link to goods offered by vendors to help the reader find relevant products. Some of the links may be affiliate meaning we earn a small commission if an item is purchased.
Table of Contents
- 1 How to make the Ikea Bag pouch with snaps
- 2 Supplies and tools
- 3 How to Sew an Ikea Bag Pouch with handle
- 3.1 Ikea Bag Hack VIDEO TUTORIAL
- 3.2 INSTRUCTIONS:
- 3.3 STEP 1:
- 3.4 STEP 2:
- 3.5 STEP 3:
- 3.6 STEP 4:
- 3.7 STEP 5:
- 3.8 STEP 6:
- 3.9 STEP 7:
- 3.10 STEP 8:
- 3.11 STEP 9:
- 3.12 STEP 10:
- 3.13 STEP 11:
- 3.14 STEP 12:
- 3.15 STEP 13:
- 3.16 STEP 14:
- 3.17 STEP 15:
- 3.18 STEP 16:
- 3.19 STEP 17:
- 3.20 STEP 18:
- 3.21 STEP 19:
- 3.22 STEP 20:
- 3.23 STEP 21:
- 3.24 STEP 22:
How to make the Ikea Bag pouch with snaps
Supplies and tools
- fabric – 2 pieces of woven cotton (one main, one lining)
- fusible interfacing
- matching thread
- scissors (or rotary cutter and a cutting mat)
- ruler or measuring tape
- iron and ironing board
- sewing clips or pins
- plastic or metal snaps (you will need a sewing awl and snap pliers
- press studs
- hook and loop dots/tape
DOWNLOAD: Ikea Bag Pouch pattern [Free pdf file]
Follow us for free patterns & tutorials! [easy-profiles]
How to Sew an Ikea Bag Pouch with handle
Watch the diy Ikea Bag Pouch video first and then follow the written step by step instructions below.
Please enjoy and don’t forget to Like and SUBSCRIBE over on YouTube to be kept up to date with new videos as they come out.
Ikea Bag Hack VIDEO TUTORIAL
INSTRUCTIONS:
STEP 1:
You have the choice of using my pattern from HelloSewing.com which is measured according to the size of an Ikea bag or you can make your own pattern if using a different type of bag. If using my pattern simply print out and join the pattern pieces according to the instructions.
TO MAKE YOUR OWN PATTERN
- Fold you store bag from the bottom up and then from the side in making sure the length is less than the distance between the handles of the bag. Then roll tightly after putting the handles down into the body of the bag.
- Measure the circumference of the rolled up bag using a tape measure.
- Make a pattern, which will be a rectangle with the short side the distance between the handles and the long side the total circumference – for example 5 inches (12.7 cm) x 10 inches (25.4 cm). You can add an extra 3/8 of an inch (1 cm) to each side for the seam allowance, or simply cut a bit extra – in the video I did not include the seam allowance into the pattern. The edges of the rectangle need to be rounded.
- Cut the handle from a piece of fabric 9 x 1 ½ inches (23 x 4 cm).
STEP 2:
Once you have your pattern printed and cut place it over two suitable pieces fabric. I used a cotton quilting fabric for the outer and a lighter cotton for the lining. I also cut the loop from one piece of cotton fabric.
STEP 3:
Cut the fusible interfacing on the dotted line of the printed pattern. If you made your own pattern cut without the seam allowance.
STEP 4:
Place main outer fabric wrong side up on your worktop with the interfacing sticky side down, then fuse with your iron.
STEP 5:
Take the handle piece, place wrong side up, then fold in half along the length and press.
STEP 6:
Open out the fabric and still with the wrong side up, fold along the length towards the middle on each side and press.
STEP 7:
Fold the pressed sides together and press, so there are no raw edges along the length.
STEP 8:
Stitch along the open length as close to the edge as possible.
STEP 9:
Place the pattern over the right side of the main outer fabric and mark the middle on both long sides. (If you created your own pattern simply fold the fabric in half, short side to short side and mark the middle).
STEP 10:
Pin the ends of the handle to the marks on the right side, making sure the middle of the end is on the mark. Clip the extra fabric of the handle together in the middle, so it does not get in the way when sewing.
STEP 11:
Stitch the ends of the handle to the fabric 1/8 of an inch (3 mm) from the edges, backtacking across the ends to ensure they are firmly attached.
STEP 12:
Take the lining fabric and place over the outer fabric, right side to right side and clip in place, after removing the clip holding the extra fabric of the handle.
STEP 13:
Mark a gap to the bottom right of a long side of the rectangle. It should be about 2 inches (5 cm).
STEP 14:
Starting from the gap stitch around the edge of the rectangle, backtacking at the start and finish, and backtacking over the position where the handles are placed. Your seam allowance will be 3/8 of an inch (1 cm).
STEP 15:
Finger press the raw edges of the gap in line with the seam. Trim the raw edges with pinking shears if you have these. If not, just use scissors to remove any excess fabric, so it’s even, then turn the bag pouch the right way out by pulling the fabric through the gap.
STEP 16:
Once the seams are pressed out using a turning tool and the raw edges turned inside in line with the seam, give the item a press.
STEP 17:
Clip one side where the handle emerges from the fabric flush against the fabric, then leaving a small gap to slide your hand through the handle, leave a little loop protruding from the side on the other end of the handle – this will be for attaching a snap hook to attach the bag pouch to a handbag or to a belt loop, so you can carry it hands free.
STEP 18:
Top stitch all the way around the bag pouch, as close to the edge as possible and over the gap. Backtack at the start and finish as well as over the ends of the handle.
STEP 19:
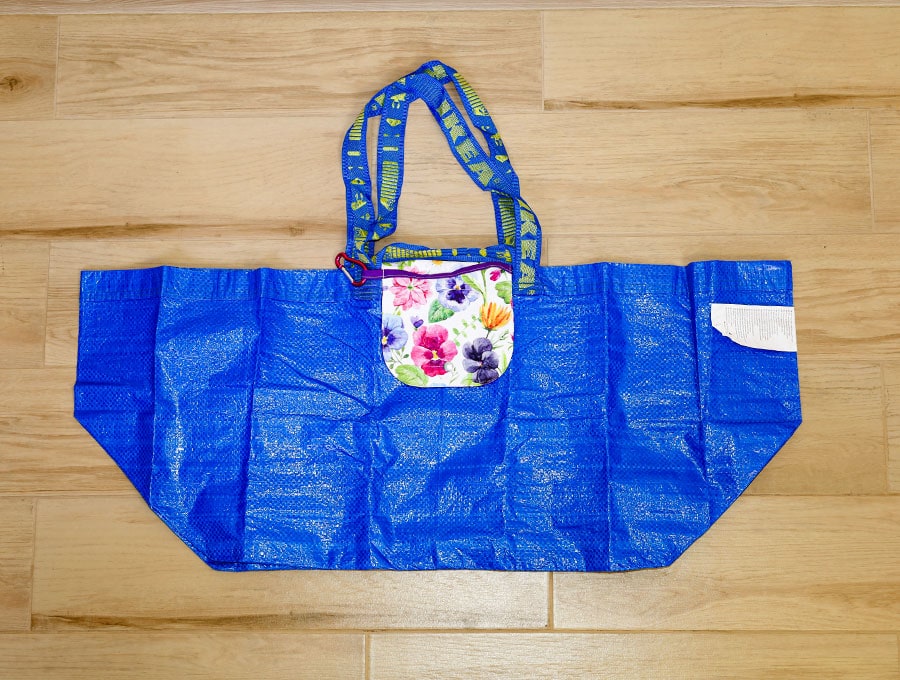
Place the bag pouch on top of the Ikea or other bag and line its handle up with the middle at the double stitching at the top of the bag. Make sure the bag handles are out of the way and pin.
STEP 20:
Stitch along the original seams of the Ikea, or other bag, to attach your bag pouch, backtacking at the start and end of each line of stitching.
STEP 21:
Mark the middle of the short sides, 1 inch (2.5 cm) down from the edge, and attach a snap fastener.
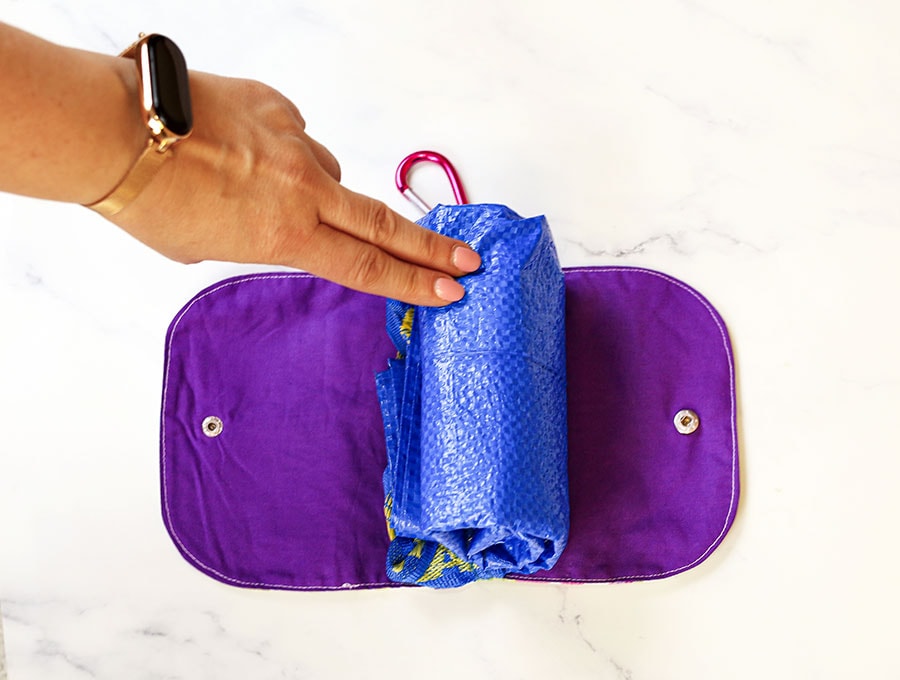
STEP 22:
Roll up the bag, snap the end of the bag pouch together and attach a snap hook to the small loop you created with the extra fabric of the handle and you are ready to go. This nifty little contraption you have created keeps bags neat and tidy and they can be left in your vehicle, ready to be used on a shopping expedition.
When those quality reusable shopping bags, like the ones from Ikea, are taking up too much space in your vehicle or at home then make our bag pouch. It’s a great way to store a bag, rolled up neatly and ready to use. We even have it designed with a small loop to attach a snap hook so you can carry it clipped to a handbag or a belt loop, ready to use when needed. With the bag pouch stitched to the bag you can’t lose it – what a winning idea.
If you liked this idea then please subscribe for more great sewing tutorials that allow you to turn those extra bits of fabric in your stash into useful projects that save you time and help keep your life organised.
Do you like this? Pin for later:
Wanna be friends? Click HERE and follow me on Pinterest
RELATED: