

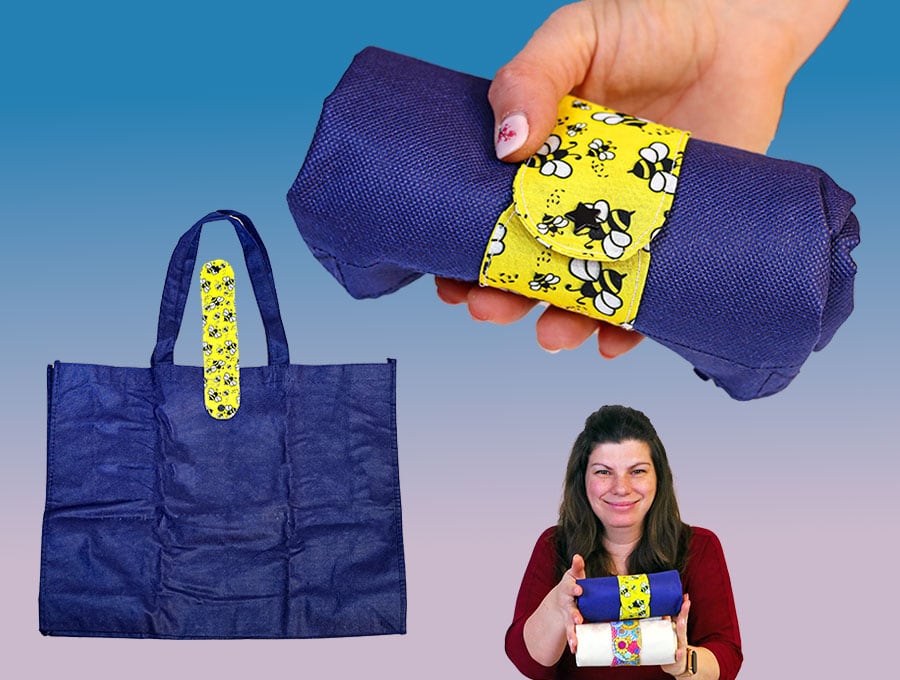
DIY Shopping Bag Keeper // Organize your shopping bags // Bag keeper sewing pattern
Just two seams and the DIY shopping bag keeper is ready. You know, necessity is the mother of invention. My trunk was a mess. Shopping bags everywhere. I tried to tame the mess by wrapping them in their own handles or some spare elastics but it didn’t last long. So I thought I need something better 🙂 I folded the bag and freehanded a pattern on a piece of paper. Adjusted it ’till I liked it and the shopping bag keeper pattern was born. I want to make a dozen or so snap bag wraps for all my reusable shopping bags.
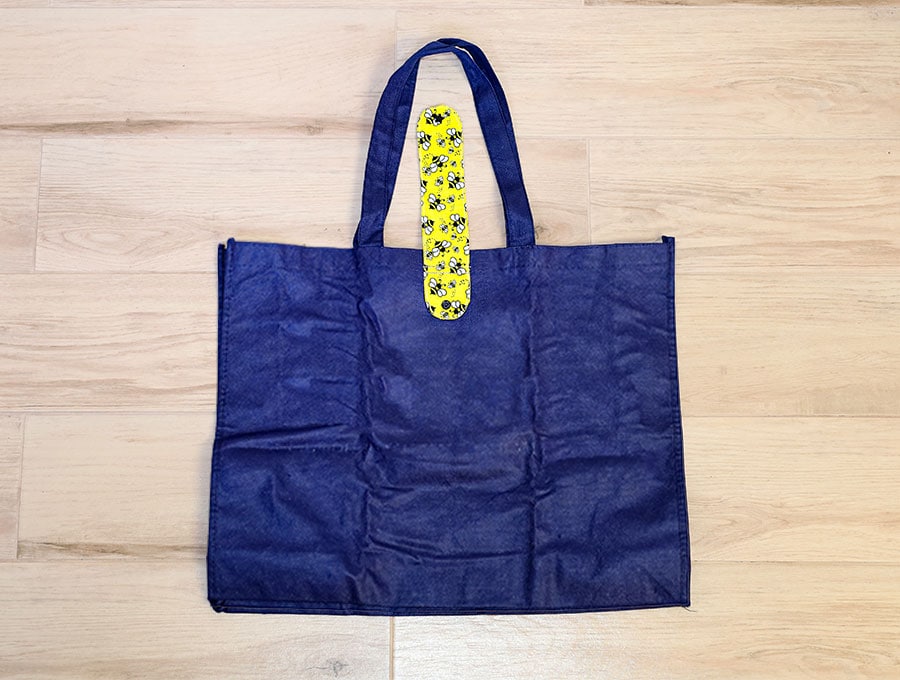
A shopping bag keeper is a simple rectangular strip of fabric with softly rounded corners that wraps snugly around your rolled-up reusable bag, holding it in a neat, compact bundle. It’s stitched directly onto the bag so the two are always together — no more rummaging around, no more losing the keeper in the bottom of a grocery trolley! I’m using snaps here, but you can also use a velcro or a button and an elastic loop.
The beauty of this project is in its practicality. Keep a few in the trunk, glove box or door pocket of your car and you’ll always have a bag ready to go at a moment’s notice. At home, a basket of neatly rolled bags on the shelf looks so much tidier than the usual tangled heap stuffed into a drawer. And at the checkout? Just pop the keeper straight into the trolley — it’s small and flat, so it won’t get mixed up with your groceries and will be ready for bagging those items.
Best of all, this is the perfect stash-buster. That little bit of fabric you’ve been saving for something — this is it. It takes only a few minutes from cutting to finishing, making it ideal for a quick sew, a beginner project, or a thoughtful handmade gift.
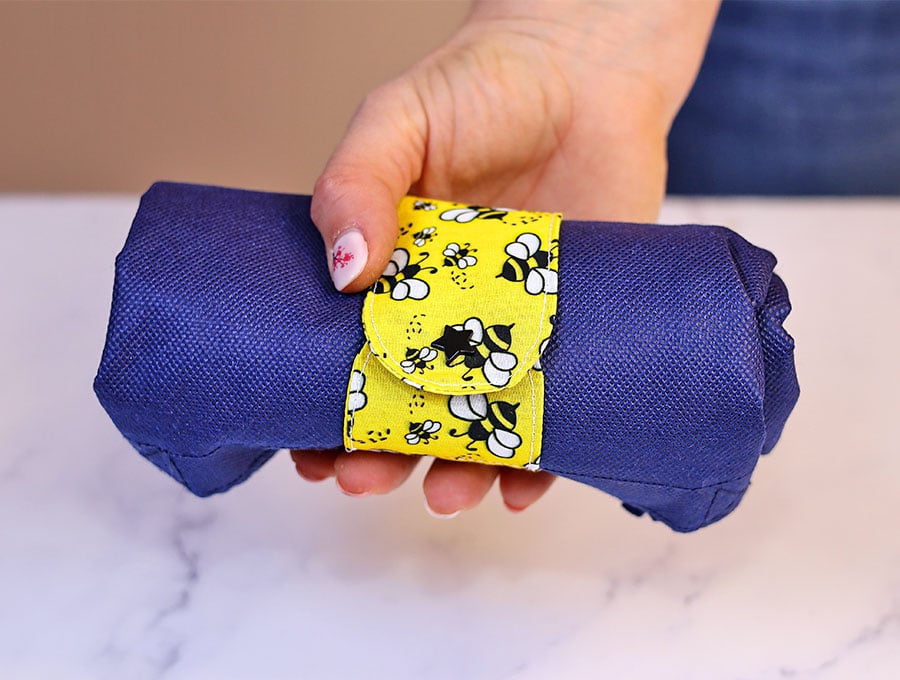
Below you will find my step by step written tutorial with VIDEO instructions for all the visual learners. Ready to get started?
We occasionally link to goods offered by vendors to help the reader find relevant products. Some of the links may be affiliate meaning we earn a small commission if an item is purchased.
How to make the shopping bag keeper
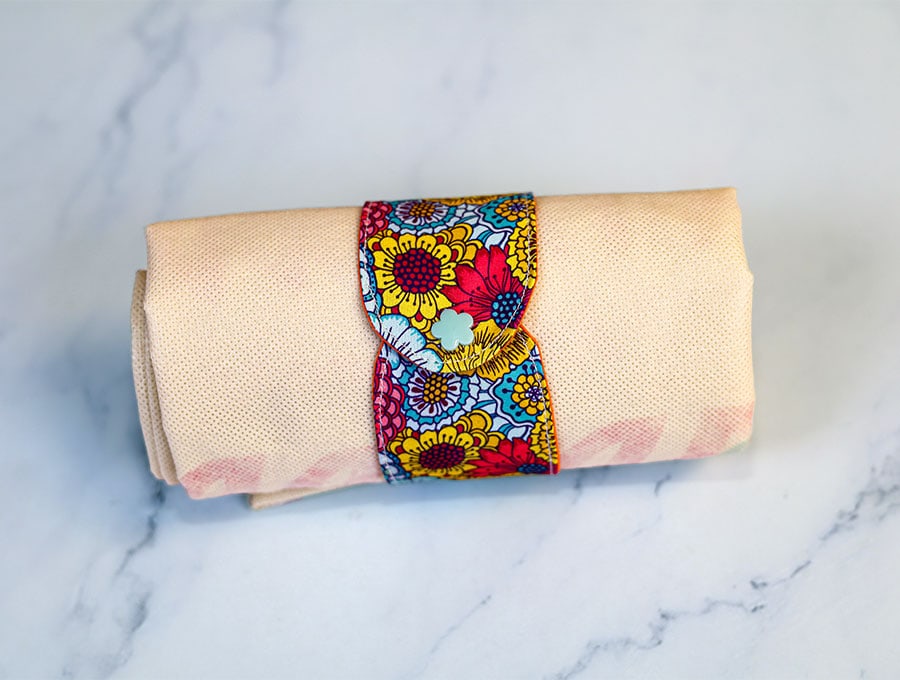
Supplies and tools
- fabric – 2 scraps of woven cotton (one main, one lining)
- fusible interfacing
- matching thread
- scissors (or rotary cutter and a cutting mat)
- iron and ironing board
- sewing clips or pins
- plastic snaps (you will need a sewing awl and snap pliers
- press studs OR
- hook and loop dots/tape
DOWNLOAD: Shopping bag keeper pattern [Free pdf file]
Follow us for free patterns & tutorials! [easy-profiles]
How to Sew a shopping bag keeper
Watch the diy shopping bag holder video first and then follow the written step by step instructions below.
Please enjoy and don’t forget to Like and SUBSCRIBE over on YouTube to be kept up to date with new videos as they come out.
Shopping bag keeper VIDEO TUTORIAL
INSTRUCTIONS:
STEP 1:
Download the shopping bag keeper printable pattern from HelloSewing.com and cut out the piece.
STEP 2:
Cut 2 of the pattern, on the solid printed line, from a cotton quilting fabric in your choice of pattern and color.
STEP 3:
Cut the pattern along the dotted line and cut 1 x fusible interfacing according to this template.
STEP 4:
Place one of the outer fabric pieces wrong side up and over it place the fusible interfacing, stick side down, making sure the distance between interfacing and pattern piece is equal all round. Use your iron to fuse the interfacing to the fabric.
STEP 5:
Place the other piece of fabric right side up and over it, right side to right side, the fabric with the fused interfacing and pin.
STEP 6:
Mark a gap of around 2 inches (5 cm) on one of the long sides, towards the right.
STEP 7:
Starting from one side of the gap stitch around the edge just on the line where the interfacing meets the fabric. Backtack at the start and finish.
STEP 8:
Finger press the raw edges of the gap in line with the seam.
STEP 9:
Trim around the curved edges with pinking shears. This step is not absolutely necessary, but if you’re not using pinking shears you will need to make a few small V notches into the fabric around the curved ends so it lies flat when turned.
STEP 10:
Turn the shopping bag keep the right way out by pulling the fabric through the gap, using a turning tool to press out the seam so they lie flat.
STEP 11:
Turn in the raw edges of the gap in line with the seam and give the whole item a press.
STEP 12:
Top stitch as close to the edge as possible around the whole item, including across the gap, backtacking at the start and finish.
STEP 13:
You have two options for fastening the bag keeper – either with Velcro stitched at each end, or with snaps.
OPTION 1: To fasten with Velcro, place one side of the Velcro on the bag keeper, near the end and clip in place, then fold up the other side and place the matching piece of Velcro on the opposite side of the fabric near the end and clip. Stitch in place, in a rectangle around the edges of the Velcro.
OPTION 2: Place your pattern over the fabric and transfer the marks for the snap position to the fabric. Attach the snaps in position using a snap fastening tool, remembering that one side of the snap will be on the top side and the other on bottom side of the fabric. Always roll the fabric up to test and make sure you don’t fasten the snap halves to the same side by accident.
STEP 14:
You are now almost ready to stitch the bag keeper to the bag. Lay the bag keeper out flat with the top of the snap facing the top of your worktop. Over it place the pattern piece – you will see two dotted lines an inch or two above the snap marking at the bottom of the bag keeper – fold the pattern piece and transfer these to the fabric using a fabric marking pen.
STEP 15:
Place the two lines you marked over the front of the shopping bag, equidistant between the handles and in line with the top stitched edge. The short piece will be facing the body of the bag and the longer part of the bag keeper will be facing away from the bag body. Pin in place.
STEP 16:
Make sure the handles and back of the bag are clear of the area you want to stitch, then sew the bag keeper to the bag, backtacking at the start and finish of each row of stitching.
STEP 17:
Flip over the bag, fold the handles in to the body of the bag and fold the bag across one third from the left and one third from the right, then roll up from the bottom and bring the snap halves together or the Velcro to keep the bag neatly in place.
Tired of those great big re-usable shopping bags taking up space in your kitchen, or floating around in your car getting in everyone’s way? We have the answer – a cute little bag keeper that is stitched to the bag, takes only a few minutes to make from leftover fabric in your stash and helps roll the bag into a small bundle that snaps closed and stays tidy taking up very little space. A perfect little gift to yourself to keep your home and car organized.
If you liked this quick and easy home organiser then please like and subscribe to gain access to our new projects first and to enjoy the over 480 videos we have on our HelloSewing website.
Do you like this? Pin for later:
Wanna be friends? Click HERE and follow me on Pinterest
RELATED: