Anti fog face Mask for Glasses Wearers | Reverse Nose Fold Face Mask Pattern
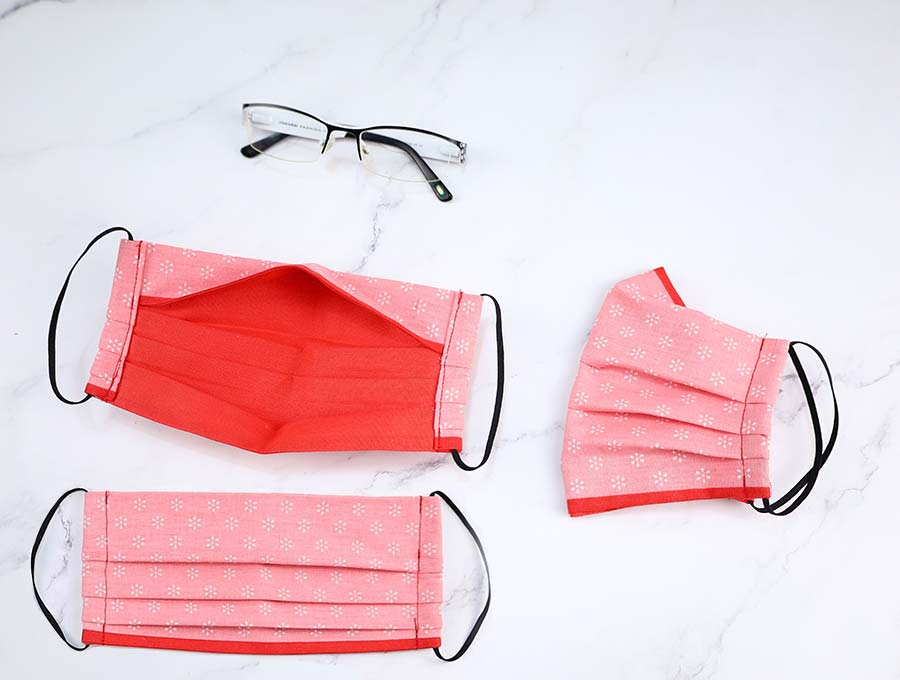
I’ve been wearing prescription glasses ever since I was 15. I’m nearsighted. Eyewear has been a part of my life ever since and I’ve embraced it. But there are times in my life when I wish I had the perfect 20/20 vision. Usually this is I forgot them at home. Having to wear a face mask brought another problem – fogged up glasses. I had plenty of readers asking me for a no fog face mask pattern for glasses wearers. And if possible to make it super quick to sew, breathable and most importantly – without a nose wire. Hmmm not an easy challenge. So I decided to combine the best features of my pleated surgical face mask and my 3D face mask to bring you the best of both words. So here it is..
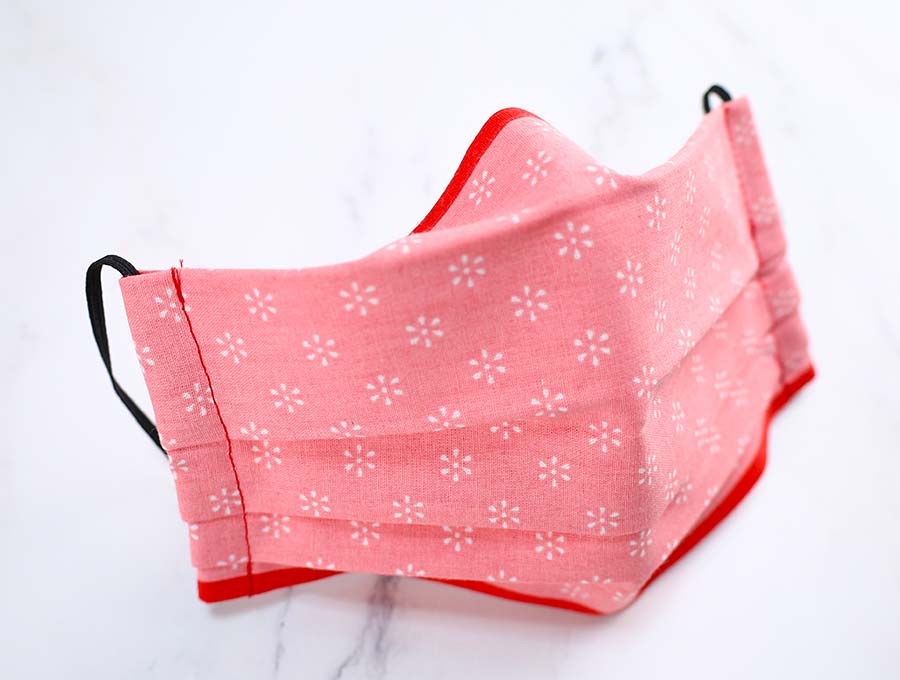
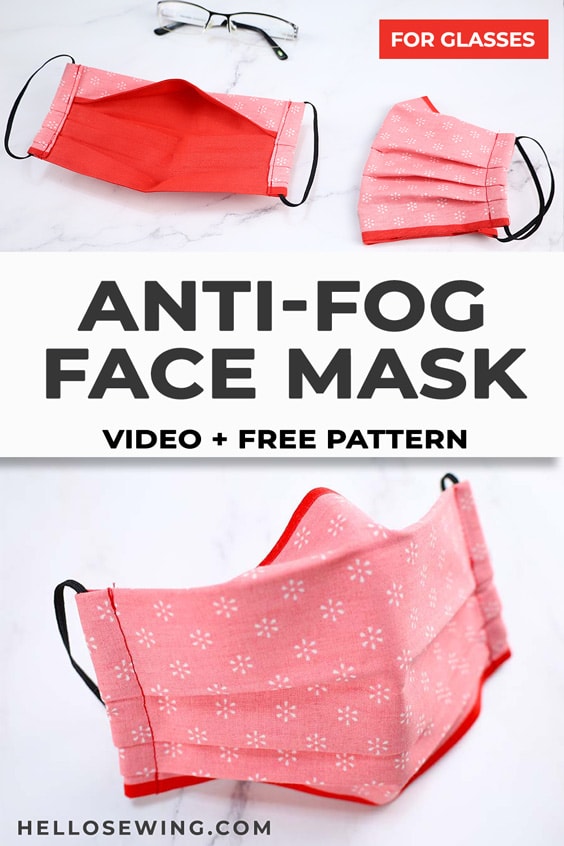
REVERSE NOSE FOLD no fog face mask made for glasses wearers in 5 sizes. The best thing is that this fabric face mask FOLDS FLAT as NO nose wire is needed to prevent fogging. Enjoy
Below you will find my step by step anti-fog face mask for glasses wearers written tutorial with VIDEO instructions for all the visual learners.
We occasionally link to goods offered by vendors to help the reader find relevant products. Some of the links may be affiliate meaning we earn a small commission if an item is purchased.
Table of Contents
- 1 How to make an anti fog face mask for glasses wearers
- 2 Supplies and tools
- 3 How to Sew a Reverse Nose Fold Face mask
- 3.1 ANTI-Fog Face mask for glasses VIDEO TUTORIAL
- 3.2 DIY NO FOG FACE MASK FOR GLASSES WEARERS – INSTRUCTIONS:
- 3.3 STEP 1: Cut fabrics
- 3.4 STEP 2: Layer fabrics
- 3.5 STEP 3: Pin
- 3.6 STEP 4: Stitch
- 3.7 STEP 5: Turn around and press
- 3.8 STEP 6: Fold
- 3.9 STEP 7: Make the pleats
- 3.10 STEP 8: Create the channel for elastic
- 3.11 STEP 9: Stitch along the channels
- 3.12 STEP 10: Insert the elastic in the channels
- 3.13 STEP 11: Tie the elastic
How to make an anti fog face mask for glasses wearers
Supplies and tools
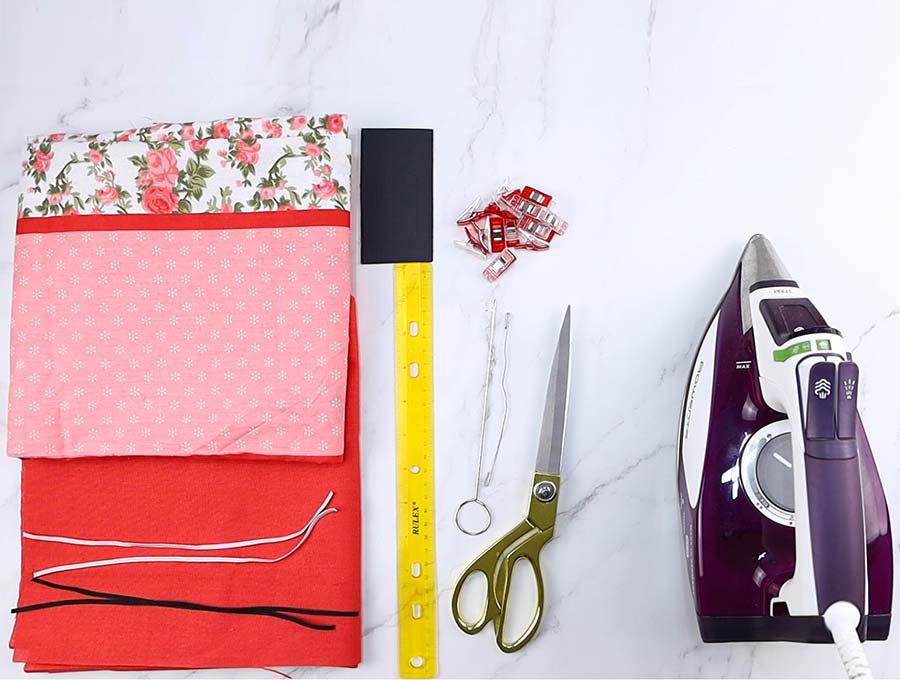
- fabric – 2 pieces of 100% tightly woven cotton (one main, one lining)
- 2 pieces of 1/8″ (3mm) flat elastic – 10-11″ long each
- matching thread
- scissors (or rotary cutter and a cutting mat)
- ruler or measuring tape
- iron and ironing board
- sewing clips or pins
- a piece of cardboard
- sewing machine
DOWNLOAD: anti-fog fog face mask pattern and size chart (Free PDF file)
Follow us for free patterns & tutorials! [easy-profiles]
How to Sew a Reverse Nose Fold Face mask
Watch the diy no fog face mask video first and then follow the written step by step instructions below.
Please enjoy and don’t forget to Like and SUBSCRIBE over on YouTube to be kept up to date with new videos as they come out.
ANTI-Fog Face mask for glasses VIDEO TUTORIAL
DIY NO FOG FACE MASK FOR GLASSES WEARERS – INSTRUCTIONS:
STEP 1: Cut fabrics
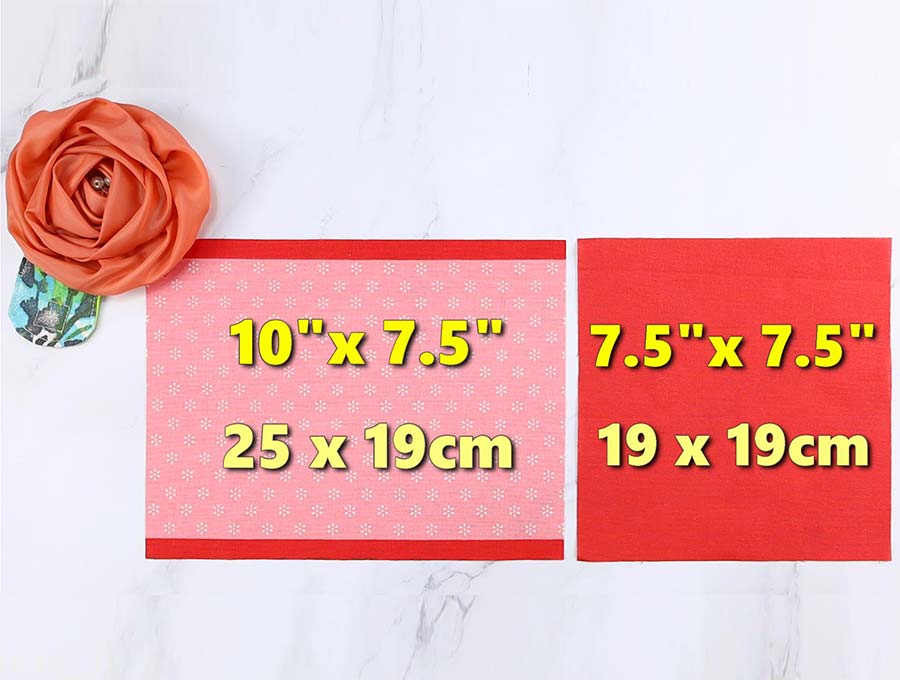
Cut the fabrics according to the size you’d like to make
- size L – ADULT: cut outer fabric 10″ x 7.5″ (26 x 19cm) cut lining 7.5 x 7.5″ (19x19cm)
- size M – SMALL ADULT /TEENS: cut outer fabric 9.5″ x 7″ (24 x 18 cm), cut lining 7×7″ (18 x 18cm)
Cut 2 pieces of 1/8″ (3mm) flat elastic 10-11″ (25-28cm) long each
STEP 2: Layer fabrics
Place the main fabric on your workplace with the right side facing up. Center lining on top of the main fabric, with the right sides facing each other.
STEP 3: Pin
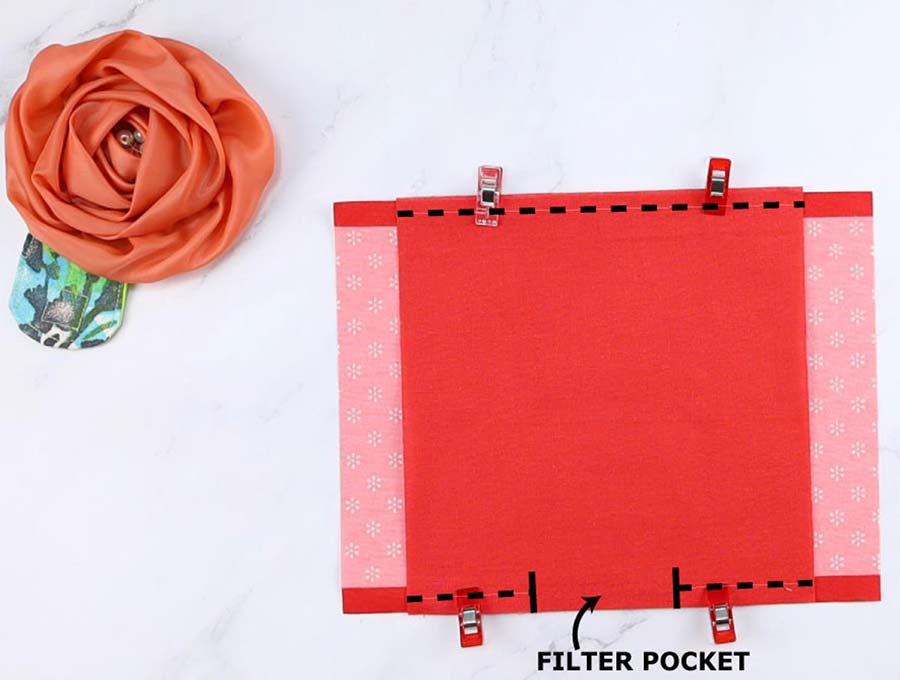
Pin along the top and bottom raw edges. If you want to be able to add filter, leave a gap on the bottom
STEP 4: Stitch
Using a 1/4″ (6mm) seam allowance stitch a line along the top and an incomplete line along the bottom. Leave a gap of about 2 inches at the center for the filter. Backtack at the beginning and the end of each seam to reinforce it.
STEP 5: Turn around and press
Turn the anti-fog face mask around. Press the top and the bottom seam with an iron.
STEP 6: Fold
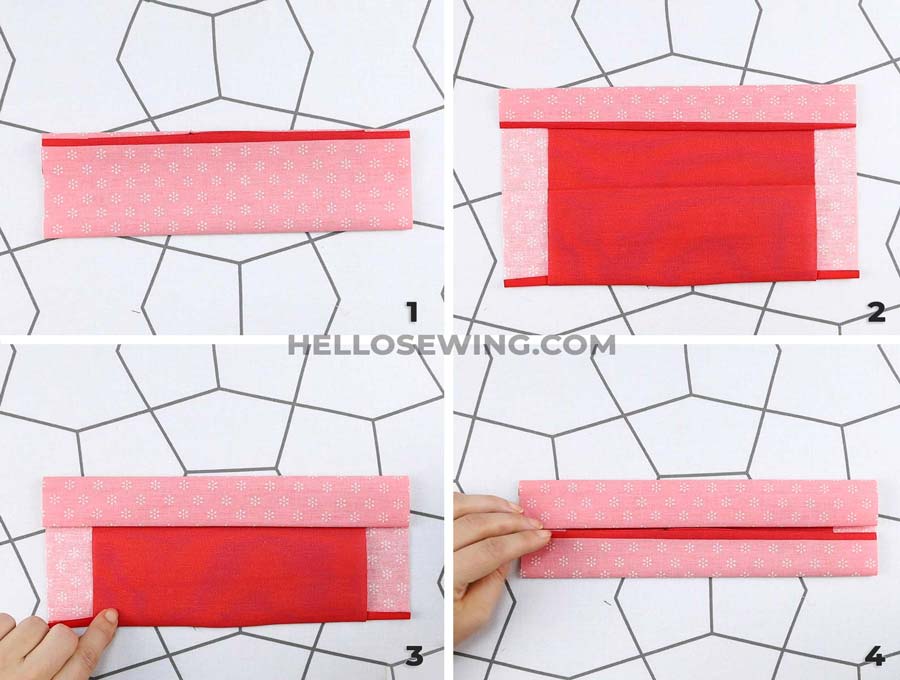
This is the most ‘difficult part of the whole tutorial”. We’ll fold and press the mask to create creases. We’ll use these creases to create pleats easily in the next step.
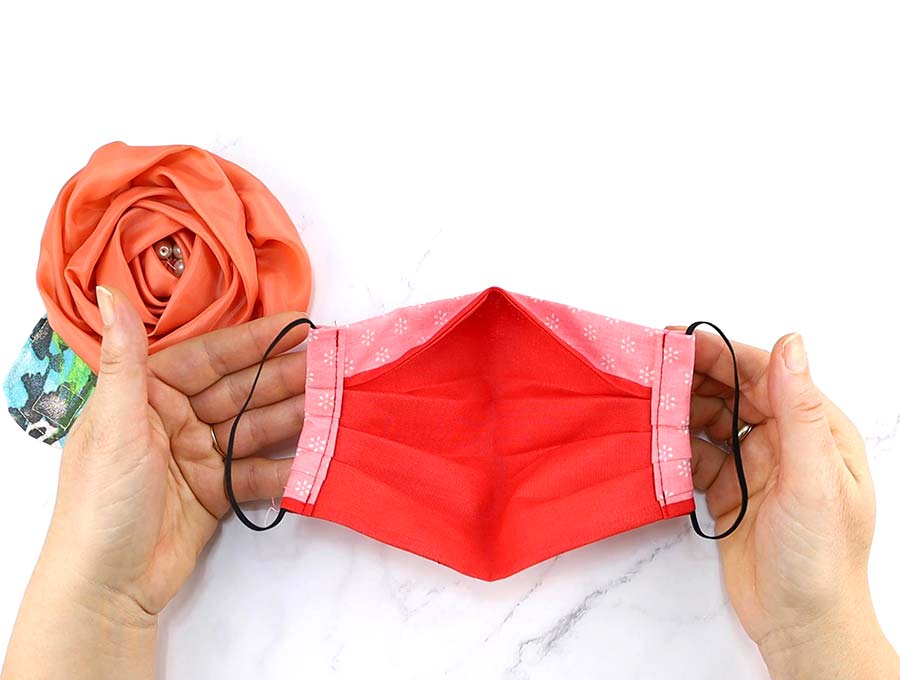
- First, make the reverse nose fold. With the back of the face mask facing you, fold down the top about 1.25″ (3cm) and press. This is your new height. Do NOT unfold. From here on, you’ll see this stripe of the main fabric along the top of the back of the mask.
- Fold the whole thing in half and press to create a crease along the middle.
- Unfold
- Fold the top DOWN to meet the middle crease and press with your iron
- Fold the bottom UP to the middle and press
Don’t press over previous creases
STEP 7: Make the pleats
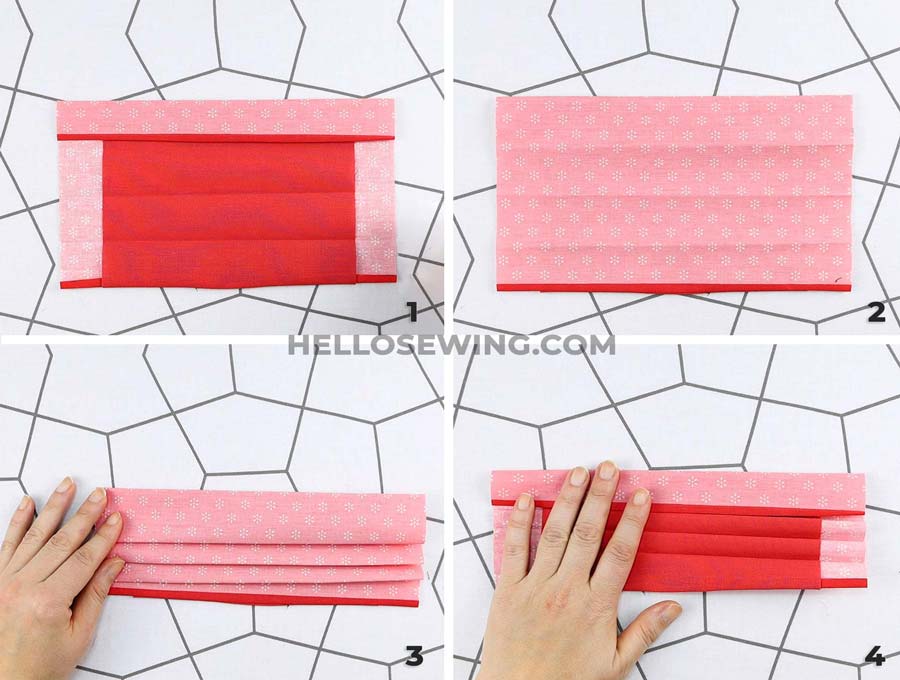
Open the face mask but leave the nose fold closed. Flip the face mask over to the front side. Now use the 3 horizontal ridges to make 3 pleats. fold the ridges down so that they point to the bottom of the mask. Iron the pleats on the front.
Remember:
- Pleats point DOWNWARDS on the front
- Pleats go UPWARDS on the inside
STEP 8: Create the channel for elastic
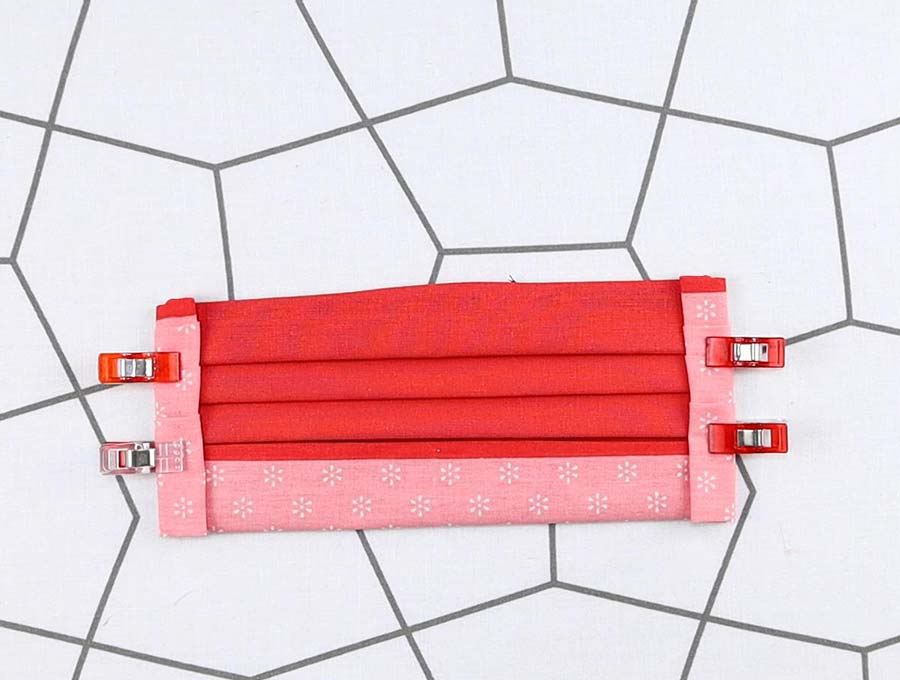
Place the mask with the back facing up. Fold and press the side in 5/8″(1.5cm) twice create a channel and hide the raw edge. Use the piece of cardboard to fold the pleats and iron on top.
Pin or clip it in place. Repeat for the opposite side
STEP 9: Stitch along the channels
Stitch as close to the edge of the fold as possible. I’ve used 1/8″ (3mm) seam allowance
STEP 10: Insert the elastic in the channels
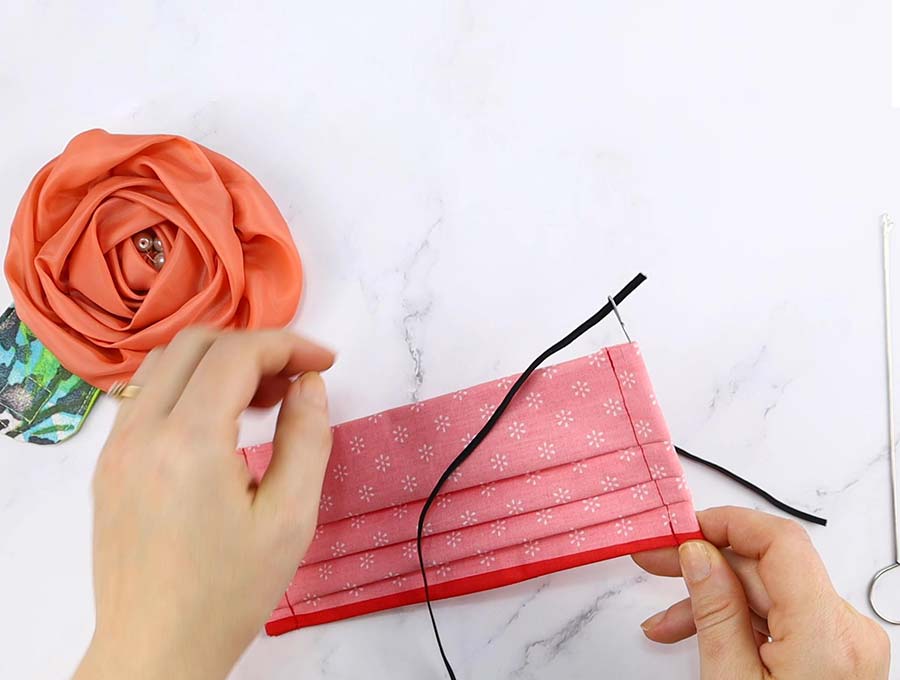
Insert the elastic using either a turning tool, gardening (craft) wire folded in half or simply a safety pin. Push the tool through the channel, catch the elastic and thread it through the channel
STEP 11: Tie the elastic
Take one of the elastics and tie the ends in a knot. Pull the elastic through the channel until you hide the knot inside.
Repeat for the other side.
That’s it your reverse nose fold no fog face mask for glasses wearers is ready!
Do you like this NO FOG FACE MASK FOR GLASSES WEARERS tutorial? Pin for later:
Wanna be friends? Click HERE and follow me on Pinterest
MORE FACE MASK PATTERNS:
- Printable 3d face mask pattern
- Gaiter mask pattern
- Contoured face mask pattern
- How to make a mask for kids (3 sizes available)
- Reusable clear mask for teachers, deaf or hard of hearing

