How to Make Mittens Out of Old Sweaters | Pattern + Video
We all have one or more sweaters that we love too much to throw out, but can’t wear it because it’s too worn out. Fortunately, there’s a great solution to that problem and it’s called sweater mittens!
I came up with this project soon after I decided to switch over to using mittens instead of gloves during the winter. Nothing beats the warmness and comfortableness of a sweater, so I thought that it would make sense to feel all that on my hands as well. And that’s when the sweater mittens were born! For extra warmth during the coldest days, you can pop a pair of hand warmers in the microwave for 30 seconds and insert them in the sweater mittens. Boom instant warmth!
If you are like me and need your hands to stay extra warm during the cold winter days, then you have to try this project out! Let me show you how to make your own sweater mitten pattern . Just follow this step by step tutorial and you” learn how to make mittens out of old sweaters in a flash! Just grab an old sweater and let’s get sewing!
We occasionally link to goods offered by vendors to help the reader find relevant products. Some of the links may be affiliate meaning we earn a small commission if an item is purchased.
Table of Contents
- 1 How to Make Mittens out of Sweaters
- 2 Supplies and tools
- 3 How To Sew Felted Sweater Mittens
- 3.1 UPCYCLED MITTENS FROM SWEATERS VIDEO TUTORIAL
- 3.2 SWEATER MITTENS INSTRUCTIONS:
- 3.3 STEP 1: Prepare the sweater mittens pattern
- 3.4 STEP 2: Make sure the sweater is felted
- 3.5 STEP 3: Cut out the fabric for the recycled sweater mittens
- 3.6 STEP 4: Pin
- 3.7 STEP 5: Sew the wool sweater mittens
- 3.8 STEP 6: Trim the excess
- 3.9 STEP 7: Turn inside out
- 3.10 STEP 7: Press
How to Make Mittens out of Sweaters
Supplies and tools
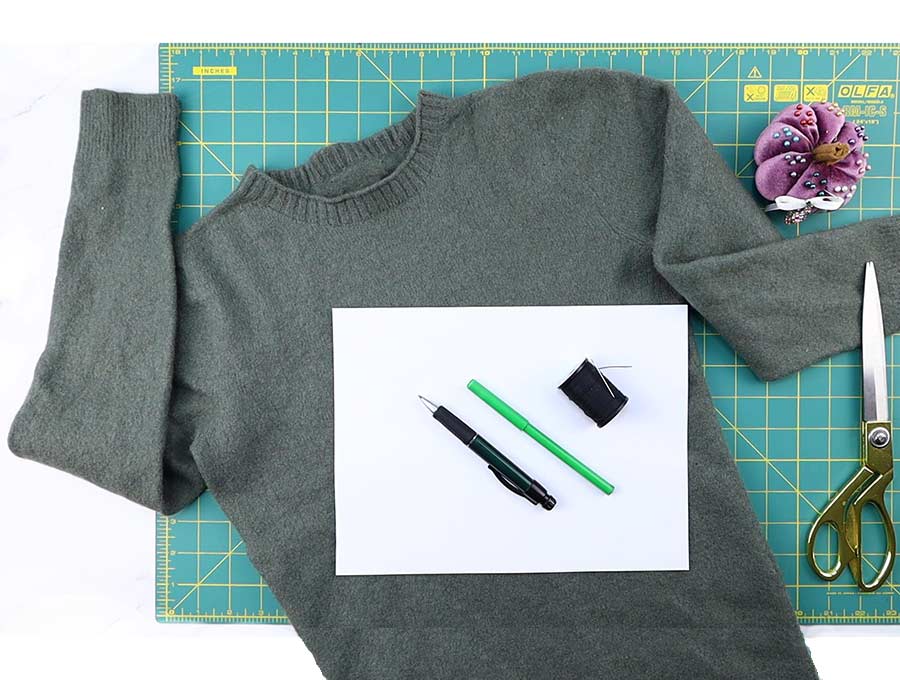
- 100% wool sweater (felted)
- Piece of paper
- Pencil and sharpie
- matching thread
- scissors
- iron and ironing board
- sewing clips or pins
- sewing machine (or handsew this with a needle and thread)
Follow us for free patterns & tutorials! [easy-profiles]
How To Sew Felted Sweater Mittens
Watch the diy wool sweater mittens video first and then follow the written step by step instructions below.
Please enjoy and don’t forget to Like and SUBSCRIBE over on YouTube to be kept up to date with new videos as they come out.
UPCYCLED MITTENS FROM SWEATERS VIDEO TUTORIAL
SWEATER MITTENS INSTRUCTIONS:
STEP 1: Prepare the sweater mittens pattern
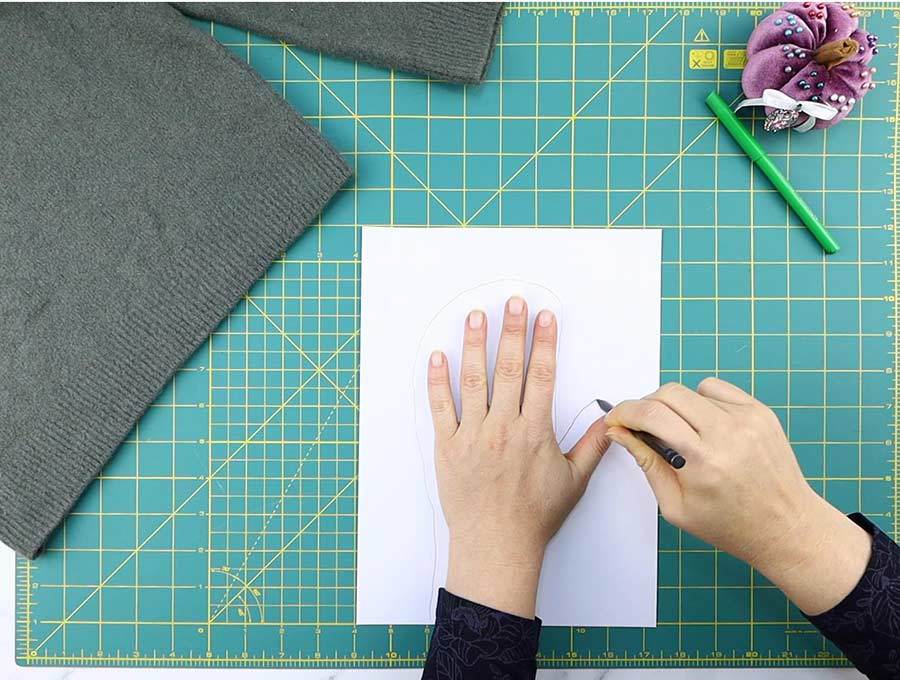
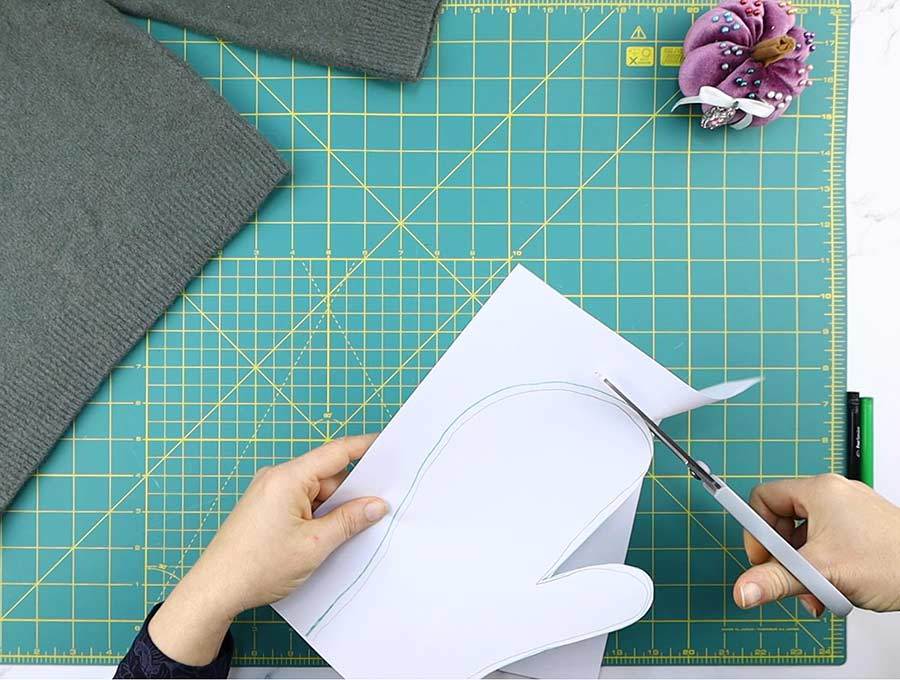
Place your open palm onto a piece of paper, with your palm about 2 inches from the bottom of the paper and trace around it with a pencil. Then grab a sharpie and draw around that, but add a bit leeway for the seam. About quarter of an inch should be enough, no need to add any more than that.
Cut out the drawing and your wool mittens pattern will be ready for action.
STEP 2: Make sure the sweater is felted
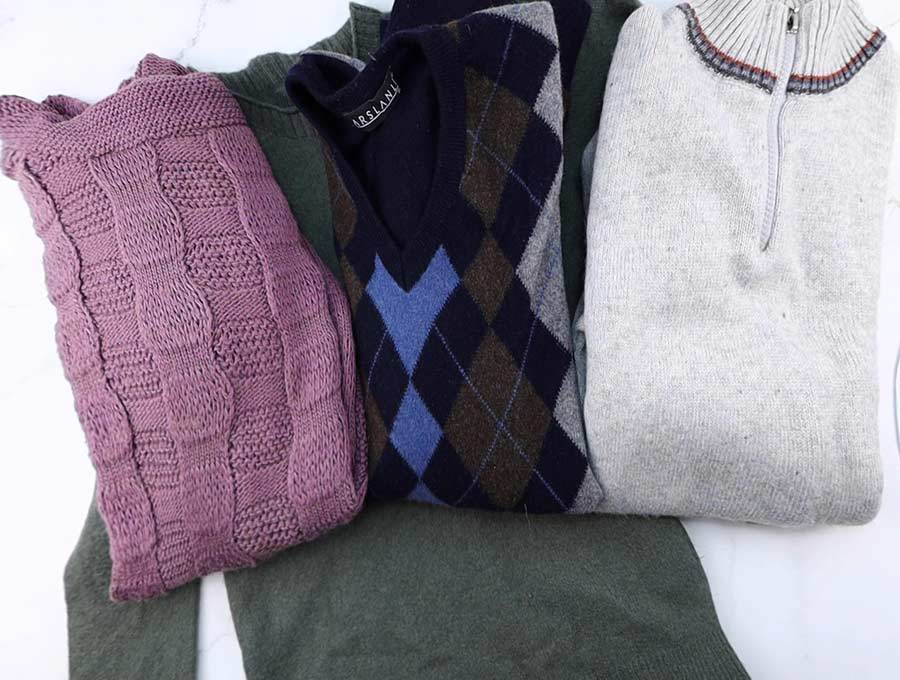
We need a felted wool sweater to make the mittens – this guarantees the mittens will be super warm. If you have thrown the sweater in the washing machine and it shrunk – perfect! Don’t throw it away – you can use it to make these sweater mittens.
If not – you can either find a worn sweater you no longer wear (100% wool or cashmere is recommended) and wash and dry on high setting. It should felt.
To make sure the sweater is felted, make a small slit around the armpit, near the seam. Rub it with your fingers – if it does not fray – perfect, proceed with making the mittens.
STEP 3: Cut out the fabric for the recycled sweater mittens
Take the sweater and place it on your workspace with the bottom hem facing down. Press it flat just a bit with a turned-off iron.
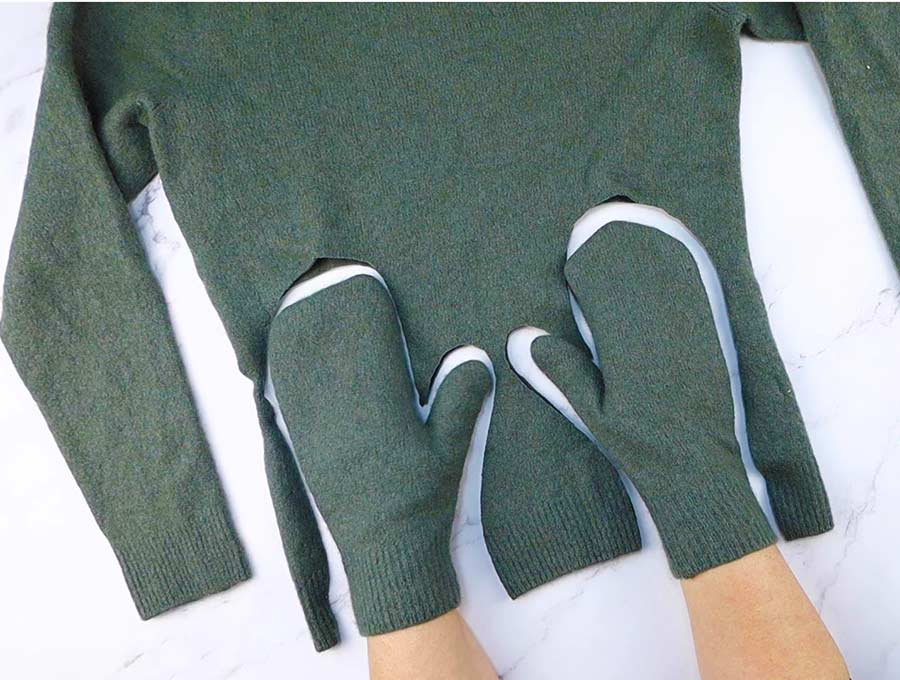
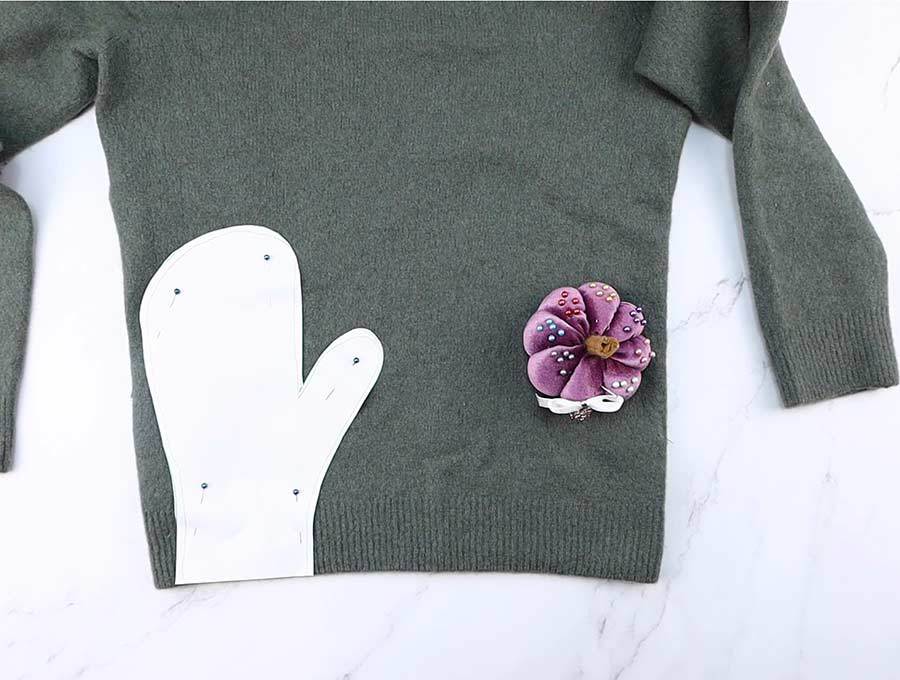
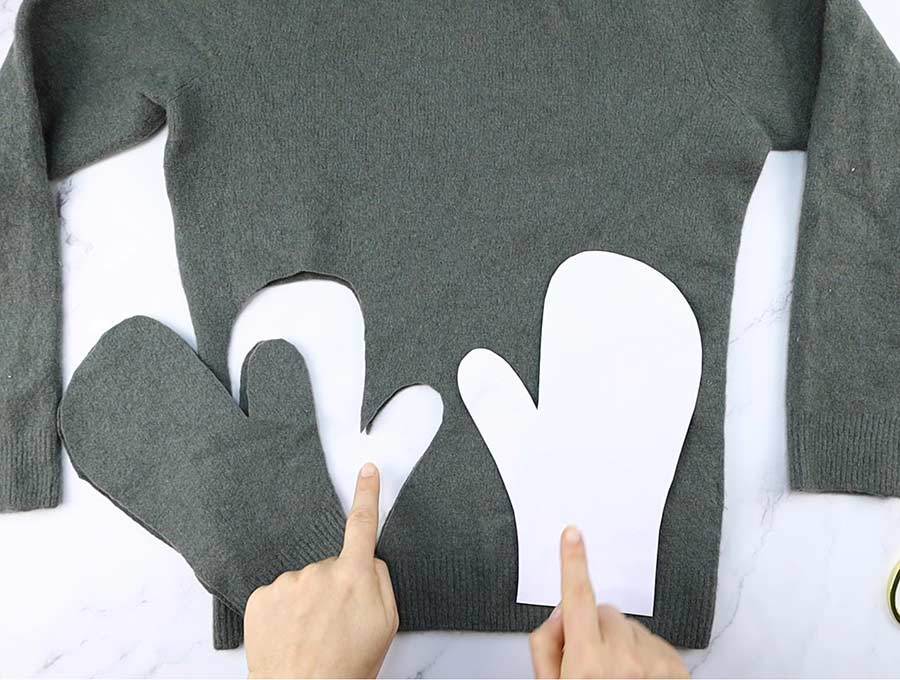
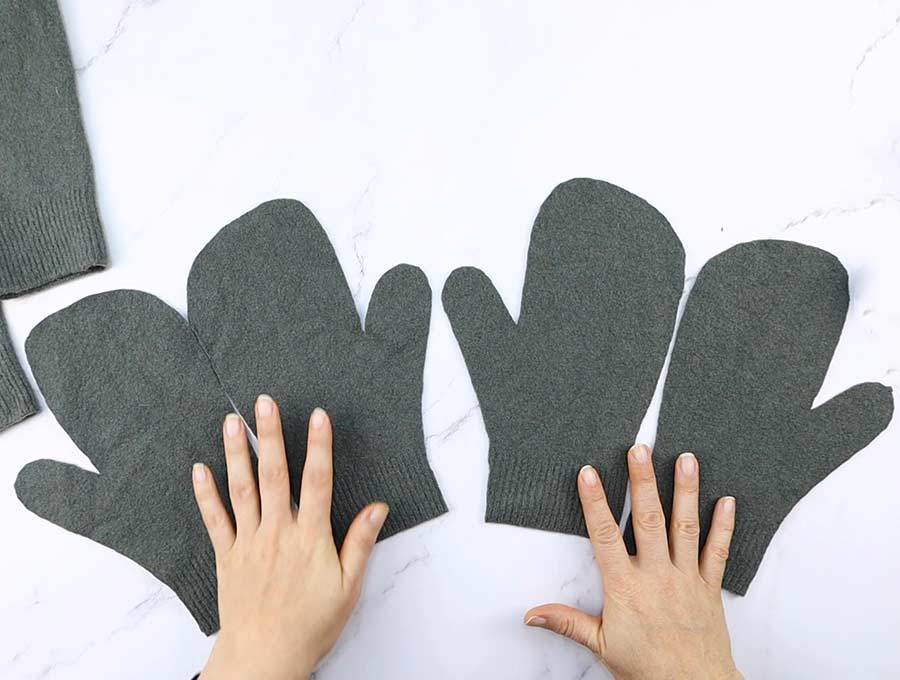
Next, grab your pattern and place it on the bottom left side of the sweater, near to the fold and along the bottom hem. Pin the pattern to the sweater. Use scissors and cut out the fabric through both layers.
Flip the pattern horizontally and place it on the other side of the sweater, near the bottom-right edge, and pin it. Cut around the pattern through both layers one more time.
Keep in mind that your scissors must be sharp for this step. If you use a blunt tool, it will ruin the fabric because it won’t be able to go through both layers.
STEP 4: Pin
Now you will assemble the felted sweater mittens.
Take one pair of fabric pieces and place them on top of each other with their right sides facing inward. Align the edges and secure the layers together with pins. Repeat for the second set.
STEP 5: Sew the wool sweater mittens
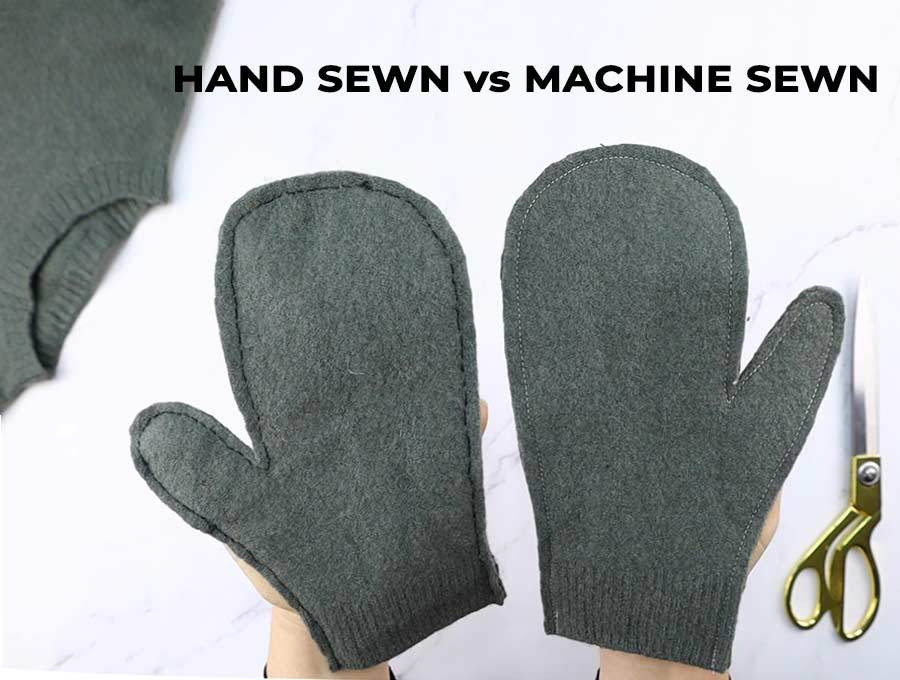
Sew all around the sweater with a needle and a thread or with a sewing machine. If you are handsewing – use backstitch or blanket stitch. If sewing with a machine, make sure to backstitch at the beginning and end of each seam
Don’t forget to leave the bottom edge unsewn.
While you’re sewing around the mittens, try to go as close to the edge as possible so that the seam allowance doesn’t get big and bulky. Or you can just trim the excess allowance later on with scissors if that’s easier for you.
Repeat for the second pair of fabric pieces.
STEP 6: Trim the excess
This is the time to trim the excess seam allowance. Make sure the curves are curved and that everything seems fine.
STEP 7: Turn inside out
Take both mittens and turn them inside-out through the opening. Push out all the edges and make sure everything seems alright with the edges.
STEP 7: Press
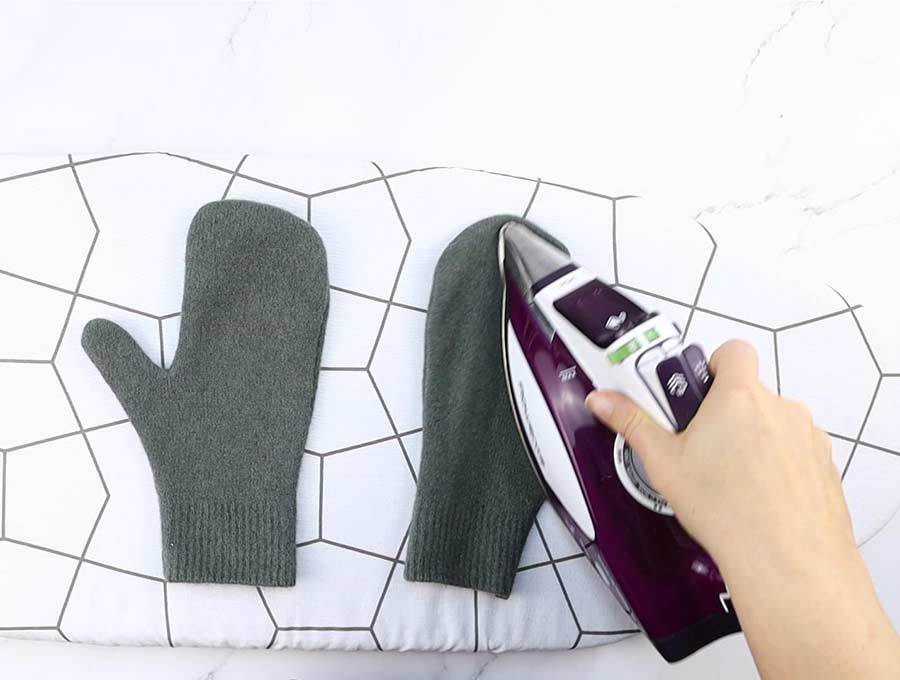
Grab your iron and press both mittens flat.
Be careful with the heat if your mittens are not 100% wool, you may need to place a cotton fabric on top before ironing so that you won’t ruin them!
OPTIONAL:
You can fold the bottom upward for a few inches on both mittens. Since you cut out the fabric near the bottom, your mittens will probably end up having those characteristic ribs that most sweaters have on their bottom edge. This will give your mittens an additional appeal.
Press the folded sections flat to keep them in place like that and form cuffs. You can also make a seam near the upper edge of the cuffs to make sure they will keep their shape.
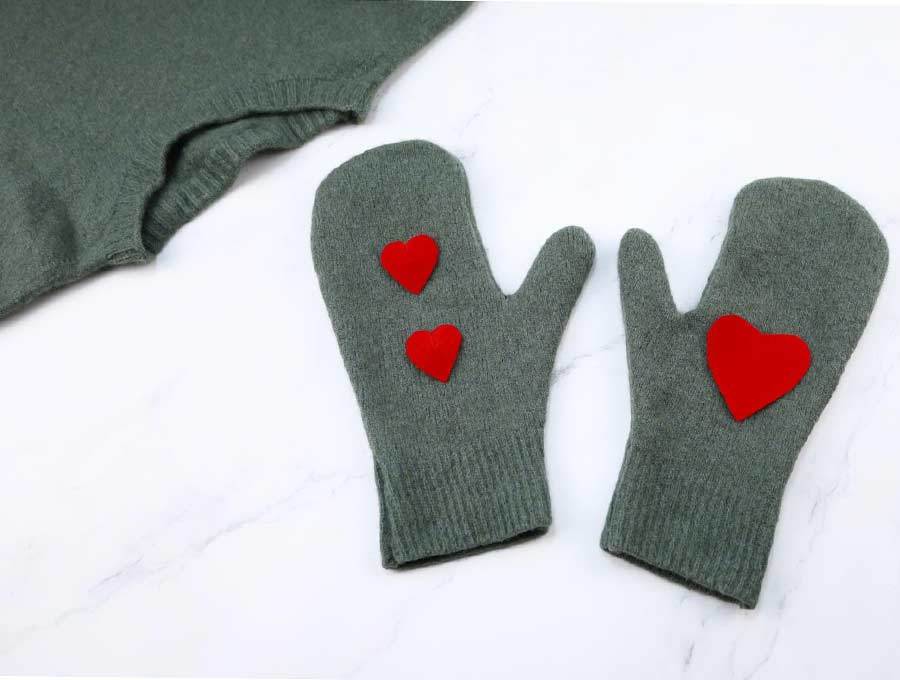
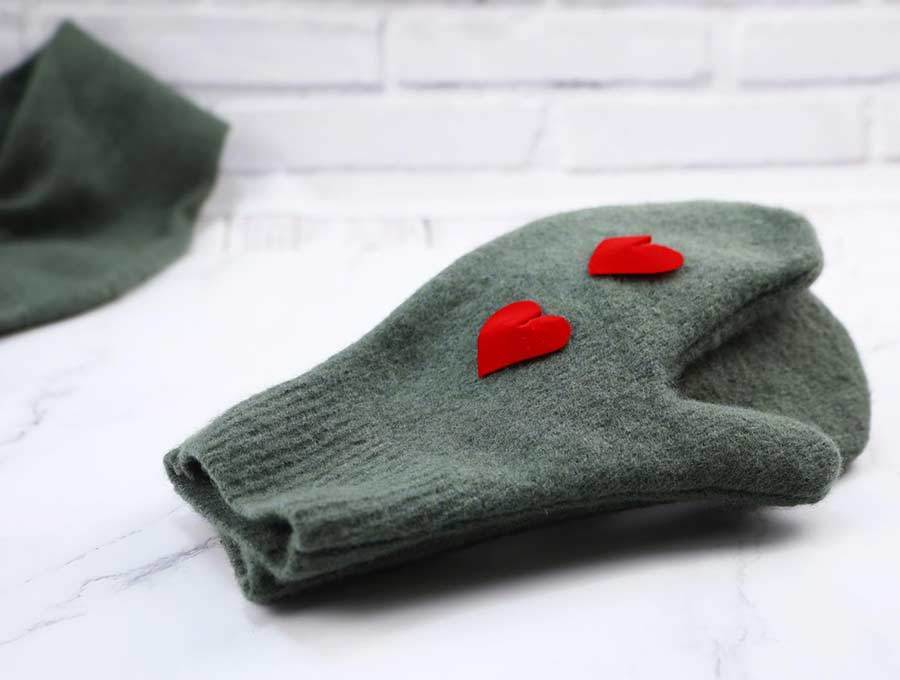
Your new wool mittens are finished!
Do you like this? Pin for later:
[***pin img****]Wanna be friends? Click HERE and follow me on Pinterest
RELATED:

