
DIY Dog Cord Keeper // Puppy Cord Wrap Pattern and Tutorial
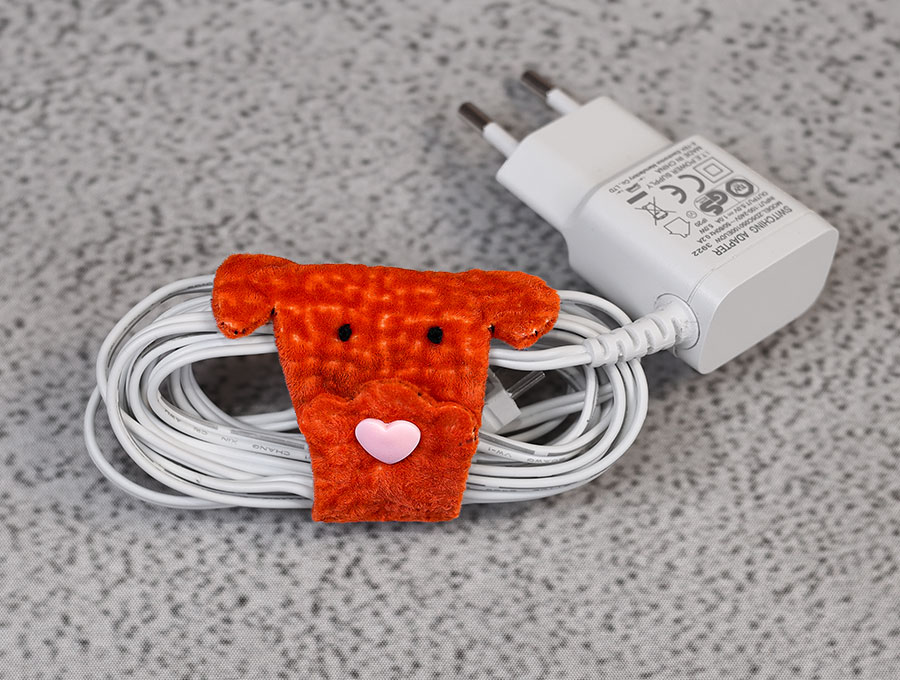
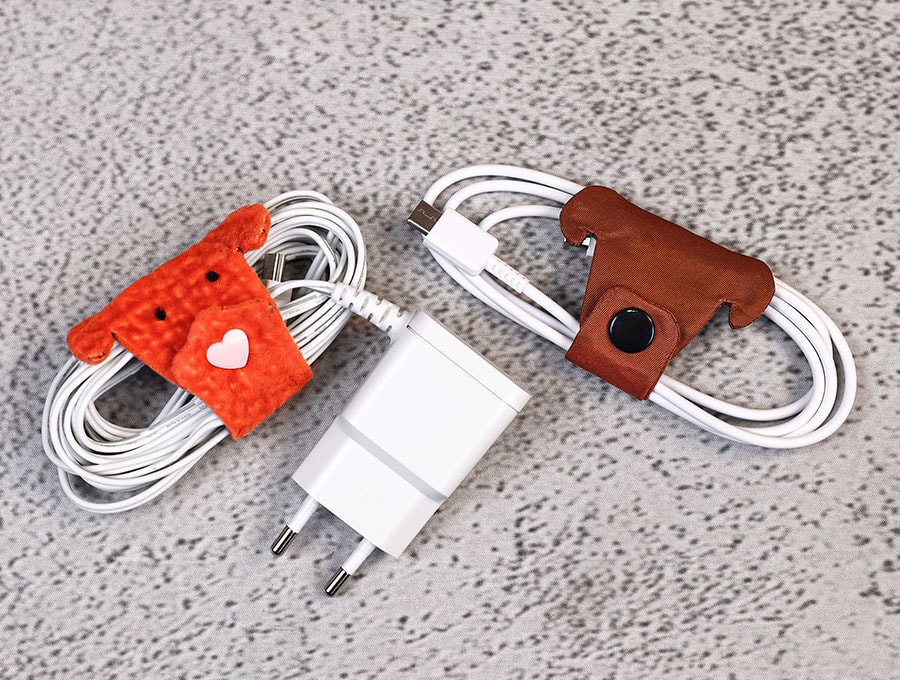
Looking for the perfect handmade gift for the dog lover in your life? This adorable puppy snap cord holder sews up in no time and is guaranteed to make tails wag.
Because the kitty cat cord wrap was such a hit, it was only fair that the dog lovers got their turn! This adorable puppy snap cord holder is the perfect quick sew project — it makes a fantastic gift, a fun weekend make, or just a cute way to finally tame that cord chaos on your desk. Grab your fabric scraps and let’s get stitching
Below you will find my step by step written tutorial with VIDEO instructions for all the visual learners.
We occasionally link to goods offered by vendors to help the reader find relevant products. Some of the links may be affiliate meaning we earn a small commission if an item is purchased.
Table of Contents
How to make the Dog Cord Keeper
Supplies and tools
- fabric – 2 pieces of woven cotton (one main, one lining)
- fusible interfacing
- matching thread
- scissors (or rotary cutter and a cutting mat)
- ruler or measuring tape
- iron and ironing board
- sewing clips or pins
- plastic snaps (you will need a sewing awl and snap pliers
- press studs
DOWNLOAD: Dog cord keeper pattern [Free pdf file]
Follow us for free patterns & tutorials! [easy-profiles]
How to Sew a puppy cord wrap
Watch the diy dog cord organizer video first and then follow the written step by step instructions below.
Please enjoy and don’t forget to Like and SUBSCRIBE over on YouTube to be kept up to date with new videos as they come out.
Handmade Puppy Cable Wrap VIDEO TUTORIAL
INSTRUCTIONS:
STEP 1:
Download and print the dog cord wrap template. Choose from the two styles that we offer and trim the pattern along the inner dashed line. Put aside.
STEP 2:
Prepare the fabric by fusing interfacing on the back side of the front page.
STEP 3:
Fold the fabric in half and place the pattern on top. Mark arond the pattern. Mark the beginning and end of the gap.
Pin the front and back in place.
STEP 4:
Stitch along the pen line, backstitching at the beginng and the end of the seam. Do not stitch the turning gap.
STEP 5:
Cut around the pattern 3-4 mm (1/8″) from the stittch line using pinking shears or small embroidery scissors. Leave larger seam allowance for the gap.
Snip into the the V-shapes around the ears to allow the fabric to lay flat after you turn it around.
STEP 6:
Turn the puppy cord wrap around – I like to use using a straw and a chopstich as it makes turning it around a breeze. Push out the seams witht the chopstick.
STEP 7:
Iron the cord wrap.
STEP 8:
Take a hand sewing needle and some matching thread and sew the gap using either an invisible ladder stitch or a slipstich. Knot the end, bury the thread inside and clip off the thread.
STEP 9:
Place dog cord wrap on the worktop and place the papper pattern on top. Use a fabric marker to mark the position of the snaps.
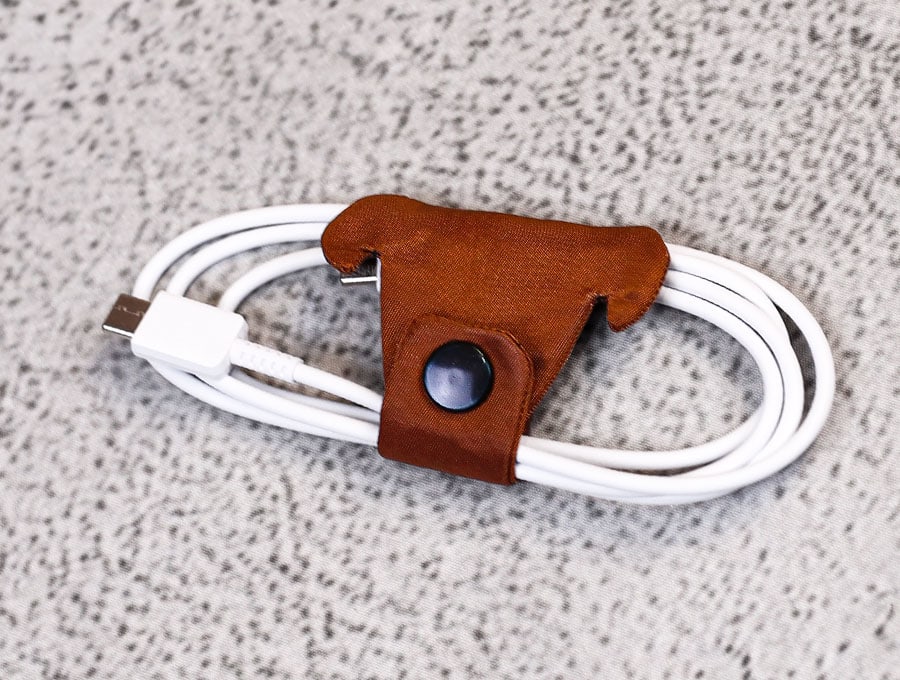
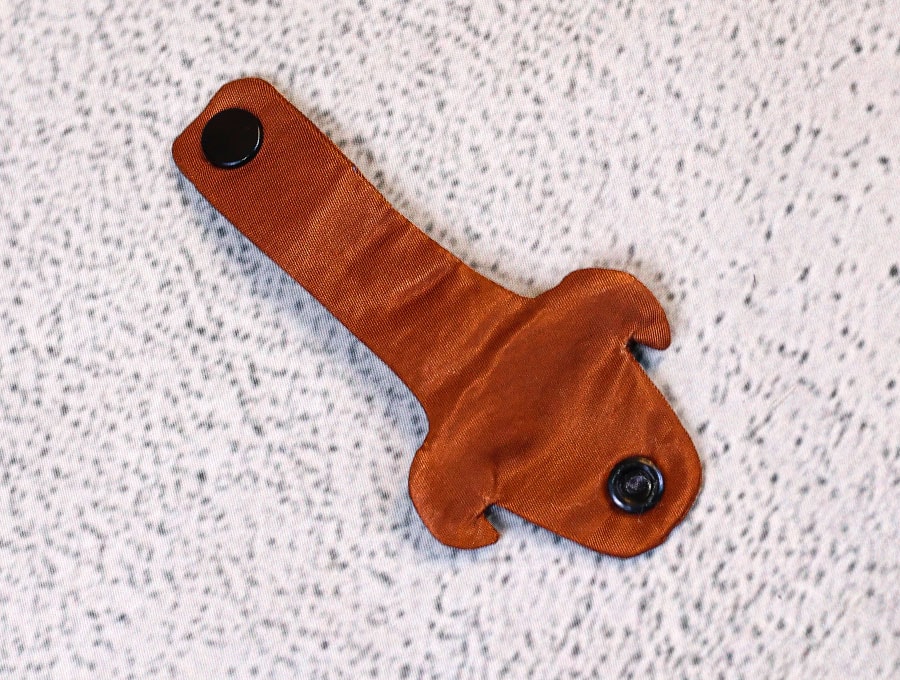
STEP 10:
Install either plastic or metal snaps:
- Fold the paw on top of the face to see the correct placement of the snaps
- install the male part is on the paw and the female is on the dog face.
At that point you need to decide whethe you want to make eyes or not. Both look adorable so it is up to personal preference.
If you decide to skip the eyes – your cord wrap is finished.
If not – continue with the next steps
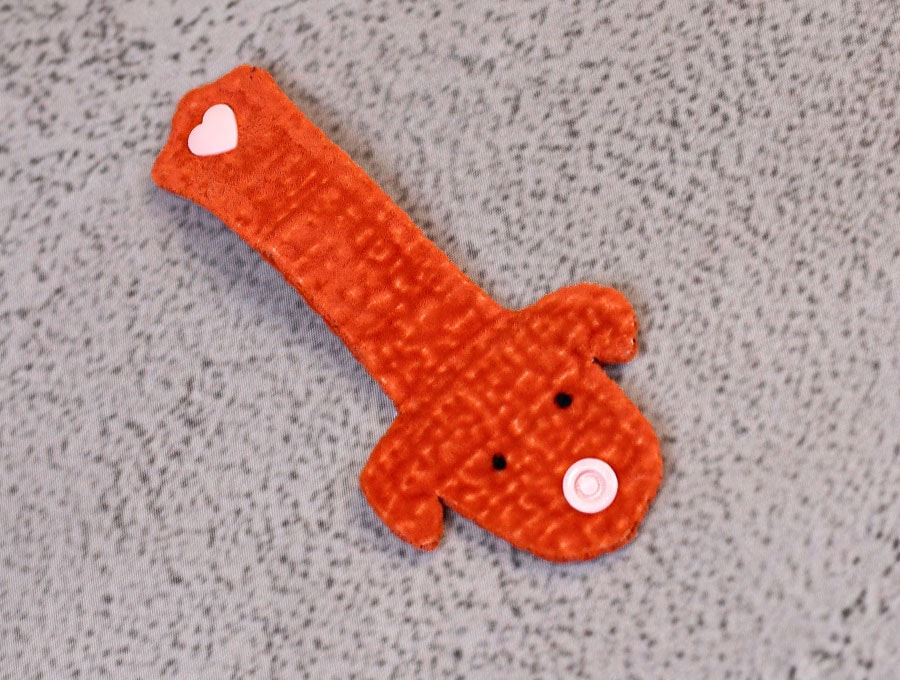
STEP 11:
Place the pattern on top of the cord wrap to mark the position of the eyes.
STEP 12:
Take a hand sewing needle and thead black thread. Knot both ends together.
STEP 13:
Start from the seam of one ear push the needle to the position of the eye. Pull on the thread to bury the knot.
To make the eyes we are going to use french knots.
To make a French knot:
- Bring your needle up exactly at the eye mark
- With your other hand, hold the thread taught. Wrap the thread twice around your needle.
- Push the needle back into the fabric right next to where you came up , but not in the same hole – just a couple of threads away and bring it up exactly at the other eye mark
- Keep holding the wrapped thread taut with your other hand as you slowly and smoothly pull the needle all the way through
STEP 14:
Repeat for the other eye – this time exit the fabric at the top of the nearest ear. Knot your thread and push the needle through the cord wrap. Hold it taut and trim the thread.
And just like that, your adorable puppy cord holder is ready to snap into action!
We love seeing your makes — share your finished pups with us in the comments below or tag us on social media!
Want more fun and beginner friendly sewing projects like this one delivered straight to your inbox? Subscribe to our newsletter for weekly sewing tips, tutorials, and fresh new patterns — because there is always something new to stitch! Sign up below and never miss a thing!
Do you like this? Pin for later:
Wanna be friends? Click HERE and follow me on Pinterest
RELATED: