
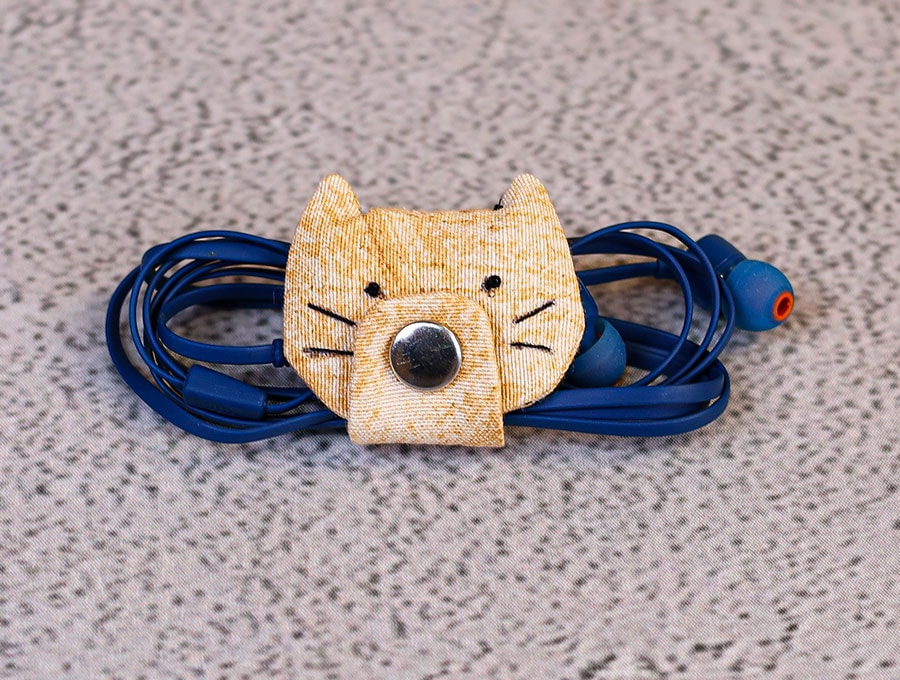
DIY Cat Cord Keeper // Kitty Cat Cord Wrap
Let’s sew an adorable kitty cat cord keeper!
Super quick and easy sew. Grab the pattern and let’s get sewing.
Below you will find my step by step written tutorial with VIDEO instructions for all the visual learners.
We occasionally link to goods offered by vendors to help the reader find relevant products. Some of the links may be affiliate meaning we earn a small commission if an item is purchased.
Table of Contents
How to make the kitty cat cord keeper
Supplies and tools
- fabric – 2 pieces of woven cotton (one main, one lining)
- a little bit of polyester stuffing
- fusible interfacing
- matching thread
- scissors (or rotary cutter and a cutting mat)
- ruler or measuring tape
- iron and ironing board
- sewing clips or pins
- plastic snaps (you will need a sewing awl and snap pliers
- press studs
- hook and loop dots/tape
DOWNLOAD: Cat cord keeper pattern [Free pdf file]
Follow us for free patterns & tutorials! [easy-profiles]
How to Sew a cat cord wrap
Watch the diy kitten cord keeper video first and then follow the written step by step instructions below.
Please enjoy and don’t forget to Like and SUBSCRIBE over on YouTube to be kept up to date with new videos as they come out.
Cat cord keeper VIDEO TUTORIAL
INSTRUCTIONS:
STEP 1:
Download, print at 100% (no scaling) and trim the pattern. There are two pieces – the cat’s face and the cord wrap body.
STEP 2:
Cut your fabrics around the pattern shapes – you will need 2 of each pattern piece. The fabric for the cat face can be cut around the pattern loosely – do not try to be exact as we will trim it down later.
Also cut 1 piece of fusible interfacing for the face and one for the body.
STEP 3:
Fuse the interfacing to back of the front fabrics.
STEP 4:
Place both pieces of the cat body together and pin.
Place the both pieces of the cat face together, right sides facing and pin.
STEP 5:
Trim the cat’s face pattern piece according to the dashed (inner) line and pin it to the fabric. Make sure to center the face so there is at least 1/4″ all around the template.
Mark around with a fabric marking pen. Also make sure to transfer the placement of the gap.
STEP 6:
Stitch around the body piece and the face piece, leaving the gaps for turning.
STEP 7:
Trim the fabric around the cat’s face using pinking shears OR trim down the seam allowance and clip around all around with regular scissors
STEP 8:
Turn around the body and the cat’s face. I like to use either a forceps or a straw and a skewer.
STEP 9:
Turn the seam allowance of the face in and press both pieces.
STEP 10:
Insert a little bit of polyfill in the face and then insert the body about 6mm (1/4″) in.
STEP 11:
Take a hand sewing needle and thread and stitch the body to the face.
STEP 12:
Use your pattern pieces to tranfer the position of the snaps.
STEP 13:
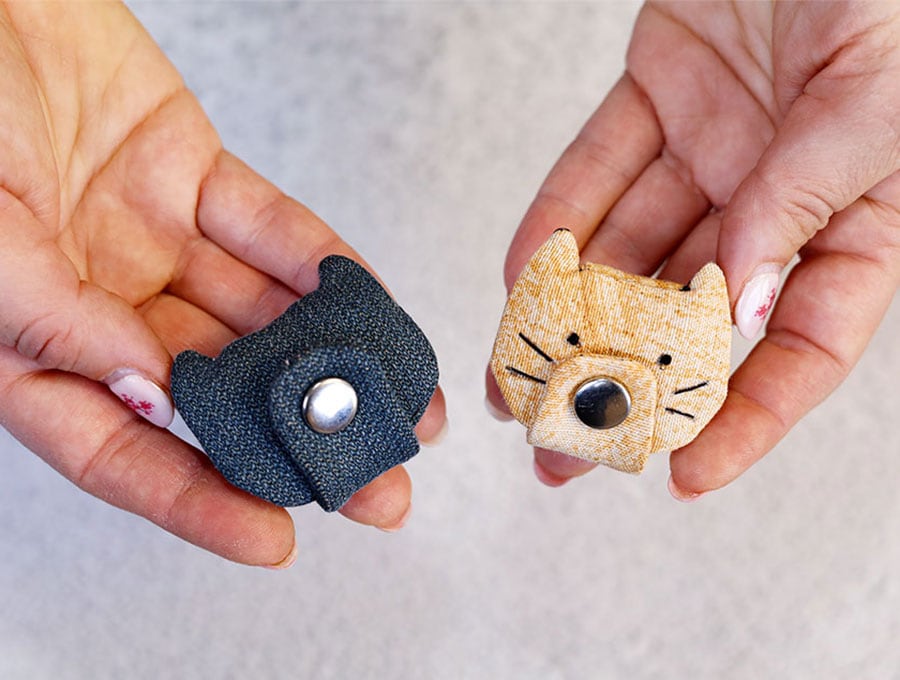
Add your snaps – I like to use metal snaps but regular color plastic snaps are also good.
The male part is on the face and the female – on the body. Make sure to position it so it snaps correctly.
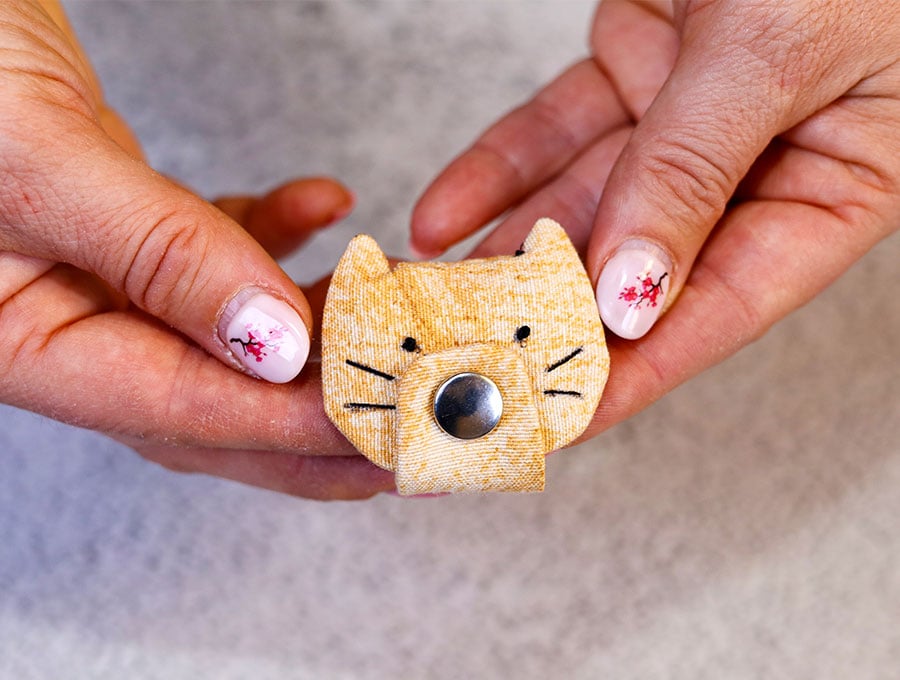
STEP 14:
Use the pattern piece to transfer the face features – the eyes and the whiskers. Use black tread to embroider the features. Use french knots for the eyes. Knot off your thread and your cat cord wrap is ready.
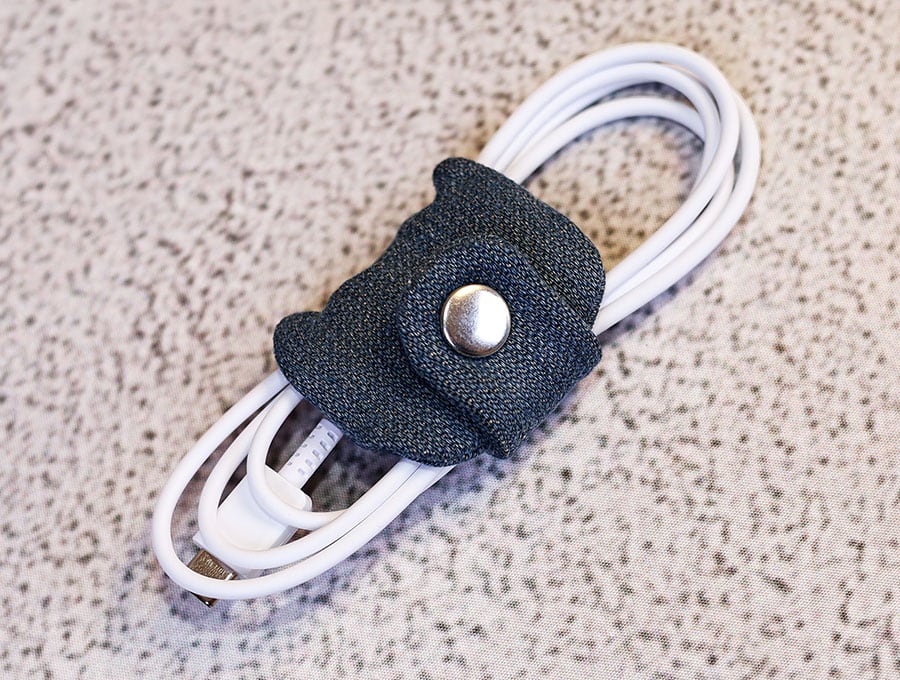
You can make it out of denim and skip the embroidery of the face. It’s still super cute:
Do you like this? Pin for later:
Wanna be friends? Click HERE and follow me on Pinterest
RELATED: