DIY Reading Pillow Pattern + How to Make a Book Pillow VIDEO
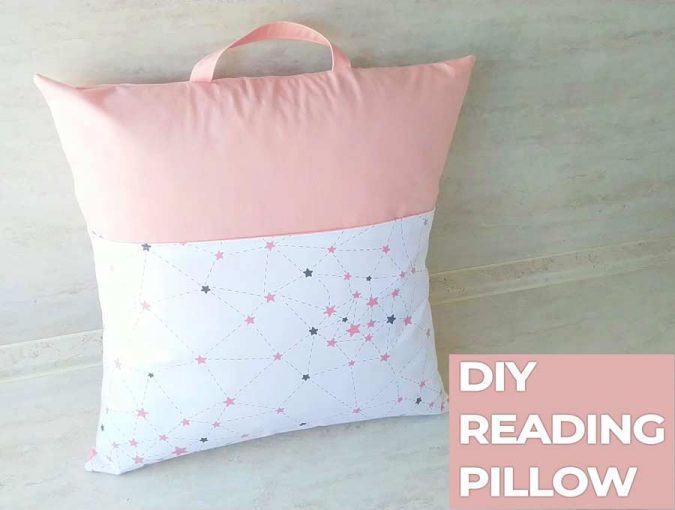
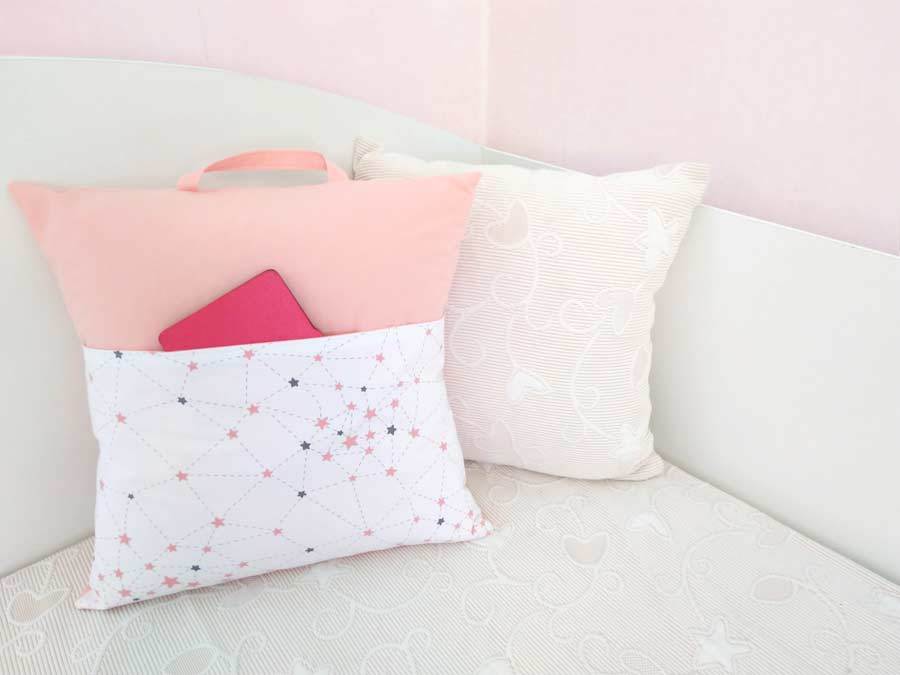
Do you know what a reading pillow is? Book Pillow also called Pocket Pillow, is a wonderful invention that allows you to read books while snuggling a pillow! Who knew that kind of thing even existed?
Most of these pillows are way too complex to make though, with applique, piping, and other fancy stuff. Because of that, not many sewing enthusiasts try to make them.
Our DIY Reading pillow is completely different. It’s easy to make but it doesn’t lack in any way when you compare it to its complicated counterparts. It’s simple, yet comfortable and convenient! Plus I’ll give you a cut list and free reading pillow pattern.
If you like how this sounds, you’ll love this reading pillow tutorial. Because it will teach you how to make a reading pillow the easy way!
We occasionally link to goods offered by vendors to help the reader find relevant products. Some of the links may be affiliate meaning we earn a small commission if an item is purchased.
Table of Contents
- 1 How to make reading pillow
- 2 Book pillow supplies and tools
- 3 How to Sew a Reading Pillow
- 3.1 BOOK PILLOW VIDEO TUTORIAL
- 3.2 READING PILLOW WITH POCKET INSTRUCTIONS:
- 3.3 STEP 1: Prepare the reading pillow pattern for use
- 3.4 STEP 2: Cut out the fabric pieces
- 3.5 STEP 3: Apply the interfacing
- 3.6 STEP 4: Line the pocket
- 3.7 STEP 5: Turn the pocket around and topstitch
- 3.8 STEP 6: Attach the handle (optional)
- 3.9 STEP 7: Assemble the front
- 3.10 STEP 8: Prepare the back pieces
- 3.11 STEP 9: Make the envelope back
- 3.12 STEP 10: Sew around
- 3.13 STEP 11: Finish the DIY reading pillow
How to make reading pillow
Book pillow supplies and tools
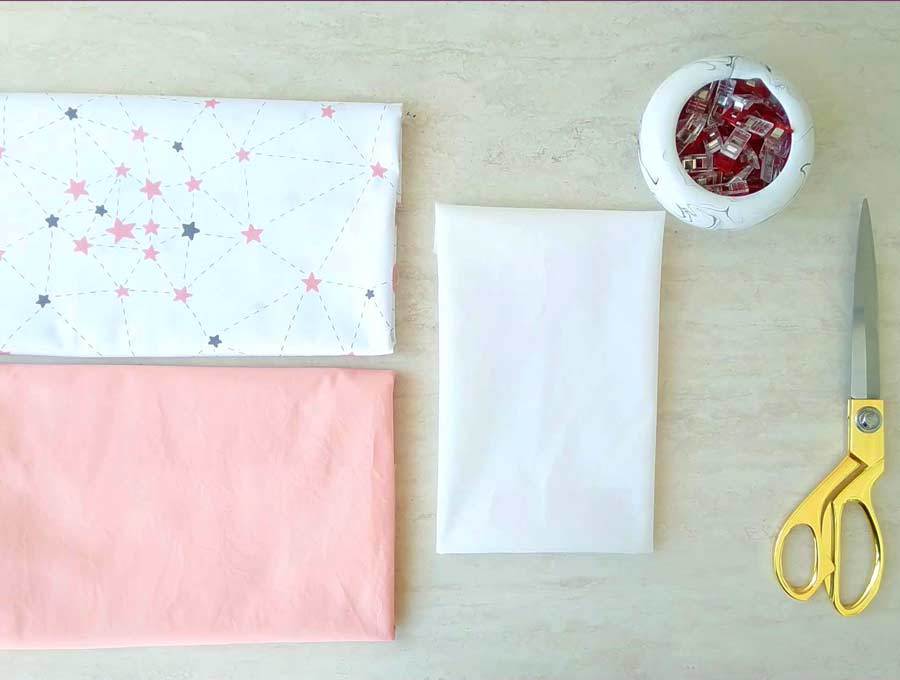
For this project, you will need a few different fabrics and some other things. Here’s a list of the essentials for this book pillow:
- main fabric – cotton
- accent (pocket) fabric – cotton
- lightweight fusible interfacing
- matching thread
- scissors (or rotary cutter and a cutting mat)
- ruler or measuring tape
- iron and ironing board
- sewing clips or pins
- sewing machine (it’s an easy sew, even something simple can handle this, if you are making to sell you might need a simple embroidery machine for home business, if you are quilting a design on the pocket – a quilting sewing machine)
DOWNLOAD: diy reading pillow pattern / cut list
When you prepare all of this, proceed to the next step.
Follow us for free patterns & tutorials! [easy-profiles]
How to Sew a Reading Pillow
Watch the diy reading pillow video first and then follow the written step by step instructions below.
Please enjoy and don’t forget to Like and SUBSCRIBE over on YouTube to be kept up to date with new videos as they come out.
BOOK PILLOW VIDEO TUTORIAL
READING PILLOW WITH POCKET INSTRUCTIONS:
STEP 1: Prepare the reading pillow pattern for use
Download the book pillow pattern and print it out at 100% on a US letter paper. Trim it, tape it and cut it out accordingly and remove all excess paper.
If you don’t want to use the free reading pillow pattern, just print or write down the cut list.
STEP 2: Cut out the fabric pieces
Wash the fabric thoroughly and press flat before you start doing anything. Use the pattern as a guide and cut out the fabric accordingly.
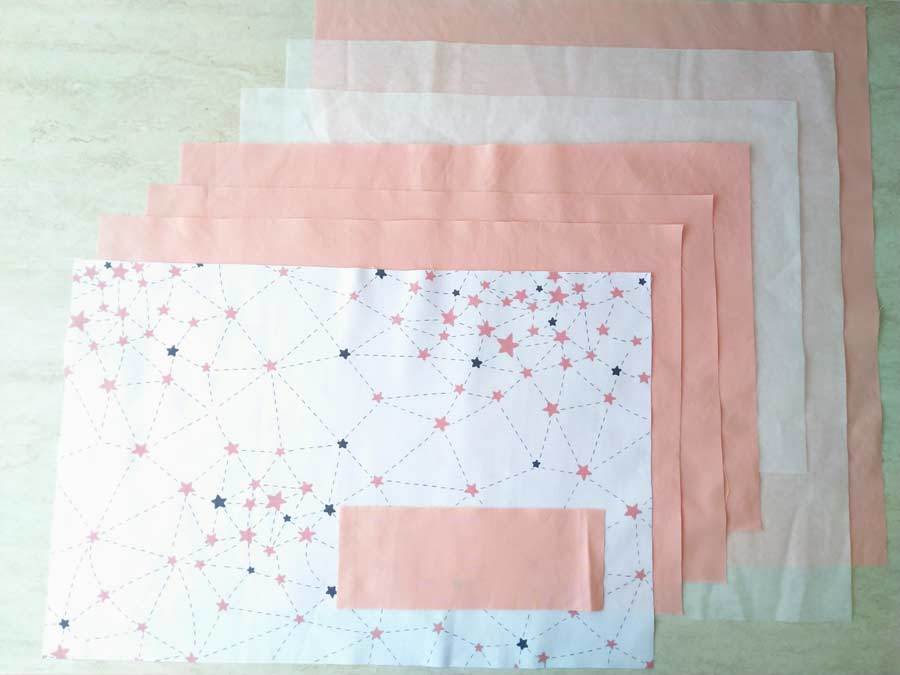
If you don’t have the pocket pillow pattern or you can’t print it out for some reason, download and use the cut list above or cut as follows.
- Cut the front fabric into an 18 x 18 inches wide piece.
- Cut two pieces 12 x 18 inches big from the back fabric.
- Cut the pillow pocket fabric and the pillow lining into an 12 x 18 inches piece each.
- Cut two pieces of fusible interfacing, one should be 12 x 18 inches and the other should be 18 x 18 inches big.
STEP 3: Apply the interfacing
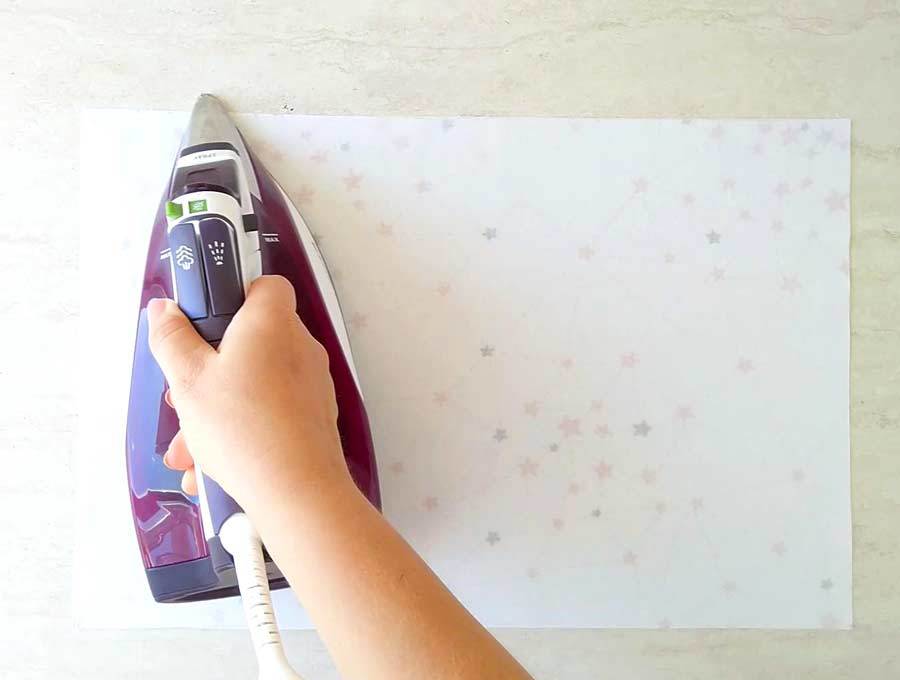
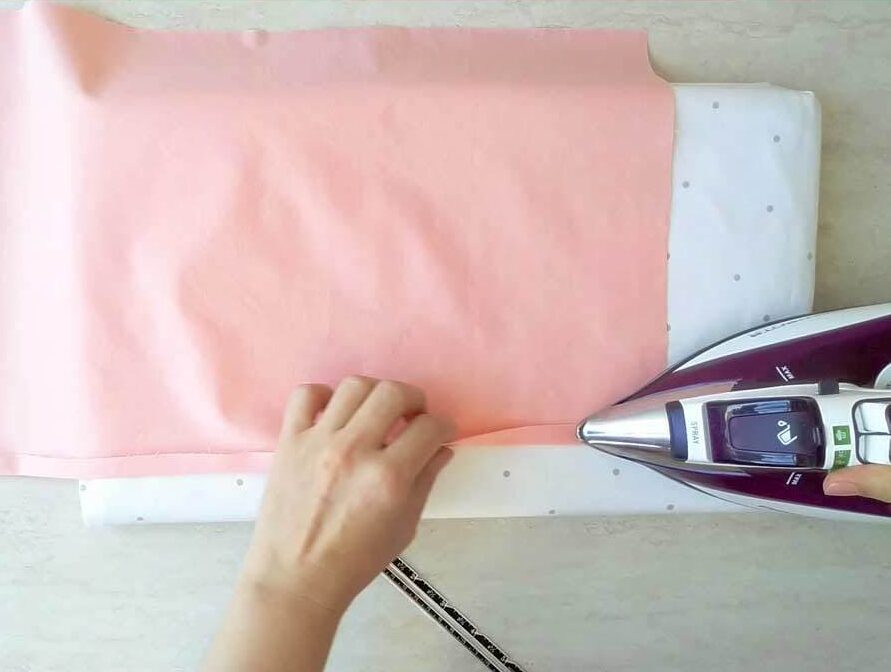
Take the pocket fabric piece and the fusible interfacing that’s the same size. Put the interfacing (fusible side down) on top of the wrong side of the fabric. Iron from the center toward the edges of fabric.
Do the same with the other interfacing piece and the pillow front fabric.
TIP: Having trouble telling which is the fusible side of the interfacing? Look for the bumpy side – it is the side with the glue, and the smooth side is the one you need to press with your iron. So, fusible side = bumpy side
STEP 4: Line the pocket
Place the pocket lining piece and the interfaced pocket fabric on top of each other so that their right sides are facing each other. Align the edges and secure the top edge with pins or clips.
Sew along the top edge with a half-inch seam allowance.
STEP 5: Turn the pocket around and topstitch
Press the seam open and turn the entire piece inside-out. Flatten the seam and top stitch the edge.
STEP 6: Attach the handle (optional)
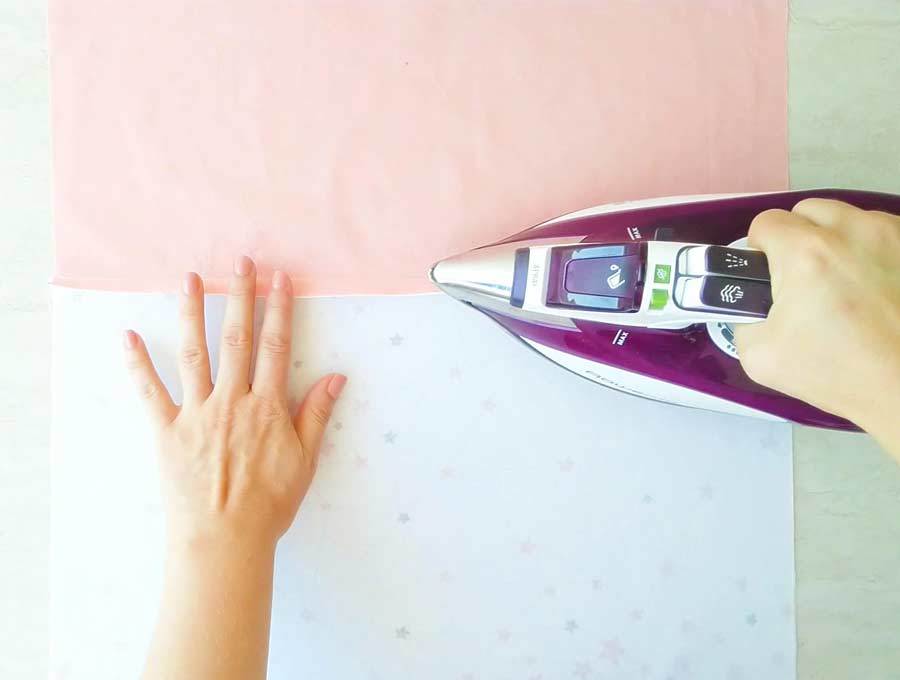
Fold your fabric in half and press with the iron. Unfold and fold the top and bottom edge so that they meet in the middle. Press. Fold one last time along the crease in the middle. Pin and stitch along the fold.
TIP: Do NOT add handle if making this for children under 3 – it is a chocking hazard!
STEP 7: Assemble the front
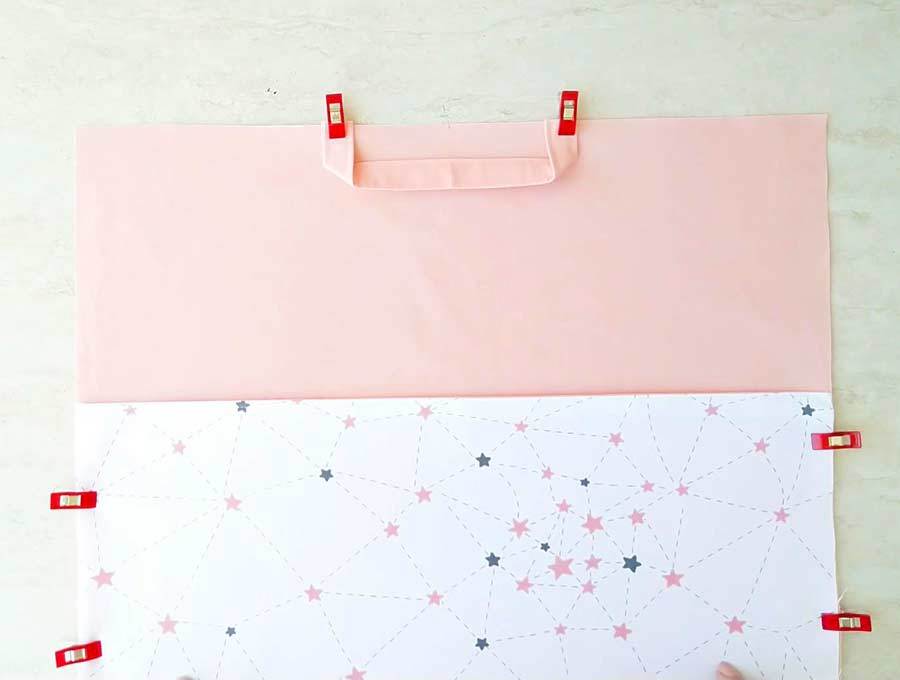
Lay the pocket piece on top of the main fabric so that their bottom edges are aligned, and their right sides are facing up. Stitch both left and right side edges to secure them.
Set the two short edges of the handle in the middle of the longer edge of the main fabric piece, about three inches apart from each other. Keep the entire ribbon on top of the fabric so that it bends downward. Pin and sew in place.
STEP 8: Prepare the back pieces
For both back pieces: Fold one of the longer edges 1/2 inch toward the wrong side of the fabric TWICE and press flat. Pin and stitch in place.
STEP 9: Make the envelope back
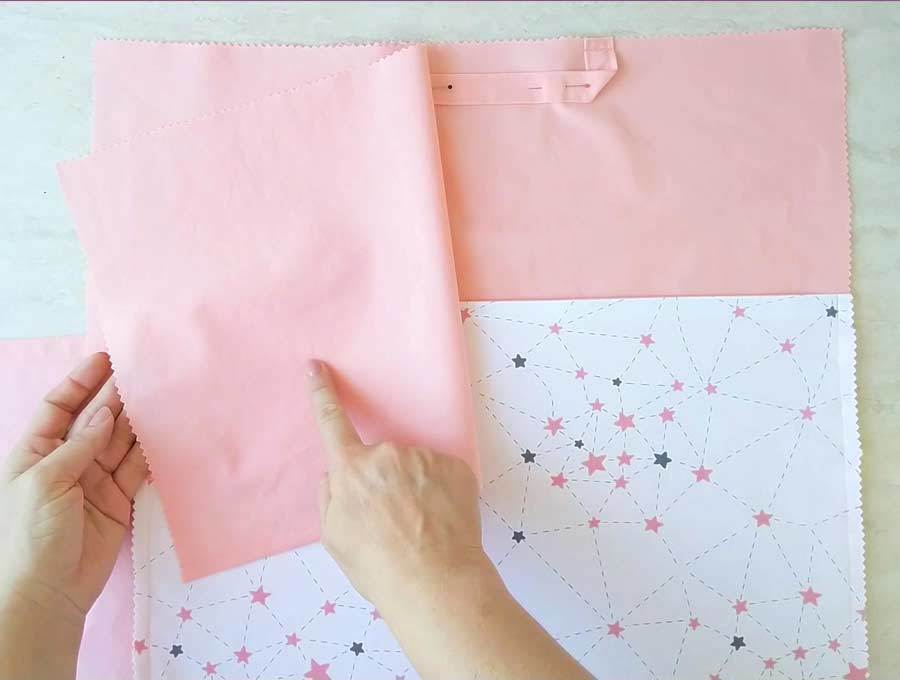
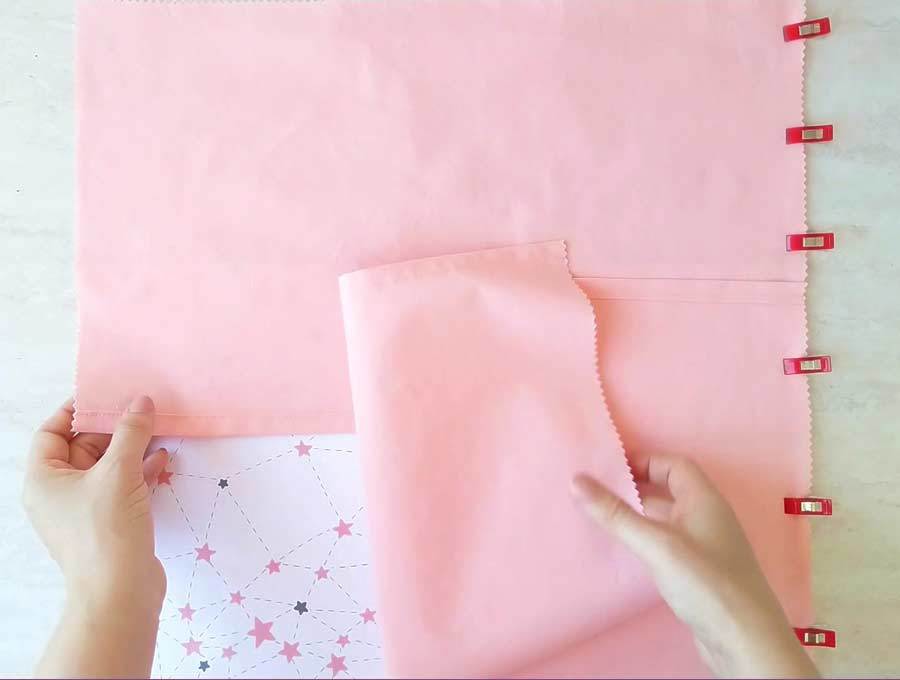
Put one of those pieces on top of the front of the pillow, with its right side down. Align the long raw edge with the TOP side of the pillow. Make sure the folded edge is facing down. Secure with pins or clips.
Then put the second back piece over the front, again with its right side down. Align the long raw edge with the BOTTOM of the pillow. Make sure to keep the folded edge up this time. Use clips or pins to keep the layers in place.
STEP 10: Sew around
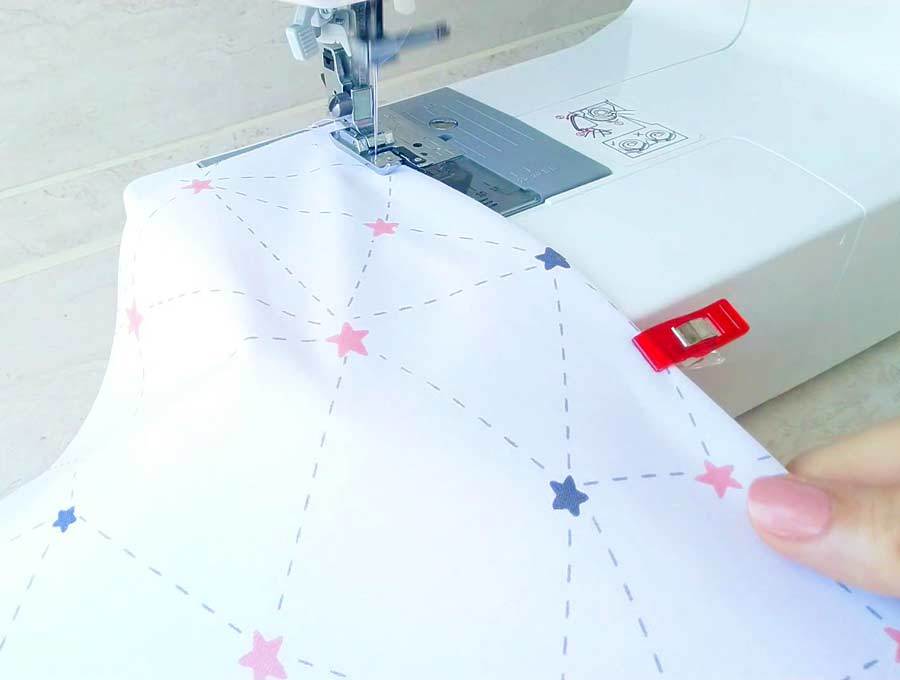
Stitch all around the pillowcase with a half-inch seam allowance. Backstitch over the folded edges of the back pieces to prevent the seams from pocking out when you are inserting the pillow form.
STEP 11: Finish the DIY reading pillow
Clip all four corners a bit to reduce bulk. Turn the entire pillowcase inside-out and push out the corners with a pencil or with your fingers. Press flat on the ironing board.
Put an 18 inch pillow form in the case.
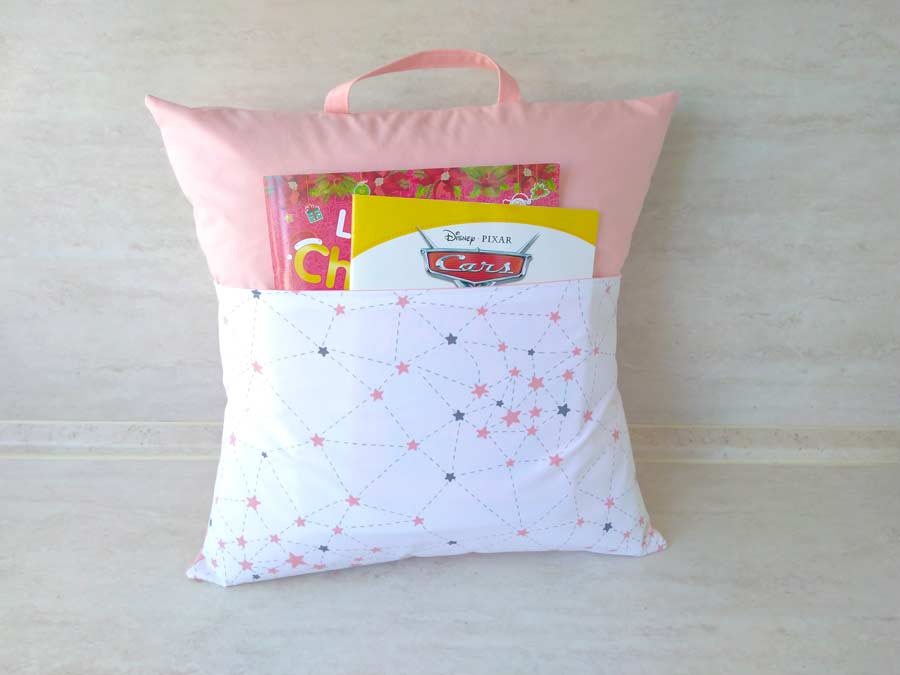
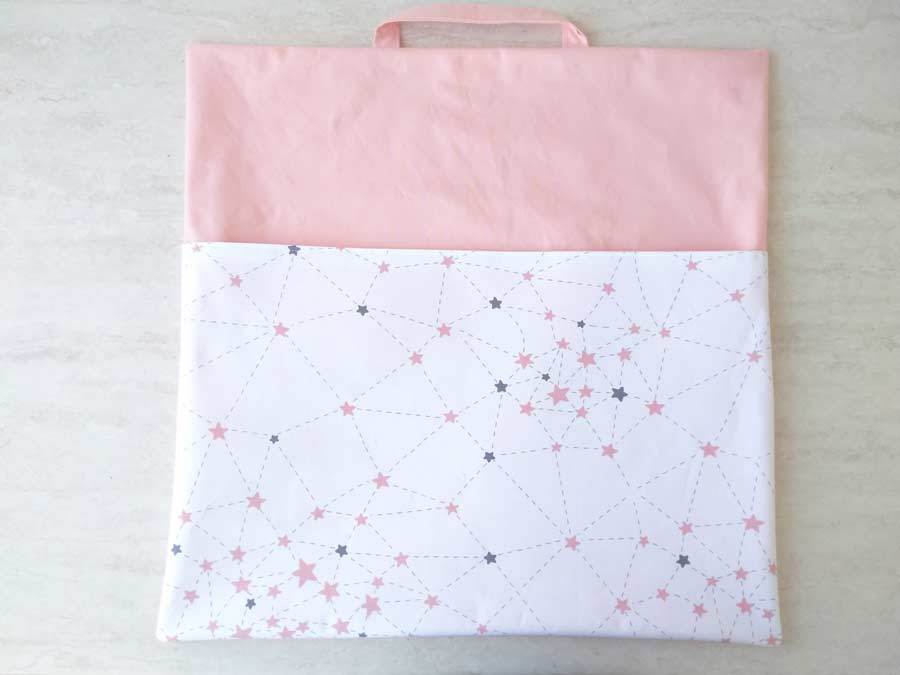
Your reading pillow with handle is now ready for action! Insert your favorite book in the pocket and keep it for yourself or just add a good book give it away as a gift.
Did you like my reading pillow sewing pattern and tutorial? Now that you know how to sew a reading pillow, try making a couple of them yourself. They are great gifts for any occasion and everyone will love it if you give it to them. Let us know how these adorable book pillows with pocket and handle turned out. If you have some ideas on how to improve this project, do tell us!
Enjoy reading in the most comfortable and cozy way!
Do you like this DIY Book Pillow with pocket? Pin for later:
Wanna be friends? Click HERE and follow me on Pinterest
RELATED:
- DIY neck pillow pattern
- iPhone holder pattern
- Tutorial: How to sew a pillowcase
- DIY triangular pillow to keep the body at a higher angle
- DIY Sock monkey puppet
- Book cover pattern (VIDEO)
- DIY eyeglass case
- Tooth fairy pillow pattern
- dog bone pillow pattern
HOME DECOR SEWING:

