
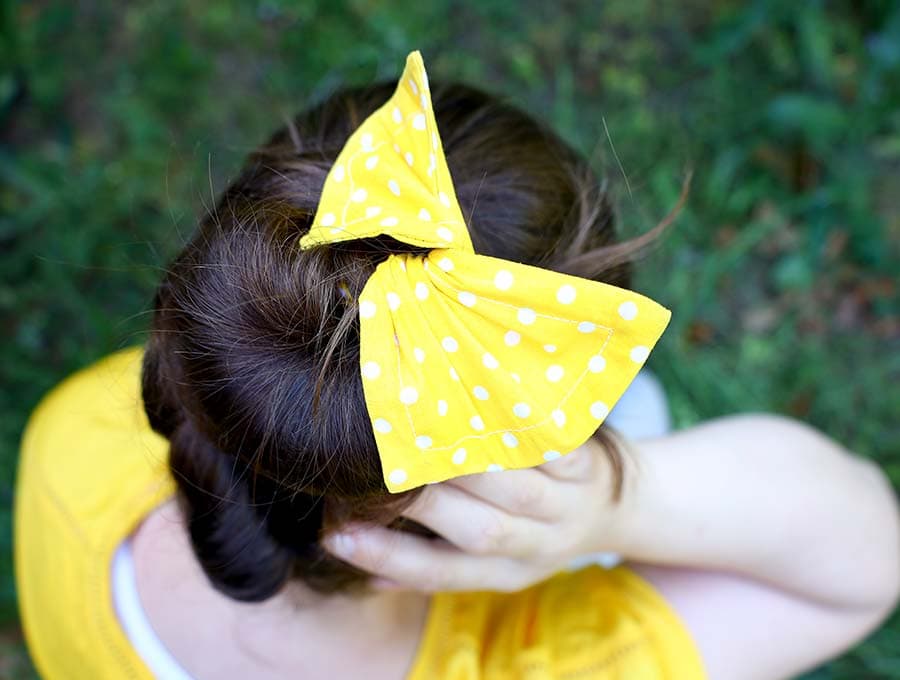
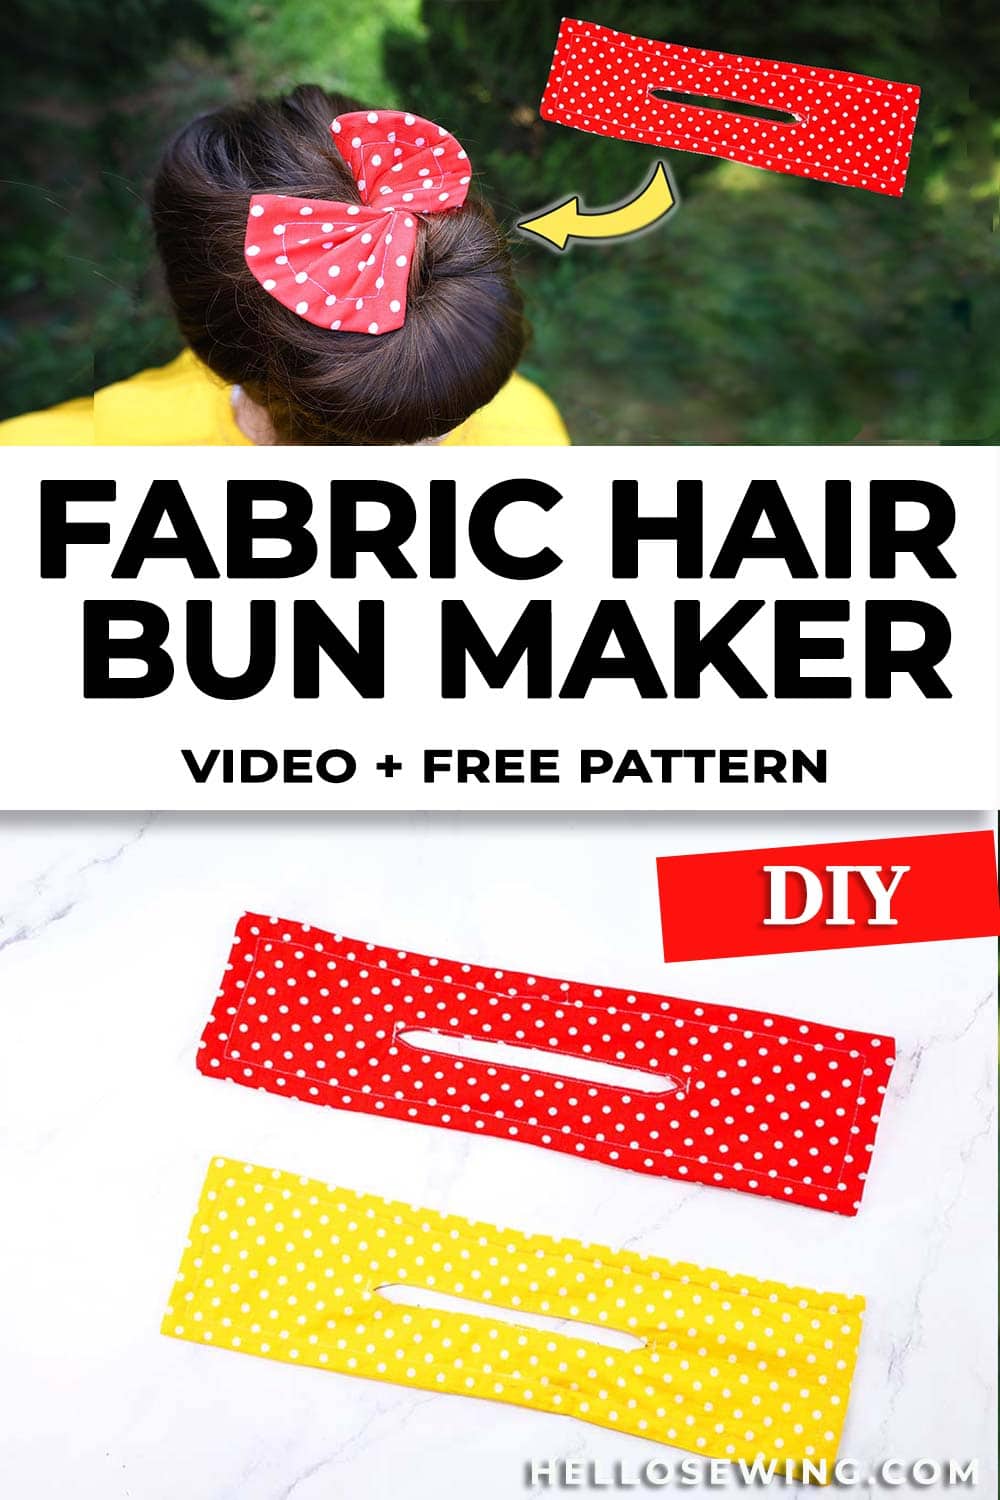
DIY Fabric Hair Bun Maker and Holder – Tutorial and Free Pattern
As a kid I used to watch my mother make a bun by catching her long auburn hair up into a ponytail, placing a springy looking doughnut shaped ‘thing’ over the back of her head and pulling the ponytail through. Then she would use hair pins to fasten the hair that she wound around the bun maker. A slick of mascara, a dab of lipstick and she was ready to go. Now these days the Magic Bun maker tool comes all in one with a cute bow. It’s a quick roll, twist and go; perfect for busy lifestyles. We show you how to DIY a hair bun holder that can be either sophisticated or fun, but most importantly the fabric wire hair bun maker will hold hair in place securely without any hairpins.
For corporate wear I am making the hair bun holder in black, navy, and maroon for girls with light colored hair, and in white, tan, or light grey for those with darker hair. For fun times there are polka dots, paisley prints, and plain bright colors, then, for evening out come the lavish velvets, satins and brocades. If you are selling hair accessories it’s a perfect addition to your stock, and one which parents of young girls doing ballet, where a hair bun is required, are going to thank you for. Anyone who has cupboards full of offcuts will find it a perfect way to use and display those small pieces of fabric.
Below you will find my step by step written tutorial with VIDEO instructions for all the visual learners.
We occasionally link to goods offered by vendors to help the reader find relevant products. Some of the links may be affiliate meaning we earn a small commission if an item is purchased.
Table of Contents
How to make a Hair Bun Maker
Supplies and tools
- fabric – 2 pieces of 100% tightly woven cotton (one main, one lining)
- craft wire (19 gauge or 1mm)– 39″ (99cm)
- matching thread
- scissors (or rotary cutter and a cutting mat)
- ruler or measuring tape
- iron and ironing board
- sewing clips or pins
- sewing machine
DOWNLOAD: hair bun maker pattern (Free PDF file)
Follow us for free patterns & tutorials! [easy-profiles]
How to Sew a Hair Bun Maker
Watch the diy magic bun maker video first and then follow the written step by step instructions below.
Please enjoy and don’t forget to Like and SUBSCRIBE over on YouTube to be kept up to date with new videos as they come out.
DIY hair bun maker VIDEO TUTORIAL
DIY HAIR BUN MAKER INSTRUCTIONS:
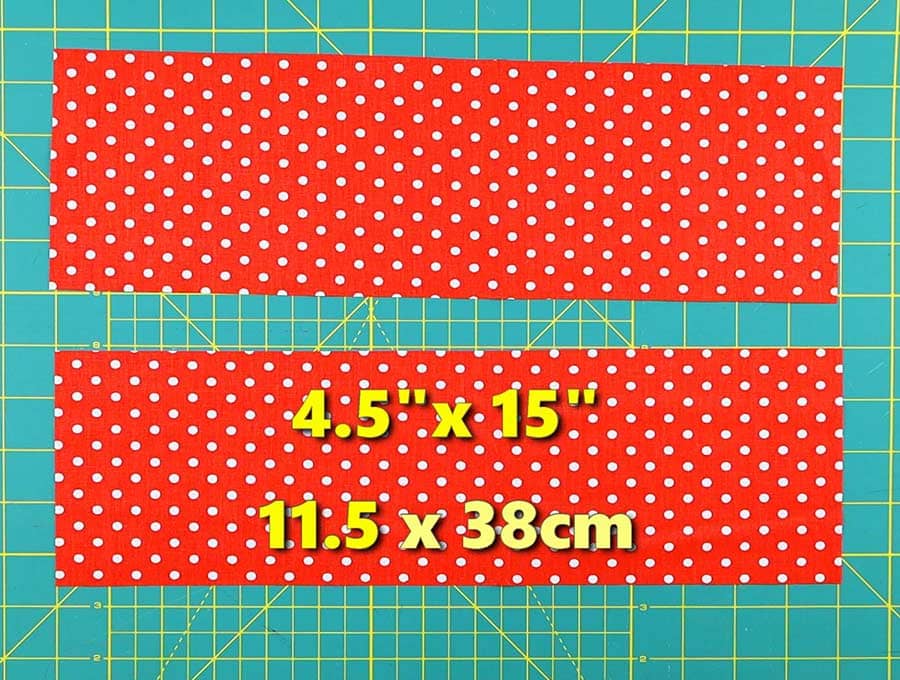
You’ll need two same size rectangles of fabric 4.5 inches x 15 inches (11.5x38cm), a piece of craft wire 39 inches (99cm) long and you’re ready to start.
STEP 1:
Cut two rectangles exactly 4.5 inches by 15 inches on the straight grain of the fabric. Personally, I’d cut both from the same fabric, but if you want one plain rectangle and one patterned one that is fine.
STEP 2:
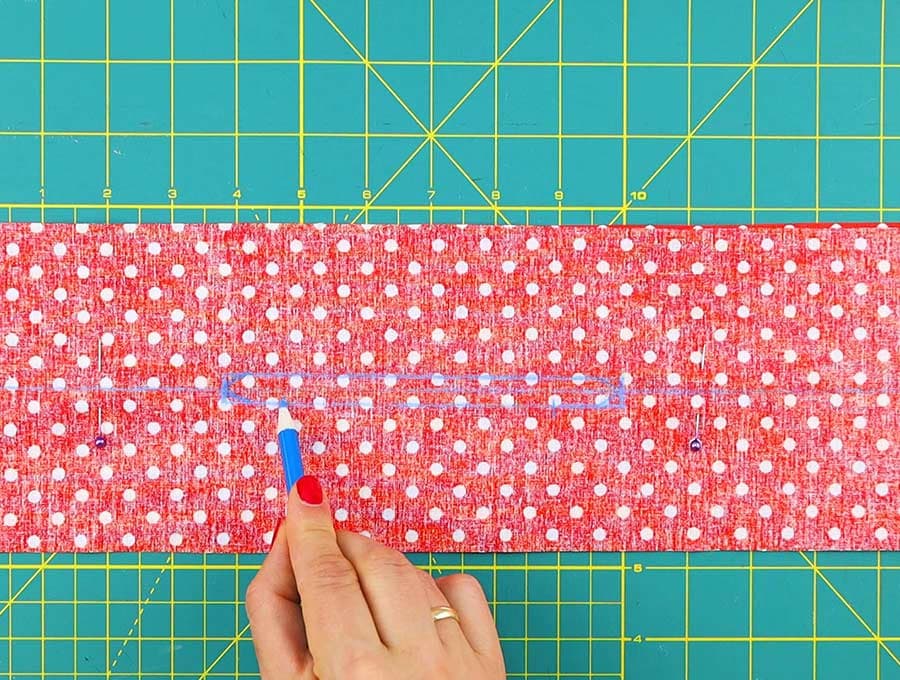
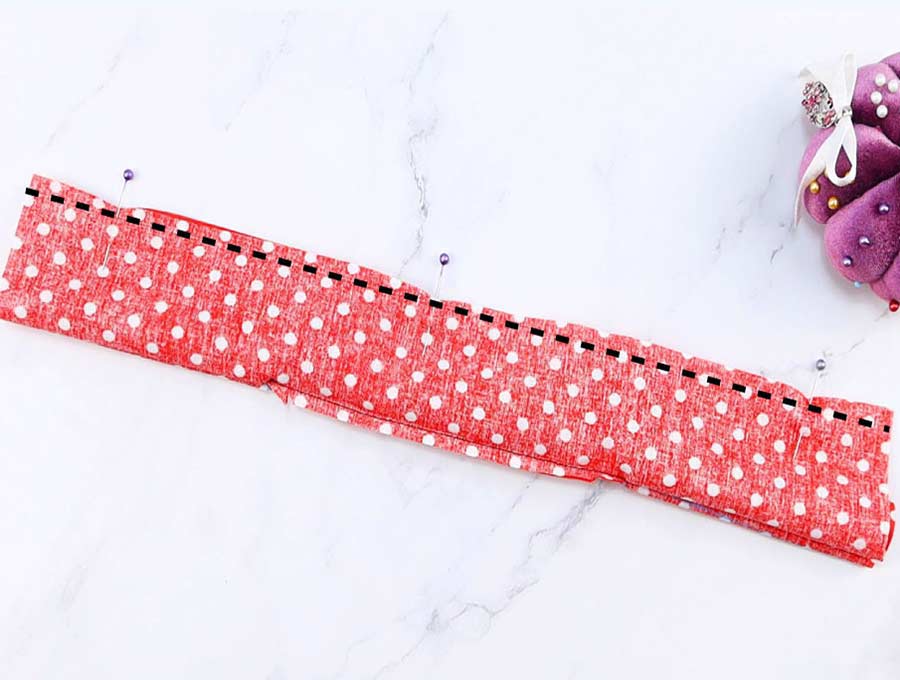
Place your rectangles right side facing to right side. Fold your top layer of fabric upward along the length (15-inch side to 15-inch side) and use your nail to mark a crease in the fabric before unfolding, so the wrong side is facing you again, and then draw a ruler line across that crease with an erasable fabric pen.
STEP 3:
Mark 4.5 inches in along that central line from either side of the fabric.
Using you ruler measure 1/8 inch on top of the central line and draw a line, then measure 1/8 inch below the central line, and again draw a line. The central line is where you will cut later and the two lines a total of ¼ inch apart are where you will be stitching. Round the edges of the rectangle to a point with your pen.
On the bottom line, measure out 1 inch in from each side and mark. This will mark the stitching start and end points and will leave a 4 inch gap for turning.
STEP 4:
Stitch over the rectangle you have drawn in the center of the fabric, leaving the turning gap, and back tacking when you start and finish. The rectangle will be 6 inches by ¼ inch.
STEP 5:
Carefully cut along the central line, making sure not to go too close to the stitching, and cut a couple of notches on either side of the two ends so the fabric will lie flat when turned.
STEP 6:
Now turn the fabric by pushing the top piece through the hole you have just stitched, so the right sides are on the outside.
STEP 7:
You can press with an iron to ensure the seam around the slit is flat, tucking in the bits from the gap that were not sewn to lie in line with the rest of the slit, but we aren’t going to sew it yet.
STEP 8:
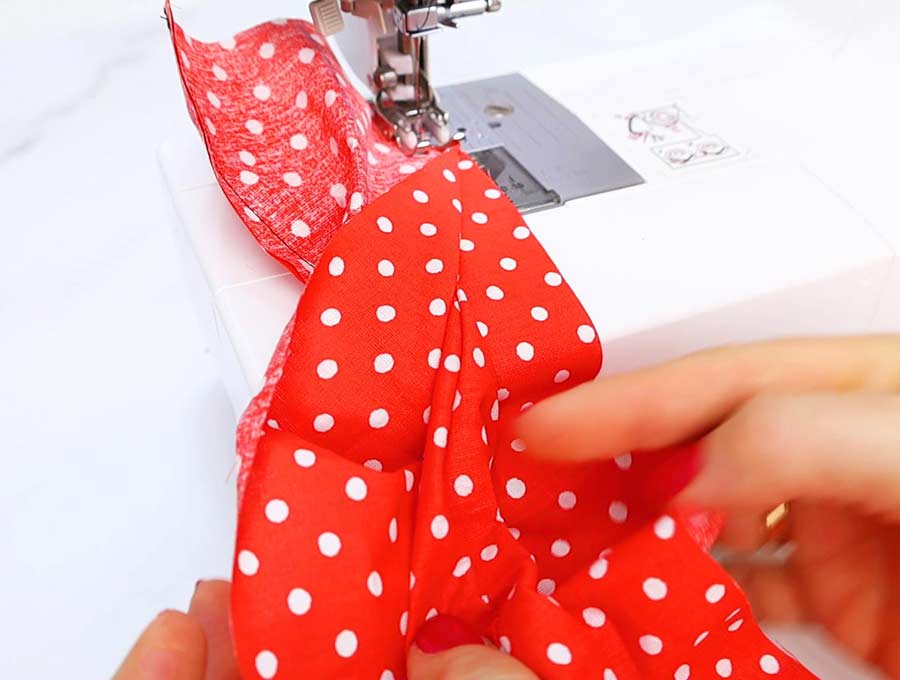
We are going to be rolling the fabric now so that we can stitch the outer edges. This is a bit tricky. You need to place the rectangle with the long side horizontal to you on the table, then make sure the bit in the middle that wasn’t stitched, whose edges you tucked under to iron is at the top, and the stitched edge is closest to you. Now roll the fabric in a thin sausage from the top towards you, past the slit. Then, flip over the last bit of fabric from the bottom, and lift the roll, so you can flip up the underside piece, so the wrong side is facing the wrong side of the lower edge.

Starting at the end of the 15-inch side, using a ¼ inch (6mm) seam allowance stitch those two wrong sides together with a straight seam, back tacking at start and finish – this just reinforces the corners.
STEP 9:
Wiggle the ends of the other long side loose from the sausage of fabric, and stitch down for about 1 ½ inches (3cm), then without lift the sewing foot or the needle carefully wiggle the rest of the sausage of fabric free so that you can continue stitching down the second long side, again back tacking at start and finish.
Step 10:
Time to sew the short ends of the rectangle. When you start turn down the seam allowance to the stitch line, and stitch down until near the end when you will flip up the seam allowance to the stitch line and stitch to the end. Back tack at start and finish to reinforce corners.

Step 11:
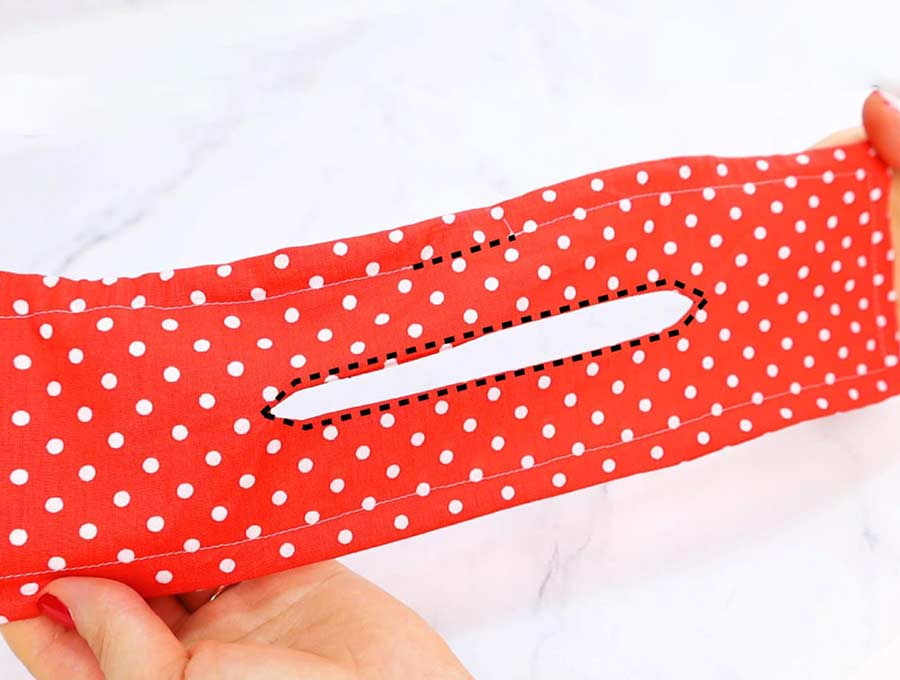
Turn the fabric right side out by pushing it carefully through the slit you stitched in the center of the rectangle. You can pull it out if you prefer, but I find that pushing it easier.
Step 12:
Using a chopstick, or a knitting needle, push out the 4 corners of the rectangle by going through the open slit in the seam at the center.
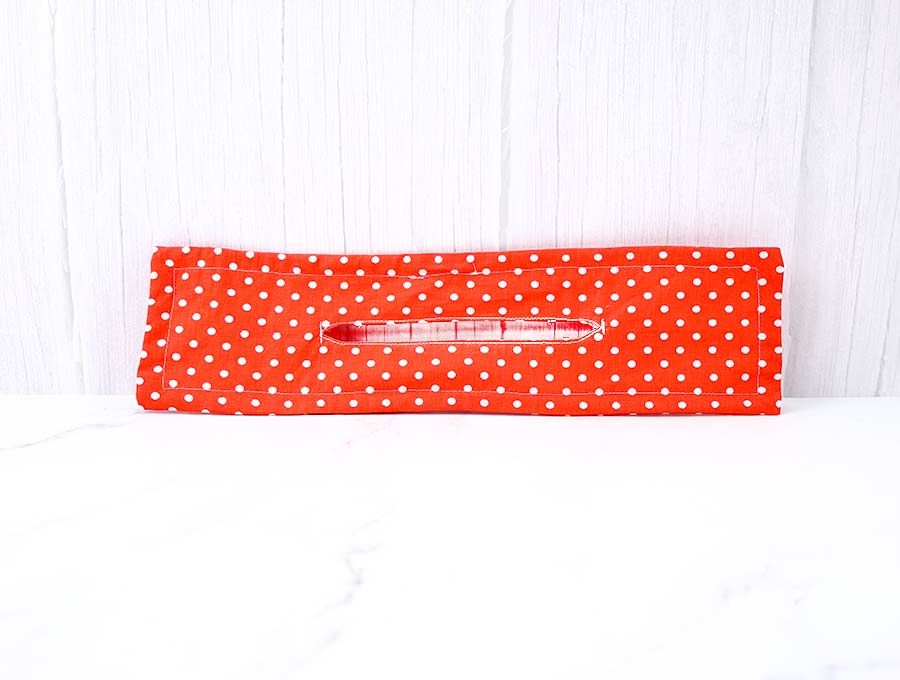
When they are all neatly squared and smooth, then give the rectangle a press with the iron to make sure the seams are neatly lined up around the edges.
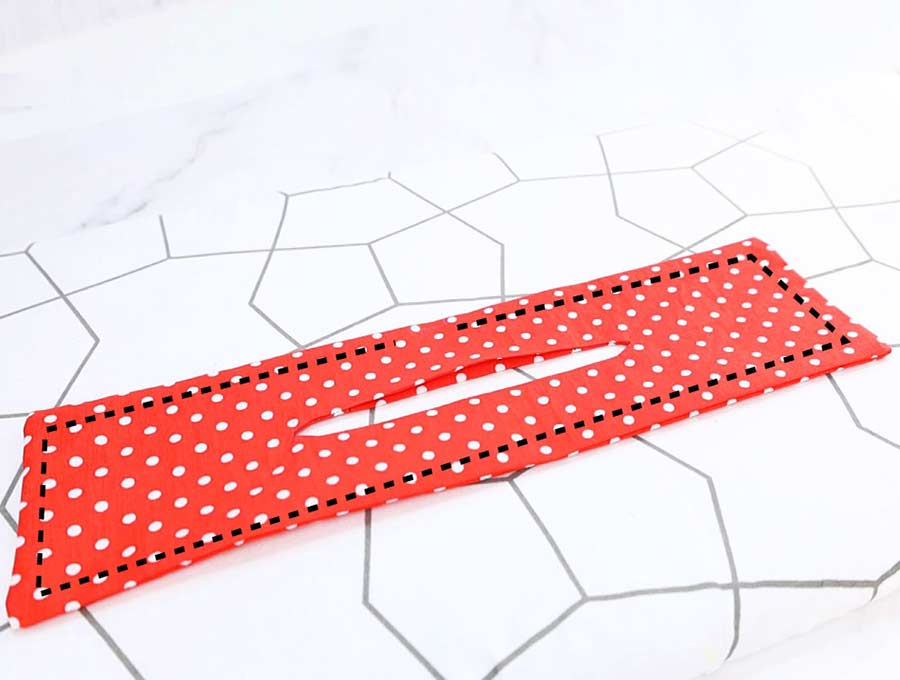
Step 13:
Commence sewing near the center – on the long side nearest the gap in the stitching of the slit. (You start here because that section will be hidden in the twist and you won’t see the over stitch after you have inserted the wire). Stitch ½ inch all around the edges of the rectangle, not lifting the needle when you turn at the corners, until you finish 1 inch away from where you started.
Step 14:
Cut a 39″ long piece of craft wire (19 gauge or 1mm). Take your wire and using pliers bend a little loop at the end so the sharp end doesn’t poke a hole in the material when you feed it through.
Feed the wire through the casing you created around the edge of the rectangle and when you get to the end using the pliers, loop the straight end through the loop you created and bend back to join the wire – flatten with your pliers so it doesn’t come loose.
Step 15:
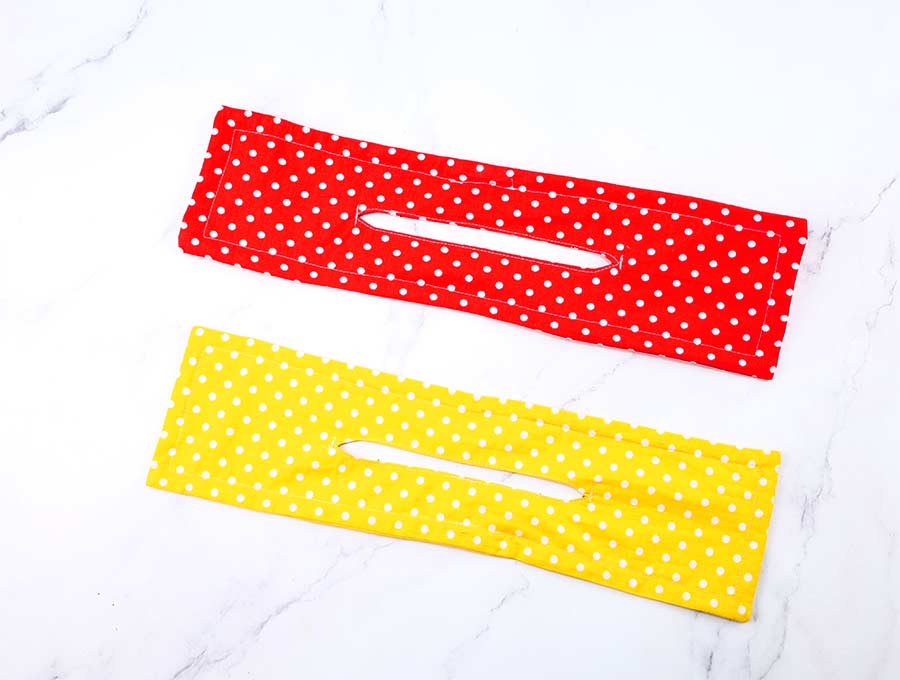
The next step is to stitch closed the gap where you fed the wire through the casing, in line with the rest of the stitching. Push the wire away from the needle before you sew.
Lastly, stitch closed the opening around the center sewing close to the edge and going all the way around the slit, reinforcing the ends of the slit with a back tack.
It’s now time to put your hair bun maker into action – you might just want to kink the wire a bit at the corners so they stand out nice and neatly. We explain exactly how to use it in the FAQ section. If you liked this tutorial – and be sure to watch the video too that makes it super clear, then why not subscribe to see what other exciting projects we have in store. By the way – these hair bun makers are excellent as presents.
Hair bun maker FAQs, Tips and Troubleshooting:
Q: How do you use a bun maker tool?
A:
- Gather your hair into a smooth pony with one hand,
- Slide the hair through the slit in the bun maker and give it a little twist to secure it.
- For medium length hair you will slide it down around 2/3 of the length of the hair and go to step 4. For very long hair you will slide it down around ¾ of the length of the hair before proceeding to step 4.
- Taking the end of the bun maker in either hand, fold the bun maker down, for medium length hair, rolling as you go – it will roll the hair into a neat sausage over the bun maker. For very long hair you roll the bun maker upwards to create the neat sausage of hair. Just remember to move it slight from side to side as you roll which will evenly spread the hair over the fabric.
- When you are ready simply bring the ends of the bun maker together to create the doughnut shape of the bun and twist the ends to create a bow, or tuck then down towards the center of the bun for a chic effect.
- The wire will hold the bun comfortably in place without hairpins.
- There are variations – like making the bun only using the upper layer of hair while the rest hangs free, or you can use the bottom layer of hair, leaving the top layer clipped up until you are ready. Then create the bun using steps 1 to 4. When you are ready unclip the hair so it falls in a pony through the center of the bun maker, bring the ends of the bun maker together over the loose hair and twist to create a pony within a bun.
The fabric wire hair bun maker is a load of fun – perfect for a girl’s sleepover where everyone is given one and can practice inventing new twists on styles – perhaps the organizer of the sleepover can give a prize for the best-looking or most inventive style. The hair bun holder will be perfect for little girls doing ballet – no more yowls because of hairpins sticking in their heads – you know how dramatic little girls can be about their hair and what hurts! The magic bun maker really does deserve it name and will change the lives of everyone from 8 to 80 who has ever had to make a bun in either their own or someone else’s hair. Single dads can perfect their daughter’s hair for school with this easy accessory – as long as someone gifts one or two to their daughters.
Do you like this? Pin for later:
Wanna be friends? Click HERE and follow me on Pinterest
RELATED: