
DIY Fanny Pack with Free Fanny Pack Pattern [VIDEO]
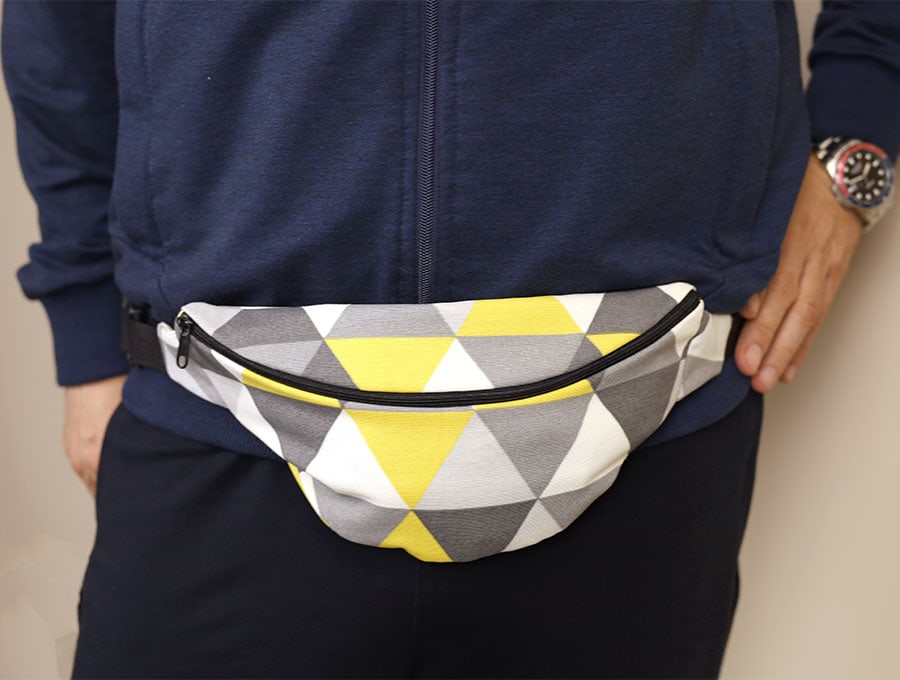
Travelers love fanny packs, also known as bum bags, or hip bags. Containing important items like passport and credit cards they are attached to your body so they can’t be snatched easily or left behind somewhere. For busy moms with babies and toddlers, they keep the essentials safe, leaving hands free to deal with children trying to snatch items off supermarket shelves. And the DIY fanny pack is invaluable if you are running a market stall or visiting markets – you always have the change readily available!
Our step-by-step tutorial shows you how to make a DIY fanny pack the easy way, using our free printable fanny pack pattern.
Below you will find my step by step written tutorial how to make a fanny pack with VIDEO instructions for all the visual learners.
We occasionally link to goods offered by vendors to help the reader find relevant products. Some of the links may be affiliate meaning we earn a small commission if an item is purchased.
Table of Contents
- 1 How to make a fanny pack
- 2 Bum Bag Supplies and tools
- 3 How to Sew a Fanny Pack
- 3.1 Hip Bag VIDEO TUTORIAL
- 3.2 FANNY PACK INSTRUCTIONS INSTRUCTIONS:
- 3.3 STEP 1: Prepare the fabric
- 3.4 STEP 2: Prepare the fanny pack sewing pattern
- 3.5 STEP 3: Cut out the fabric
- 3.6 STEP 4: Mark the centers
- 3.7 STEP 5: Prepare the zipper
- 3.8 STEP 6: Attach the zipper to the front piece
- 3.9 STEP 7: Attach the upper front
- 3.10 STEP 8: Sew
- 3.11 STEP 9: Prepare the first side piece
- 3.12 STEP 10: Prepare the other side piece
- 3.13 STEP 11: Sew
- 3.14 STEP 12: Attach the webbing pieces
- 3.15 STEP 13: Sew the side pieces
- 3.16 STEP 14: Attach the back piece
- 3.17 STEP 15: Sew
- 3.18 STEP 16: Finish the raw edges
- 3.19 STEP 17: Turn the hip bag around
- 3.20 STEP 18: Finish the end of webbing
How to make a fanny pack
Bum Bag Supplies and tools
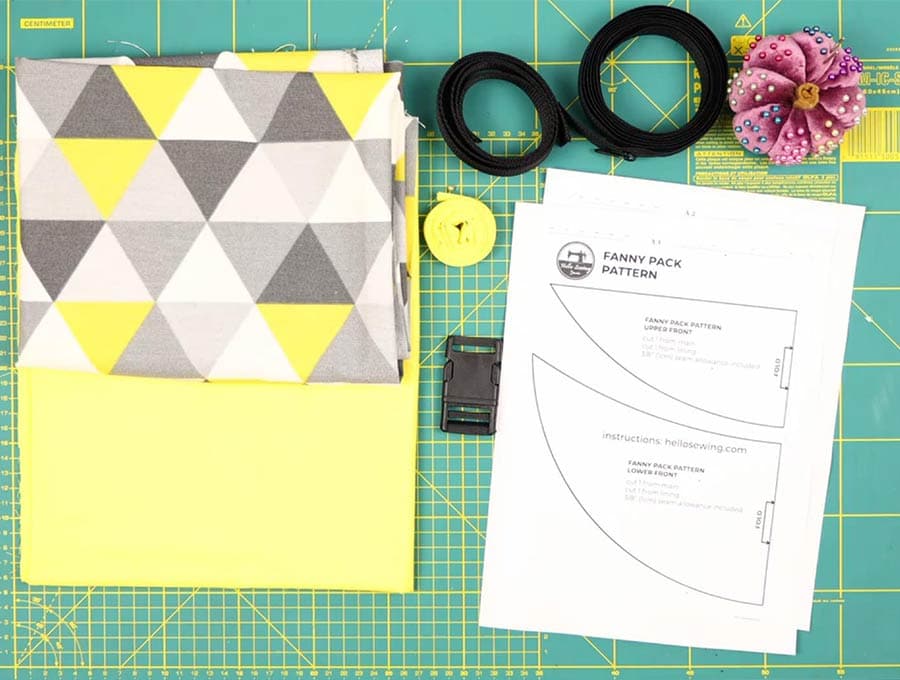
- Fat quarter which is 18 x 22 inches (50 x 55 cm) of medium-weight woven fabric
- Fat quarter which is 18 x 22 inches (50 x 55 cm) of lightweight woven cotton fabric for lining
- 1 yard (92 cm) of 1-inch (2.5 cm) webbing
- A 1-inch (2.5cm) plastic clip buckle
- A 12-inch (30 cm) zipper
- 65 inches (165 cm) of double fold bias binding
- Heavy-duty sewing machine needle
- matching thread
- scissors (or rotary cutter and a cutting mat)
- ruler or measuring tape
- iron and ironing board
- sewing clips or pins
DOWNLOAD: free fanny pack pattern [Free printable pdf file]
Follow us for free patterns & tutorials! [easy-profiles]
How to Sew a Fanny Pack
Watch the diy hip bag video first and then follow the written step by step instructions below.
Please enjoy and don’t forget to Like and SUBSCRIBE over on YouTube to be kept up to date with new videos as they come out.
Hip Bag VIDEO TUTORIAL
FANNY PACK INSTRUCTIONS INSTRUCTIONS:
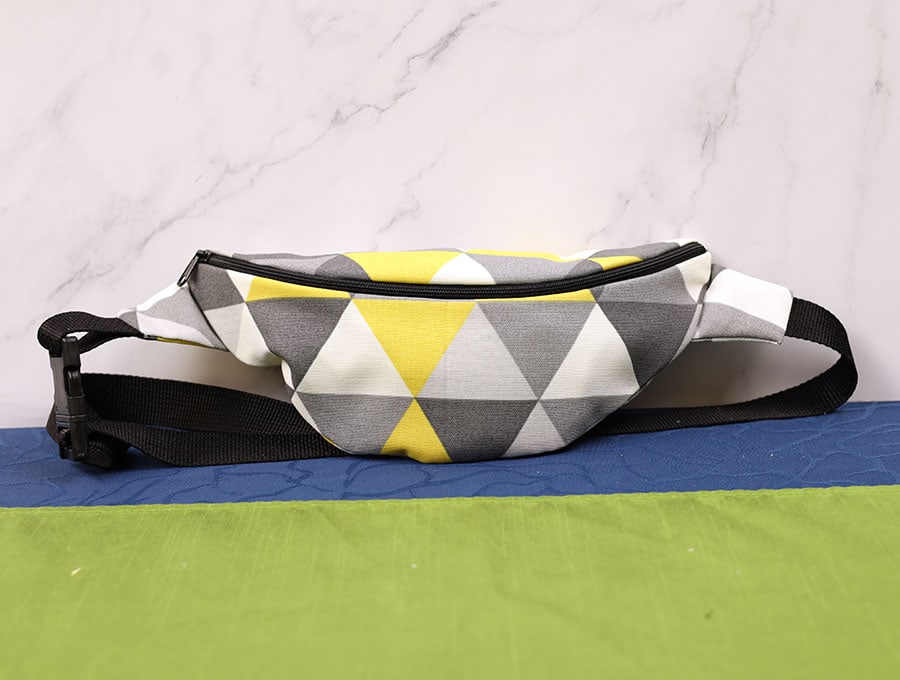
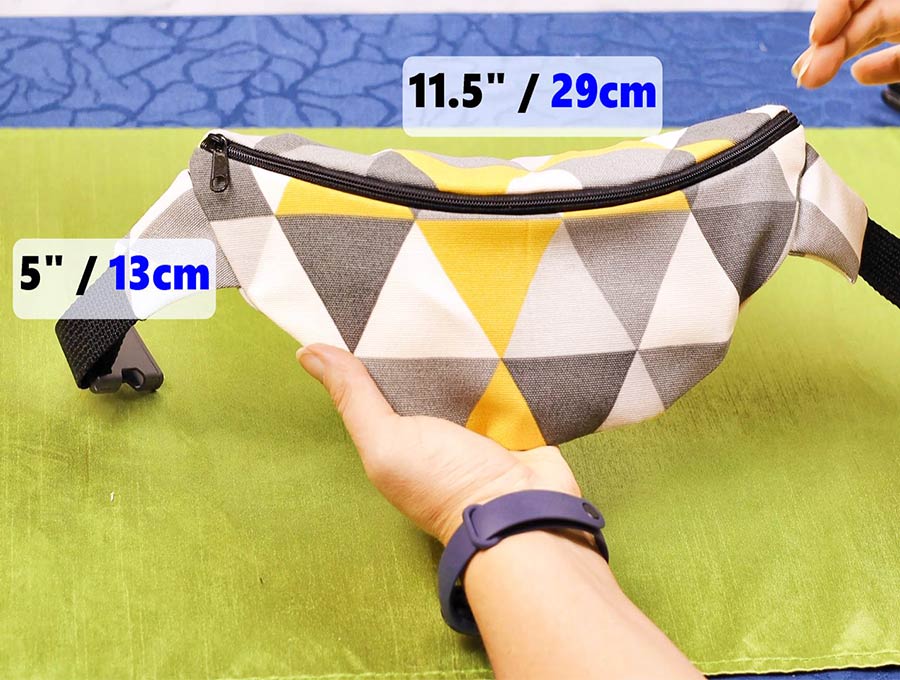
Finished size of the diy hip bag is H x W x D: 5″ x 11.5″ x 3″ (13 x 29 x 7.5cm)
STEP 1: Prepare the fabric
Select your fabric. A light cotton canvas in a fairly dark print is a good option, with a lining made from a lighter quality cotton fabric, or you can use a cotton print outer with some fusible interlining. As a precaution against fabrics with different shrinkage rates ruining the finished product, wash and dry all your fabric first before cutting your pattern.
STEP 2: Prepare the fanny pack sewing pattern

Print out the free fanny pack pattern supplied. Make sure to print it at 100% (no scaling) and measure the test line to make sure it printed correctly. Never print directly from the browser – instead get the hip bag template on your computer and open it up with Adobe Reader or similar PDF reader program and print from there.
STEP 3: Cut out the fabric
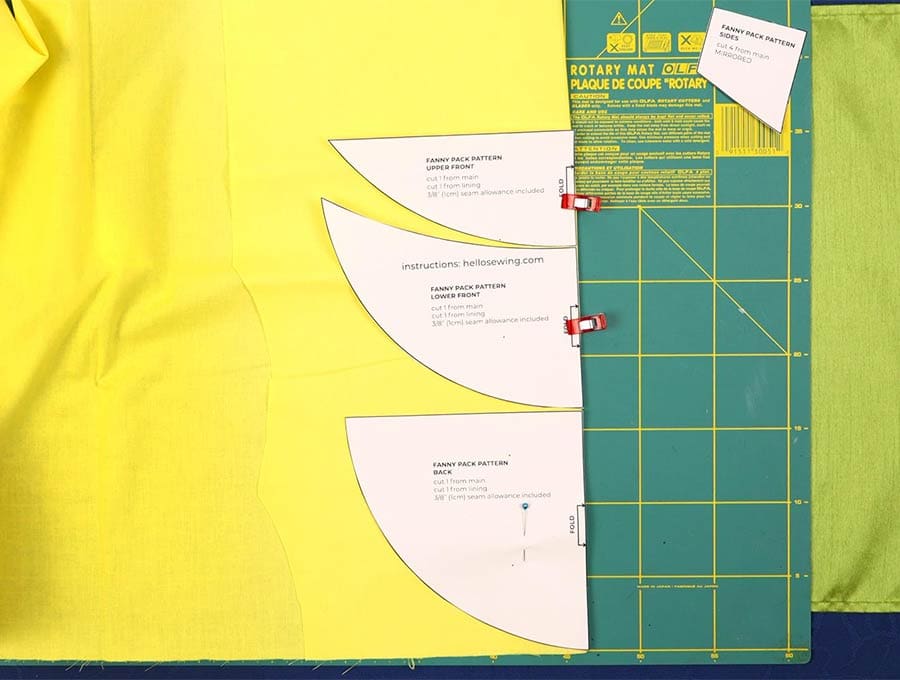
Place the fabric right side up on the worktop, fold it in half and cut all the pieces of the pattern. The seam allowance is 3/8″ (1cm) and is already included in the template.
Make sure that the 4 small pieces are mirrored.
Repeat for the lining, but without these 4 small pieces.
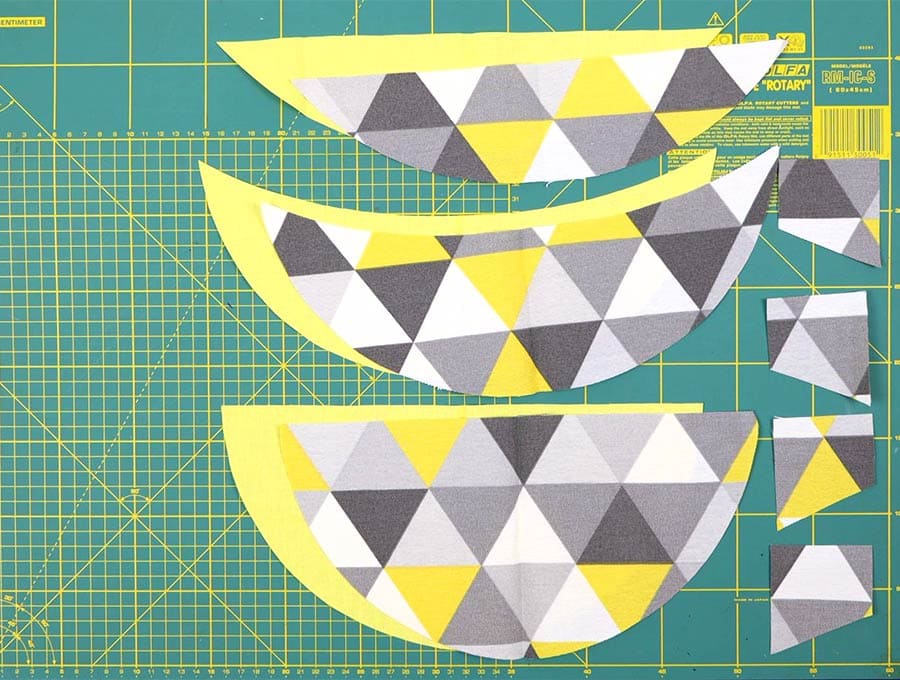
You will have 10 fabric pieces total
STEP 4: Mark the centers
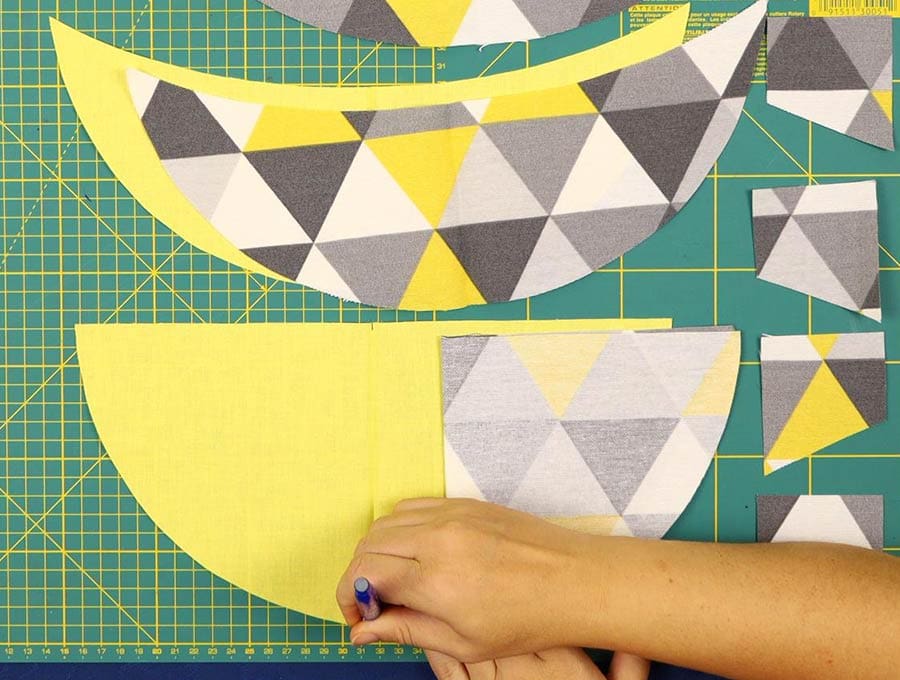
Make small marks with an erasable fabric pen at the center of the top and bottom of each piece you have cut. This will be important in lining up the pieces later.
STEP 5: Prepare the zipper
Cut two pieces of 1.5 inches (3.8 cm) bias tape. These are to cover the ends of the zipper.
To attach unfold one side of the tape and place it right side down on the wrong side of the zipper end, line up the raw edges and clip in place before sewing across the end of the zipper. Trim the excess bias tape.
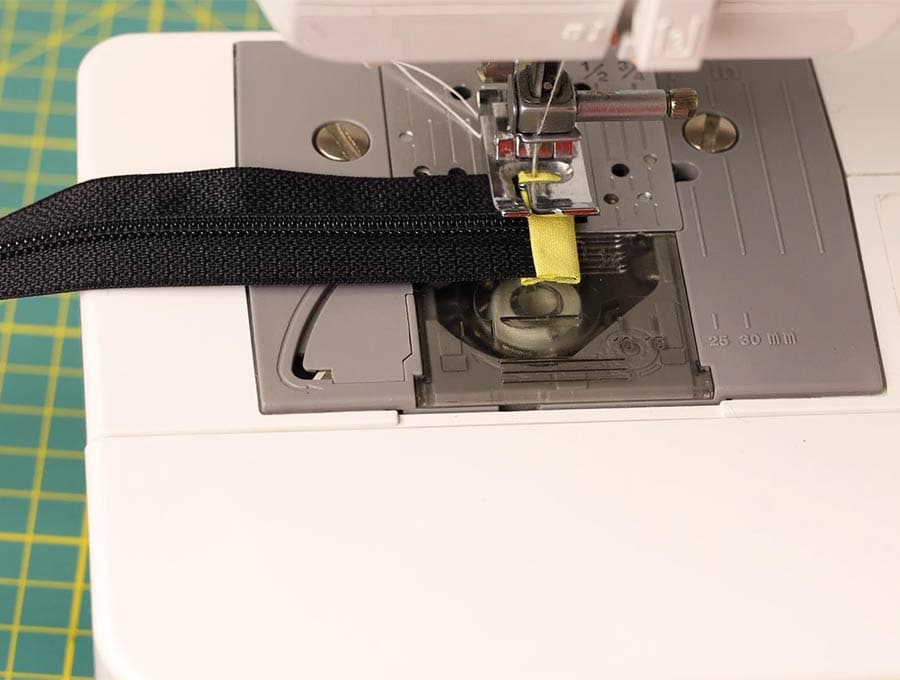
Repeat with the other end of the zipper. There is no need to tuck in the ends of the bias binding as these will be under the seam of the DIY fanny pack.
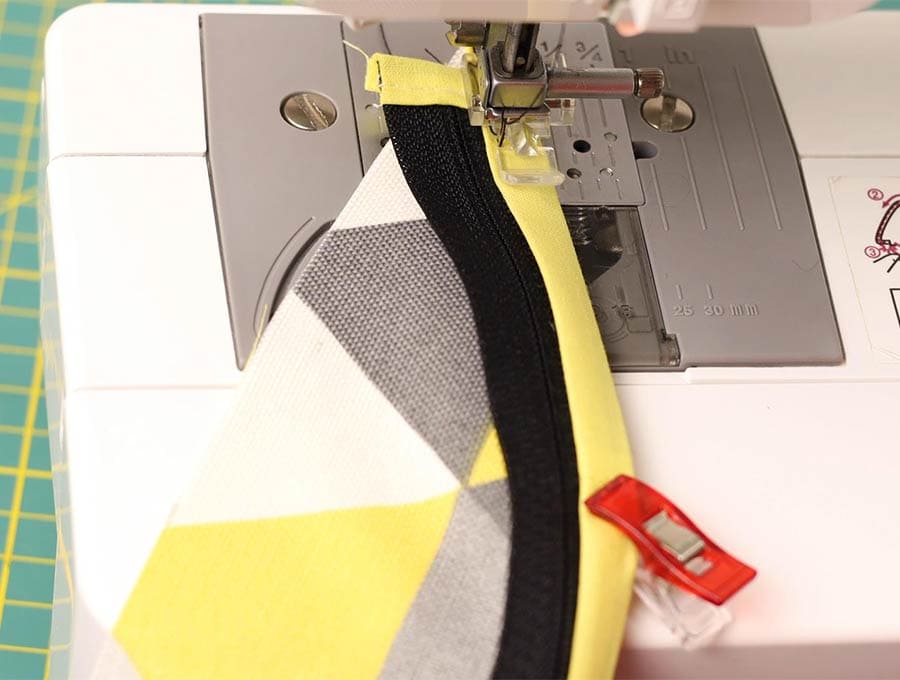
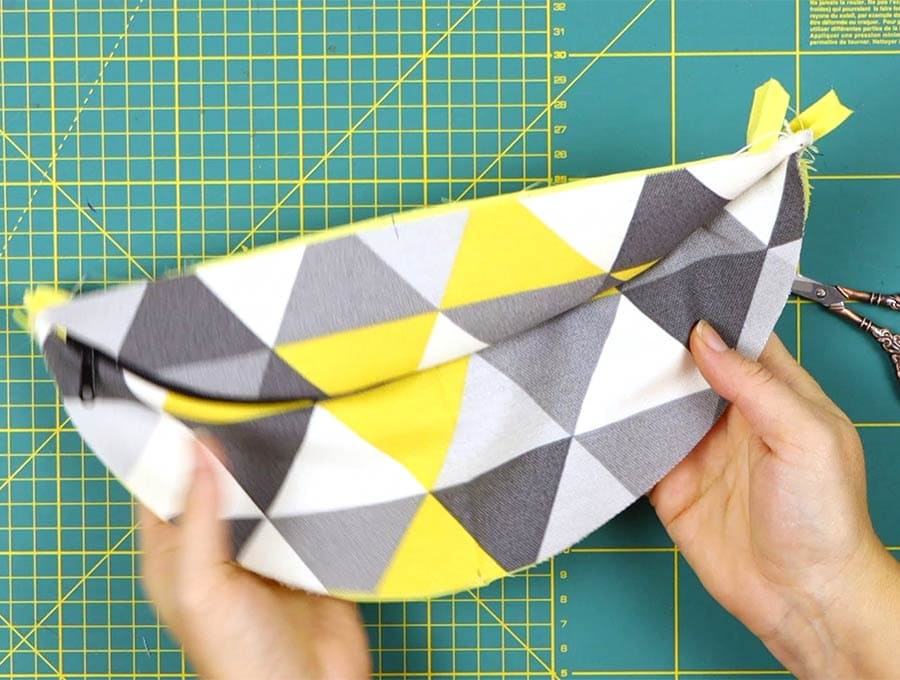
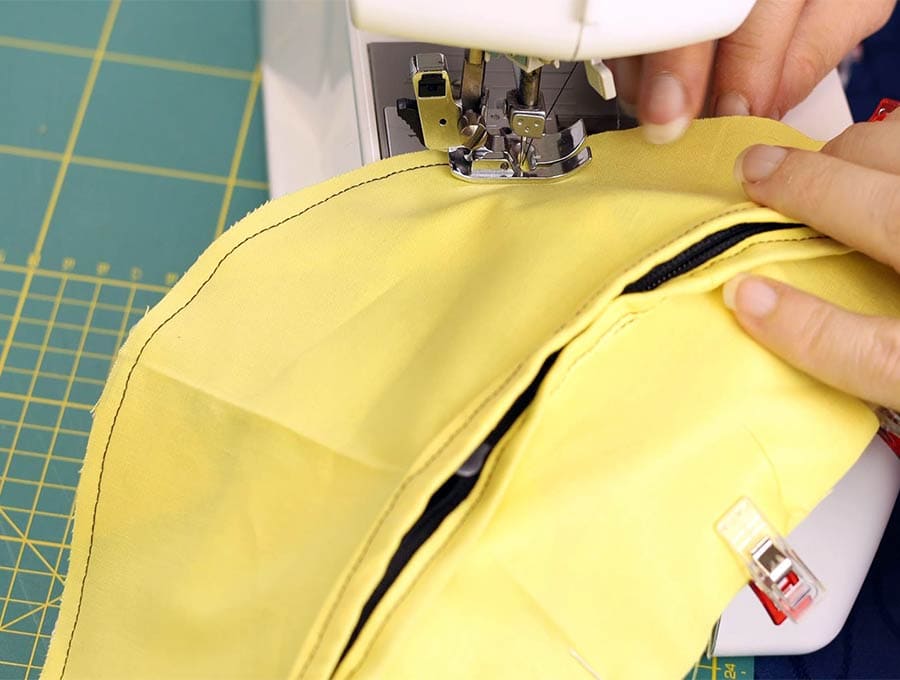
STEP 6: Attach the zipper to the front piece

Take the fabric pieces for the upper front of the bag and place the wrong sides together – usually we do it the opposite way around and turn, but this time we’ll be finishing the edge with bias tape. Flip the zipper so the right side is facing the right side of the fabric and center it on the curve of the fabric. Clip in place then using the zipper foot so you can get in close, stitch along the edge of the zipper 1/8 of an inch (3 mm) from the edge.
(optional) Clip bias tape to the raw edge and sew.
STEP 7: Attach the upper front
Repeat previous step with the lower front part of the bag to attach the other side of the zipper.
STEP 8: Sew
Once the zipper is installed, gather the excess fabric in the corner and sew together by hand– this makes lining up with the back piece later easier.
STEP 9: Prepare the first side piece
Now for the clip buckle take the female part of the buckle and a 4 ½ inch (11.5cm) piece of the webbing. Use a lighter to burn the raw edges to prevent fraying. Slide the webbing through the end and line up the edges. Take 2 side pieces – remember you cut 4 earlier, place them right sides facing each other and slide the raw edges of the webbing so they meet the raw edge of the fabric. Clip in place.
STEP 10: Prepare the other side piece
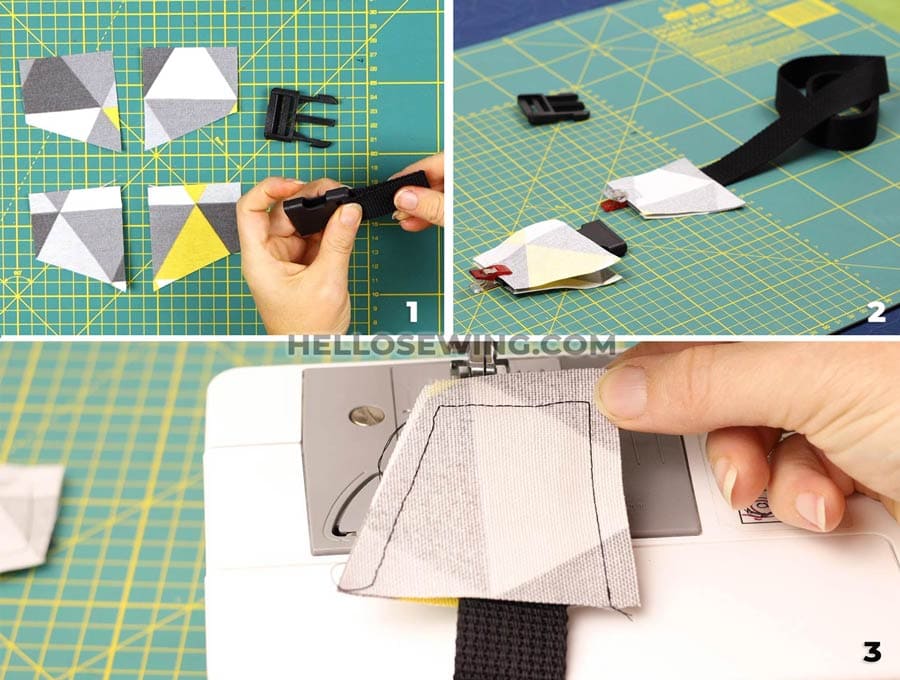
Take the other two side pieces and line them up with the raw edge of the rest of the webbing piece. Again, burn the raw edges to prevent fraying. Clip in place.
STEP 11: Sew
Stitch around the end that has the webbing and the two sides 1/4 inch (6mm) from the edge. Clip off the corners so there isn’t too much bulky fabric when you turn the clip buckle and fabric right way out. Clip the corners and turn the right way out.
STEP 12: Attach the webbing pieces
This is the step where you attach the webbing pieces to the back piece of the bag. You will line up the main bag fabric and lining with the right sides outwards, then on each side of the bag pin the side pieces you attached to the clip buckle and webbing on, about 1 inch (2.5cm) from the top. Make sure the clip buckle has the wrong side facing upwards.
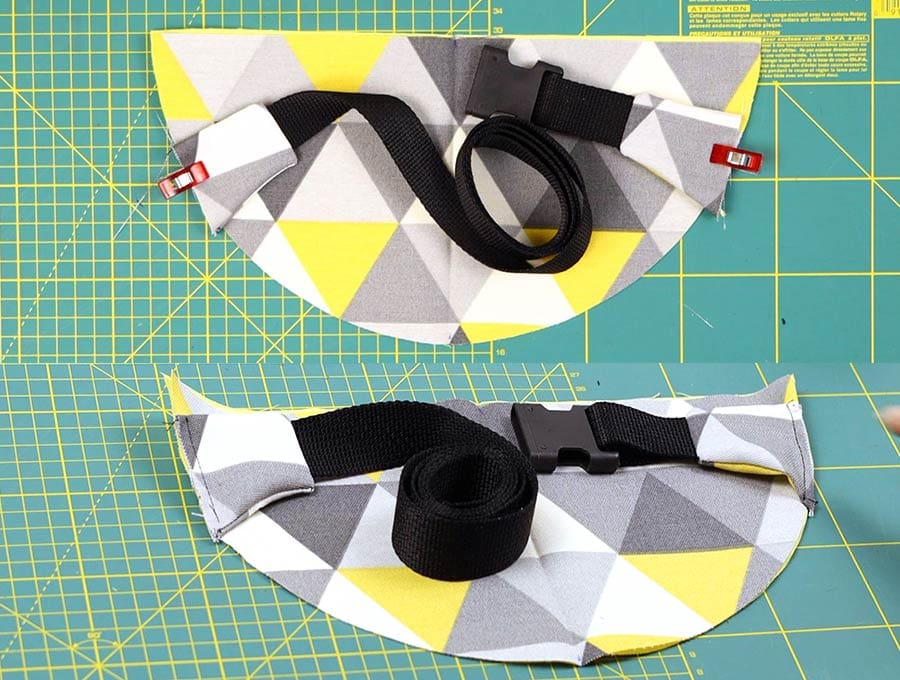
STEP 13: Sew the side pieces
Stitch the side pieces to the main and lining fabric of the back part of the bum bag using 1/4″ (6mm) seam allowance, making sure to backtack over the full length of the side piece where it attached to the main body of the bag.
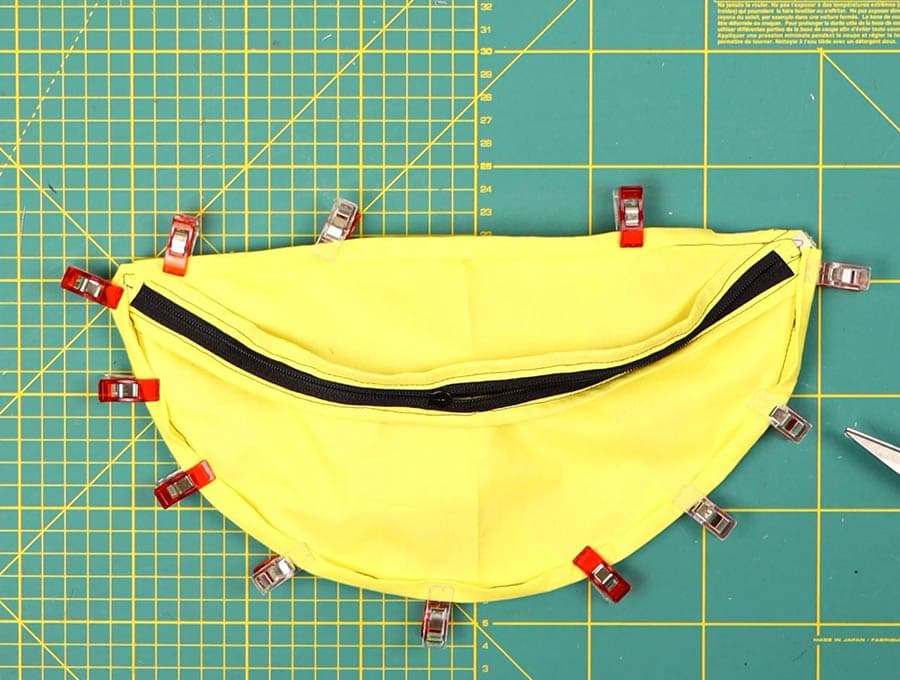
STEP 14: Attach the back piece
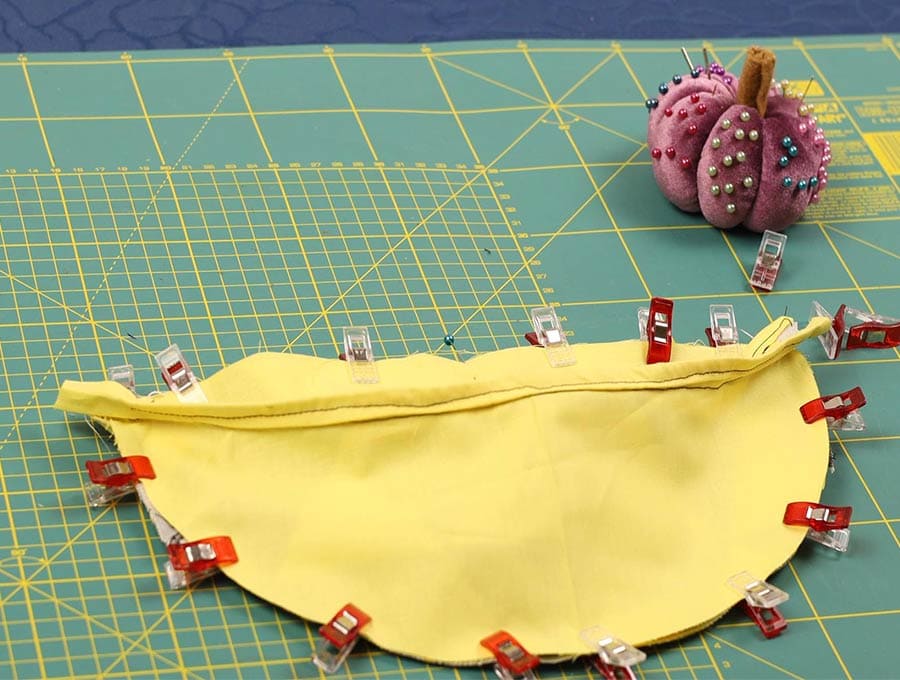
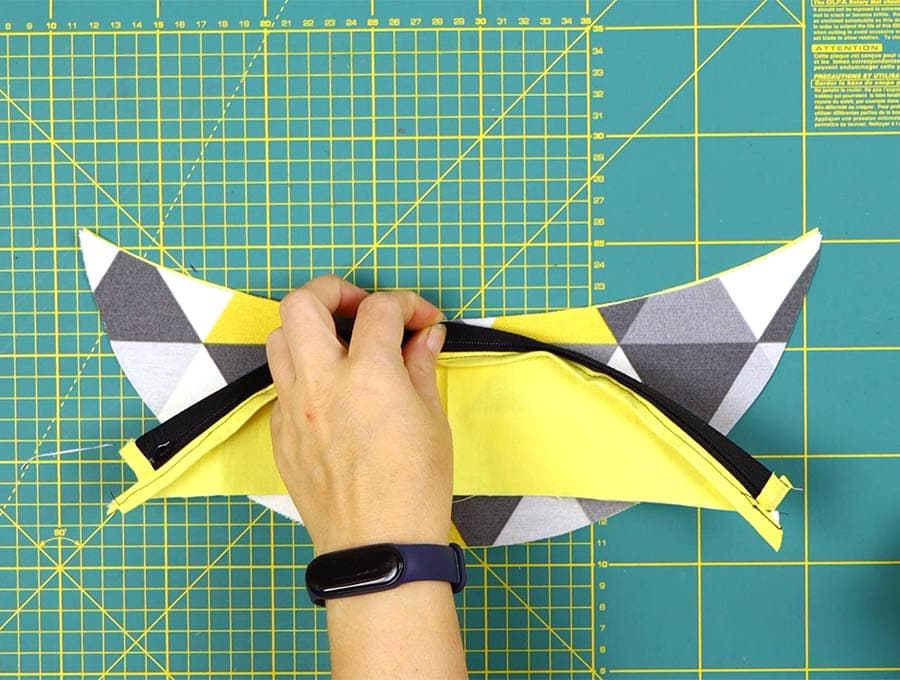
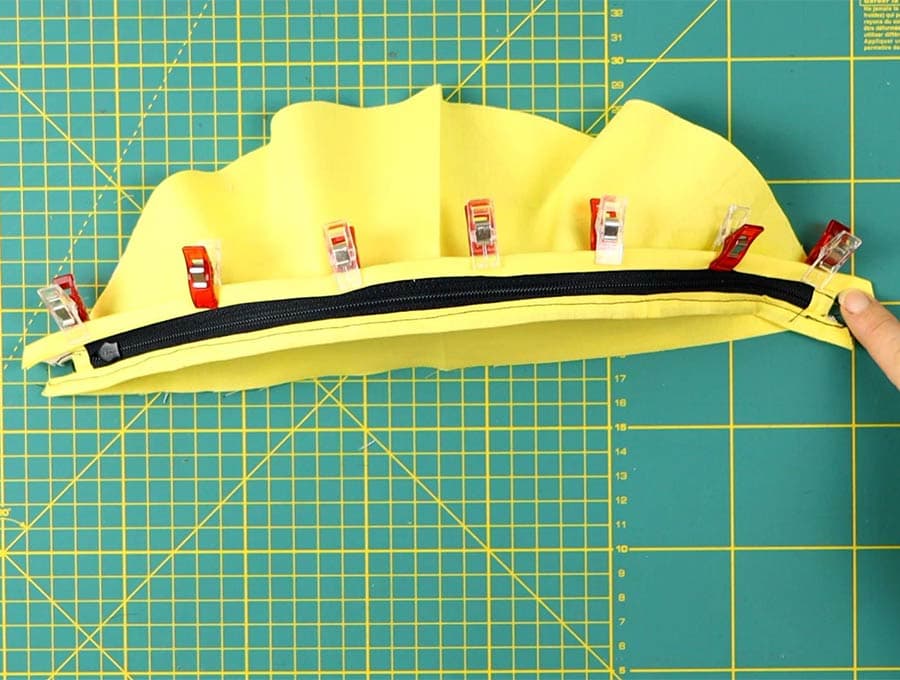
To assemble the bag, you will need to roll up the piece with the webbing and make sure it is pinned to the back piece of the bag so it doesn’t move while attaching the front piece with the zip. Position the front piece with the zip, right side to right side of the back piece and pin or clip together.
IMPORTANT: Make sure the zipper is opened a few inches as this is the gap where you will turn the bag right way out.
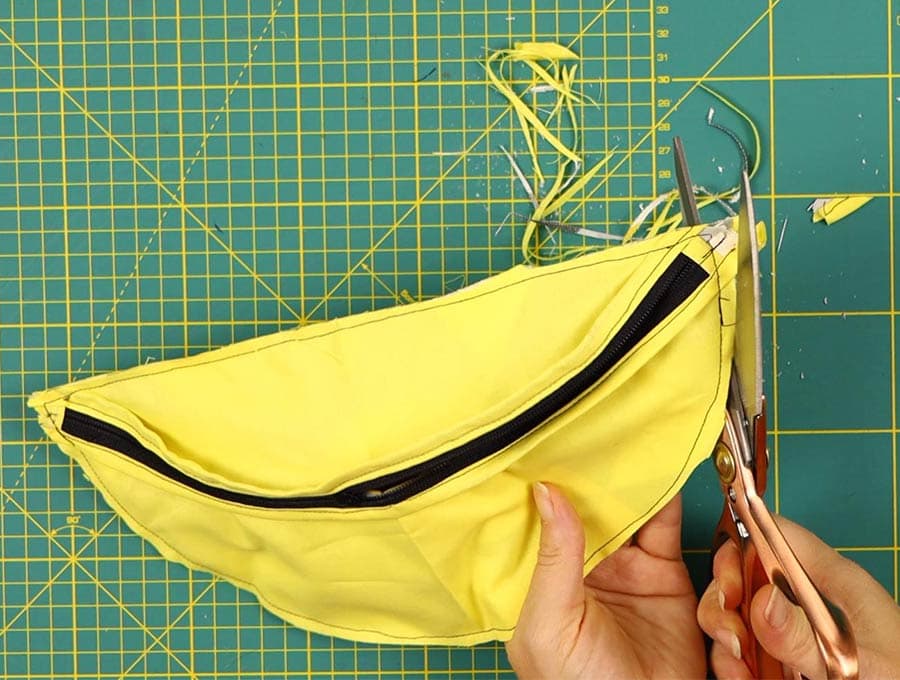
STEP 15: Sew
Stitch carefully around the edges 1/4″ (6mm) from the edge, all the way around the bum bag. When finished trim the edges down to 1/8″ (3mm) .
STEP 16: Finish the raw edges
Trim away the excess seam allowance
To finish the raw edges, unfold one edge of the bias tape and stitch it 1/8 inch (3 mm) from the edge all the way around to cover the raw edges, then refold over the edge and finish with a top stitch.
STEP 17: Turn the hip bag around
Turn the bum bag right way out by pulling the fabric through the gap in the zipper. You can slide the zipper open more if you need. Take the webbing and thread it through the male section of the clip buckle and test for size – you want it to fit comfortably. If there is excess webbing you can trim it down.
STEP 18: Finish the end of webbing
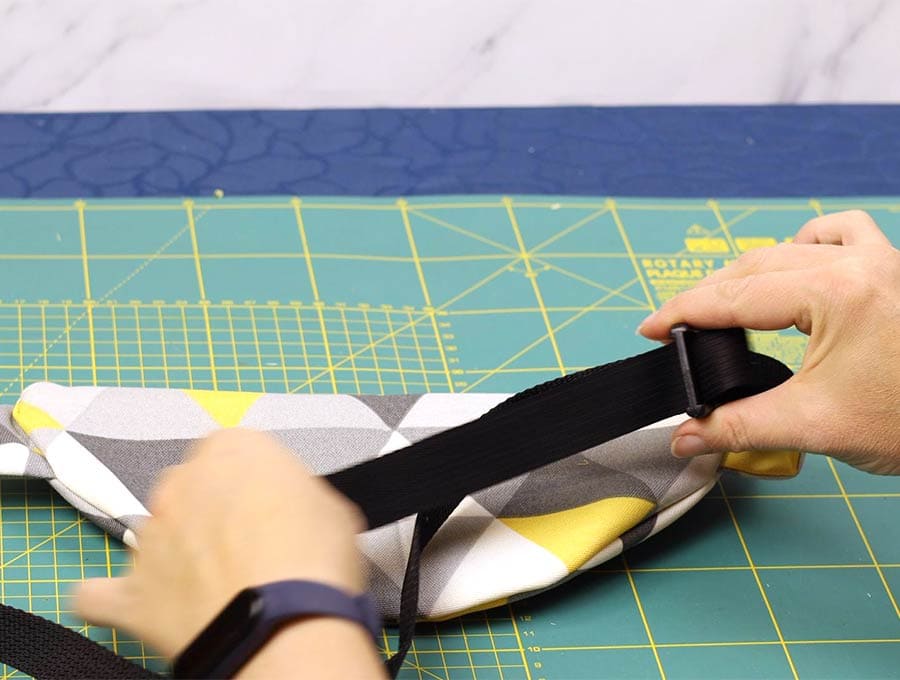
Thread the webbing through the male end of the plastic clip buckle.
(optional) To finish the raw edge of the webbing and prevent it fraying out, fold it over by ¼ inch (6 mm) then by 1/2 inch (1.27 cm) and top stitch.
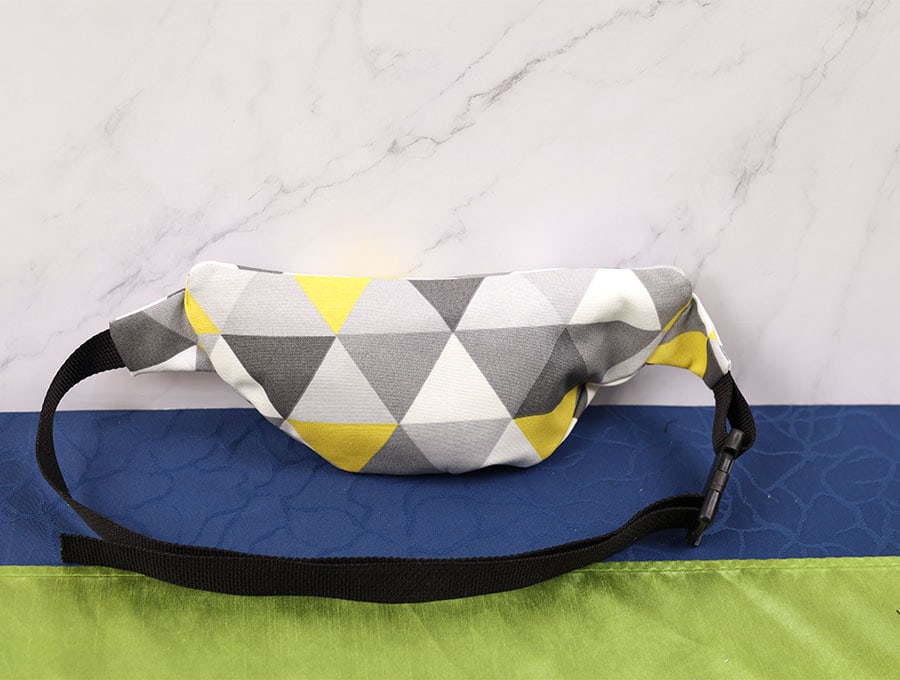
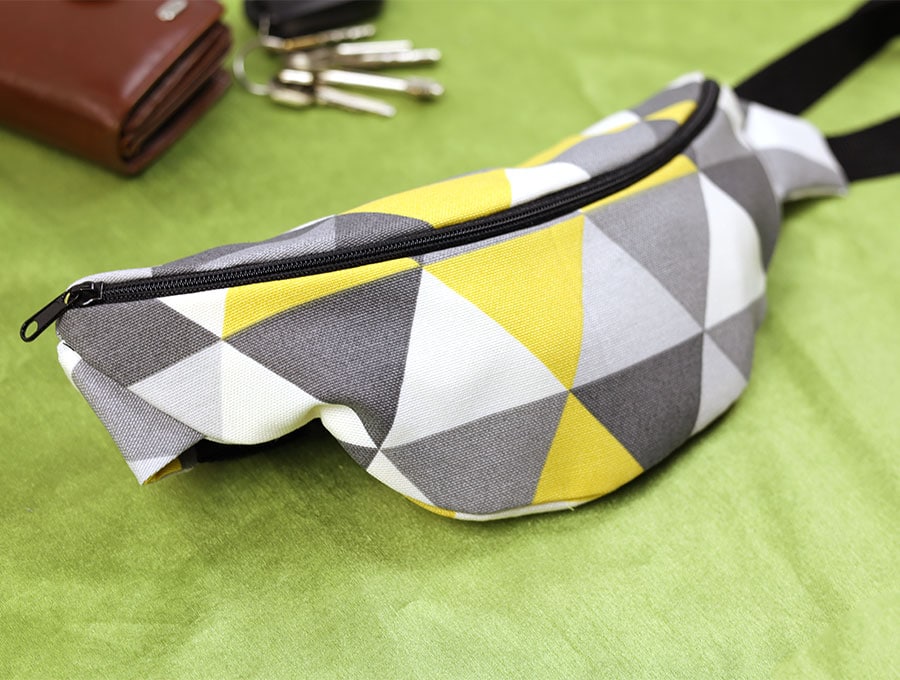
The bum bag you have created is now ready to be put to use. Use it for traveling, or when shopping. The DIY fanny pack is also the best thing for keeping your change at markets, so no matter where you move around you know the money is on you. It beats finding somewhere to place you purse as you try on or examine various items. It’s safer too.
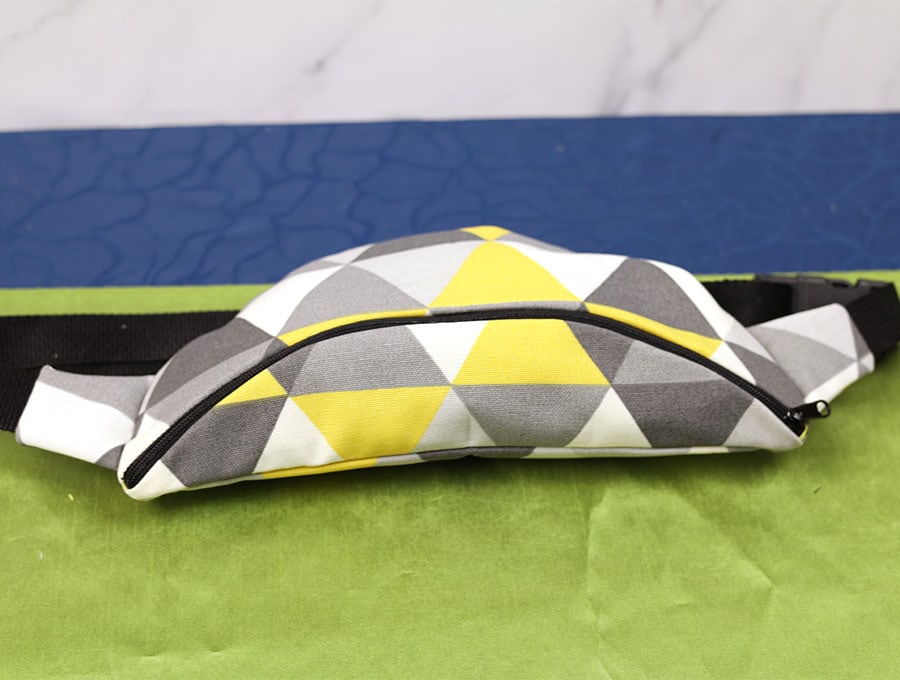
Using our step-by-step instructions accompanied by our visuals, you’ll soon have sewn your own DIY fanny pack, also known as the bum bag or hip bag. These are having a resurgence in popularity as people realize just how useful they are for keeping your cards and cash safe, strapped to your body, where they can’t be snatched easily. This fanny pack sewing pattern uses just two fat quarters of fabric, so you’re bound to find something suitable in your fabric stash. Use our free printable fanny pack pattern to shape your DIY bum bag and let your imagination run wild on the color prints you choose.
If you enjoyed making this DIY fanny pack using our free printable hip bag template, then tap the subscribe button to have more of our exciting sewing projects delivered to your inbox.
Do you like this? Pin for later:

Wanna be friends? Click HERE and follow me on Pinterest
RELATED: