
How to sew a Hobo Bag + Make Hobo Bag Pattern from Scratch
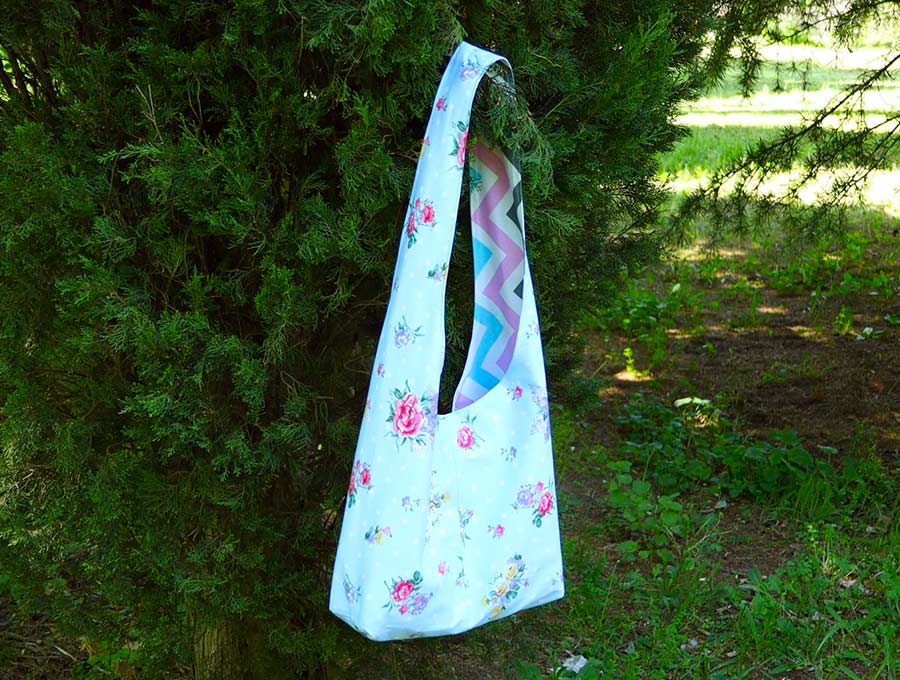
We’re delighted to show you how to make a hobo bag – this stylish slouchy bag that top fashion designers have been featuring in their collections. The Hobo bag stems from the 19th century when homeless people carried their belongings in a slouchy bag with a handle. Now, these convenient bags are carried by everyone from students and career women to shoppers and fashionistas. They belong on the street, in the office, and at resorts. Follow our instructions to learn how to make the Hobo Bag with its all-in-one handles that will never snap and break. Our step-by-step tutorial shows you how to cut the pattern and make the bag. You’re going to want to keep the pattern because you’ll use it over and over again as this bag makes a perfect gift. Try a DIY Hobo Bag in denim, linen or cotton.

Being able to make a bag is such fun, and once you have cut the hobo bag pattern then you can whip these bags out in around 30 minutes. There is no hand sewing, and the bag is fully lined, ready to use, or give as a gift. It’s slouchy and stylish – so what are you waiting for – go digging in that stash of fabric for some suitable pieces and get sewing.
Below you will find my step by step written Hobo Bag tutorial with VIDEO instructions for all the visual learners.
We occasionally link to goods offered by vendors to help the reader find relevant products. Some of the links may be affiliate meaning we earn a small commission if an item is purchased.
Table of Contents
- 1 How to make a Hobo Bag
- 2 Supplies and tools
- 3 How to Sew a Hobo Bag
- 3.1 DIY Hobo Bag VIDEO TUTORIAL
- 3.2 Hobo Shoulder Bag INSTRUCTIONS:
- 3.3 STEP 1: Prepare Fabrics
- 3.4 STEP 2: Draw the hobo bag sewing pattern
- 3.5 STEP 3: Cut out the fabric
- 3.6 STEP 4: Stitch one side
- 3.7 STEP 5: Press the seam open
- 3.8 STEP 6: Prepare the pocket
- 3.9 STEP 7: Stitch the top of the pocket
- 3.10 STEP 8: Sew pocket to lining
- 3.11 STEP 9: Sew the side
- 3.12 STEP 10:
- 3.13 STEP 11: (optional)
- 3.14 STEP 12:
- 3.15 STEP 13:
- 3.16 STEP 14:
- 3.17 STEP 15: Box the corners
- 3.18 STEP 16:
- 3.19 STEP 17:
- 3.20 STEP 18: Clip the curve
- 3.21 STEP 19: Turn right side out
- 3.22 STEP 20: Stitch the handle
- 3.23 STEP 21: Press the bag
- 3.24 STEP 22: Topstitch
- 3.25 STEP 23: Stitch the turning gap
How to make a Hobo Bag
Supplies and tools
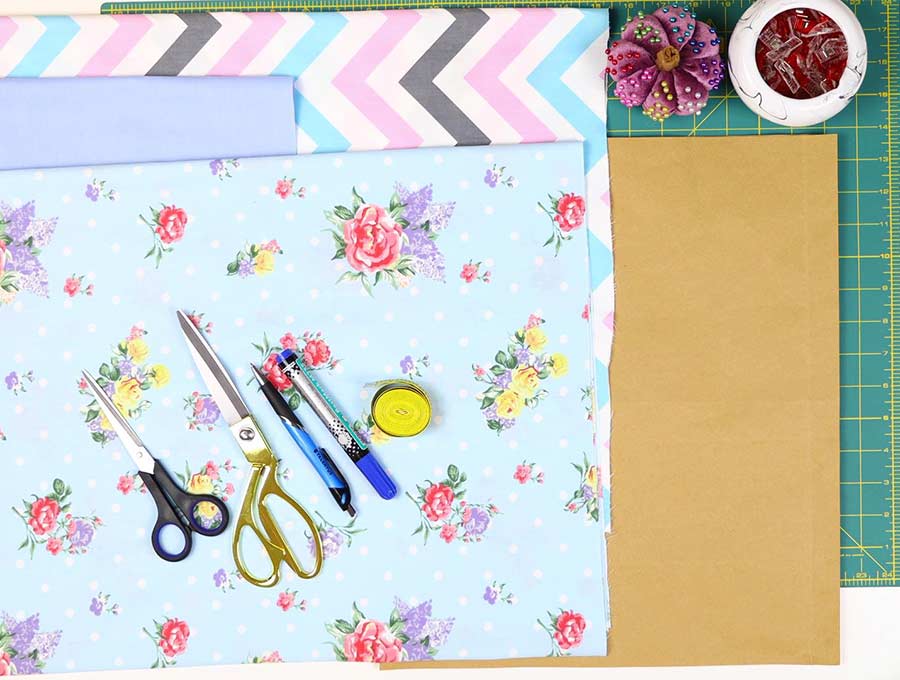
- main fabric – cotton, linen or home-decor fabric 32 x 17 inches (80 x 42 cm)
- lining fabric – cotton or linen 32 x 17 inches (80 x 42 cm)
- fabric for the optional pocket – 16 x 10 inches (40 x 25 cm)
- free hobo bag pattern (see the instructions below)
- scissorsB00AQ7CVPO
- matching thread
- scissors (or rotary cutter and a cutting mat)
- ruler or measuring tape
- iron and ironing board
- sewing clips or pins
Follow us for free patterns & tutorials! [easy-profiles]
How to Sew a Hobo Bag
Watch the diy hobo bag video first and then follow the written step by step instructions below.
Please enjoy and don’t forget to Like and SUBSCRIBE over on YouTube to be kept up to date with new videos as they come out.
DIY Hobo Bag VIDEO TUTORIAL
Hobo Shoulder Bag INSTRUCTIONS:
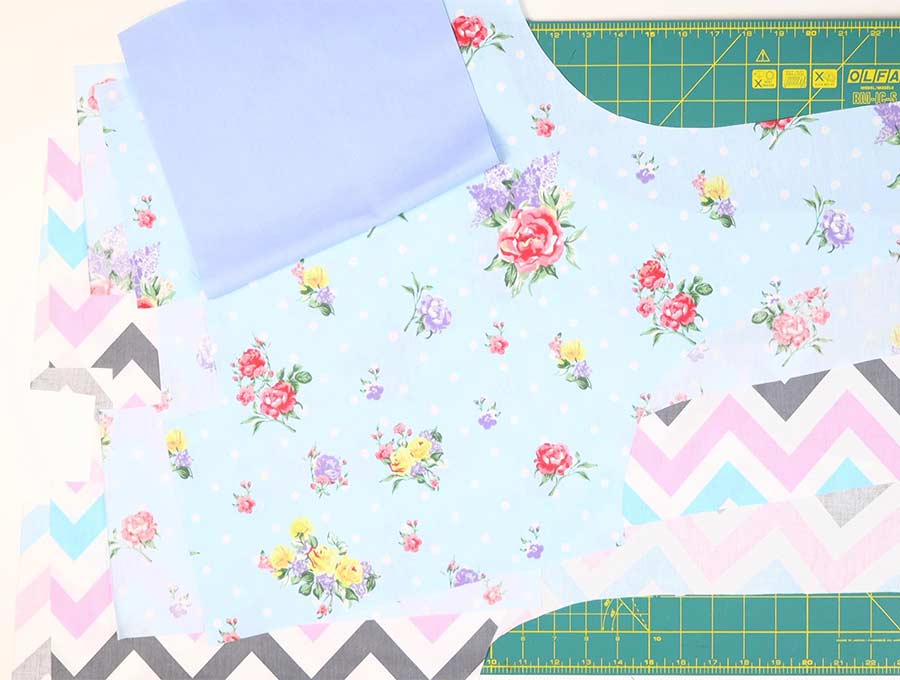
STEP 1: Prepare Fabrics
For the hobo bag you will need two fabric pieces one for the outer part of the bag and one for the lining, each 31.5 x 16.5 inches (80 x 42 cm) plus an optional smaller piece for the inner pocket of 16 x 10 inches (40 x 25 cm)
A 3/8″ (1 cm) seam allowance is included in the pattern.
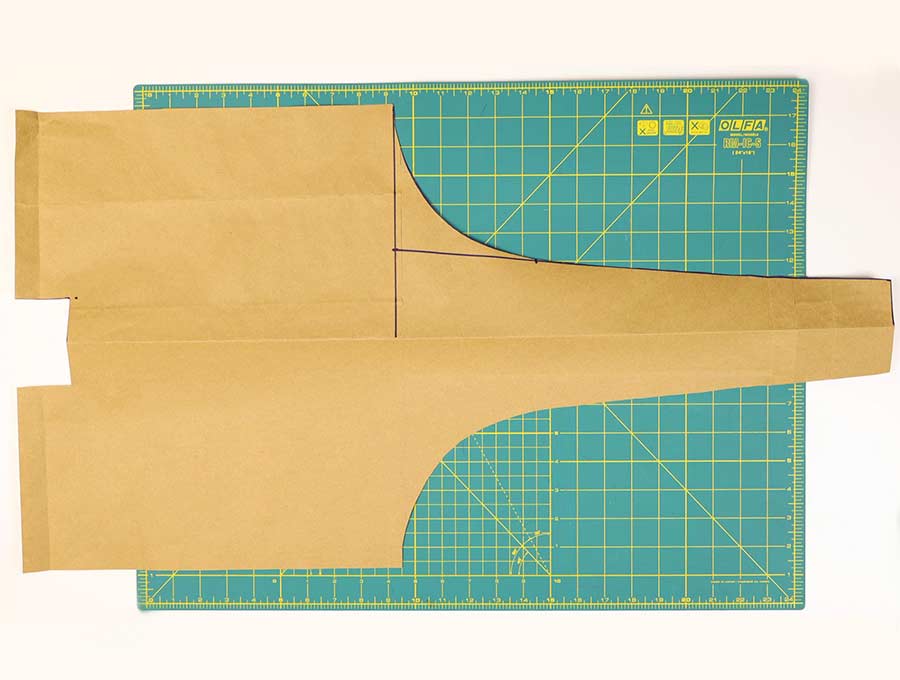
STEP 2: Draw the hobo bag sewing pattern
To create the hobo bag pattern you can use plain paper or newspaper.
First you will need to cut a piece of the paper 32 x 17 inches (80 x 42 cm) to create the hobo shoulder bag pattern
- Lay the paper flat on your worktop, with the longest edges at the bottom and top of the table, then fold the paper upward with the fold towards the edge of the table closest to you.
- Lay the paper flat on your worktop, with the longest edges at the bottom and top of the table, then fold the paper upward so you have a piece 32 x 8.5 inches (80 x 21 cm) with the fold towards the edge of the table closest to you.
- Measure 14 inches (35cm) from the left of the fabric towards the middle at the bottom and top of the paper and join with a vertical line. Measure 18 inches (45 cm) from the vertical line you have drawn and draw another vertical line. Your bag pattern will fit within this 32 inch (80 cm) space.

- Starting from the right side measure 1.5 inches (3.5cm) upwards and make a mark then mark 3 inches ( 7.5cm) in height on the vertical line drawn in the middle.
- Join the two marks you just made with a straight line.
- Now to make the curve, starting from the point where you measured 3 inches (7.5cm) upwards measure 5.5 inches (14 cm) from left to right along the line you drew in Step 2.4
- Either draw a freehand curve or use a plate to get the curve to fit between the 5.5 inch (14cm) mark and the edge of the fabric at the top, just inside the vertical 14 inch (35cm) line you first drew.
- Front the bottom left hand corner measure 1.5 inches (4 cm) along from left to right and 2 inches (5cm) upwards on from the corner and the 1.5 inches (4cm) mark. Join with a ruler to create a block.

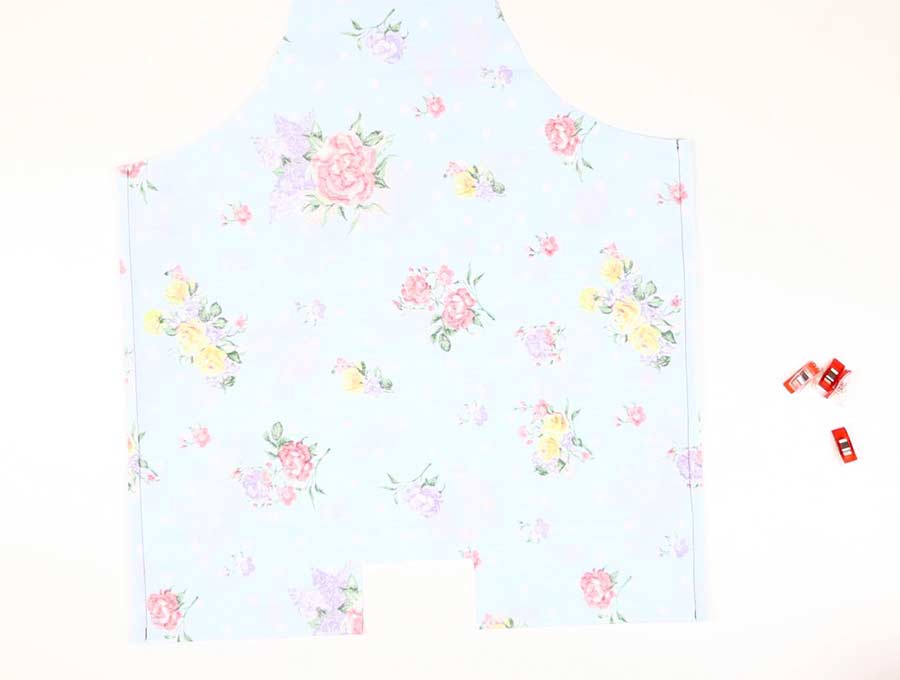
Cut out the pattern discarding the small piece inside the block and the extra curved pieces. Fold out the pattern piece you have created. This is the body of the bag and handle all in one.
The seam allowance is 3/8″ (1cm) and is included in the hobo bag pattern.
STEP 3: Cut out the fabric
Now cut two pieces of the pattern from the outer material and two pieces from the inner material. Make sure to pin your pattern in place along the straight grain of the fabric with the right sides of the fabric facing each other.
If you want a pocket cut one pocket piece 16 x 10 inches (40 x 25 cm) from the lining material.
STEP 4: Stitch one side
Take the two outer pieces – the right sides will be still be facing each other and stitch 3/8 inches (1 cm) from the edges along one straight side, back tacking at start and finish.
Repeat with the lining fabric.
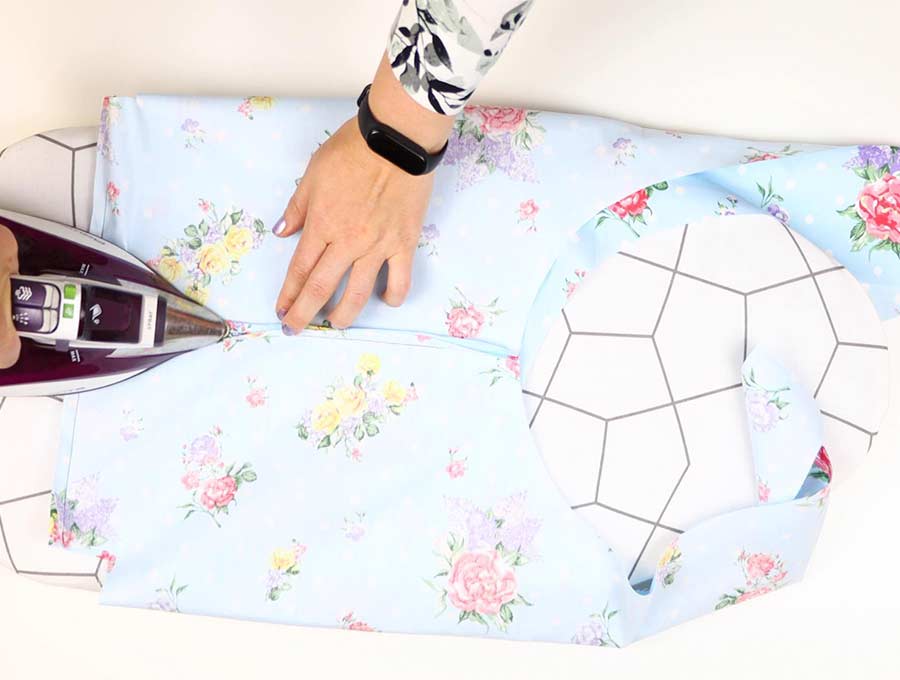
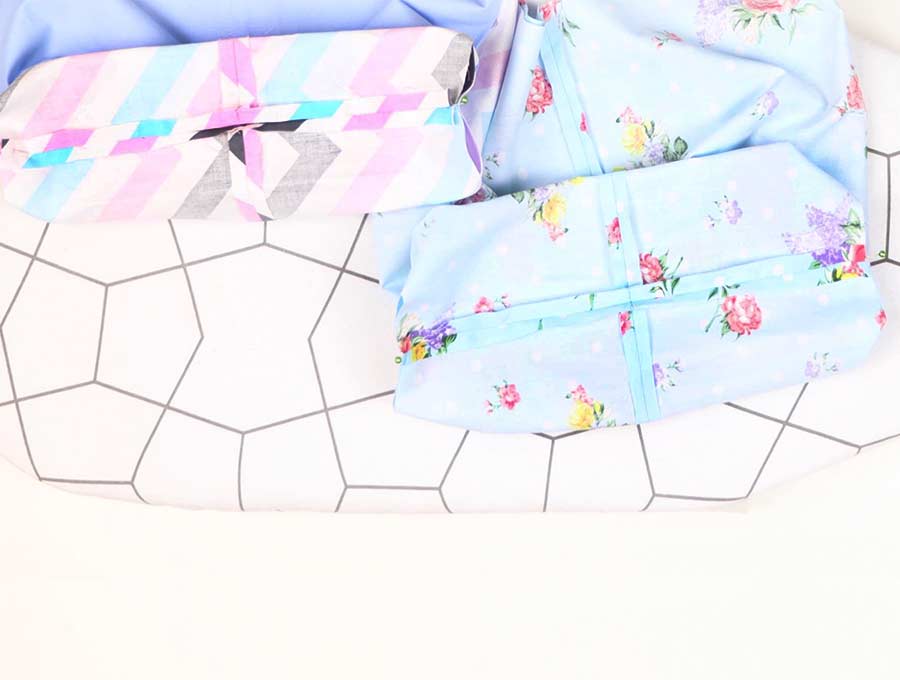
STEP 5: Press the seam open
Press the seam on the outer fabric flat with your iron, and do the same with the lining fabric.
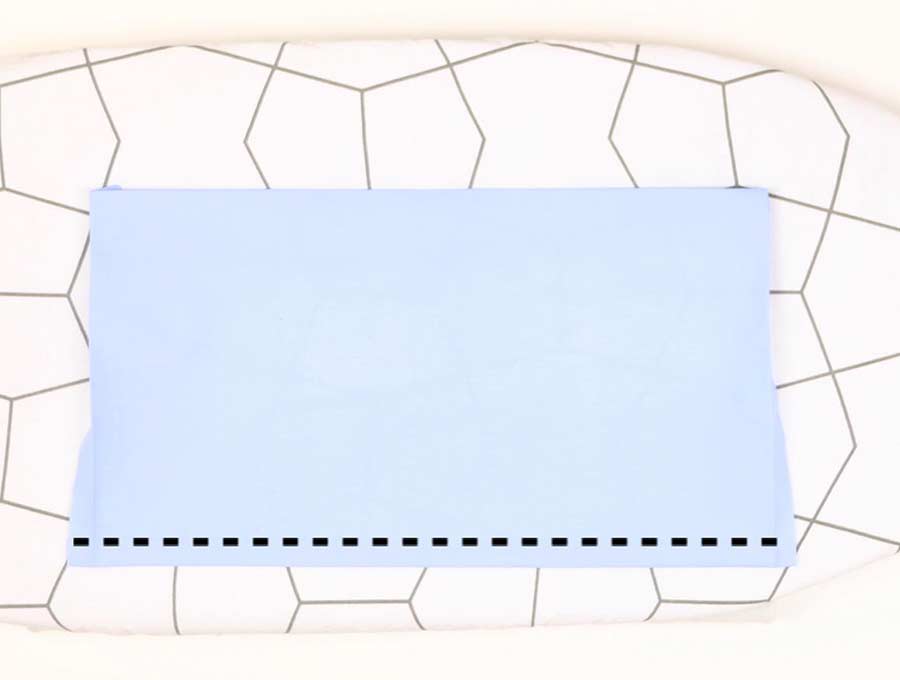
STEP 6: Prepare the pocket
Take the pocket piece, fold over the top 3/8″ twice and press, then fold and iron 3/8 inch fold along each of the other three edges, .
STEP 7: Stitch the top of the pocket
Opening out the side seams of the pocket sew a line of stitching along the edge of one of the long sides to create an edging for the pocket. Once this is done fold the pocket piece in half to match the short sides and press along the seam to create a crease in the middle.
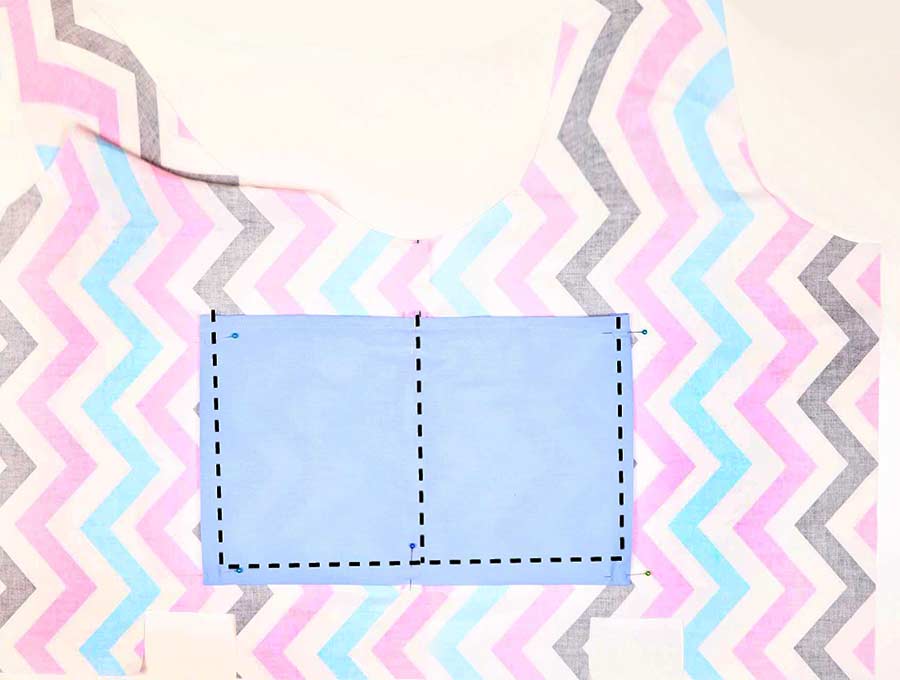
STEP 8: Sew pocket to lining
Position the pocket piece on the opened out seam of the lining, placing it midway between the base and top of the seam, with the pressed fold positioned over the flattened out seam. The right side of the lining will be facing upward and the pocket piece will also be right side facing you. Pin the pocket piece in place, making sure it is straight. Stitch around the three edges that have been turned in once, back-tacking at start and finish, and lifting the foot but keeping the needle down when you come to the corners. Stitch along the seam in the middle to create a pocket divider.
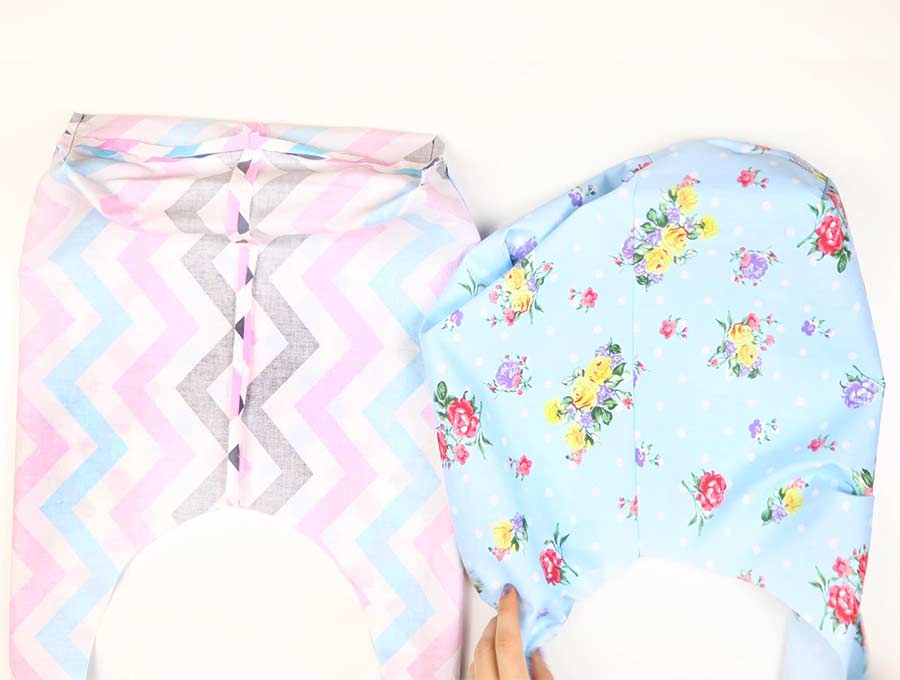
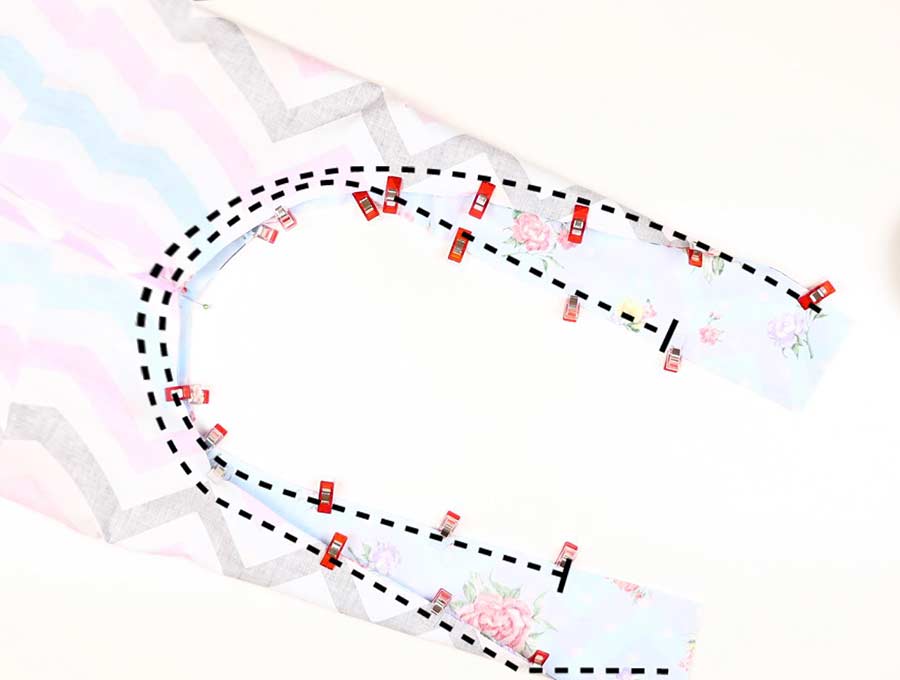
STEP 9: Sew the side
Fold the inner piece to get the unstitched side seam match up and stitch on the wrong side, back tacking at start and finish.
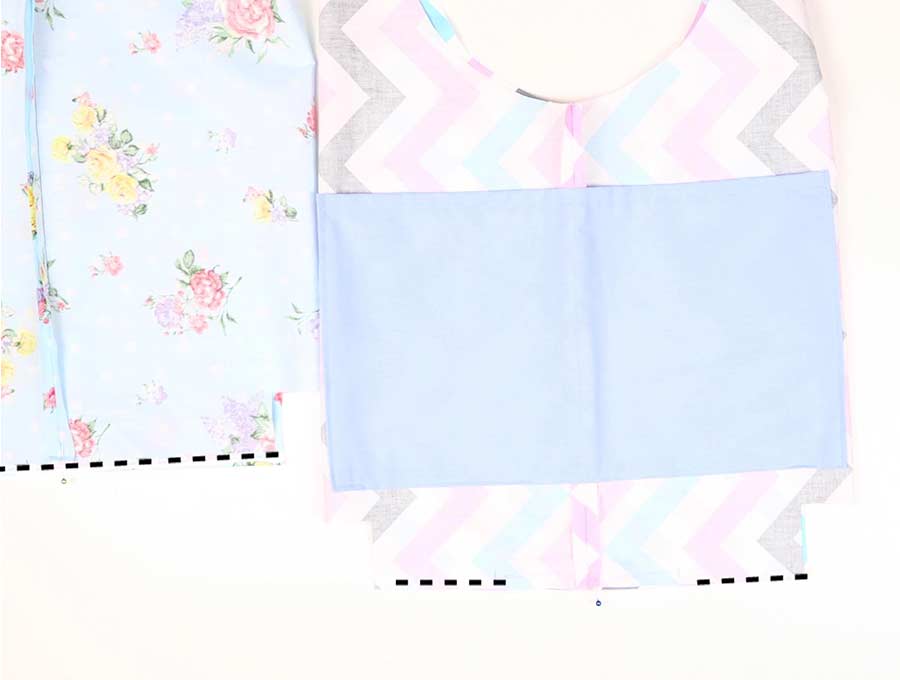
STEP 10:
Take the lining and match up the two pressed seams, pulling the fabric so it lies equally on either side of the seam, then insert a pin 2 inches to the left of the seam at the bottom and another 2 inches (5cm) to the right of the seam – this will be where you will pull the bag through to turn it right side out.
Stitch the bottom closed avoiding the 4 inch (10cm) gap.
STEP 11: (optional)
Taking the outer fabric you can sew on your label if you have a label for your creations midway across the seam and approximately 4 inches (10 cm) from the bottom of the seam.
STEP 12:
Fold the outer fabric so the right sides face each other and the side seam meets, then stitch the seam on the side closed, back-tacking at start and finish.
STEP 13:
Open out the bag, match up the two seams, and open out the seams and stitch 3/8 inch (1cm) from the edge all the way across the bottom.
STEP 14:
Press the side seams and the bottom seam open on both pieces.
STEP 15: Box the corners
Time to box the corners. Fold the two seams together, creating a straight flat line from your cut edges. Pin in place and stitch
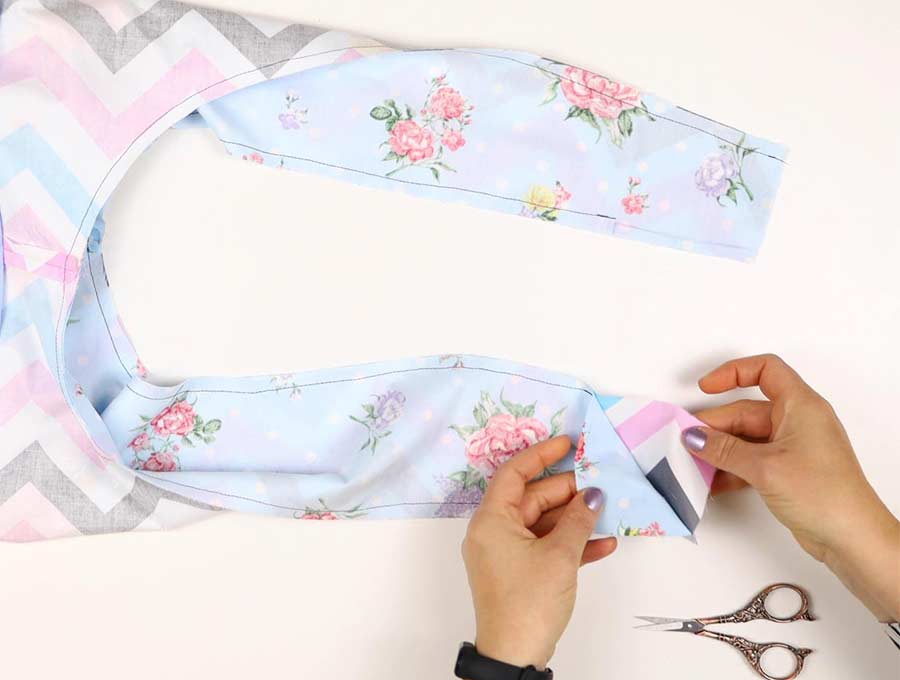
STEP 16:
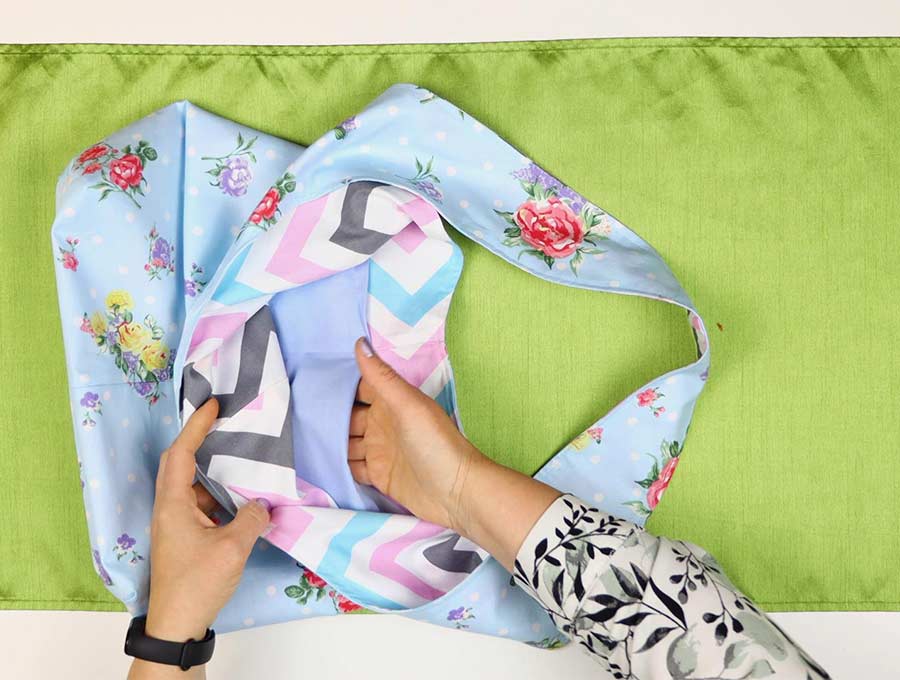
Turn the outer piece right side out. Then insert the outer bag into the lining, making sure the right sides are facing each other. Line up the raw edges and pin in place.
STEP 17:
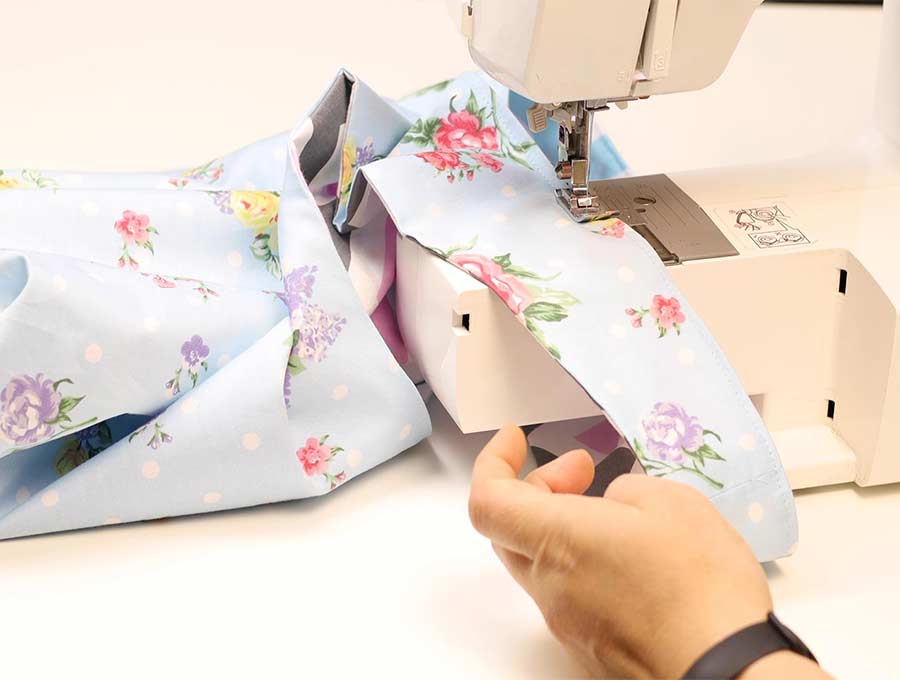
Stitch one side, from the top of the handle with a 3/8 inch (1cm) seam all the way around to the other end, back-tacking at start and finish.
On the other side of the handle, leave a 2-inch (5cm) gap at the top of the handle before you start sewing, and do the same at the other end when you finish.
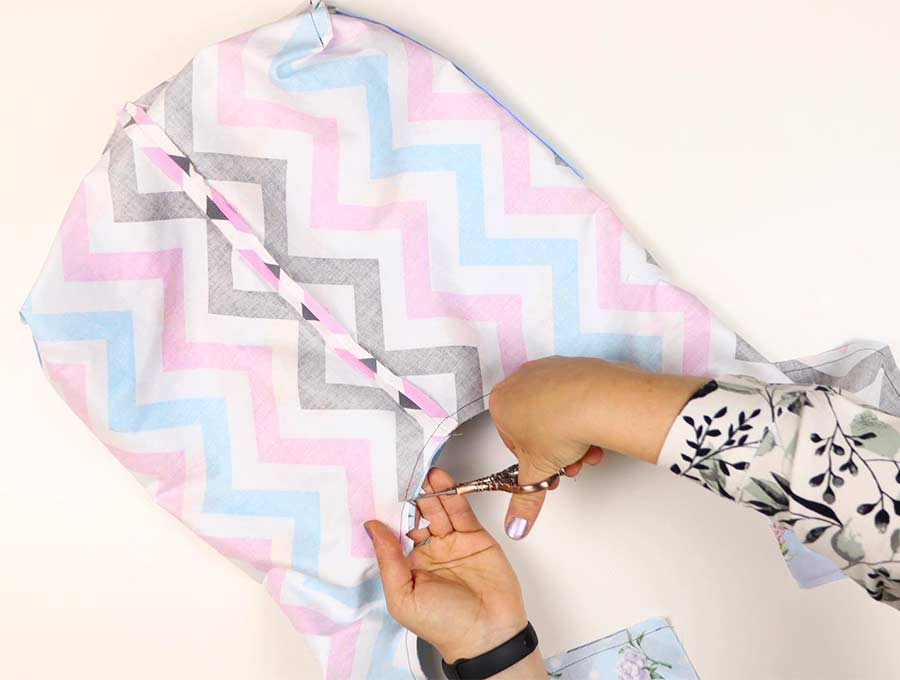
STEP 18: Clip the curve
Snip the seam allowance on the curve of the bag taking care not to cut too close to the stitch line – this allows the fabric to lie flat when turned.
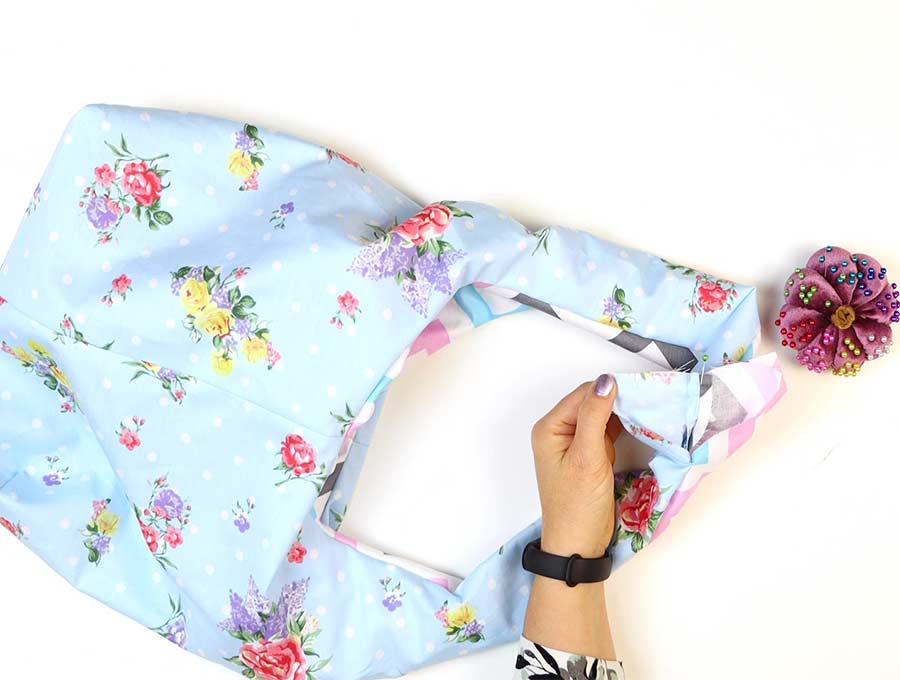
STEP 19: Turn right side out
Pull the fabric through the gap in the lining until the bag is right way out.
STEP 20: Stitch the handle
Match up the raw (short) edges of the handles, making sure the seams are open then stitch the handles together. Be sure to check you don’t have the handles twisted.
STEP 21: Press the bag
Once stitched, flatten and press the seam where you joined the handles, then tuck in the raw edges in line with the seam allowance and press flat. Go right around the bag pressing the seams so that the inner lining does not show beyond the outer fabric.
STEP 22: Topstitch
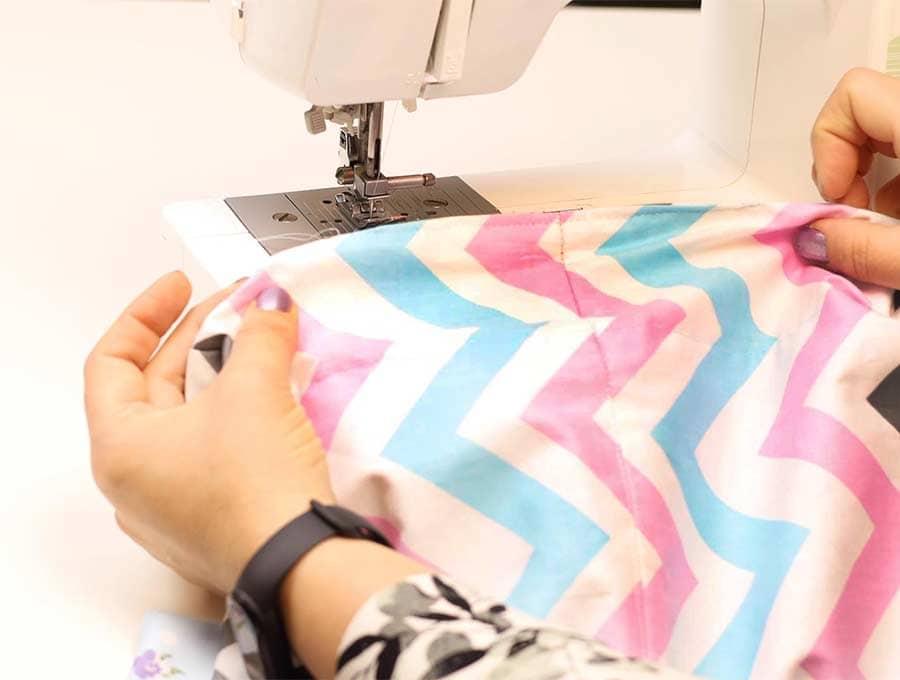
Top stitch right around the bag about ¼ inch (.5cm) or less around the edge keeping the distance from the edge of the fabric consistent for a professional looking finish. Topstitching the handles will also close the turning gap.
STEP 23: Stitch the turning gap
The last step is to pull the lining upward so you have the gap you pulled the bag through at the base away from the outer fabric. Turn in the raw edges and stitch close to the edge with a top stitch back tacking at start and finish to close the base, then tuck it back into the bag and smooth it out.
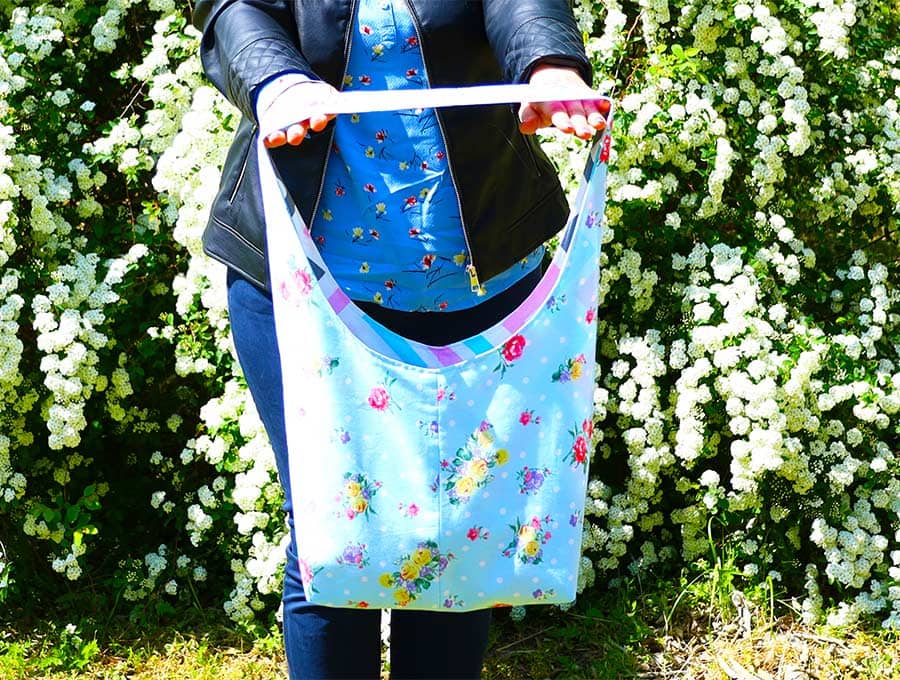
Your bag is now ready to use. It may seem like a lot of steps to make this Hobo Bag, but explaining probably takes longer than actually making it. Once you have the pattern cut you can churn out these bags within half an hour. They would look awesome in a white or black linen for dressy occasions, and are fully washable. If you are into the Bohemian look then a paisley print would look good. If you enjoyed making the Hobo Bag then hit the subscribe button and have projects like this delivered straight to your inbox.
Do you like this? Pin for later:
Wanna be friends? Click HERE and follow me on Pinterest
RELATED:
Each of these different bags has a place in someone’s closet–could it be yours?
Japanese knot bag – Simple yet functional and can be used as a small purse to carry your essentials.
Origami bento bag – minimalist, elegant and reversible bag.
Drawstring backpack – Have a lot of things to carry? Planning a camping trip or family outing? This bag is for you
Easy summer clutch – you can seriously make this in 10 minutes
Foldable shopping bag – Useful, stylish, and versatile