")
DIY Sewing Pattern Weights / Easy Triangular Fabric Weights (VIDEO)
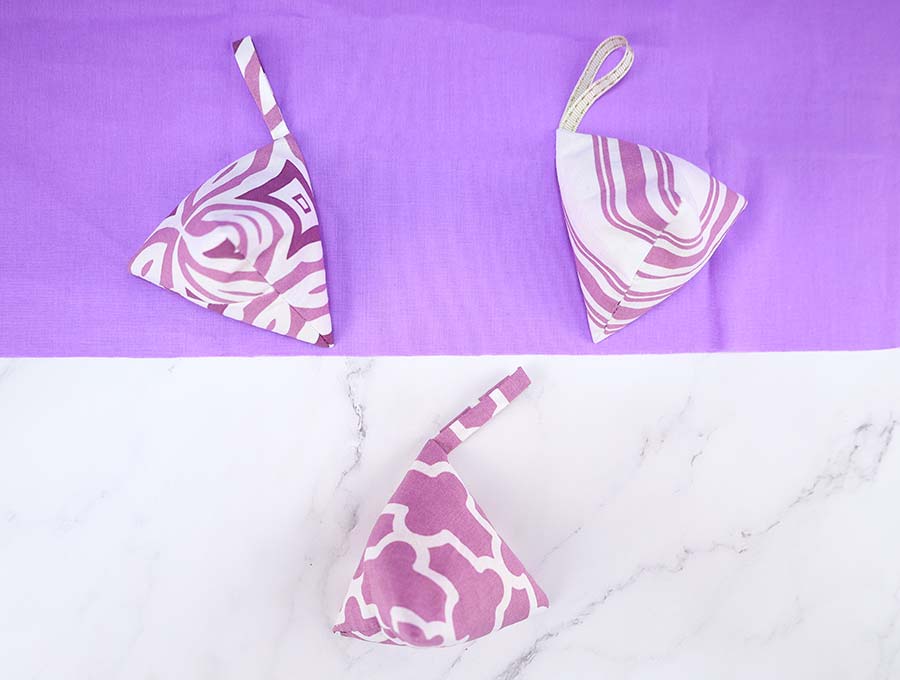
Sewing pattern weights are the thing that you don’t know how much you need until you get them.
That’s because fabric weights for sewing are really handy and you can use them for a bunch of other things. The main purpose of these triangular pattern weights is to hold down the paper pattern in place while you draw or cut around it. They are small enough not to get in the way, but heavy enough to hold the pattern down. However, the fabric weights can be used to keep the tablecloth down during your backyard grill parties, to make sure your paper doesn’t move while you draw or write, for holding down the fabric as you decorate it, and more.
You can buy finished sewing weights, but they are expensive and most of them won’t last long.
If you know how to make fabric weights though, you can make them to last and they’ll look according to your desires. This tutorial will help you do that.
Below you will find my step by step sewing pattern weights written tutorial with VIDEO instructions for all the visual learners.
We occasionally link to goods offered by vendors to help the reader find relevant products. Some of the links may be affiliate meaning we earn a small commission if an item is purchased.
Table of Contents
- 1 How to Make Pattern Weights for Sewing
- 2 Fabric Pattern Weights Supplies and tools
- 3 How to: DIY Sewing Pattern Weights
- 3.1 SEWING PATTERN WEIGHTS VIDEO TUTORIAL
- 3.2 DIY FABRIC WEIGHTS INSTRUCTIONS:
- 3.3 STEP 1: Cut the fabric
- 3.4 STEP 2: Make the hanging loop
- 3.5 STEP 3: Fold and pin
- 3.6 STEP 4: Stitch two of the sides of the fabric weight
- 3.7 STEP 5: Stitch the third side
- 3.8 STEP 6: Turn inside out
- 3.9 STEP 7: Fill the fabric weight
- 3.10 STEP 8: Hand stitch the gap closed
How to Make Pattern Weights for Sewing
Fabric Pattern Weights Supplies and tools
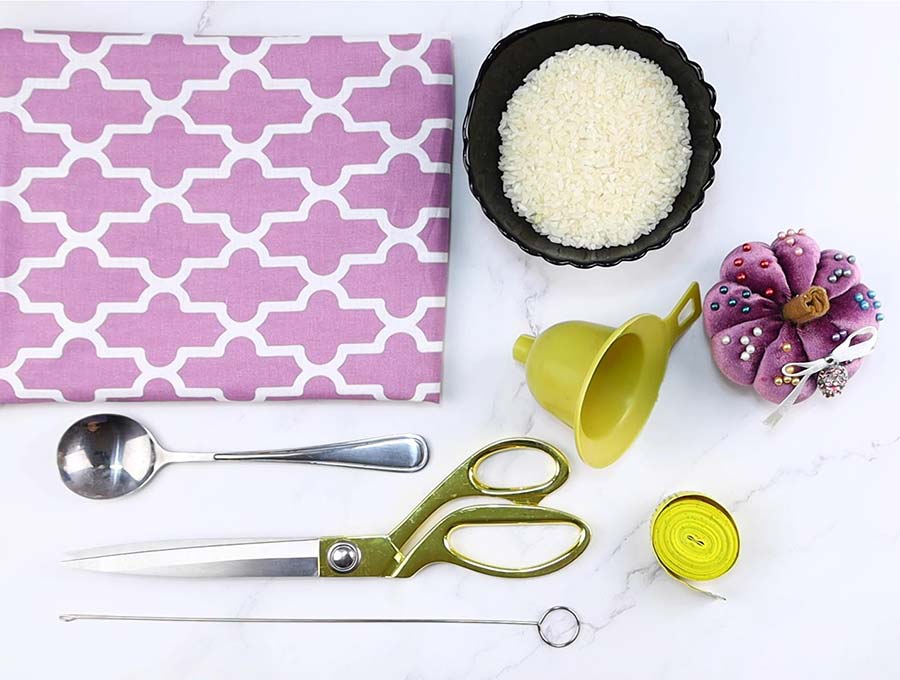
- fabric – 4 x 8″ piece of cotton (scraps will do)
- 1/2 cup of uncooked rice or other filler
- matching thread
- scissors (or rotary cutter and a cutting mat)
- ruler or measuring tape
- iron and ironing board
- sewing clips or pins
- sewing machine
Follow us for free patterns & tutorials! [easy-profiles]
How to: DIY Sewing Pattern Weights
Watch the diy pattern weights video first and then follow the written step by step instructions below.
Please enjoy and don’t forget to Like and SUBSCRIBE over on YouTube to be kept up to date with new videos as they come out.
SEWING PATTERN WEIGHTS VIDEO TUTORIAL
DIY FABRIC WEIGHTS INSTRUCTIONS:
STEP 1: Cut the fabric
Sewing weights is a great scrap busting project – a chance to turn your pile of fabric scraps into something really useful. Of of course you can use any fabric you wish for this project, just remember to wash it thoroughly and press it with your iron before you cut it.
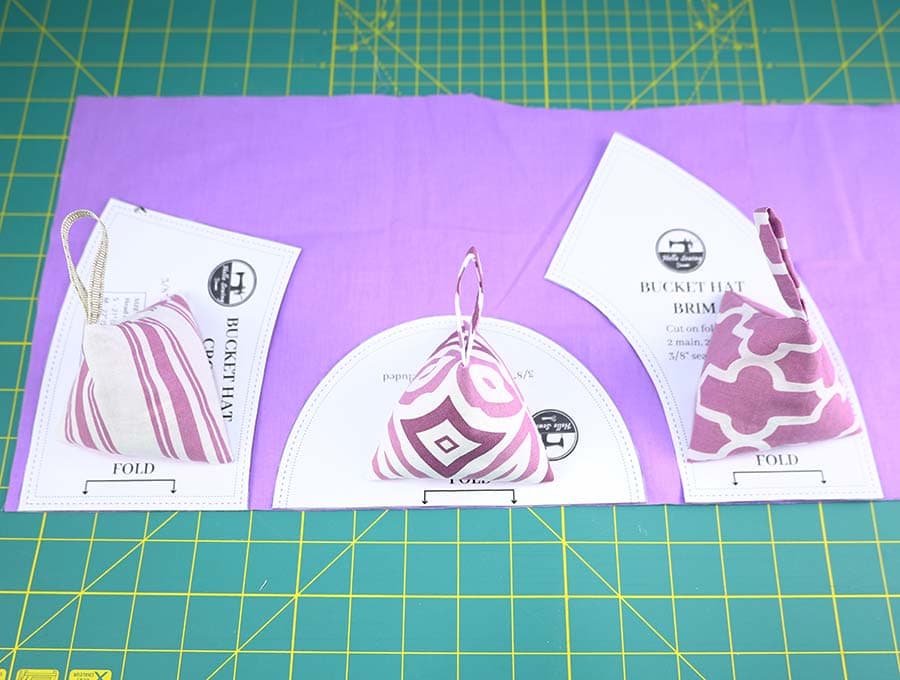
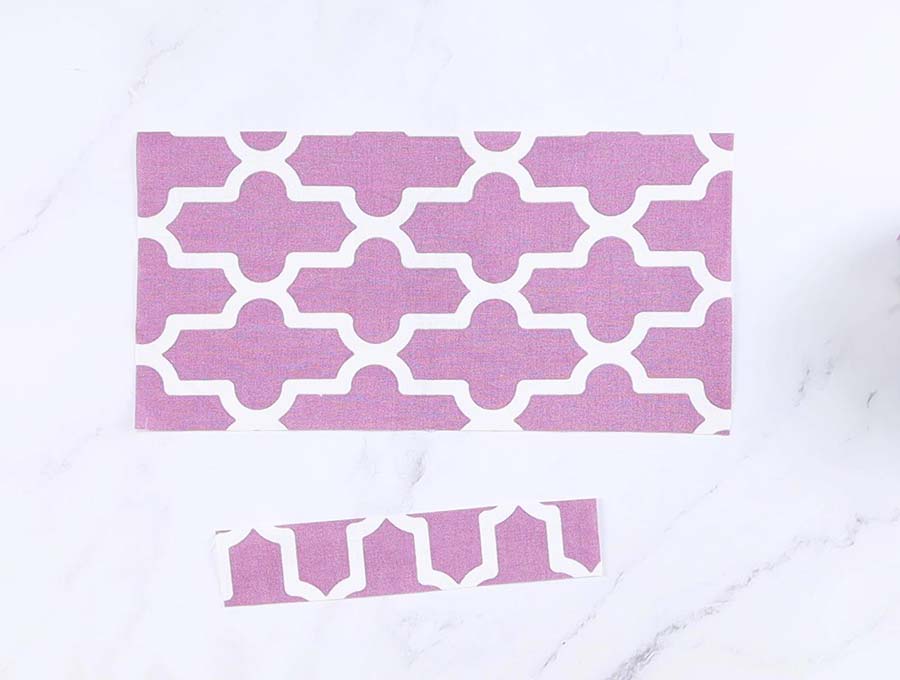
Cut out a rectangular piece of fabric 4 x 8″ (10 x 20cm).
This size work best for me, but you can make your pattern weights any size you want, as long as the ratio of width to length is 2:1.
Then cut a fabric strip about an 1 wide and 4 inches long (2.5 x 10cm). This will be the hanging loop.
STEP 2: Make the hanging loop
Fold the fabric strip in half lengthwise so that the right sides are facing inward. Align the edges and pin them.
Sew the long raw edge of the folded strip. Turn the fabric inside out and press it flat.
Fold the strap in half so that the short edges meet. Stitch the raw short edges together.
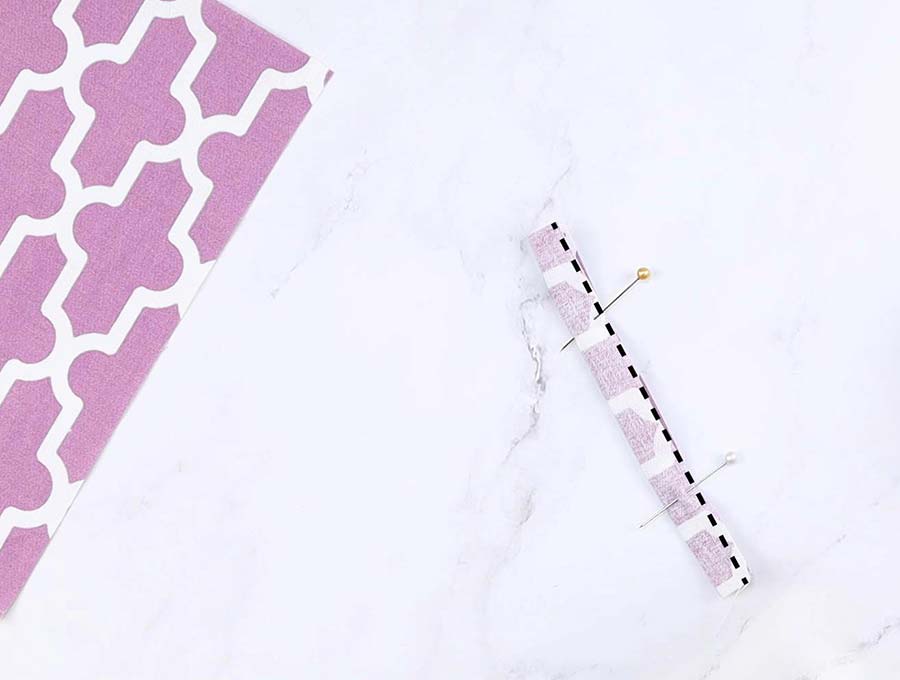
Use a turning tool to turn it inside out. The hanging loop is now finished.
STEP 3: Fold and pin
Fold the rectangular fabric piece in half so that the short edges meet and the right sides are in.
Place the loop inside the folded fabric. It should go all the way to the fold. The loop’s short stitched edge should align with the top edge of the rectangle piece. This is what it looks like when unfolded:
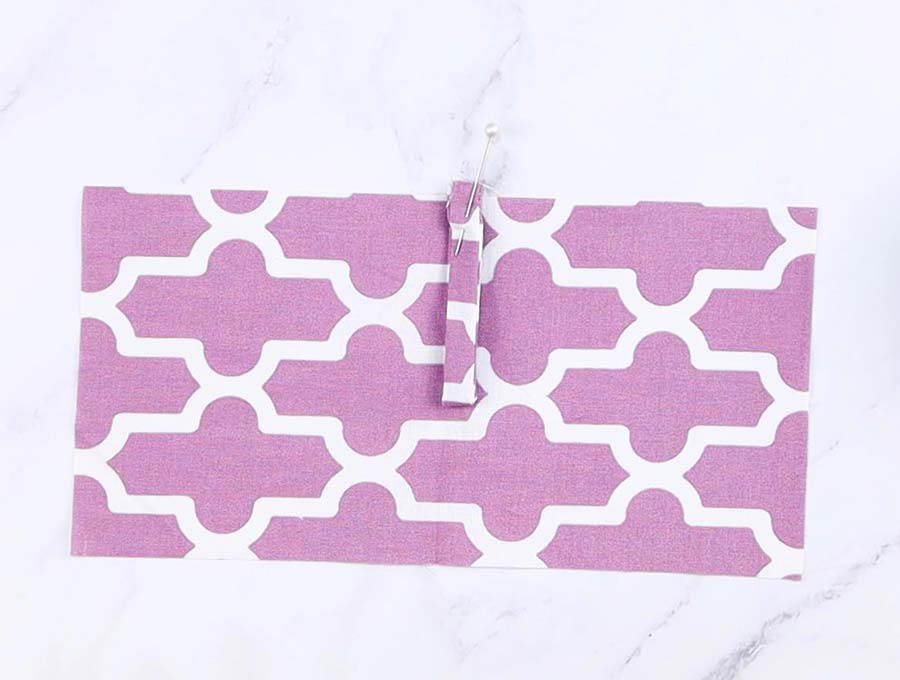
Secure all of the layers together with pins or clips.
STEP 4: Stitch two of the sides of the fabric weight
Sew the rectangle with a one quarter inch seam allowance. Stitch only the raw edge where the loop’s stitched edge is and the edge where the short sides of the rectangle meet.
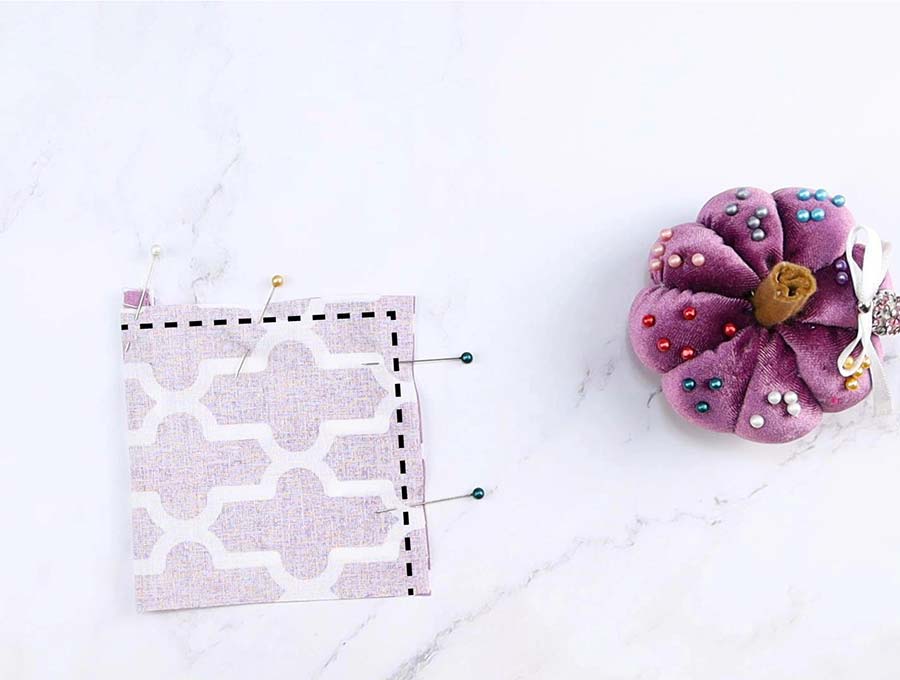
STEP 5: Stitch the third side
Fingerpress the fold to make a crease. Open the unstitched edge and match the crease with the side seam. Pin and leave a gap for turning
If you did everything right, the bottom edge and the top edge should be perpendicular to each other.
Sew that edge shut with the same seam allowance you used previously.
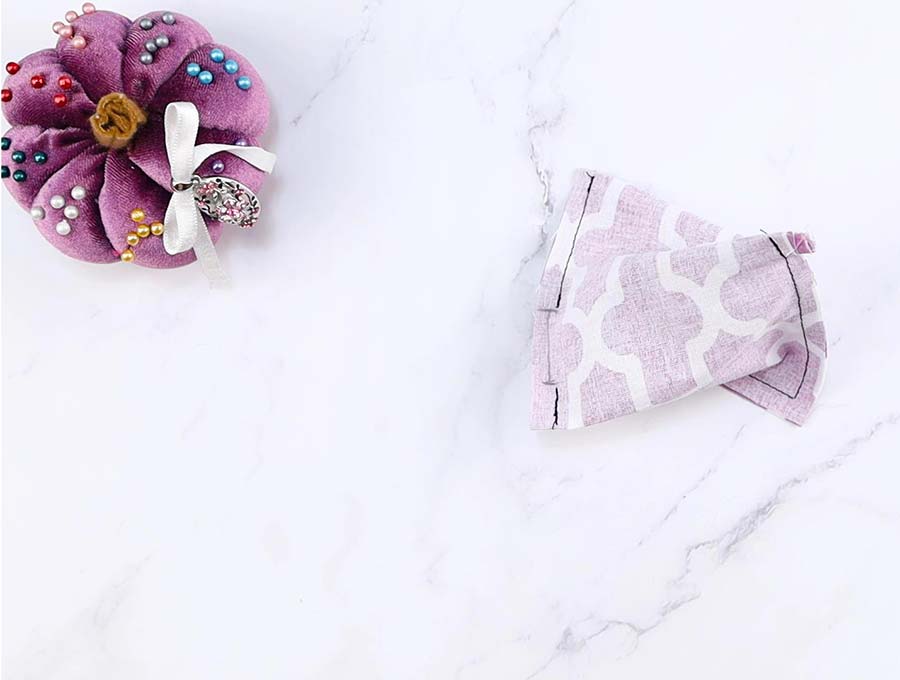
STEP 6: Turn inside out
Clip all corners, being careful not to cut into your stitches.
Reach into the opening on the side of the fabric and grab the hanging loop. Pull it out and turn the entire fabric weight inside out. Push out all of the edges and straighten them out.
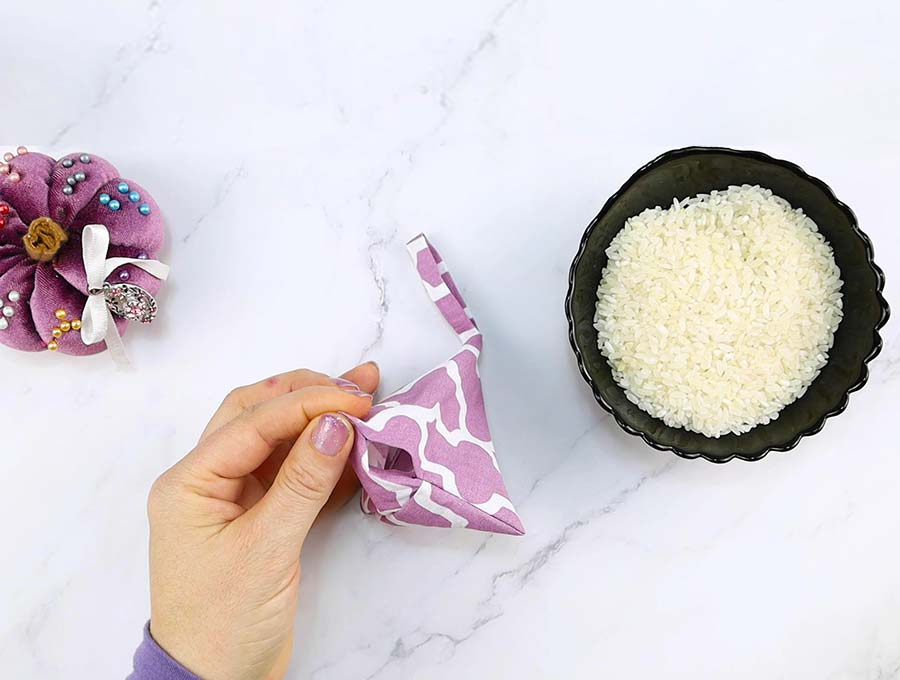
STEP 7: Fill the fabric weight
Take a funnel and slide it into the opening. If you don’t have a funnel, you can make one. Roll up a piece of paper at an angle and you’ll have your funnel.
You can use rice, poly pellets, glass microbeads, steel beads, or anything else you have that could be adequate.
I prefer rice personally because I always have enough of it so I don’t have to worry about buying the filling before I start the project.
Try to fill the fabric weight as much as you can, but don’t overfill it to the point of bursting. I found that half a cup of uncooked rice is enough.
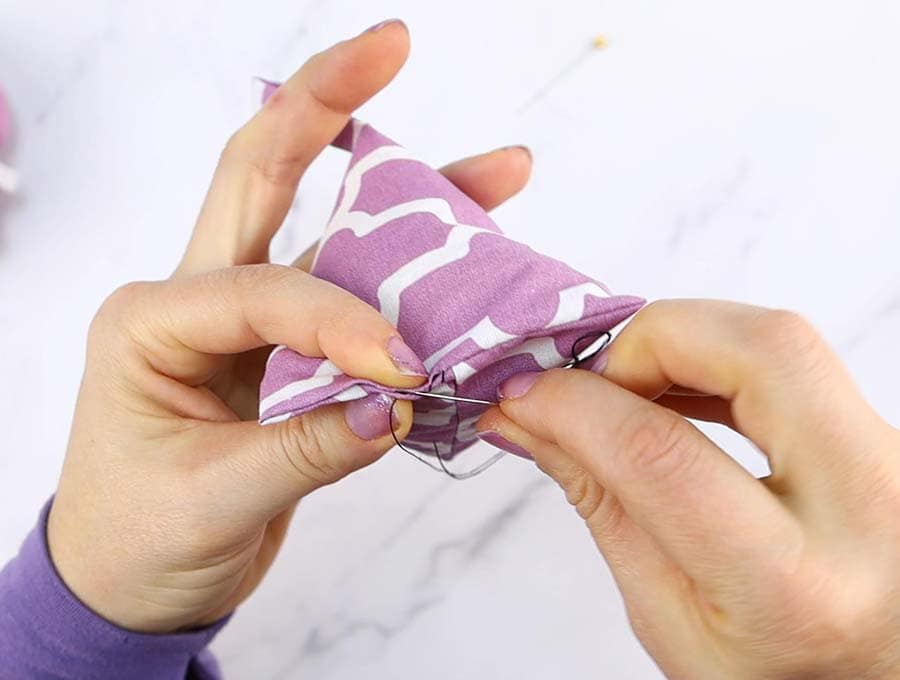
STEP 8: Hand stitch the gap closed
After you’ve filled the fabric weight, you will need to sew the opening shut.
Fold the raw edges of the opening in and press them with your fingers. Use a needle and a thread to sew the gap shut.
The fabric weight is now finished!
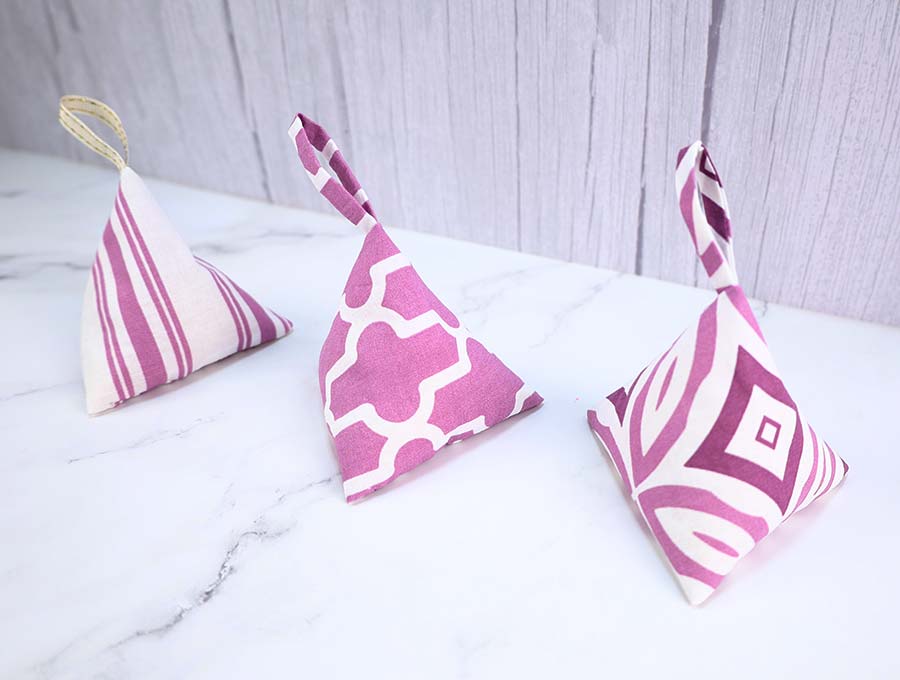
I hope you enjoyed this easy triangular fabric weight tutorial. Making these sewing weights is an easy scrap busting project that is great for beginners. How many DIY pattern weights you need to make? Let me suggest that you need a whole bunch to hold your patterns and hone your sewing skills. You can give them to kids as well because they’re great for juggling or hacky sack! Remember to check our other articles and stay tuned for more easy sewing tutorials!
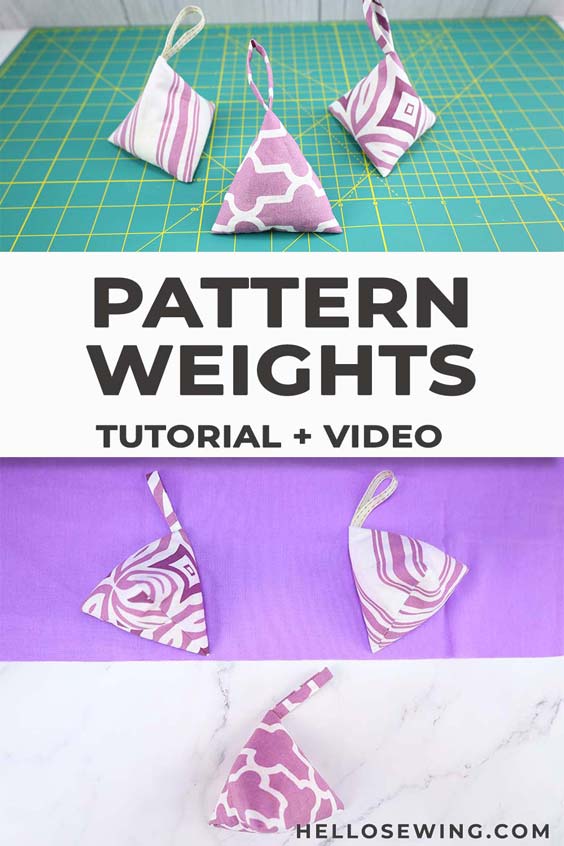
Do you like this DIY pattern weights tutorial? Pin for later:
Wanna be friends? Click HERE and follow me on Pinterest
RELATED SCRAP BUSTERS USING RICE: