
How to Make a DIY Steering Wheel Cover in 10 minutes
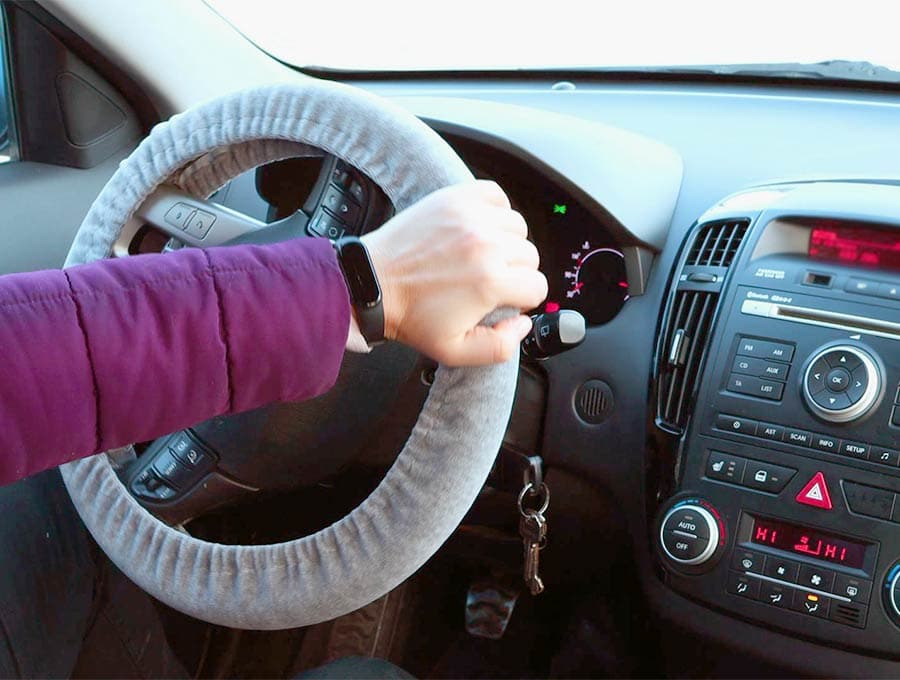
The DIY steering wheel cover is one of the best scrap busters ever! All it needs a fairly long narrow piece of fabric – and we always seems to have those around and often wonder how to put them to good use. Having a fleece steering wheel cover will keep your hands warm in winter, and stop them being burnt in summer if your car stands out in the sun. This homemade steering wheel cover can be taken off and tossed in the wash if it gets grimy and replaced with another fresh one. Remember to use a fabric that provides a good grip, and that the steering wheel cover fits snugly as you want to be sure you have full control of your vehicle at all times.
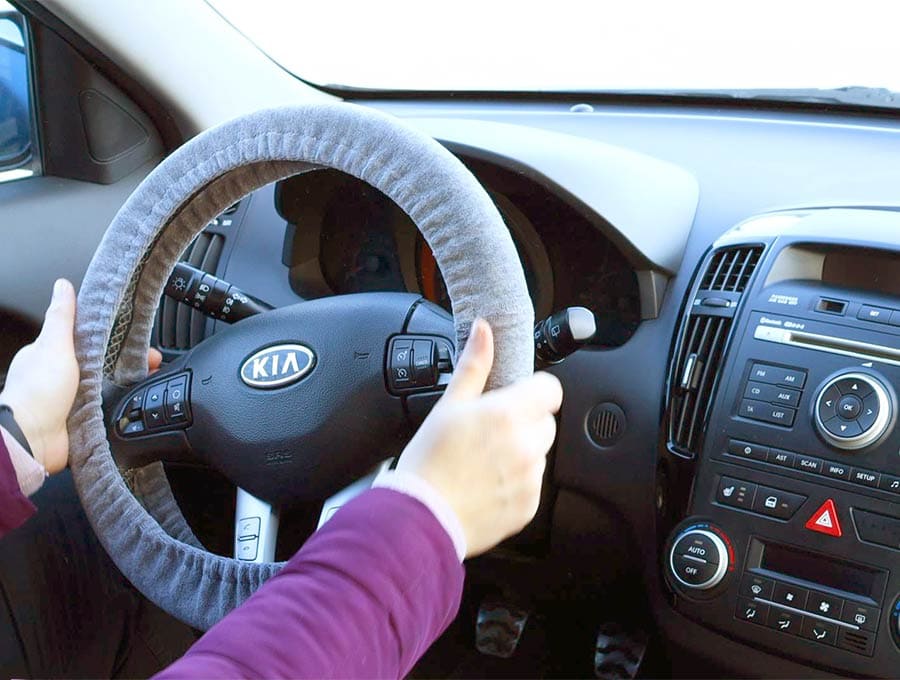
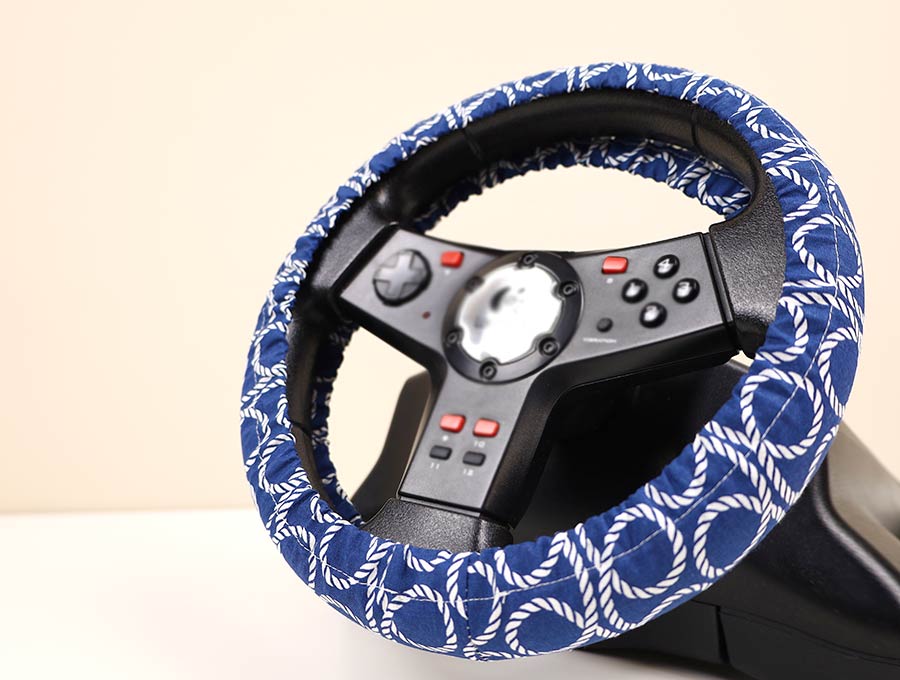
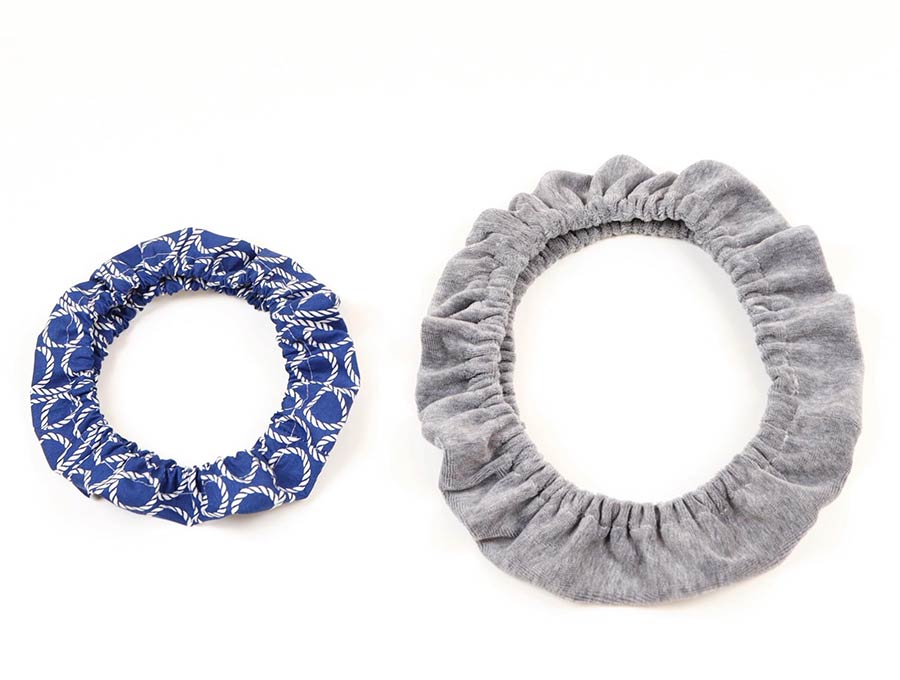
Go for a sleek and sophisticated leather look, or a warm and fleecy vibe when you follow our instructions how to sew a steering wheel cover. It fits snugly over the steering wheel to keep hands warmer and add some style to your vehicle. So many people can’t find a steering wheel cover that is exactly what they want. Now it is super easy to make your own in the fabric of your choice. What we love is that you can change the look by simply removing the fabric steering wheel cover and adding a different one. What’s not to love about this DIY car accessory?
Below you will find my step by step written tutorial how to make a steering wheel cover with VIDEO instructions for all the visual learners.
We occasionally link to goods offered by vendors to help the reader find relevant products. Some of the links may be affiliate meaning we earn a small commission if an item is purchased.
Table of Contents
- 1 How to make a steering wheel cover
- 2 Steering Wheel Cover Supplies and tools:
- 3 How to Sew a Fabric Steering Wheel Cover
- 3.1 Fabric Steering Wheel Cover VIDEO TUTORIAL
- 3.2 How to measure the steering wheel
- 3.3 Choosing and cutting the fabric for the steering wheel cover
- 3.4 DIY steering wheel cover INSTRUCTIONS:
- 3.5 STEP 1: Join the short sides
- 3.6 STEP 2: Turn up and pin the long raw edges
- 3.7 STEP 3: Sew around the steering wheel cover
- 3.8 STEP 4: Insert the elastic
- 3.9
- 3.10 STEP 5: Stitch the elastic
- 3.11 STEP 5: Close the gaps
How to make a steering wheel cover
Steering Wheel Cover Supplies and tools:
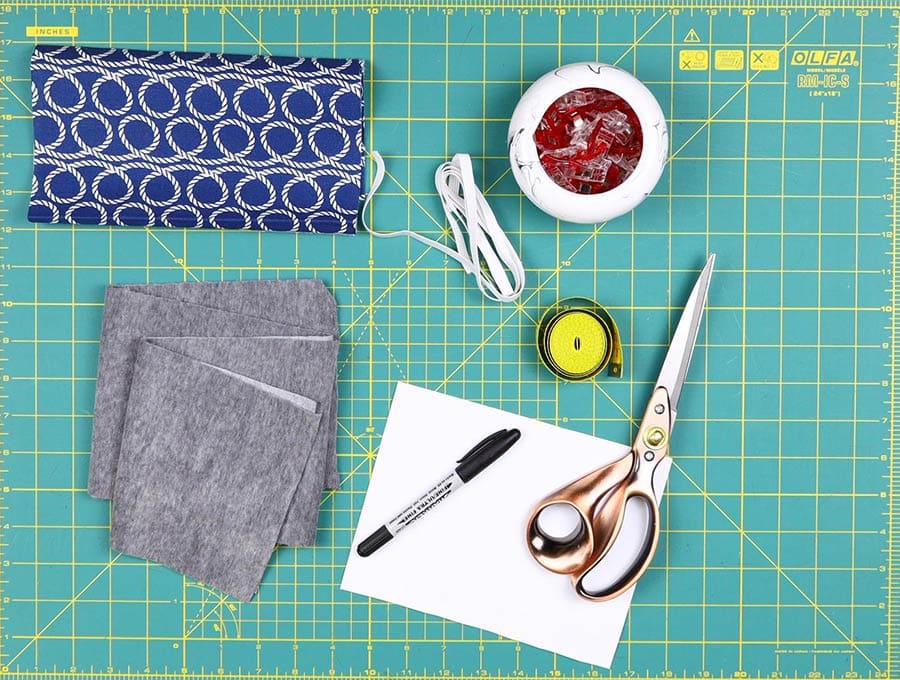
- fabric – minky, fleece, woven cotton (or fabric with a good grip)
- 3/8″ elastic(preferable) or 1/4″ flat elastic – ~2 x 24″ long
- matching thread
- scissors (or rotary cutter and a cutting mat)
- ruler or measuring tape
- iron and ironing board
- sewing clips or pins
- sewing machine
Follow us for free patterns & tutorials! [easy-profiles]
How to Sew a Fabric Steering Wheel Cover
Watch the diy steering wheel cover video first and then follow the written step by step instructions below.
Please enjoy and don’t forget to Like and SUBSCRIBE over on YouTube to be kept up to date with new videos as they come out.
Fabric Steering Wheel Cover VIDEO TUTORIAL
How to measure the steering wheel
- Using a tape measure made for sewists, measure right around the circumference of the steering wheel – that is right around the outside edge of the steering wheel. The average steering wheel seems to be around 46 inches. Record your measurement.
- Measure the grip circumference (width of the steering wheel) – it should be somewhere around 4 inches. Whatever the width is for your car’s steering wheel, write down that measurement.
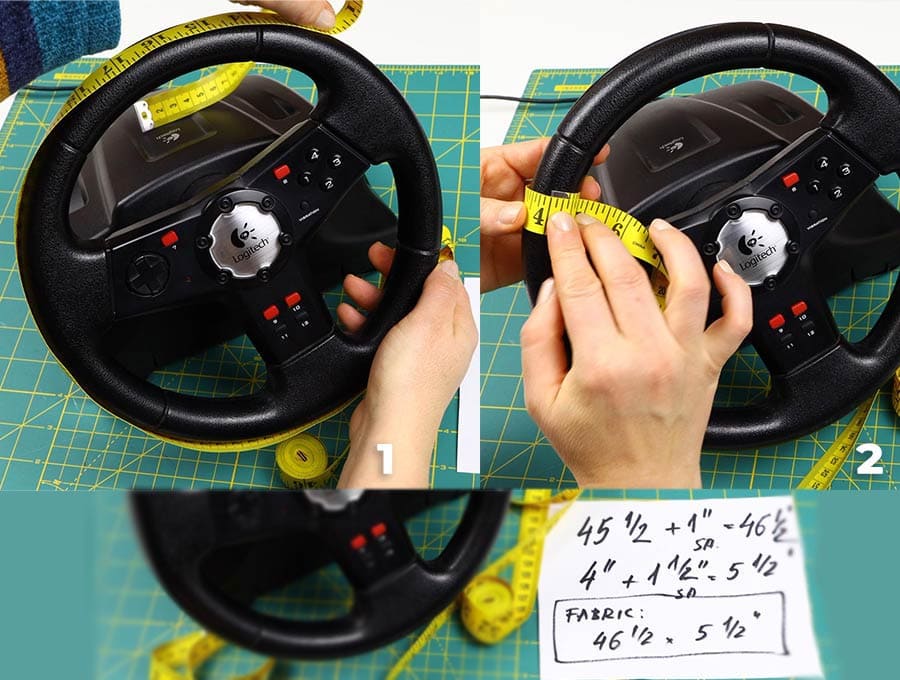
So, for my car’s steering wheel the measurements were 45.5 inches x 4 inches (115 cm x 10cm)
Choosing and cutting the fabric for the steering wheel cover
Try to choose a fabric that will not stretch too much and one that is not slippery – you want to keep a good grip on the wheel when driving and it will be much easier to sew the steering wheel cover. Minky and fleece fabrics as well as fake leathers are good choices as there is no need to turn in edges as these are non-fray materials. If you are using a woven fabric like corduroy or denim you will need an extra turn to make sure edges are neat.
So, now for the cutting of the fabric. Try to choose a 60-inch wide fabric offcut because this way you won’t have joins in the cover.
Add 1 inch to the length and 1 1/2″ to the width for seam allowances if you are using a single piece of non-fraying fabric.
In my case:
46″ + 1″ (SA) = 47″
4″ + 1 1/2″ = 5 1/2″
So the fabric I will need is 47 x 5 1/2″
It is, however, totally fine if you do use two shorter pieces of fabric and join them, but you need to add an extra inch to your measurement to allow for the extra seam.
Let’s say your steering wheel is 46 inches and you have two pieces of fabric, then you need to add an extra 1 inch per piece of fabric, to allow for that extra seam, making each piece 24 inches long
In my case I was making a DIY steering wheel cover from 60-inch fabric so I added a ½ inch seam allowance to each end of the fabric measure circumferences, making 47 inches. If I was using a 36-inch or other shorter width fabric I would need two pieces of 23 inches each (1/2 of 46 inches) then I would need to add one inch to each piece – so two pieces at 24 inches each.
Now, the width will depend on whether you are using a fray on non-fray fabric.
Non- fray fabric like fleece, Minky or fake leather will need an extra ¾ of an inch added to each side – so the width of my car’s steering wheel was 4 inches, so I’ll add an extra 1.5 inches, to cut a piece 5.5 inches wide, to allow for a ¾ inch casing on either side of the length of the fabric.
A fabric that frays will need an extra inch added to each side – so from 4 inches the width becomes 6 inches to allow for a ¼ inch turn up on either side then the ¾ inch casing.
Cut the elastic
You will need two pieces of elastic that is 3/8″ (1cm) wide, but you can also use 1/4″ (6mm). Cut the elastic to half the circumference of the steering wheel – so if the steering wheel was 45 inches each piece of elastic will be half that – 22.5 inches.
DIY steering wheel cover INSTRUCTIONS:
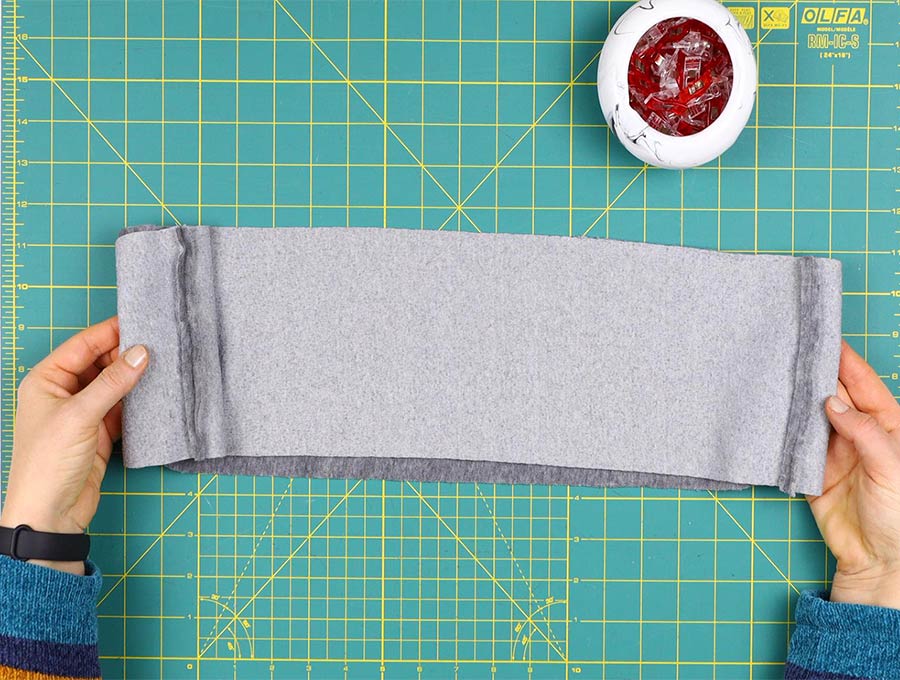
STEP 1: Join the short sides
Take the length of fabric and fold it over with right sides facing each other. Stitch a ½ inch seam allowance along the short sides, back tacking at start and finish, to create a big circle.
Repeat for the other side, if you are joining 2 pieces of fabric.
STEP 2: Turn up and pin the long raw edges
If using a non-fray fabric lay it face down on the worktop and turn up one side 3/4 inch (2cm) and pin in place all the way around the circle, repeat with the opposite side. Leave 1 inch (2.5cm) gap for turning on both casings
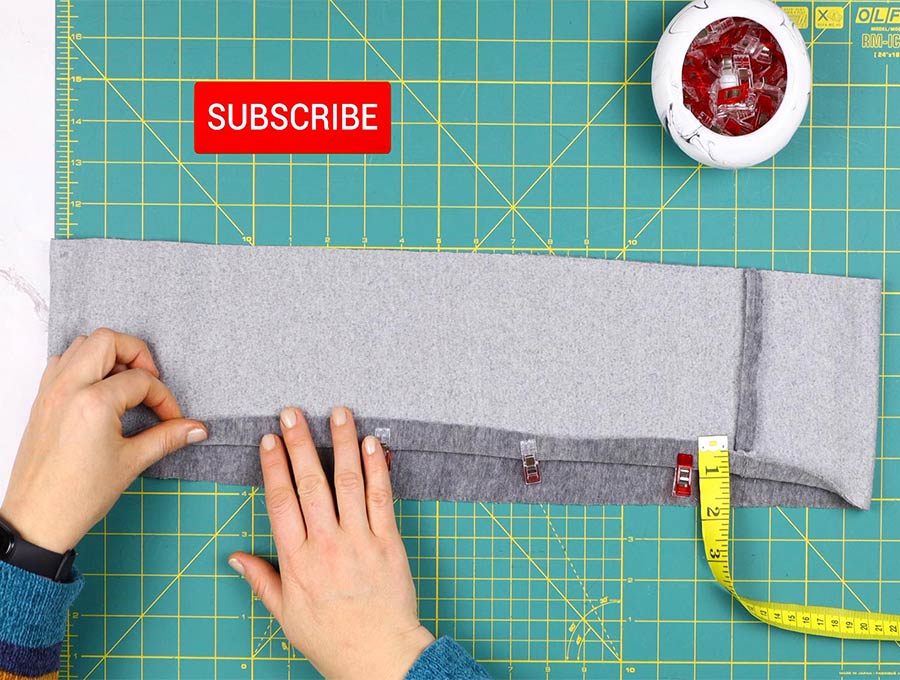
Pin everything in place
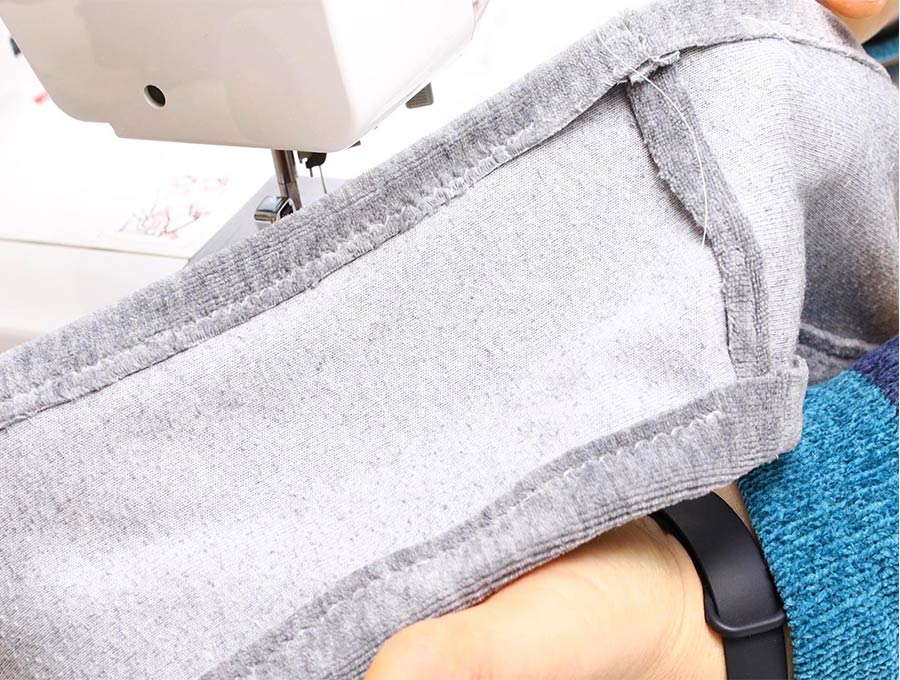
STEP 3: Sew around the steering wheel cover
Starting at the seam you created by joining the short sides, stitch, back tacking at the start going all the way around the circle then stopping 1 inch before you meet up with where you started – this gap allows you to insert the elastic, and back tack to finish.

Now stitch around the other side of the fabric – you now have two casings.
PRO TIP: Use zig-zag stitch if you are sewing minky or fleece. Use straight stitch for woven fabrics.
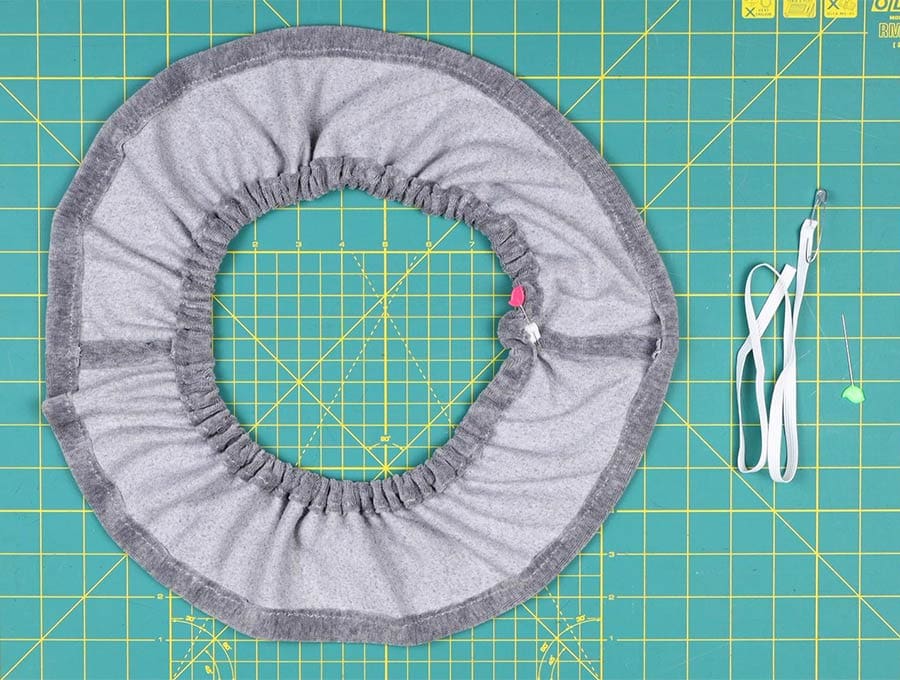
STEP 4: Insert the elastic
Attach one piece of elastic to a safety pin or a bodkin an thread it through the gap, carefully working your way around one circle of the casing. When you reach the end overlap the ends of the elastic by ½ an inch (1cm) and pin.
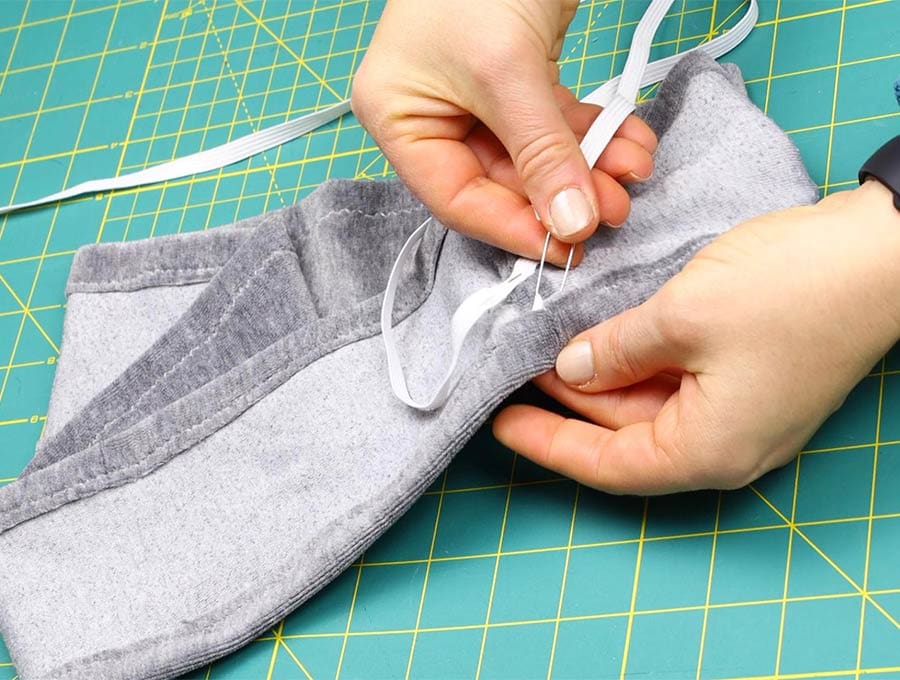
Repeat for the other casing. Make sure to pin the other end of the elastic to the fabric so you don’t pull it while you are threading the elastic.
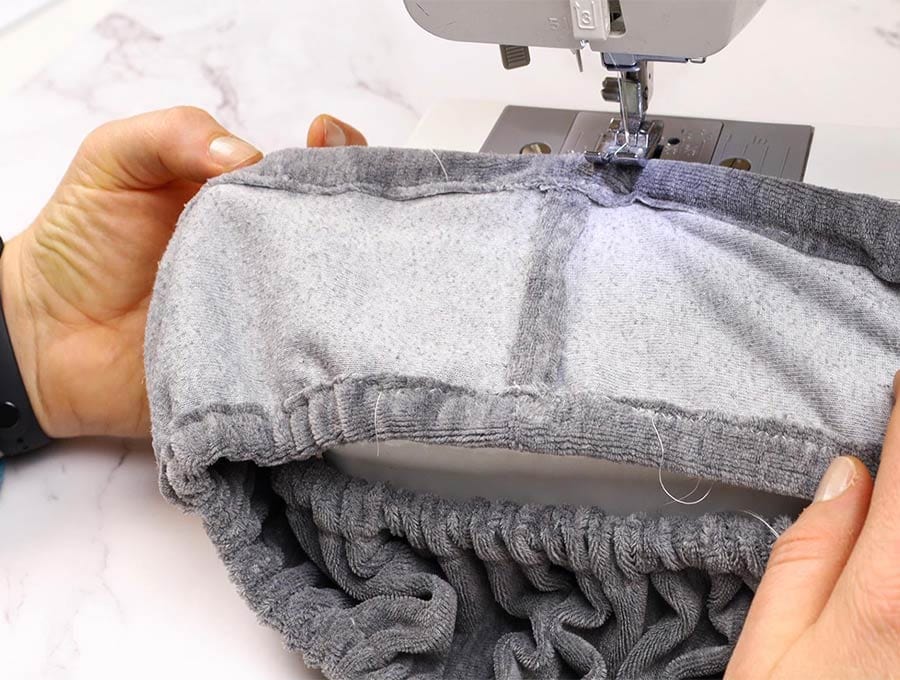
STEP 5: Stitch the elastic
Machine or hand stitch the elastic to create a circle.
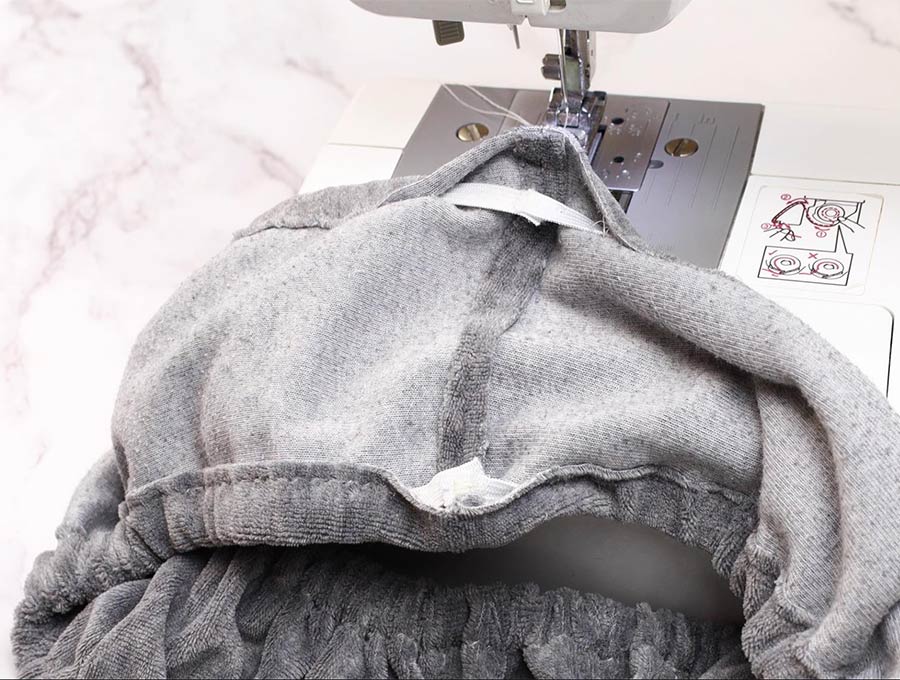
STEP 5: Close the gaps
Machine or handstitch the gaps. It is up to you if you want to hand-stitch or machine stitch the gaps through which you inserted the elastic, or leave them open. Personally, I think it look more ‘finished’ to close the gaps.
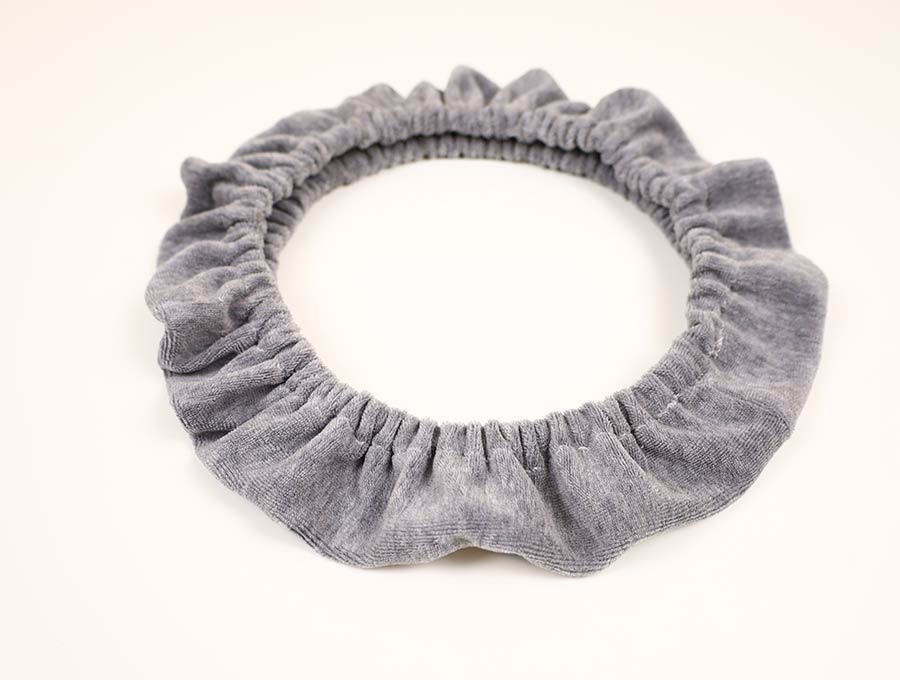
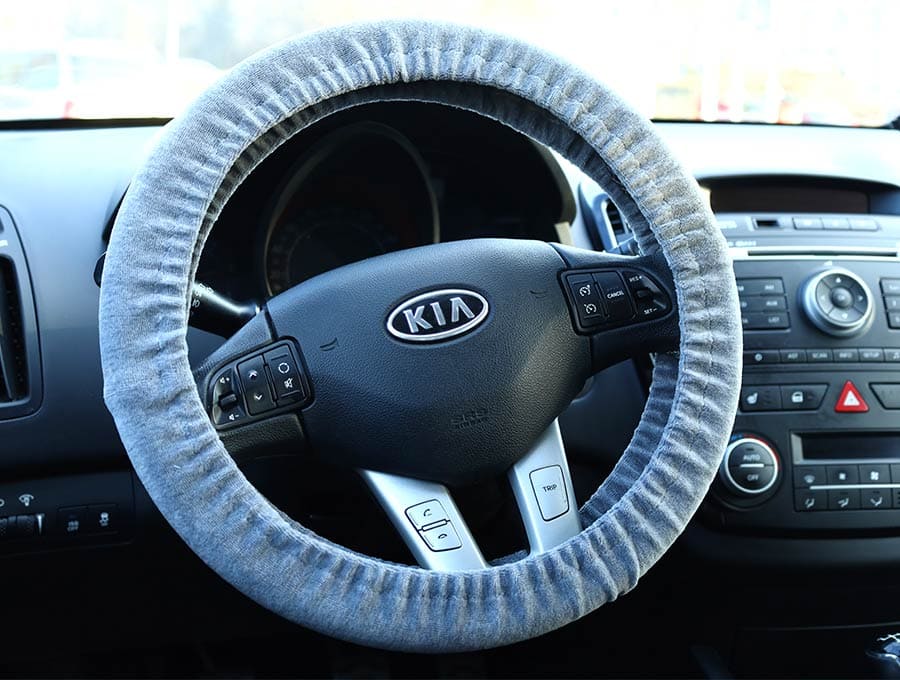
And there you have it – your own homemade steering wheel cover.
You can make them as gifts and they can be in masculine looking imitation leather or pretty in a printed fleece. If you enjoyed this super easy tutorial how to make a steering wheel cover in a flash (honestly the part that takes the longest is pinning the two casings into place before stitching) then hit the subscribe button to have more step-by-step scrap-busting tutorials sent straight to your inbox.
Do you like this? Pin for later:
Wanna be friends? Click HERE and follow me on Pinterest