
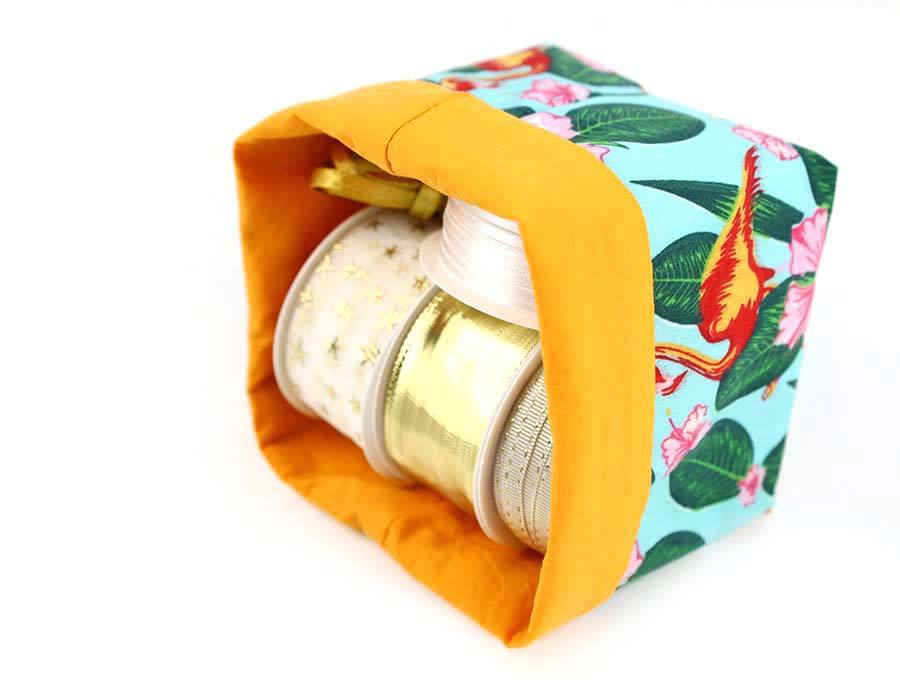
How to Make a Fabric Basket Pattern and Tutorial
We have a cute project that you are going to love whether you are new to sewing, or an ardent sewist with cupboards filled with pieces of fabric that will “come in handy one day”. I will show you how to make a fabric basket in any size you want. These fabric baskets are really easy. I promise. They’re inexpensive too, especially if you have offcuts from other sewing projects. My mind goes into hyperdrive and my fingers start itching just thinking about all the possibilities. Imagine those cute diy fabric baskets in Christmas prints, autumn hues, fresh spring tints, or Hamptons tones to store all the clutter. They can also be used to provide a fresh new look for pot plants.
I’m giving you a table with four different size square fabric baskets in inches and in centimeters so you can start finding suitable material off cuts.
Below you will find my custom size fabric basket tutorial with step by step VIDEO instructions for all the visual learners.
We occasionally link to goods offered by vendors to help the reader find relevant products. Some of the links may be affiliate meaning we earn a small commission if an item is purchased.
Table of Contents
- 1 How to make a fabric basket
- 2 Supplies and tools
- 3 How To Sew Fabric Baskets
- 3.1 FABRIC BASKETS VIDEO TUTORIAL
- 3.2 INSTRUCTIONS:
- 3.3 STEP 1: Fabric basket pattern and measurements
- 3.4 STEP 2: CUT FABRIC RECTANGLES
- 3.5 STEP 3: Iron interfacing to fabrics
- 3.6 STEP 4: Cut the bottom corners
- 3.7 STEP 5: Stitch outer to lining
- 3.8 STEP 6: Press seams
- 3.9 STEP 7: Layer and Pin
- 3.10 STEP 8: Stitch around
- 3.11 STEP 9: Square the corners
- 3.12 STEP 10: Stitch the gap
- 3.13 STEP 11: Place the lining inside
- 3.14 STEP 12: (Optional) TOPSTITCH
- 3.15 STEP 13: TURN DOWN THE TOP
- 4 FABRIC BINS OPTIONS:
- 5 FAQs, Tips and Troubleshooting:
- 6 What to do with your DIY fabric baskets
How to make a fabric basket
Supplies and tools
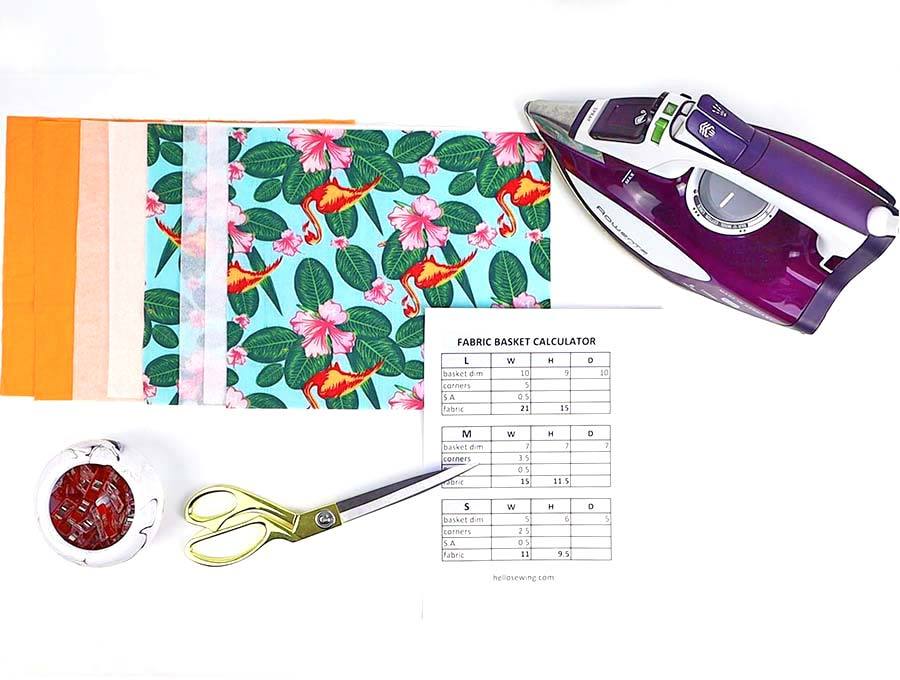
- fabric – 2 matching fabrics (cotton or upholstery fabric) – 1/4 yard each
- fusible interfacing – 1/2 yard
- matching thread
- scissors (or rotary cutter and a cutting mat)
- ruler or measuring tape
- iron and ironing board
- sewing clips or pins
- sewing machine
DOWNLOAD: Fabric basket pattern (Free PDF file)
Follow us for free patterns & tutorials! [easy-profiles]
How To Sew Fabric Baskets
Watch the diy fabric basket video first and then follow the written step by step instructions below.
Please enjoy and don’t forget to Like and SUBSCRIBE over on YouTube to be kept up to date with new videos as they come out.
FABRIC BASKETS VIDEO TUTORIAL
INSTRUCTIONS:
STEP 1: Fabric basket pattern and measurements
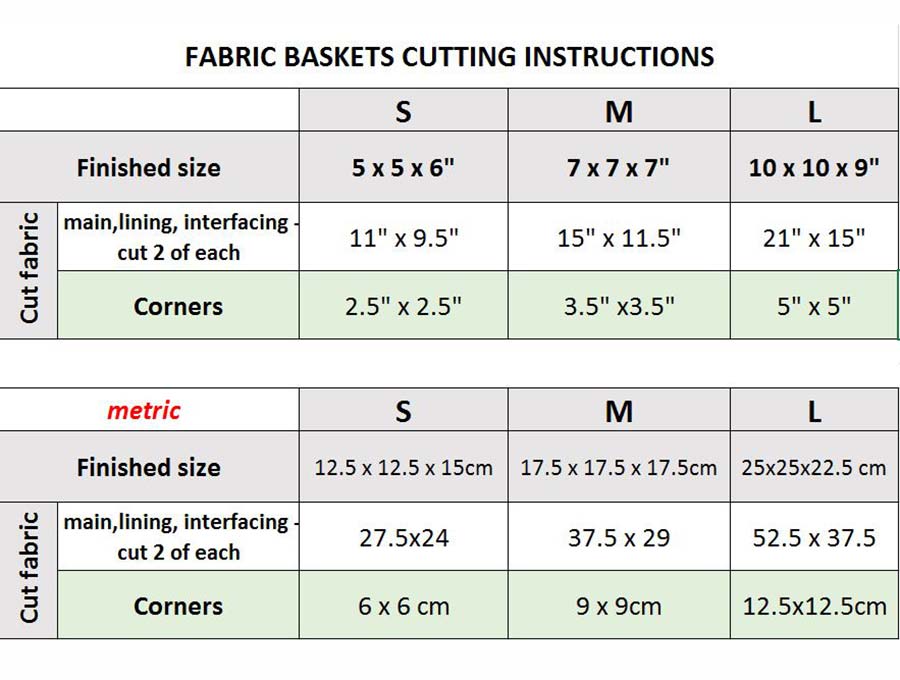
Custom sized basket:
If you want to make a fabric basket with square bottom according to your own measurements, here is a handy calculator how to cut the fabric.
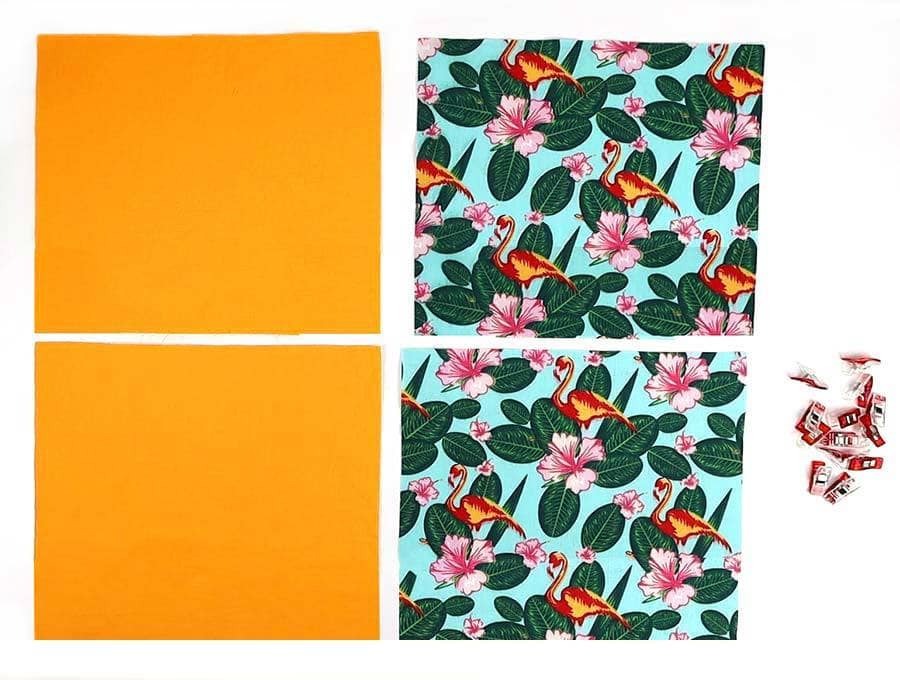
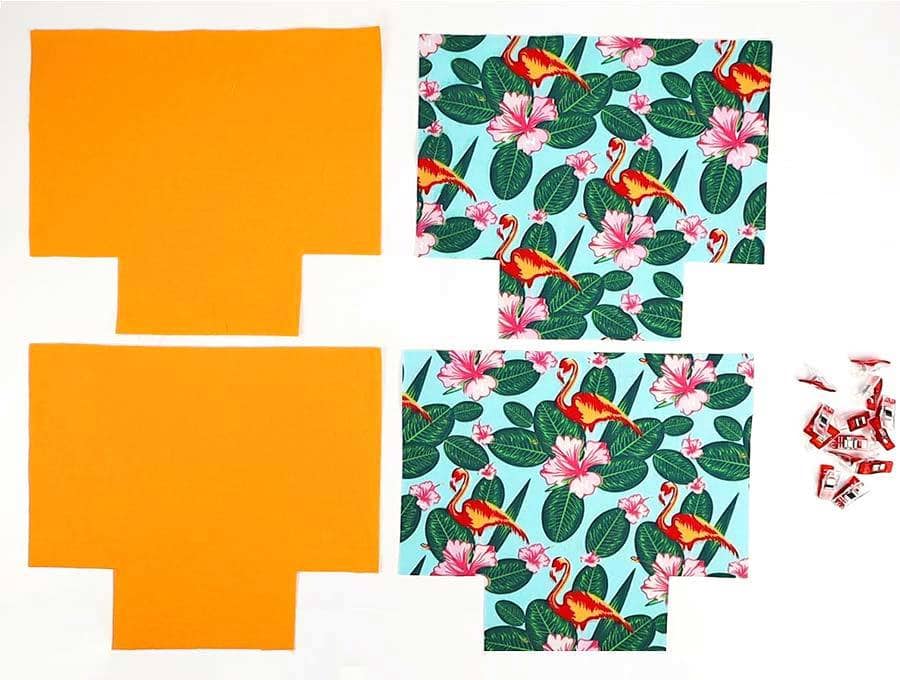
STEP 2: CUT FABRIC RECTANGLES
You will need to cut 8 rectangles with the same measurements:
- 2 pieces of the outer fabric
- 2 pieces of lining
- 4 pieces of fusible interfacing
I’m making the small basket today, so I cut my fabrics pieces 11 x 9.5 inches each.
The fusing gives ‘body’ to your fabric basket, but can be omitted if you are using a slightly heavier upholstery material.
Start by sorting through the bits and pieces you have. If you are new to sewing and going out to buy fabric then I suggest you buy ¼ of a yard in two different fabrics –a patterned one and a plain one that picks up one of the colors in the pattern Later on once you have aced the first basket you may want to start a mini-production line with all the fabrics lined up, ready to cut and sew.
This pattern makes a reversible basket so choose a lining you really like. Avoid very thin fabrics, stretch fabrics and fleecy fabric. Cotton prints or plain, curtaining, and fairly light upholstery fabric work well.
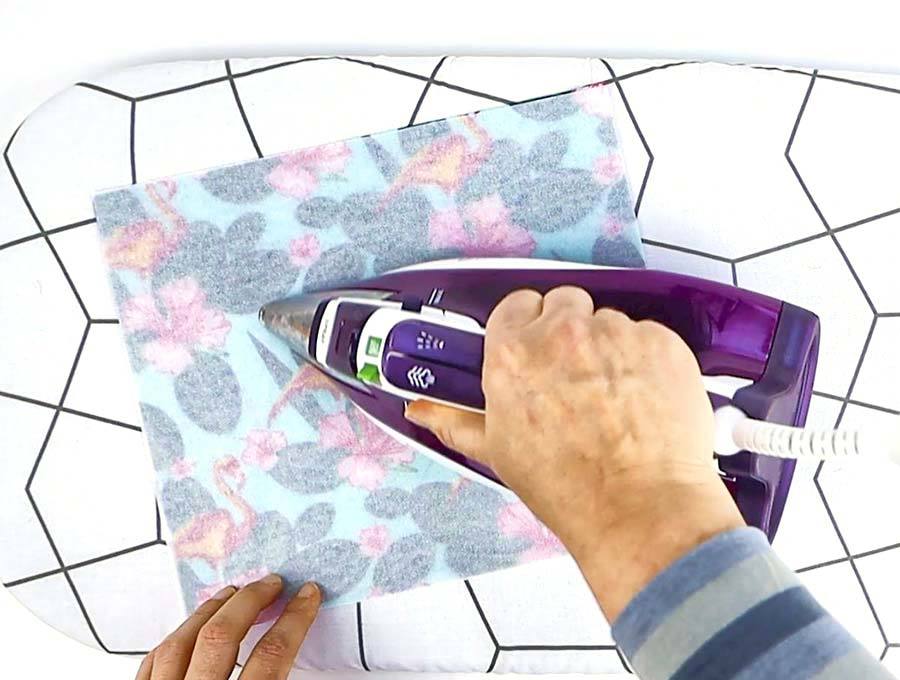
STEP 3: Iron interfacing to fabrics
Iron the fusible lining according to the manufacturer’s instructions (it may vary according to different brands), to the wrong side of all four fabric pieces (2 outer and 2 lining) for your basket.
STEP 4: Cut the bottom corners
Cut out both bottom corners out of each fabric piece according to the cutting chart/calculator. I find that the easiest way to do this is either by using the paper pattern or by cutting the corners out of the first fabric piece and using it as a guide to cut the rest of the fabrics.
For my small basket I cut 2.5 inch squares out of each bottom corner.
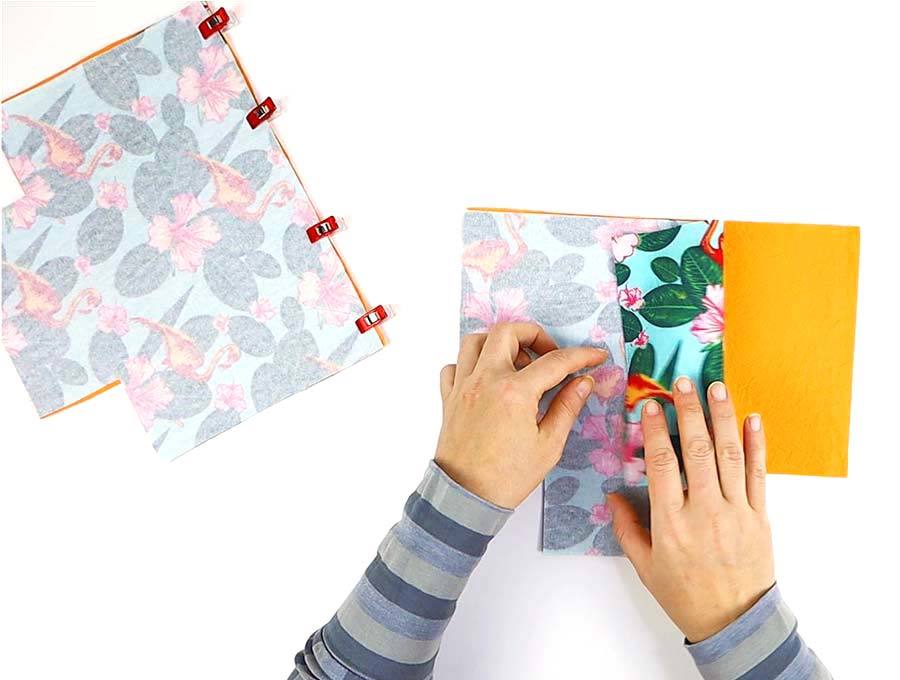
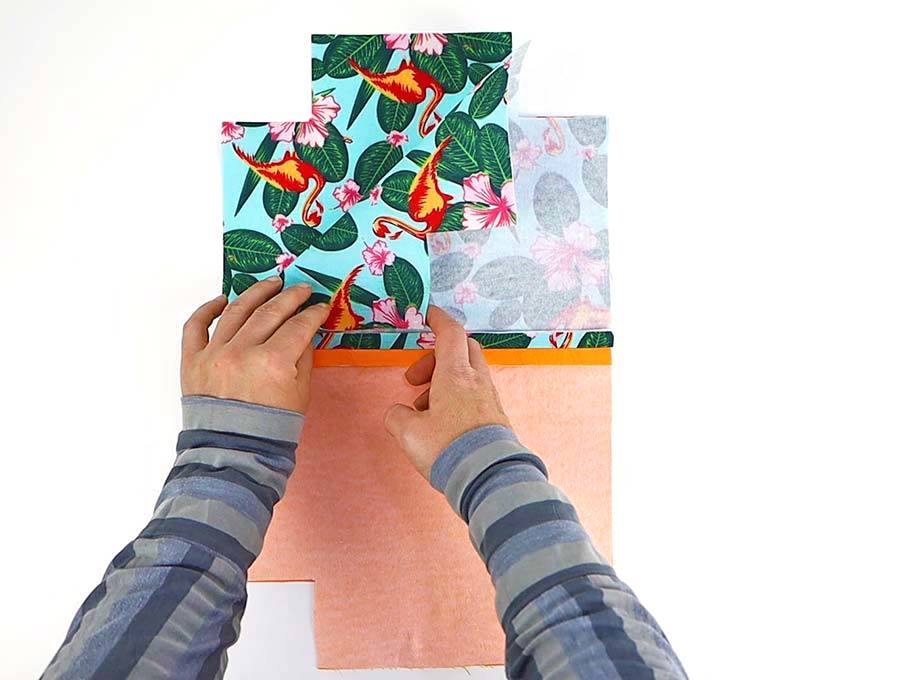
STEP 5: Stitch outer to lining
Place the one piece of outer fabric and one lining facing right side to right side and stitch down the top using 1/2 inch seam allowance. Repeat for the second set.
STEP 6: Press seams
Head over to your iron and press open both seams.
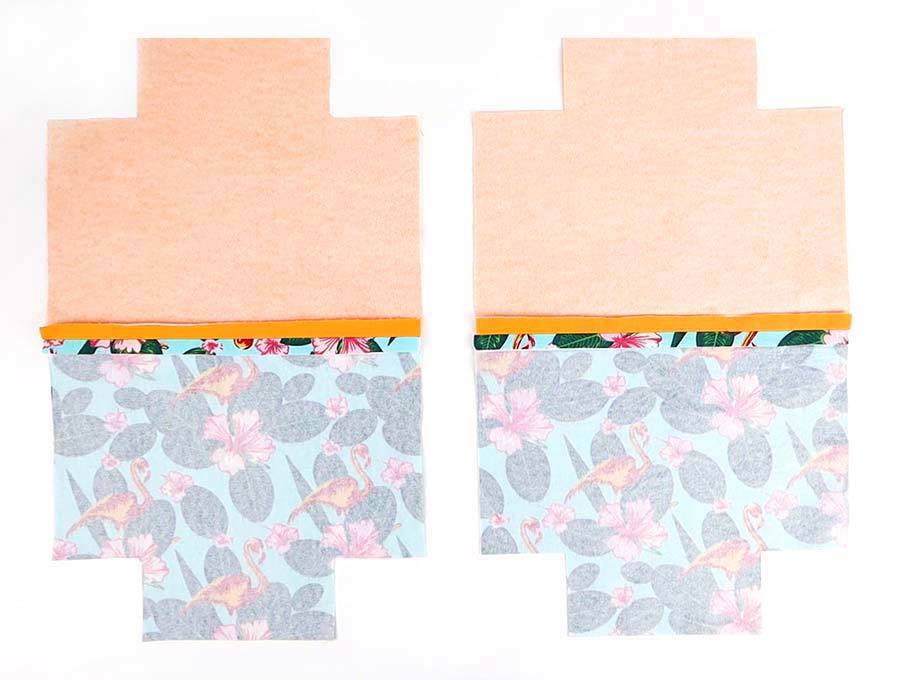
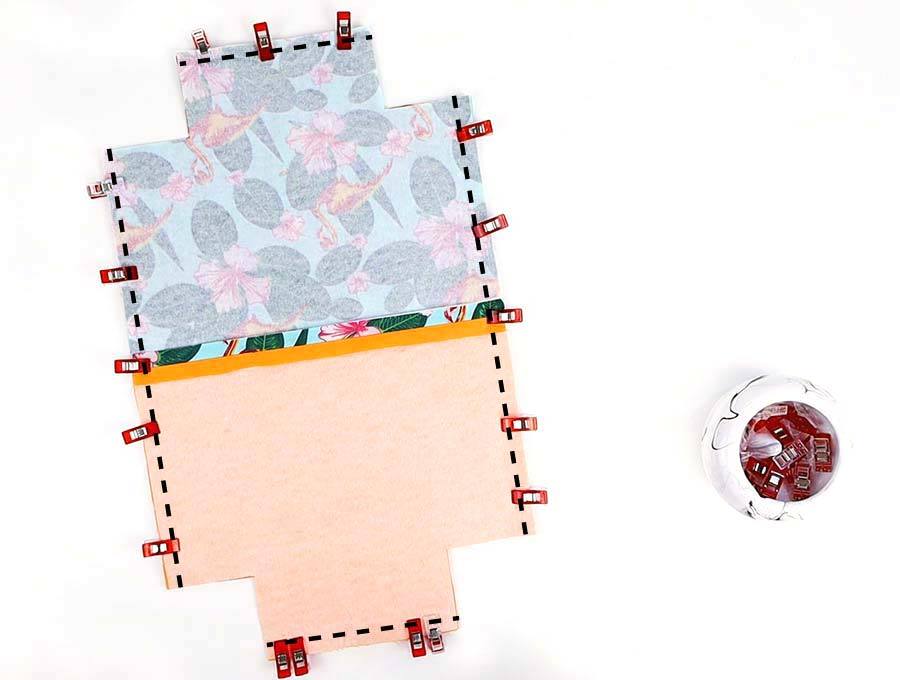
STEP 7: Layer and Pin
Place the fabrics on top of each other, outer facing outer and lining facing lining, right side to right side of together.
STEP 8: Stitch around
Stitch on the wrong side along one side, and the top. Then on the other side stitch one third of the way down, leave a gap of 2 inches (this is to turn the lining through to the outer fabric) and then continue stitching down the side.
(OPTIONAL) Back to the iron to press open the three seams of the lining – two sides and bottom.
STEP 9: Square the corners
Take your outer pieces that are stitched together inside out and place the end of the side seam to the end of the bottom seam where the corner is cut out and stitch, first on one side and then the other. You have now created a square box shape.
Repeat the above step with the lining, so you have another square box.
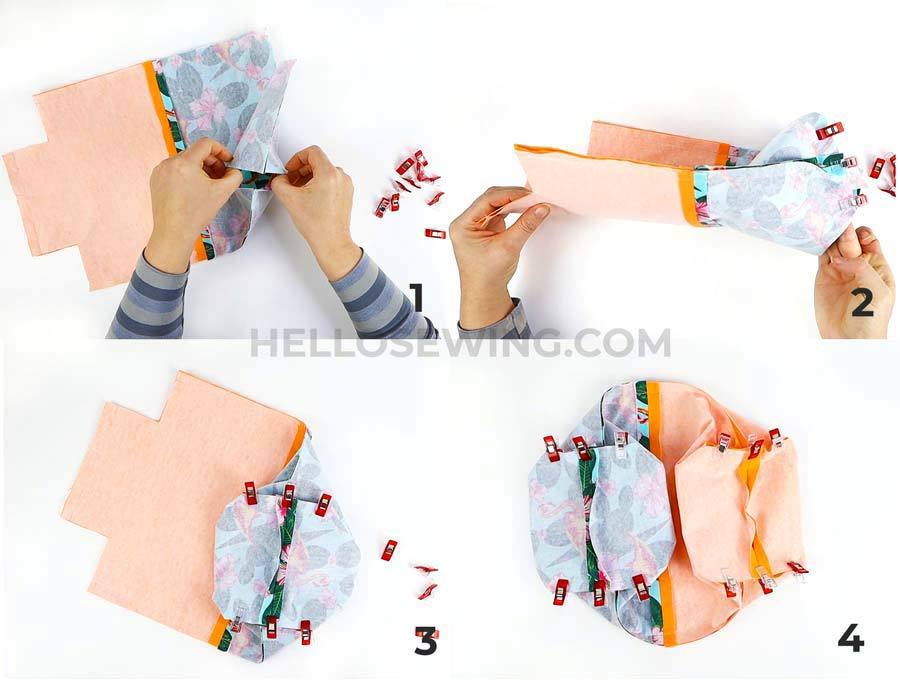
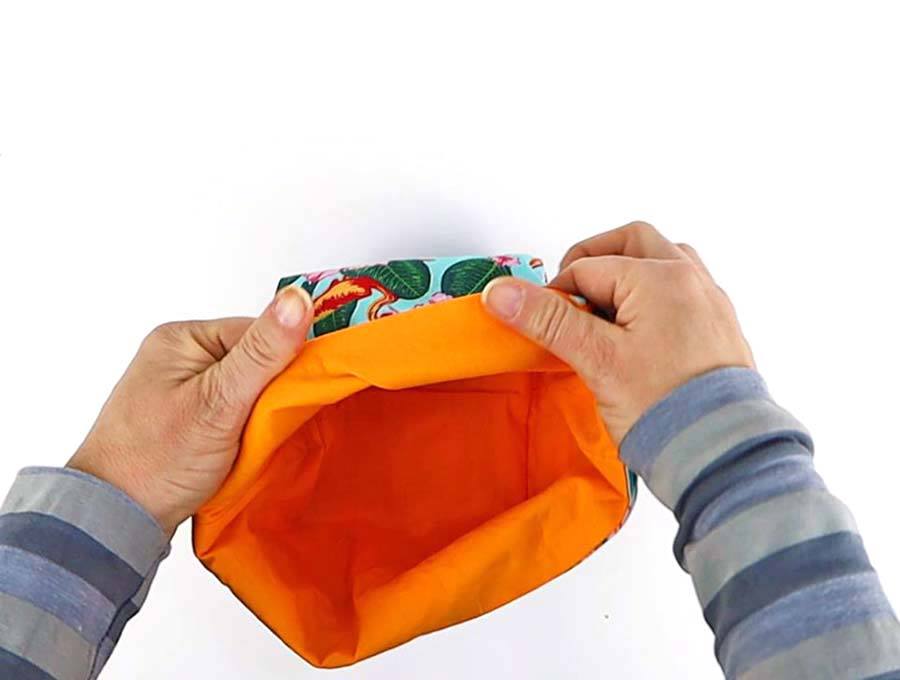
Turn the fabric bin inside out through the gap in the lining piece.
STEP 10: Stitch the gap
Push the raw edges inside. Stitch the gap in the lining shut either using a ladder stitch or your sewing machine.
The lining will not be visible, so that is all up to personal preference
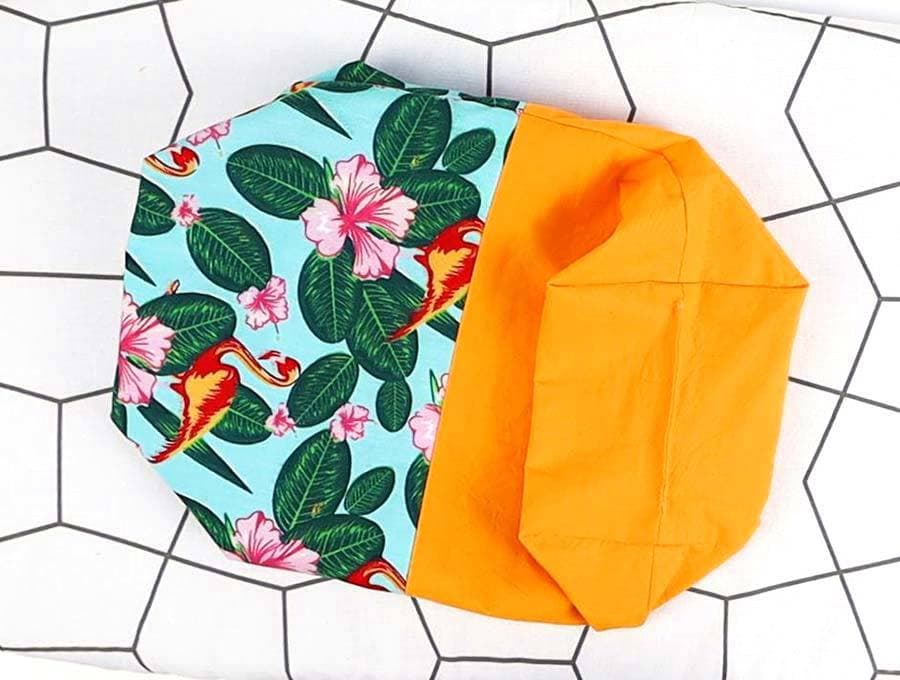
STEP 11: Place the lining inside
Place the lining that is inside out inside the outer which is right side out and line up the top edges.
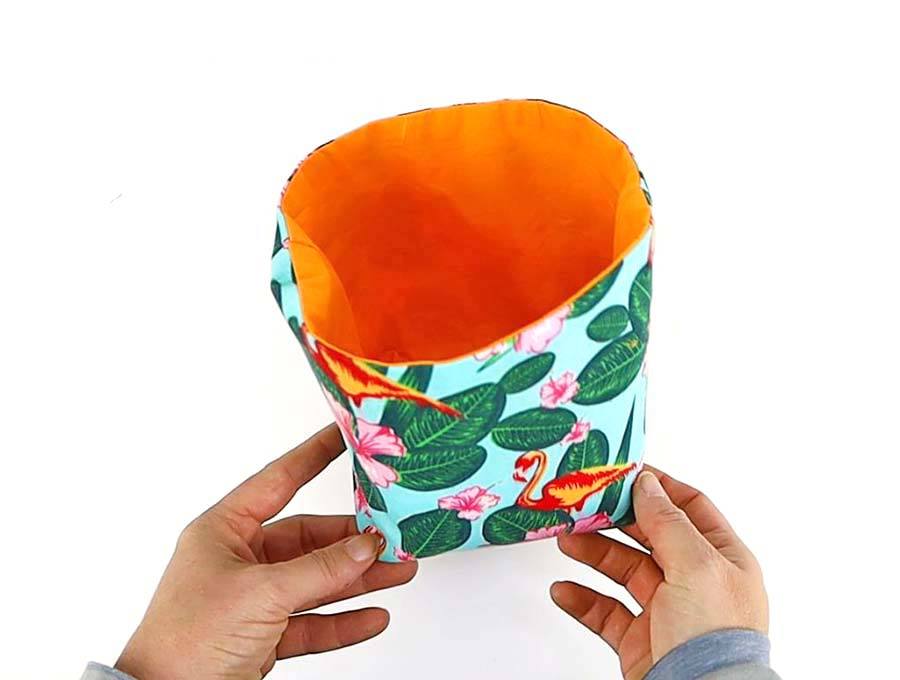
(optional) Press well around the top edge and along the bottom corners for a crisp look.
STEP 12: (Optional) TOPSTITCH
Pin both lining and outer together. Stitch along the top of the basket, then nestle the corners of the lining into the outer and you’re all done.
If you are making a large basket, you can also topstitch along the sides to help it stand up and hold it’s shape better. Having that extra top stitching gives the fabric basket additional support. Make sure to stop stitching about 2 inches from the ed
This step is not necessary for small and medium sized baskets or if ‘skeleton’ support is not needed.
STEP 13: TURN DOWN THE TOP
You now have a basket all ready to use after turning down an inch at the top to show the contrasting lining.
FABRIC BINS OPTIONS:
- HANDLES – you can add one or two handles on the opposite sides of the fabric basket for easier handling
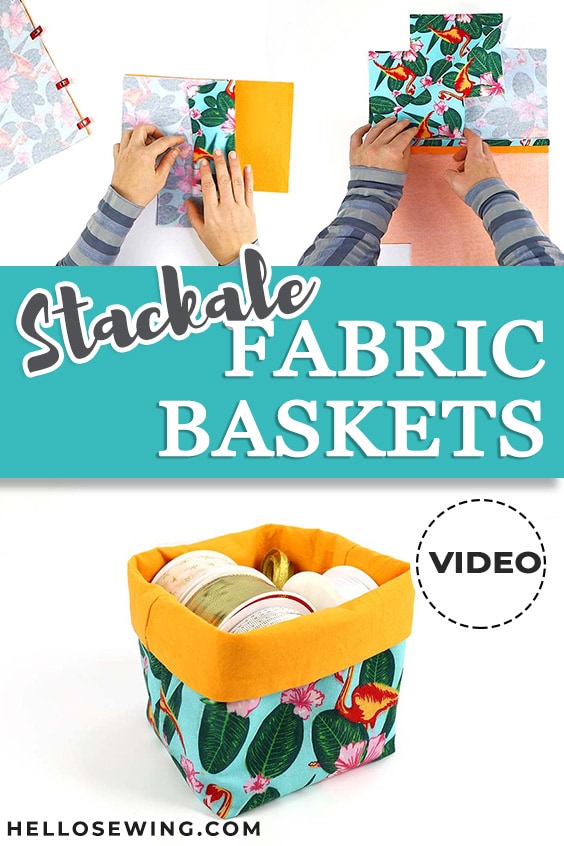
- STACKABLE BINS – Make the square fabric bins in size S, M and L so that they are stackable and can be easily stored when not in use
FAQs, Tips and Troubleshooting:
- Accuracy in measurement for the pattern pieces is very important to get the baskets looking good.
- You cannot get a professional finish on any sewing unless you are prepared to press those seams as you go.
- Remember not to stretch the fabric as you press the top turnover.
What to do with your DIY fabric baskets
Now you’ve done your first basket you are going to want to make lots more. They are great to keep in reserve for those last-minute notifications you get where a gift is appropriate:
- A baby shower – fill with baby lotions, shampoos and creams or a couple of cute outfits.
- Women’s birthdays – fill with chocolates, or place a beautiful flowering pot plant into the basket.
- For men’s birthdays have baskets prepared in masculine blacks, greys and whites and fill with an assortment of nuts, salami, cheese and biscuits.
- For kids’ birthdays fill with an assortment of small toys.
- For the elderly – fill with a few jars of special treats.
You’ll want to use these fabric baskets around the house for craft and sewing supplies, keeping hair accessories together, scarves neatly rolled, kids socks in one place and loads more.
Please do let me know your experience of sewing these fabric baskets in the comments section below, or drop us an email. And please upload photos to Pinterest or Instagram and share them as I would love to see your creativity.
Do you like this? Pin for later:
Wanna be friends? Click HERE and follow me on Pinterest
RELATED HOME DECOR PROJECTS: