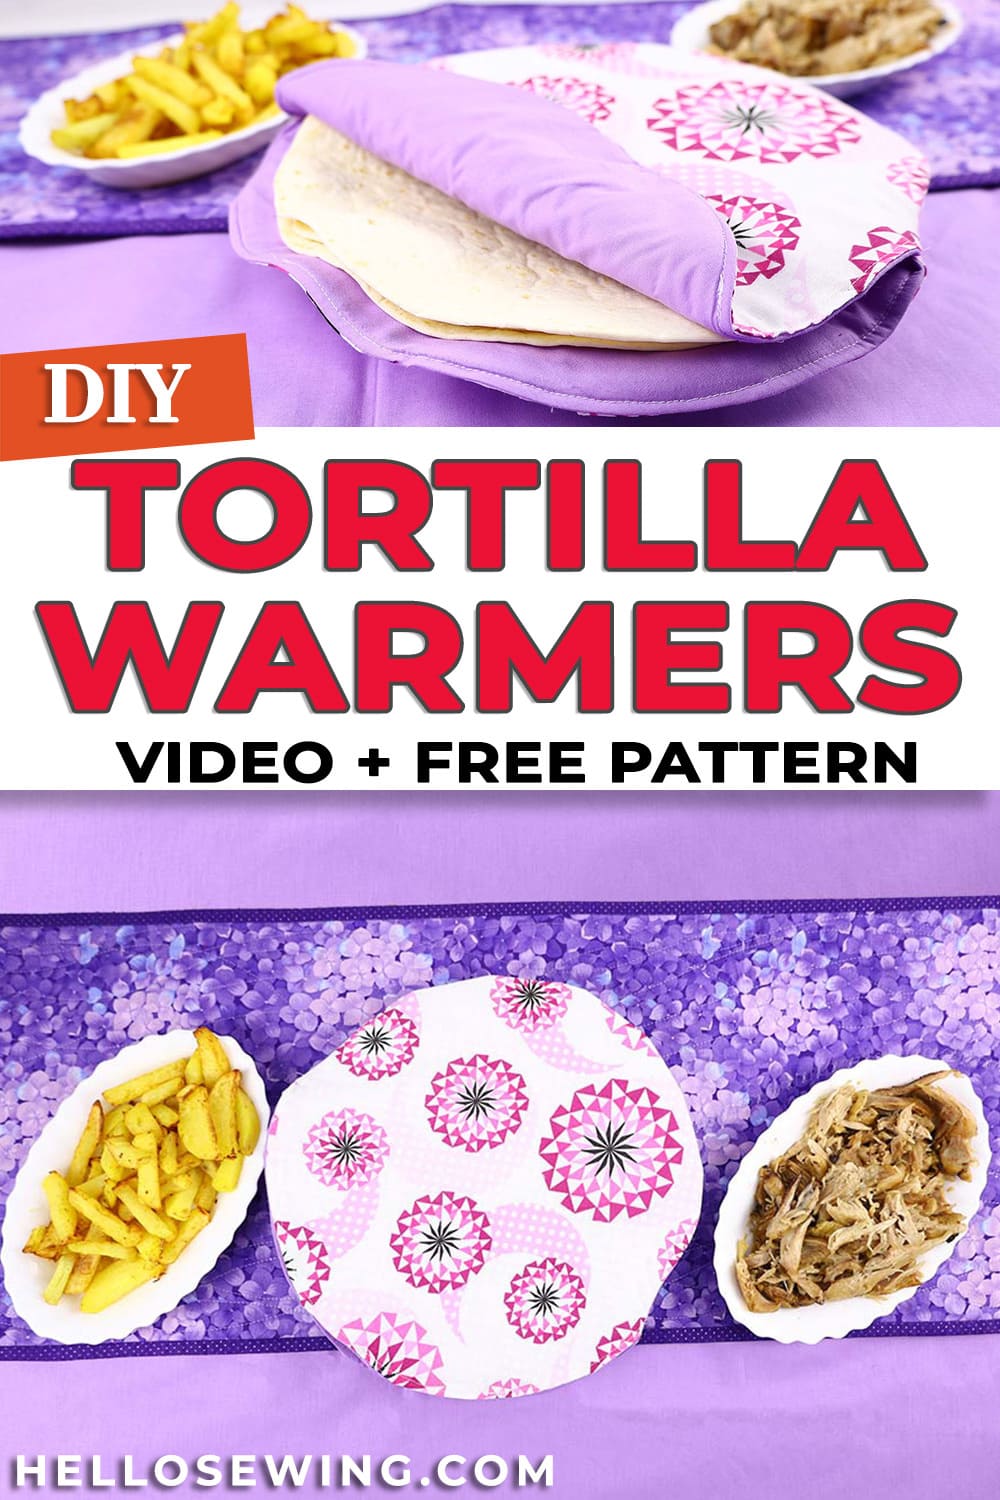
How to Make a Fabric Tortilla Warmer (VIDEO)
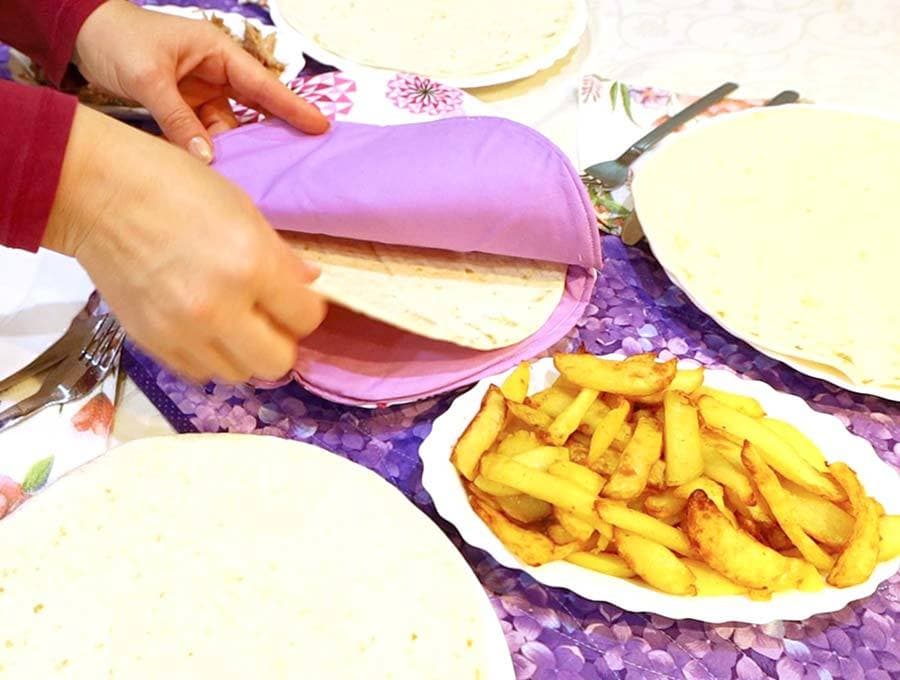
We love tortillas in our household but preparing them used to annoy the bug out of me. I’d always waste a ton of time heating each one up individually, or make them soggy and rubbery by heating them up at all once.
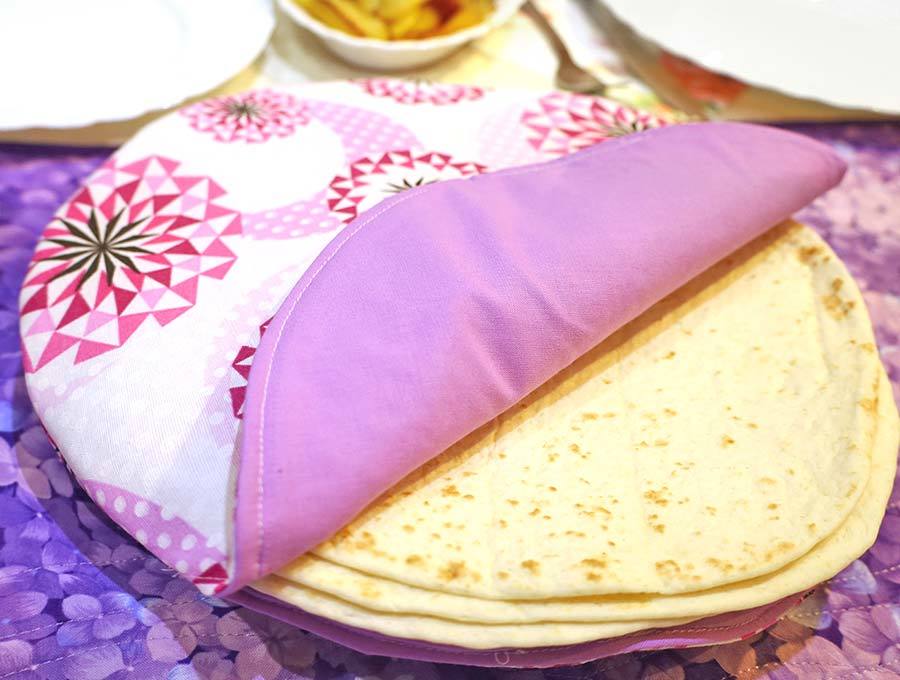
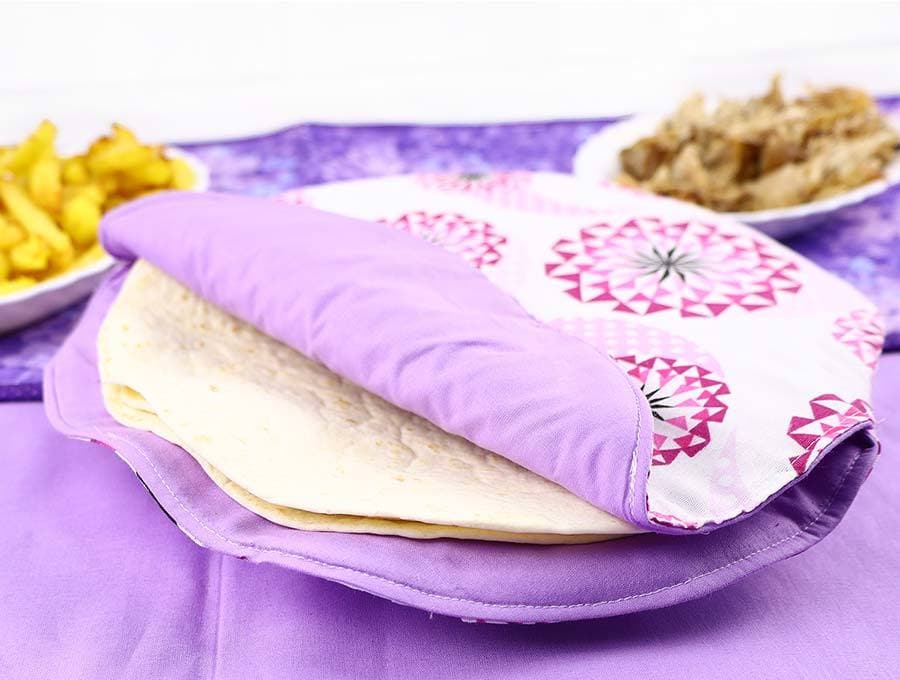
But when I started using a fabric tortilla warmer, everything changed. Preparing tortillas became a breeze!
With this handy DIY tortilla warmer, I can heat up a bunch of tortillas in a microwave without worrying if they’ll get ruined! They won’t turn soggy, and they won’t turn as hard as a rock.
Now I can have tortillas ready for my family in minutes!
If you want your own fabric tortilla warmer, keep reading to learn how to make one. You I can also use it to keep the tortillas nice and warm longer.
Below you will find my step by step fabric tortilla warmer written tutorial with VIDEO instructions for all the visual learners.
We occasionally link to goods offered by vendors to help the reader find relevant products. Some of the links may be affiliate meaning we earn a small commission if an item is purchased.
Table of Contents
- 1 How to make a fabric tortilla warmer
- 2 Supplies and tools
- 3 How to Sew Cloth tortilla warmers
- 3.1 MICROWAVE TORTILLA WARMER VIDEO TUTORIAL
- 3.2 CLOTH TORTILLA WARMER INSTRUCTIONS:
- 3.3 STEP 1: Prepare the cloth tortilla warmers pattern
- 3.4 STEP 2: Cut out the fabric
- 3.5 STEP 3: Make the fabric sandwiches
- 3.6 STEP 4: Sew the fabric sandwiches
- 3.7 STEP 5: Turn around
- 3.8 STEP 6: Topstitch
- 3.9 STEP 7: OPTIONAL: Decorate your tortilla warmer
- 3.10 STEP 8: Finish the fabric tortilla warmer
How to make a fabric tortilla warmer
Supplies and tools
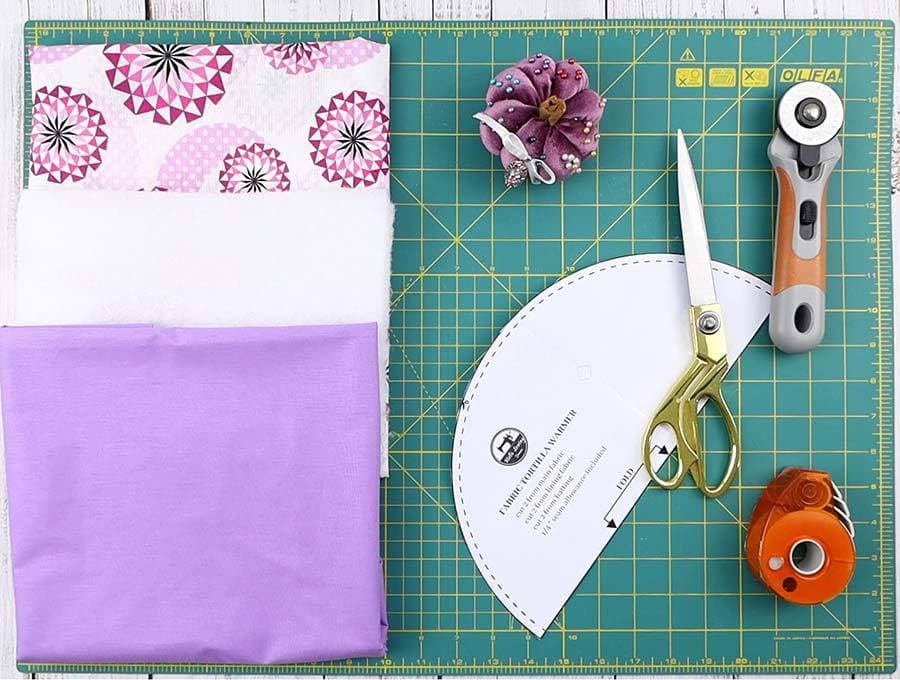
- fabric – 2 pieces of 100% woven cotton (one main, one lining)
- cotton batting
- matching thread – 100% cotton
- scissors (or rotary cutter and a cutting mat)
- ruler or measuring tape
- iron and ironing board
- sewing clips or pins
- sewing machine
IMPORTANT NOTE: EVERYTHING you put in the microwave should be 100% cotton – that includes fabric, batting AND even thread. Do not use polyester thread!
DOWNLOAD: fabric tortilla warmer pattern [Free pdf file]
Follow us for free patterns & tutorials! [easy-profiles]
How to Sew Cloth tortilla warmers
Watch the diy tortilla warmer video first and then follow the written step by step instructions below.
Please enjoy and don’t forget to Like and SUBSCRIBE over on YouTube to be kept up to date with new videos as they come out.
MICROWAVE TORTILLA WARMER VIDEO TUTORIAL
CLOTH TORTILLA WARMER INSTRUCTIONS:
STEP 1: Prepare the cloth tortilla warmers pattern
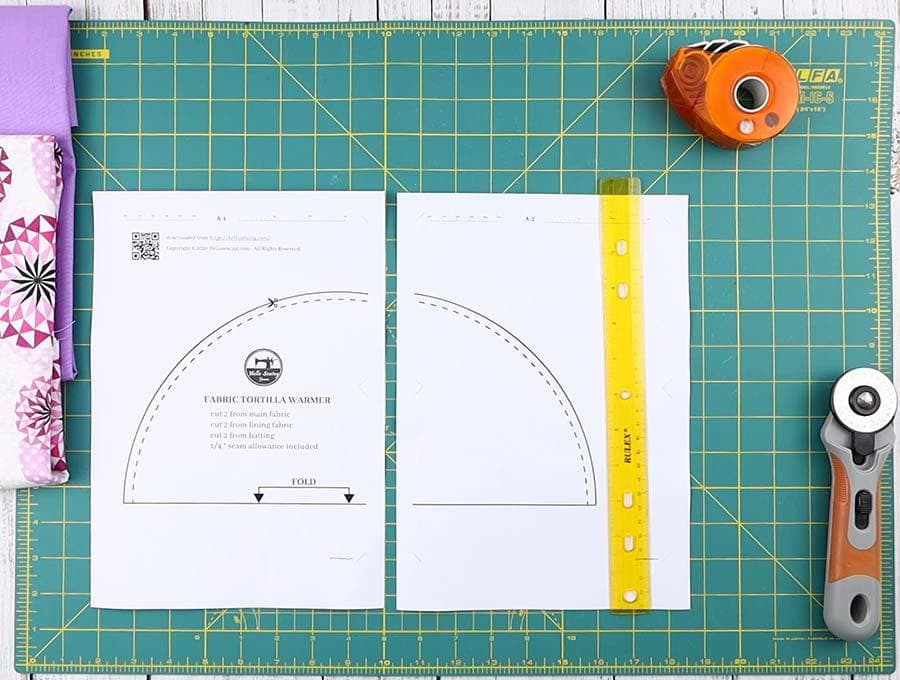
The first thing you need to do is to prepare a tortilla warmer pattern. Download it, print it without scaling and trim the excess paper.
The pattern for your new cloth tortilla warmer is now ready!
TIP If you don’t have a printer you can also use a plate or a pot cover instead of a pattern and draw around it to create your own pattern. Just as long as it’s perfectly round and 12 inches (30-31 cm) in diameter, it will do the job just fine.
STEP 2: Cut out the fabric
IMPORTANT: This tortilla warmer is designed to be used in the microwave, so it’s essential to choose materials that won’t melt or catch fire. For best results, use only 100% cotton fabric—it can safely withstand the heat and keep your tortillas warm without any risk.
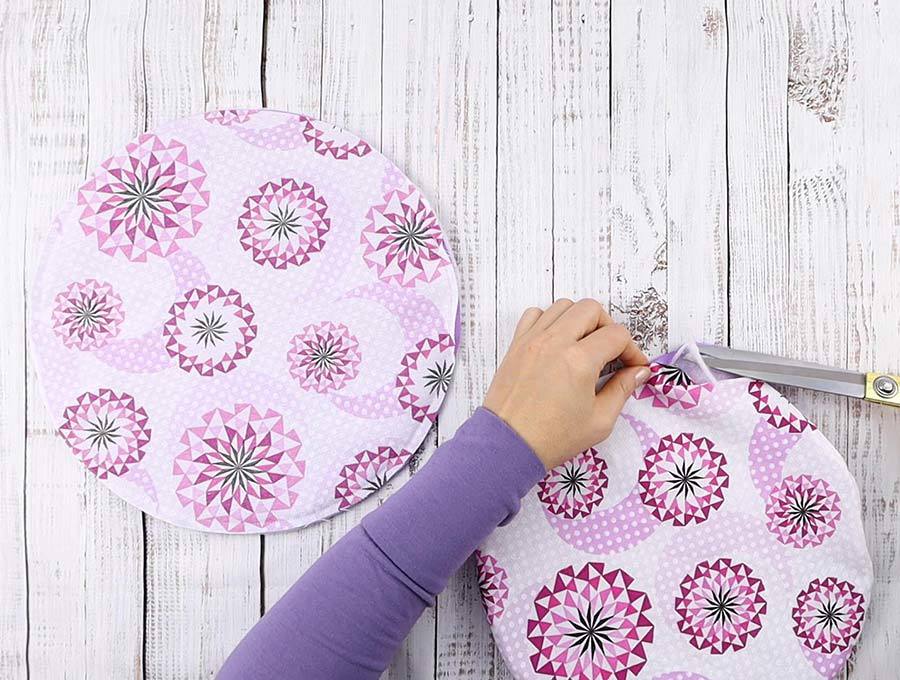
Fold your fabric in half, place the tortilla warmer pattern on the fold and use your pattern as a guide to cut out the fabric.
Remember to first wash the fabric thoroughly! That will prevent the microwave tortilla warmer from deforming or shrinking later on.
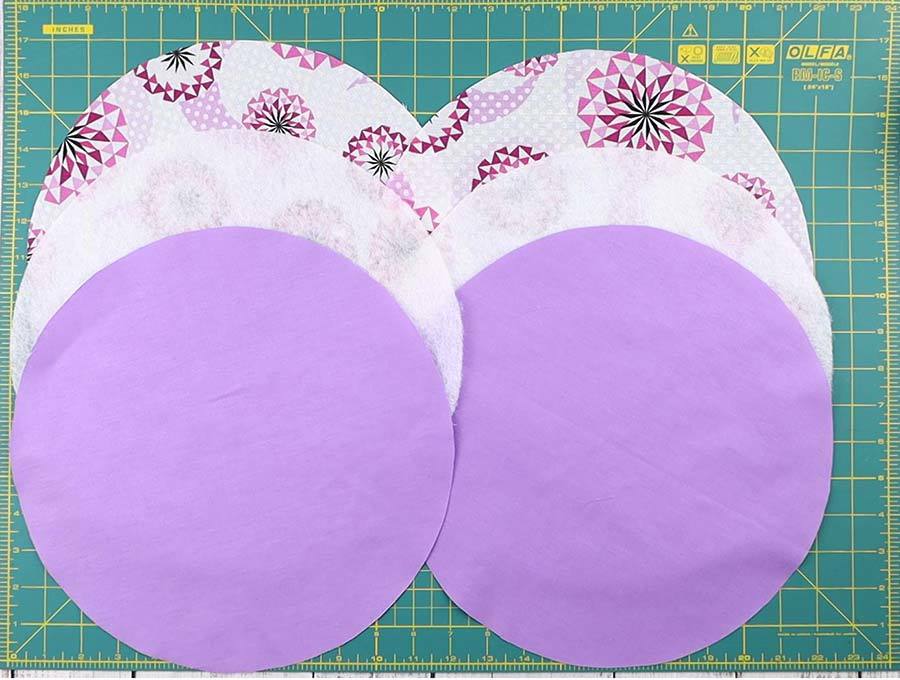
You need two circles from each fabric: the lining, the main fabric, and the batting.
STEP 3: Make the fabric sandwiches
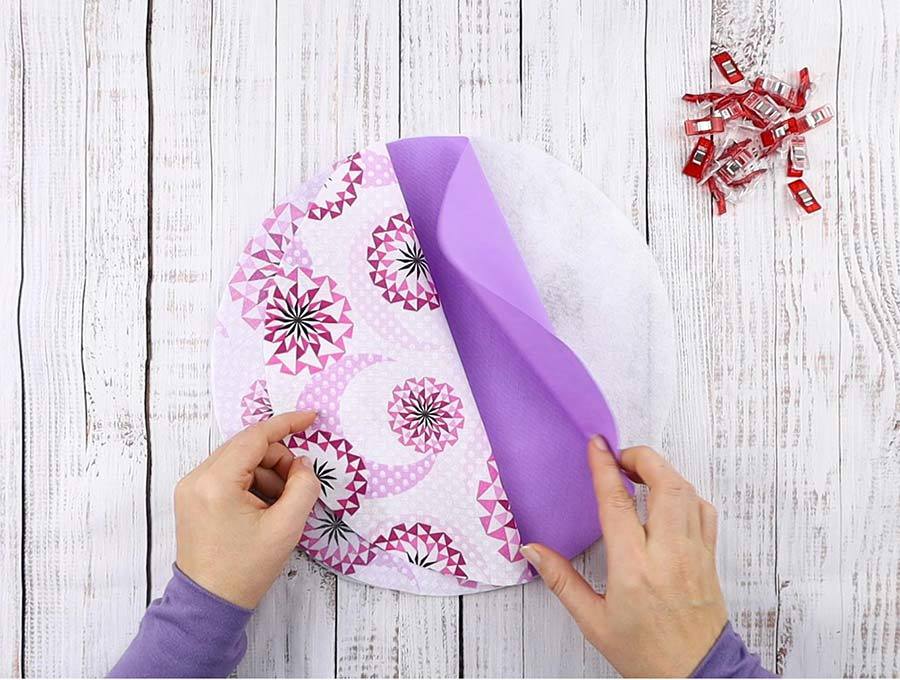
Place the batting circle on your workplace. Take one circle of the main fabric piece and place it on top of the batting with its right side facing up.
Then grab one circle from the lining fabric. Place it on top of the previous fabric piece with its right side facing down.
Make sure to align all edges. Pin everything in place to keep the layers from moving.
Make two fabric sandwiches like this, so that you use up all of the fabric pieces you cut out.
STEP 4: Sew the fabric sandwiches
Use a 6mm (1/4″ ) seam allowance to sew all around each fabric sandwich. Don’t make a full circle though! Leave an opening of about 5cm (2 inches) unstitched on each sandwich edge. You need this opening to turn the pieces inside-out.
STEP 5: Turn around
Turn both circles inside-out through the opening you left. Press both pieces flat.
Now you’ll need to prepare the small openings so that you can sew them shut later on.
First, trim the batting at the opening a bit so that it doesn’t get in the way. Then fold the raw edge inward following the seam allowance, about a 1/4″ of an inch. Press the fold well and pin in place.
Do this for both circles.
STEP 6: Topstitch
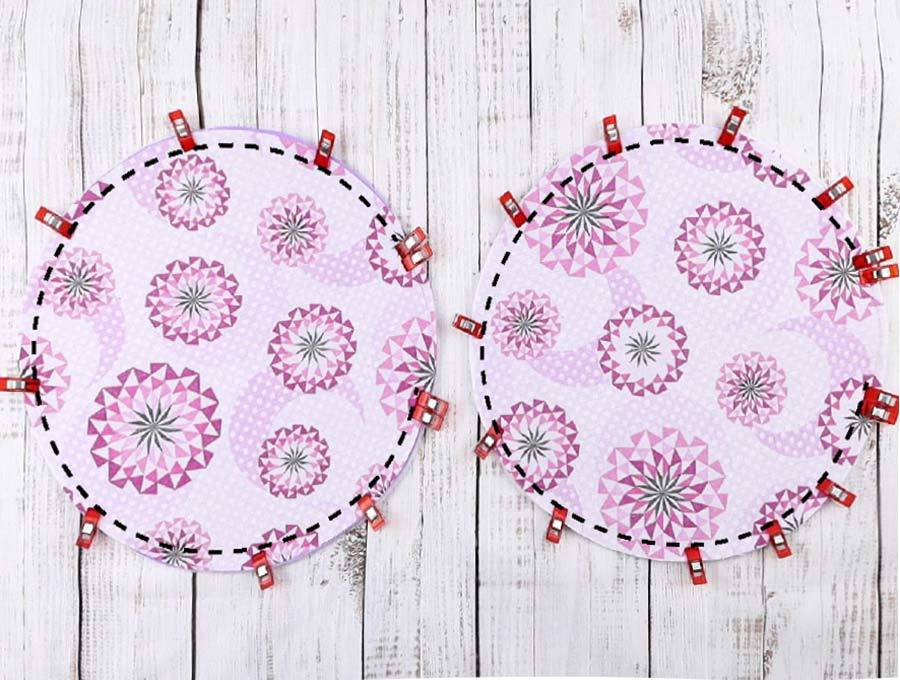
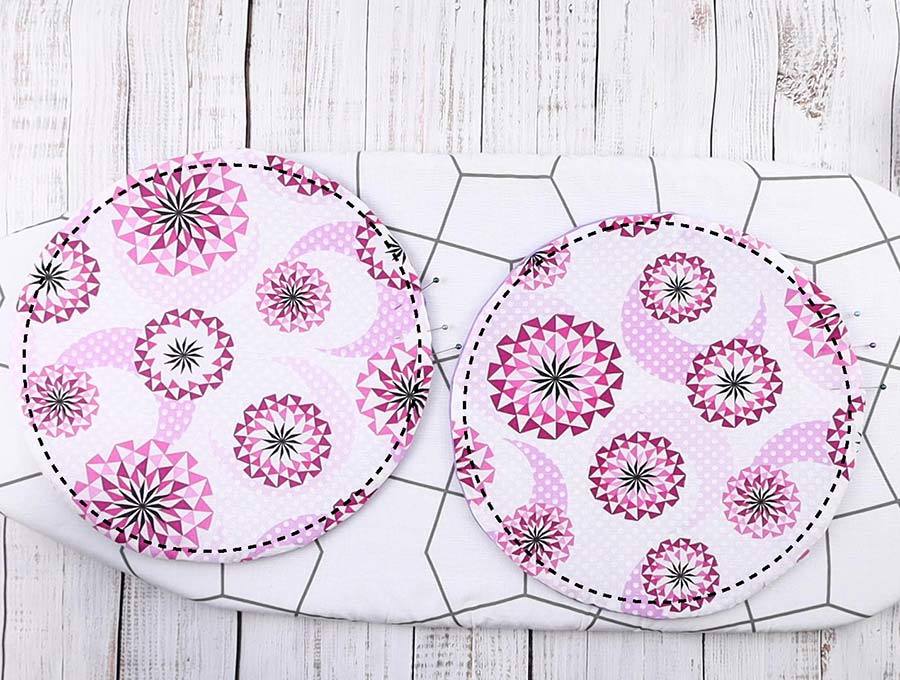
The next thing you’ll be doing is topstitching. Topstitch around the entire circle, going close to the edge – either 3mm (1/8″) or 6mm (1/4″).
Repeat for both circles.
As you finish topstitching, you will also close the openings left earlier.
STEP 7: OPTIONAL: Decorate your tortilla warmer
If you want to add some flair or style to your new kitchen accessory, this is the time to do it. You can apply some decorative stitches or embroidery patterns.
I don’t recommend sewing something onto the warmer as decoration though, it’s better to keep the layers to a minimum for safety and practical reasons. Make the warmer too thick and your tortillas won’t heat up.
Keep in mind that this will be going into your microwave oven, so you also don’t want any loose ribbons or something similar that might catch fire.
STEP 8: Finish the fabric tortilla warmer
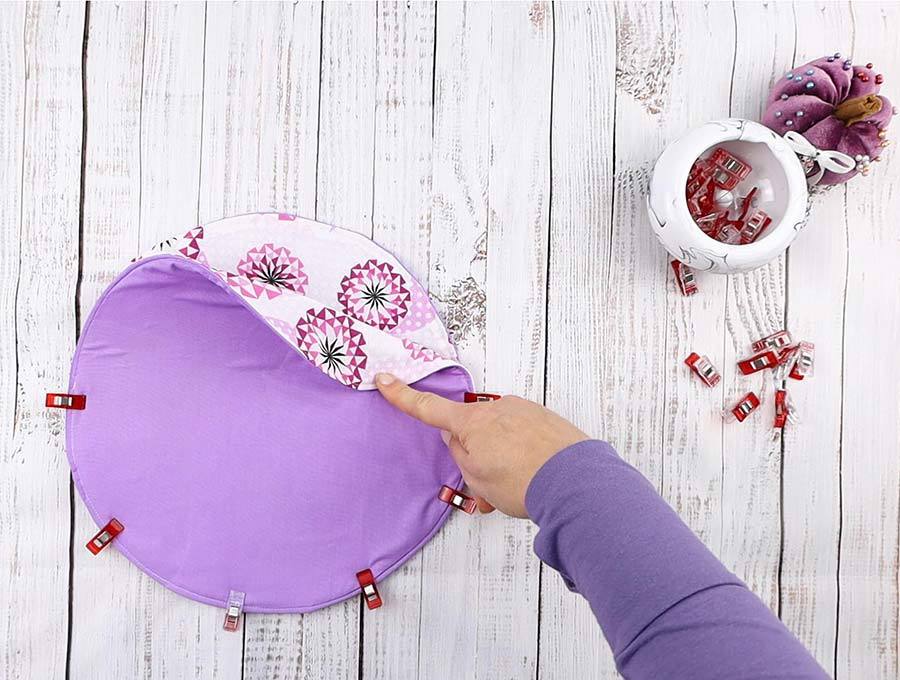
Take one of the fabric circles and place it onto your workspace with the lining facing down. Then take the second circle and place it on top of it, with its lining facing up. Align the edges and secure the layers in place with pins or clips.
Pin about halfway around the cloth tortilla warmer (you can use the pattern to mark where to start and stop make your life easier) or you can just eyeball it.
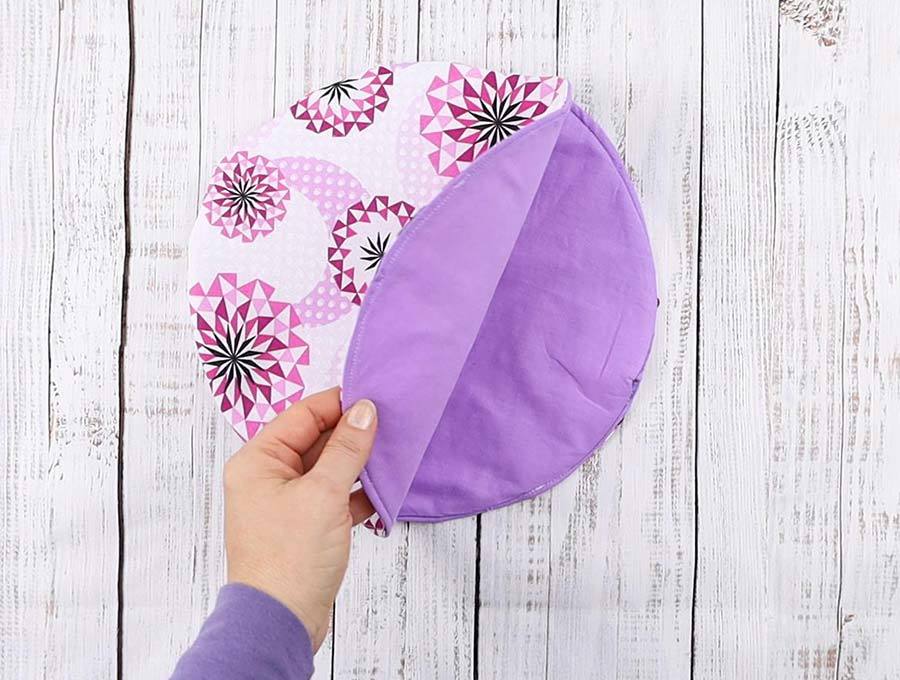
Start sewing on one point you marked. Keep sewing around the curve of the circle until you reach the second point you marked. Reinforce the beginning and the end of the seam with a bit of backstitching.
Turn the tortilla warmer right side out.
That’s a wrap! Your new fabric tortilla warmer is finished!
What do you think about our DIY tortilla warmer instructions? Did you find the tutorial useful and interesting? Be sure to make a few for your friends and family as well! Let us know in the comment section how they turned out. And if you have any ideas for improving the project, do share them with us. Your feedback is appreciated!
Do you like this Microwave tortilla warmer pattern? Pin for later:
Wanna be friends? Click HERE and follow me on Pinterest
RELATED:
- Hot pad sewing pattern
- Bowl cozy pattern
- How to make a tea cozy
- Microwave potato bag pattern
- microwavable popcorn bag
OTHER REUSABLES:

