

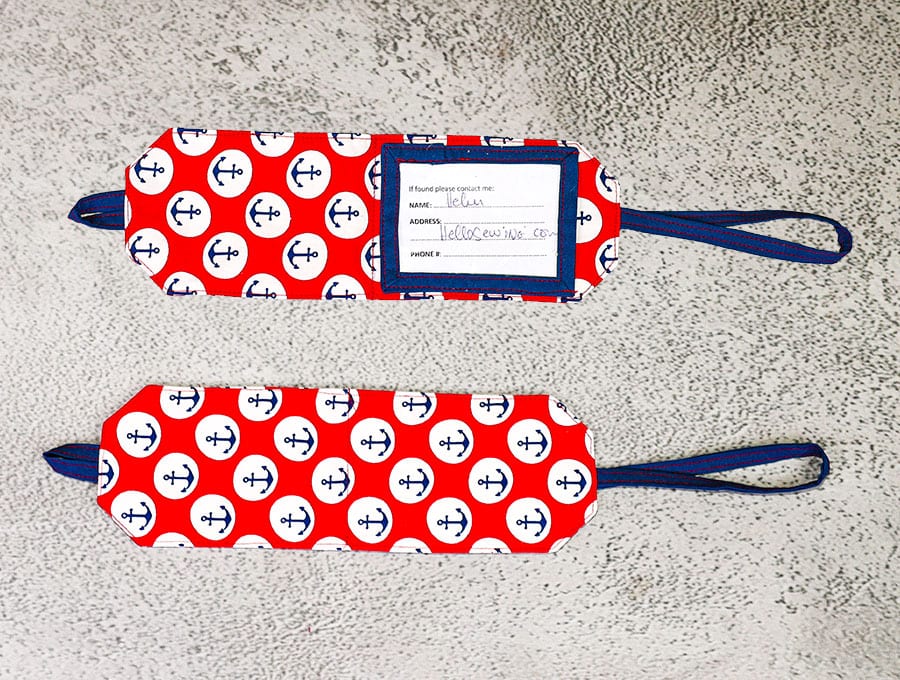
DIY Foldable Luggage Tag // How to Sew a Foldable Luggage Tag Holder
Make a fabric luggage tag for your next adventure! Whether you are making one for yourself or you want to create the perfect thoughful gift, this foldable luggage tag is exactly what you need
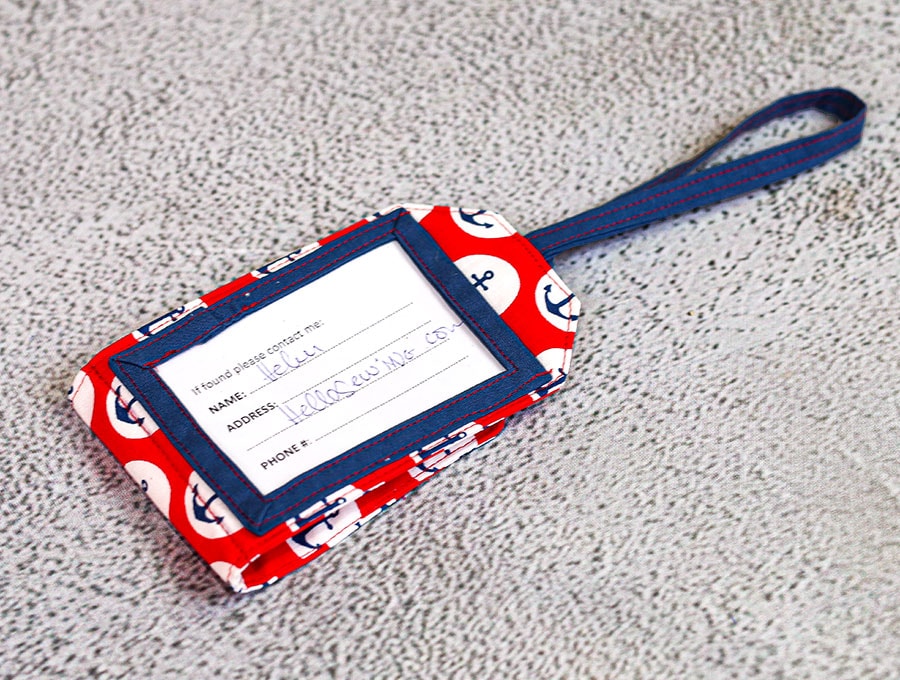
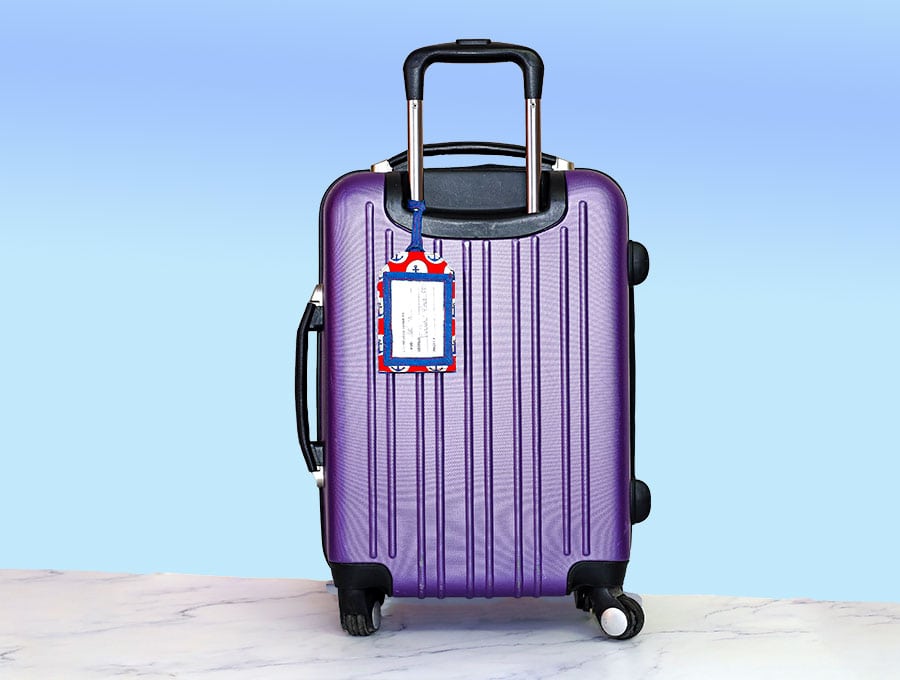
You can fold it both ways so your name and phone could be either visible or hidden
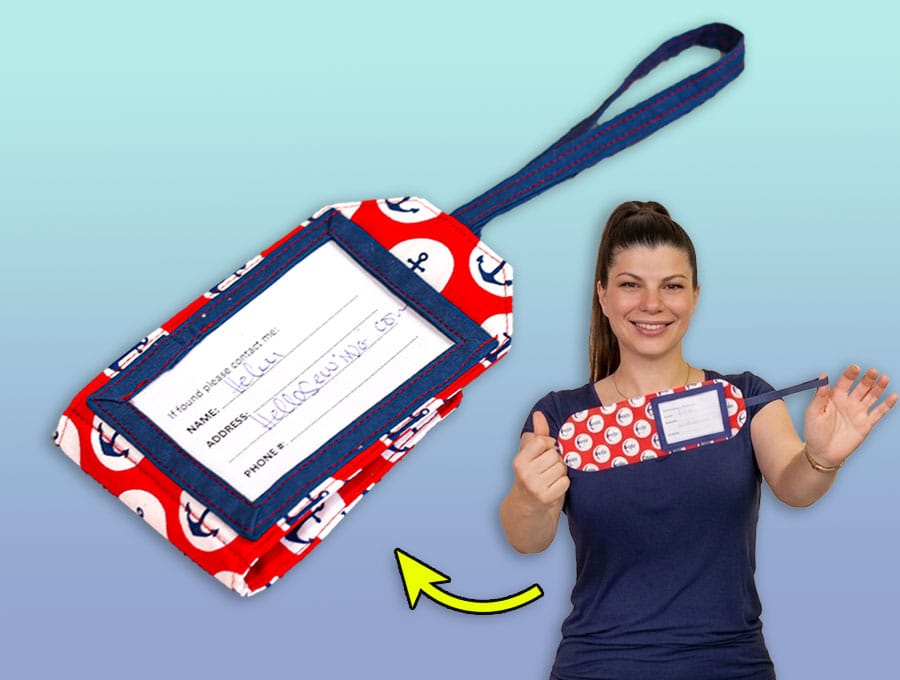
Below you will find my step by step written tutorial with VIDEO instructions for all the visual learners.
We occasionally link to goods offered by vendors to help the reader find relevant products. Some of the links may be affiliate meaning we earn a small commission if an item is purchased.
How to make the foldable luggage tag
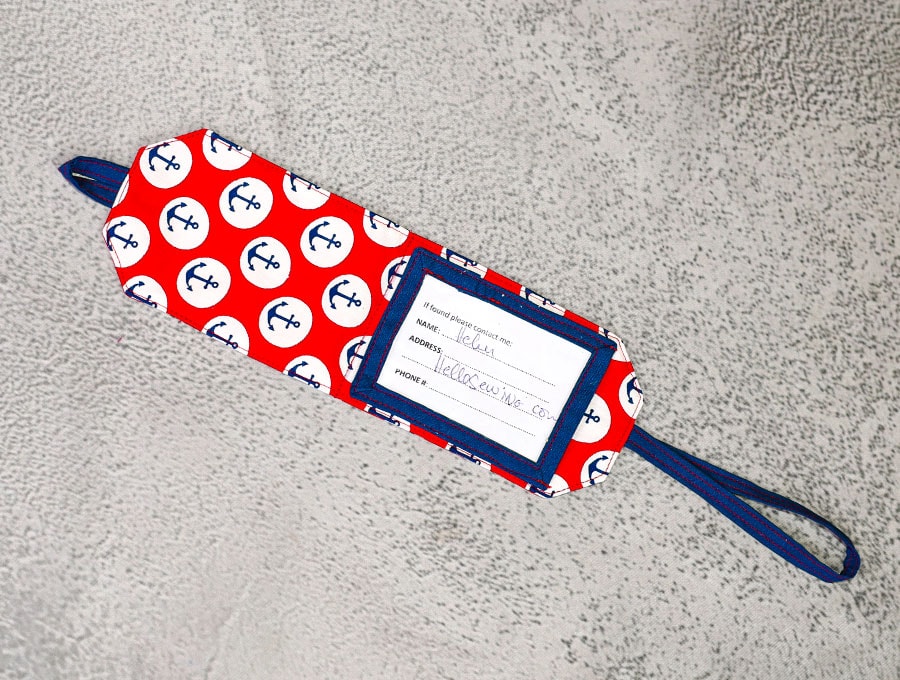
Supplies and tools
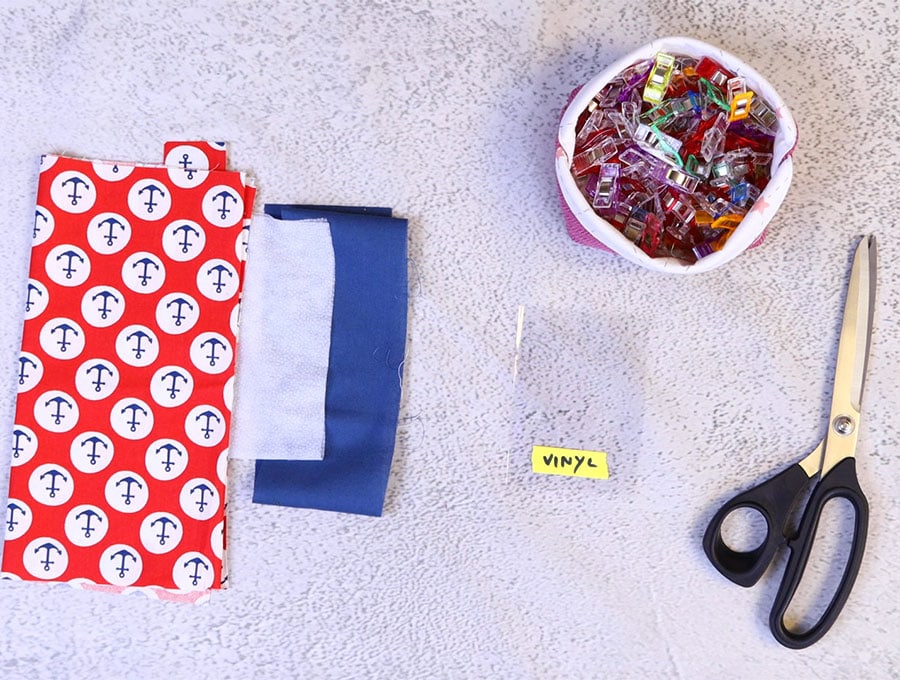
- fabric – 2 pieces of quilting or woven cotton (one main, one lining)
- vinyl for the window
- fusible interfacing
- matching thread
- scissors (or rotary cutter and a cutting mat)
- ruler or measuring tape
DOWNLOAD: Foldable luggage tag pattern [Free pdf file]
Follow us for free patterns & tutorials! [easy-profiles]
How to Sew a foldable luggage tag
Watch the diy fabric luggage tag video first and then follow the written step by step instructions below.
Please enjoy and don’t forget to Like and SUBSCRIBE over on YouTube to be kept up to date with new videos as they come out.
Foldable luggage tag for travel VIDEO TUTORIAL
MATERIALS:
- Tag body – (2pcs) 28 x 10cm (11 x 4″)
- Fusible interfacing – (2pcs) 28 x 10cm (11 x 4″)
- Strap – 4 x 28cm (1.5 x 11″)
- Loop – 4 x 7.5 (1.5 x 3″)
- Binding 4 x 43cm (1.5 x 18.5″)
- clear vinyl 7.5 x 10cm (3 x 4″)
INSTRUCTIONS:
STEP 1:
Cut out the pieces for the luggage tag according to the pattern.
If you prefer not to use the pattern, use the cut list above measuring accurately with a quilting ruler and using a self-healing cutting mat and rotary cutter for precise lines:
STEP 2:
Take the 2 outer pieces of 11 x 4” (28 x 10 cm) and place wrong side up on your ironing pad.
Over each one place the fusible interfacing of 11 x 4” (28 x 10 cm), sticky side down and use your iron to fuse. Ironing first on the wrong side, then flipping over to fuse from the right side of the outer fabric. Set the two fused pieces aside for the moment.
STEP 3:
Take the Strap fabric 11 x 4” (28 x 10 cm) and lay the fabric wrong side up. Mark with a x in chalk just to make sure you don’t get confused between the right and wrong sides. Do the same with the loop and the binding fabric.
STEP 4:
Follow this method to fold the binding, the loop and the strap:
Fold over fabric along the length so the wrong sides are inside, and press with an iron.
Open out fabric so wrong side is uppermost and fold each long side in to meet the fold mark in the middle. Press the new folds.
Fold over once again so the newly pressed folds line up with each other and no raw edges along the length are visible. Press again and clip.
STEP 5:
Take the strap piece and stitch both long sides as close to the edge as possible.
STEP 6:
Take the loop piece and stitch both long sides as close to the edge as possible.
STEP 7:
Cut a triangle 1 x 1” (2.5 x 2.5 cm) from card. Place the right angle on the two sides of each corner of the main fabric for the tag, and mark the diagonal on the fabric with a fabric marking pen.
STEP 8:
Snip off the corners on the marked lines.
STEP 9:
Fold the tag piece in half, right side to right side of fabric. Set aside.
STEP 10:
Create the vinyl window by taking the binding, and, starting a little way one of the long sides, clip the binding over the edge of the vinyl, sliding the vinyl between the open folded edges. When you come to a corner, fold the binding fabric back in line with the end, then fold back and bend to go around the corner, creating a 45-degree fold in the fabric at the corner. Keep going until you reach the point where you started, and all four corners are neatly folded with a mitred corner. Clip in place.
STEP 11:
Start stitching around the edge of the binding where it slides onto the vinyl, as close to the edge as possible, ensuring you stitch across both the layers of fabric. Start where you started adding the binding, then when you get near the end, clip off the extra binding, fold back a little binding and put it over the raw edge where you started, then keep stitching and end with a backtack.
STEP 12:
Lay the main body of the tag, with the corners you snipped off horizontally along your worktop, right side up. Pin the folded strap where the tag will fit to a suitcase on the right side of the tag fabric, raw edges of the loop in line with the raw edge of the tag fabric.
STEP 13:
To the left side of the tag fabric place the folded loop, raw edges of the loop in line with the raw edges of the tag fabric and pin.
STEP 14:
Stitch across the strap and the loop, backtacking, so each is attached firmly 1/8” (3 mm) from the edge Place the vinyl pocket piece on the right side of the fabric, in the middle of the short side.
STEP 15:
Place the vinyl window piece on the right-hand side of the tag, nearest the strap, and equidistant from the three sides, measuring carefully to make sure it is correctly placed, then clip and stitch in place, going around the three sides of the window, leaving the side facing the right ( the strap side) open to slip in the name and address details. Backtack on each side near the opening.
STEP 16:
Lay the piece you just stitched back on your worktop, placed horizontally, strap to the right, right side up, and over it place the second piece of fabric, right side down. Clip in position.
STEP 17:
Mark a gap towards the left side at the bottom of around 2” (5 cm) through which to pull the fabric when turning.
STEP 18:
Stitch around the fabric, using a ¼” (6 mm) seam allowance, starting from one side of the gap with a backtack, and working your way around the fabric to the other side of the gap, finishing with a backtack,
STEP 19:
Finger press the raw edges of the gap in line with the stitched seam. Trim off the corners of the tag to reduce bulk when turning the right way out, then pull the fabric carefully through the gap and smooth out, pressing out the corners with a turning tool and making sure the seams lie flat, and the raw edges of the gap are turned under in line with the seam.
STEP 20:
Give the luggage tag a press with an iron BUT make sure NOT to press over the vinyl window area – it will melt!
STEP 21:
Fold the luggage tag in half and give a press on the fold – again being careful not to touch the vinyl window.
STEP 22:
Stitch around the edge of the whole tag 1/8” (3 mm) from the edge, stitching over the gap to close it, and backtack at the finish.
STEP 23:
Stitch along the fold you pressed in STEP 21, backtacking at the start and finish.
STEP 24:
The luggage tag is ready to use – for privacy you fold it so the window with your name and address is inside the folded fabric, and pass the strap through the loop before putting the strap around the handle of the suitcase and pulling the tag through to attach it.
Should the luggage item be misplaced, baggage handlers or the owner can check by looking inside the folded edge – very useful when there are identical suitcases and you want to avoid any kind of dramatic mix ups. These are great for kid’s school bags – often kids take home the wrong bag as many schools insist on identical standard school bags.
Make our easy luggage tag to keep your bag safe from mishaps during journeys. With a clear window pocket for you to insert a card with your details, it folds to keep your details safe from prying eyes, yet can be checked easily in an emergency when you suspect you may have the wrong bag – it happens surprisingly more often than you would think. A quick sew project, this one comes together in less than an hour.
Do you like this? Pin for later:
Wanna be friends? Click HERE and follow me on Pinterest
RELATED: