
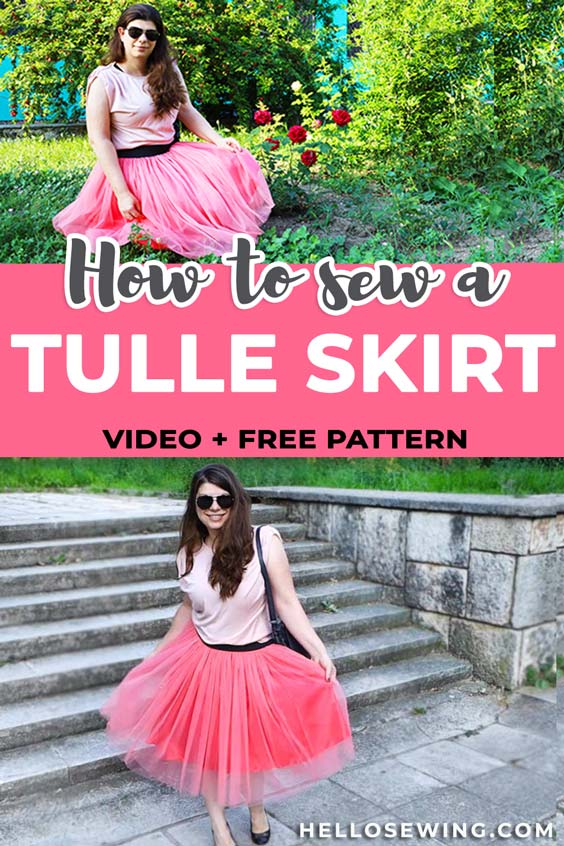
How to Make a Tulle Skirt with Exposed Elastic
Making a tulle skirt for a grown-up will make you feel like a princess again, but with an air of chic sophistication. This DIY tulle skirt is a fun piece to add to your wardrobe and is a fashion forward item, the tulle skirt having been featured at the 2021 British Fashion Week. In this step by step tutorial I’ll show you how to make a tulle skirt. The lining is cut on a half circle to fall gently and mold to the body. Then, the tulle used for the skirt itself is a soft one that also falls gently, rather than the kind of stiff tulle you may associate with kid’s party dresses and ballerina’s tutus. The tulle skirt can be worn with a leather biker style jacket for an evening event, paired with an elegant black blouse and pumps for a formal afternoon event, dressed for work with ankle boots or knee-high boots and a tweed jacket, worn with a soft jumper for a cozy and romantic evening in, or combined with a T-shirt and sneakers to go shopping or sightseeing. The longer the skirt the more formal the look – so for day wear go for the shorter lengths, and for evening events or an afternoon high tea go longer to midi or even maxi length.

Choose the softest tulle you can find. You may have difficulty choosing the color though – there are so many. I have seen white knee length tulle skirts combined with a black leather jacket and heels, then there are sea-green ones, purple for a fun look, soft pink to dress with a white T-shirt and white sneakers, and the one we have here made in coral for a pop of chic color that will look beautiful for many events, a date, an evening out at a restaurant with friends, dancing, or for a house party. Coral looks particularly good teamed with a black T or knit top, a dark or light grey or even white.

Below you will find my step by step written diy tulle skirt tutorial with VIDEO instructions for all the visual learners.
We occasionally link to goods offered by vendors to help the reader find relevant products. Some of the links may be affiliate meaning we earn a small commission if an item is purchased.
Table of Contents
- 1 How to Make a Tulle Skirt
- 2 Tulle Skirt Supplies and tools
- 3 How to Sew a Tulle Skirt
- 3.1 DIY TULLE SKIRT VIDEO TUTORIAL
- 3.2 Tips for sewing tulle
- 3.3 TULLE SKIRT INSTRUCTIONS:
- 3.4 STEP 1: Measure your hips
- 3.5 STEP 2: Calculate skirt length
- 3.6 STEP 3: Stitch tulle tubes
- 3.7 STEP 4: Mark and cut the lining
- 3.8 STEP 5: Cut the lining
- 3.9 STEP 6: Hem the lining
- 3.10 STEP 7: Baste the top of the tulle panels
- 3.11 STEP 8: Gather the top of the tulle
- 3.12 STEP 9: Stitch tulle and lining together
- 3.13
- 3.14 STEP 10: Prepare the elastic waistband
- 3.15 STEP 11: Sew the elastic to the tulle skirt
- 4 DIY Tulle Skirt FAQs, Tips and Troubleshooting:
How to Make a Tulle Skirt
Tulle Skirt Supplies and tools
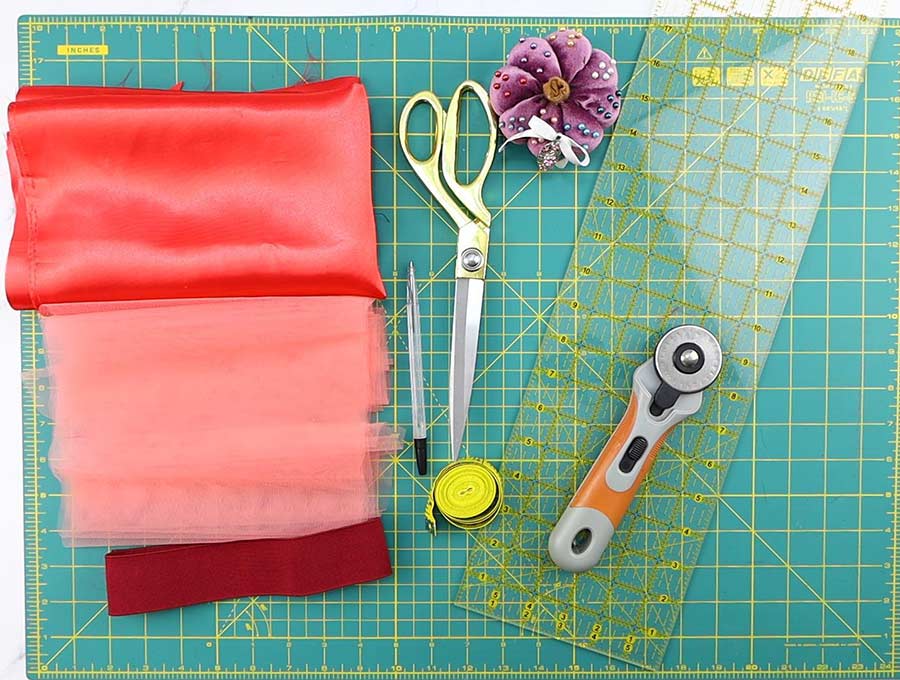
- fabric – 3 – 4 yds of extra wide tulle (118″/300cm wide)
- lining fabric – 2 yd of satin or taffeta
- 2″ wide elastic band
- matching thread
- scissors (or rotary cutter and a cutting mat)
- ruler or measuring tape
- iron and ironing board
- sewing clips or pins
- sewing machine
Follow us for free patterns & tutorials! [easy-profiles]
How to Sew a Tulle Skirt
Watch the diy tulle skirt video first and then follow the written step by step instructions below.
Please enjoy and don’t forget to Like and SUBSCRIBE over on YouTube to be kept up to date with new videos as they come out.
DIY TULLE SKIRT VIDEO TUTORIAL
Tips for sewing tulle
The great part is that tulle does not fray so there is no need to hem it – in fact the soft edge created without hemming simply adds to the allure of tulle. It is commonly used in brides’ veils and dresses. Just increase the length of your machine stitch from the usual to around 3mm, to sew the seams. There is no need to change the needle if you have a slightly thicker one, but a needle suited to sewing thinner fabrics is best for tulle – a size 70 is ideal.
Sewing tulle can be a bit of a challenge as the fabric tends to slip, but an easy way to sort this out is to place a piece of tissue paper below the fabric and stitch your seams. You simply tear away the paper afterwards and it makes handling the tulle so much easier. There is no need to overlock seams either as the no-fray fabric means you can complete a tulle garment much faster than one that uses fabric that needs overlocking and hemming.
The tulle skirt has an elasticized waist and is gathered but the lining is not gathered as you don’t want too poufy a look.
So, with further ado, here are the steps to making up your tulle skirt for the summer season. For this skirt I used soft Italian tulle.
TULLE SKIRT INSTRUCTIONS:
STEP 1: Measure your hips
You need to take account of your hip (or bust) size when calculating the waist size for your skirt, so you can pull in on easily over your hips, or if you prefer to pull it up over your bust, then your bust size. So, if your bust or hip size is 34 inches then you add 2 inches – just so it’s not too tight to get on – that’s now 36 inches. Now to get the radius for cutting the skirt you take 36 inches ( or whatever your hip or bust size is plus that extra two inches) and divide by 3.14. This will give you 11.5 inches (round to the nearest 0.5 inch)
STEP 2: Calculate skirt length
Decide on the length you want your tulle skirt to be and add 1 inch (2.5cm) to that measurement – this is to account for the gathers, stitching to the waistband, and hemming the lining.
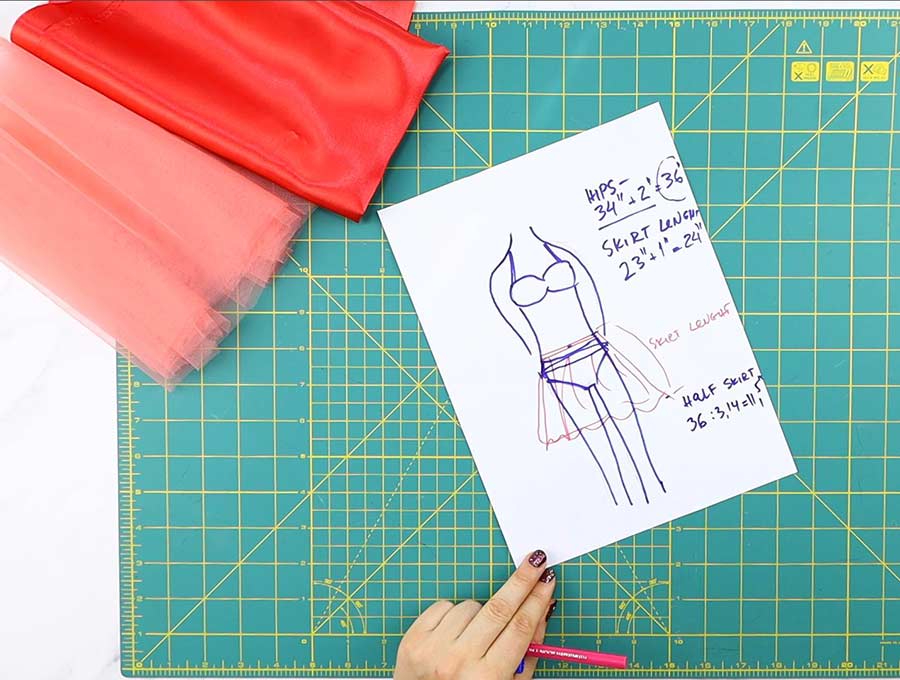
e.g. If you want your skirt to be 23″ long, add 1″ to that measurement and your new skirt length is 24″
(likewise, if you want your skirt to be 57.5cm, add 2.5cm and your new skirt length is 60cm)
Then cut 4 pieces that are 118″ wide by the length you calculated (e.g. 24 inches) or 300 cm wide x 60 cm long.
A rotary cutter and a self-healing board will give you the straightest edge, but you can use scissors if you don’t have these items. If you can’t find extra wide tulle fabric, you can join tulle panels to make these extra wide panels.
STEP 3: Stitch tulle tubes
Lay right side to right side of tulle together and line up the sides, then join together one side of the fabric on the machine, remembering the tissue paper trick, and to set the stitch length a bit longer to 3, then sew the other side so you have a large tube.
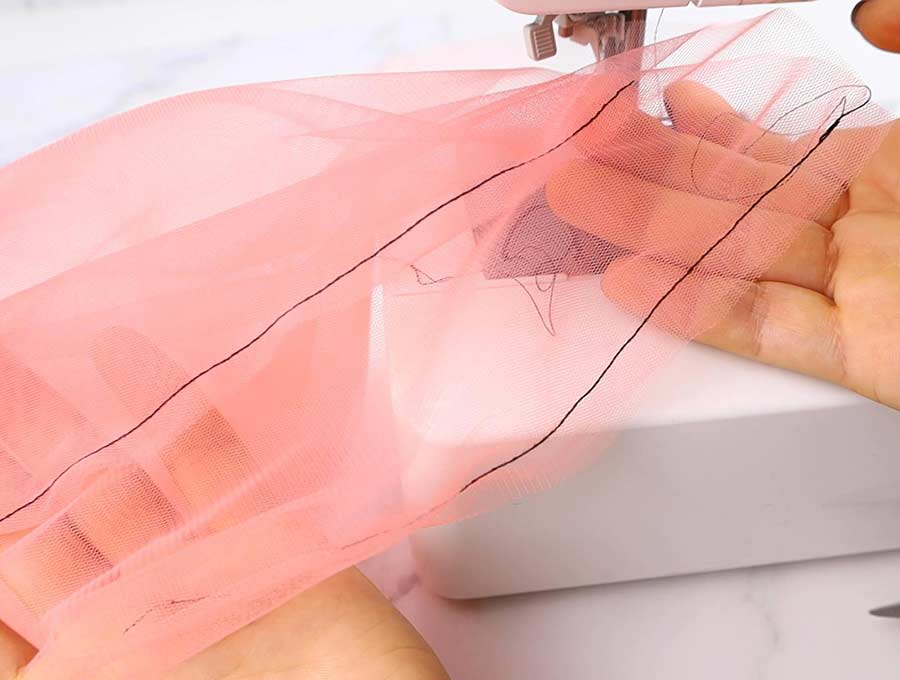
Repeat with the next two pieces of tulle, so you have two tubes.
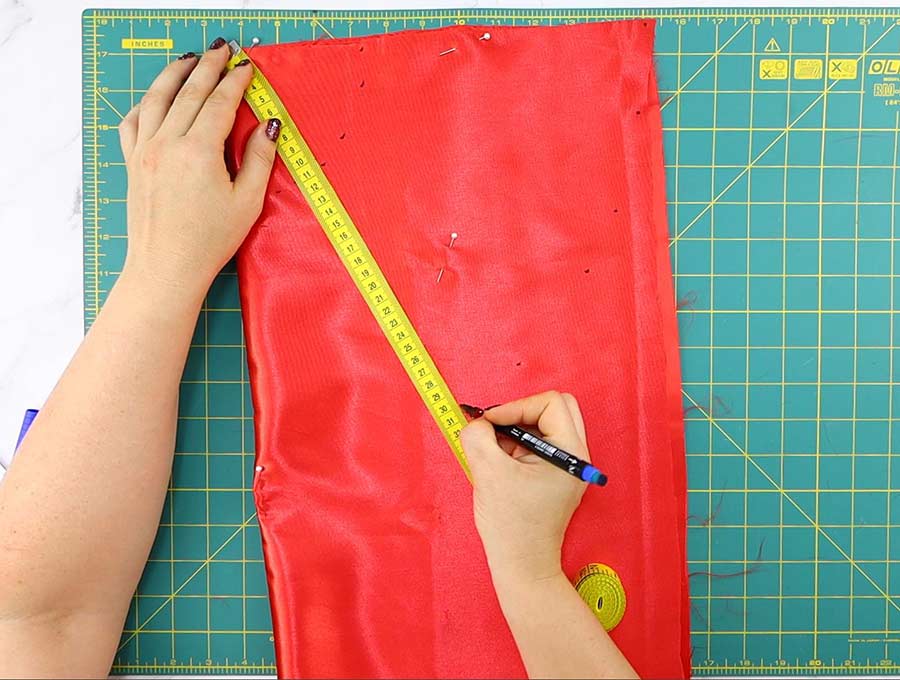
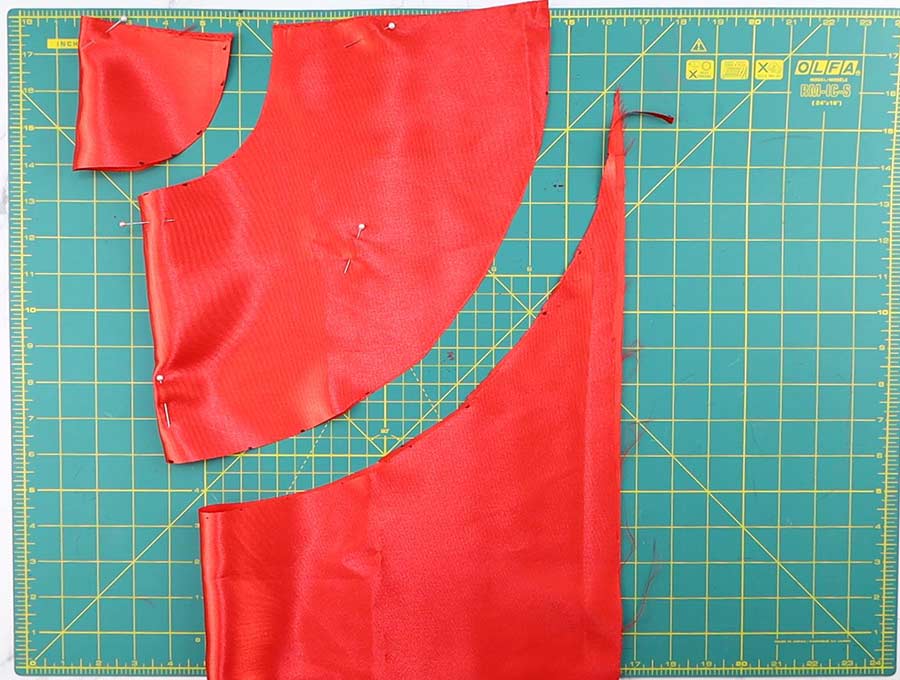
STEP 4: Mark and cut the lining
Lay out the fabric for the lining, folding it over so the selvage edge lines up with the selvage, as you will be cutting it on the cross grain of the fabric. Now measure your bust or hips because you will either pull the skirt on over your head or slip it on by pulling up over your hips. If you take your waist measurement the satin lining won’t stretch to get over hips or bust. Let’s say the hip measurement is 34 inches, so now you can calculate the radius for the half circle skirt by adding two inches to get 36 inches, then dividing 36 inches by 3.14, giving you 11.5 inches. Taking your tape measure mark off from the corner where the fabric is folded 11.5 inches at intervals, marking the distance with a fabric marker. This is where you will cut for the waist line of the skirt later, but in the meantime, we have to mark out the hemline.
Take the skirt measurement we calculated earlier (24″ / 60cm) and add that number to the waist radius of the half circle skirt
11.5 ” + 24″ = 35.5″
(29cm + 60cm = 89cm)
So, measure 35.5 inches (89cm all around from the corner where the fabric is folded and placing a new fabric marker line at intervals across the fabric – this will mark the hemline.
STEP 5: Cut the lining
Cut out along the two arcs and fold so the wrong side is out, line up the two selvages and machine stitch a seam inside the selvage. Cut off the selvage and use a serger or overlocker to ensure the seam doesn’t fray. Alternatively, if you have neither of these, then you could use the French seam method to finish the raw edges. In this case you put right side to right side of the fabric and stitch a 1/4-inch seam, back tacking at the start and finish. Trim the seam down to 1/8″. Now, ensure the seam is neatly trimmed and turning the fabric so the wrong side is outward line up the seam and press flat. Now stitch a ¼ inch seam along the length, again back tacking at start and finish. When you turn it back to the right side you have no raw edges – they are neatly encased.
STEP 6: Hem the lining
Now hem the lining. Do a ¼ inch hem, folding up ¼ inch once, then ¼ inch again, to get a nice neat edge. Make sure your lining is about ½ an inch shorter than the tulle layers for a professionally finished look.
STEP 7: Baste the top of the tulle panels
Place one tulle tube inside the other and line up the edges, pinning the seams of the one tube to the other tube. Now set your stitch to the maximum length and sew two rows right around the top of the two tubes.
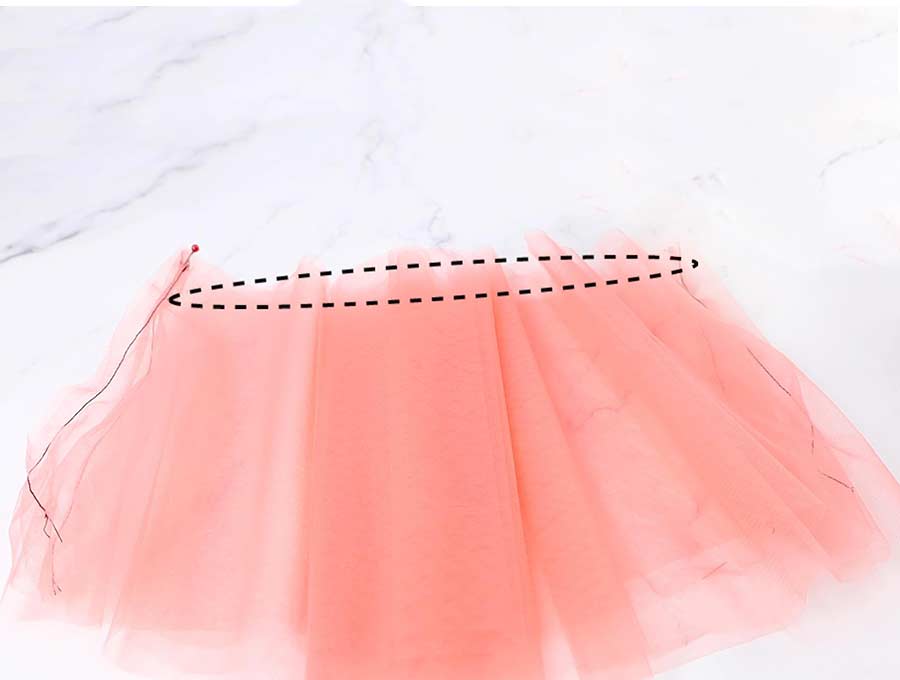
STEP 8: Gather the top of the tulle
Start drawing the threads up gently to create gathers, ensuring they are evenly spread through the tube. Place the lining right way out inside the tulle tubes, lining up the seam to one of the sides of the tulle tubes, which will also be right side out. Ensure the gathers are pulled up to correspond with the waistline of the lining, and tie in place so the gathers don’t move. Pin the three layers together at the waistline.
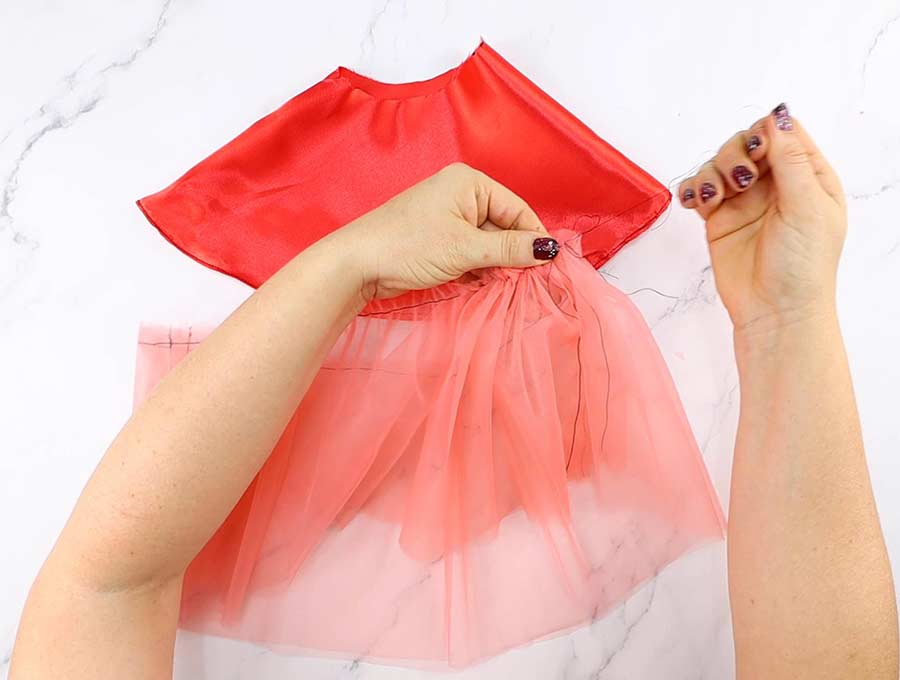
STEP 9: Stitch tulle and lining together
On the right side of the tulle sew a line between the two rows of gathering stitching, attaching the tulle layers to the lining.
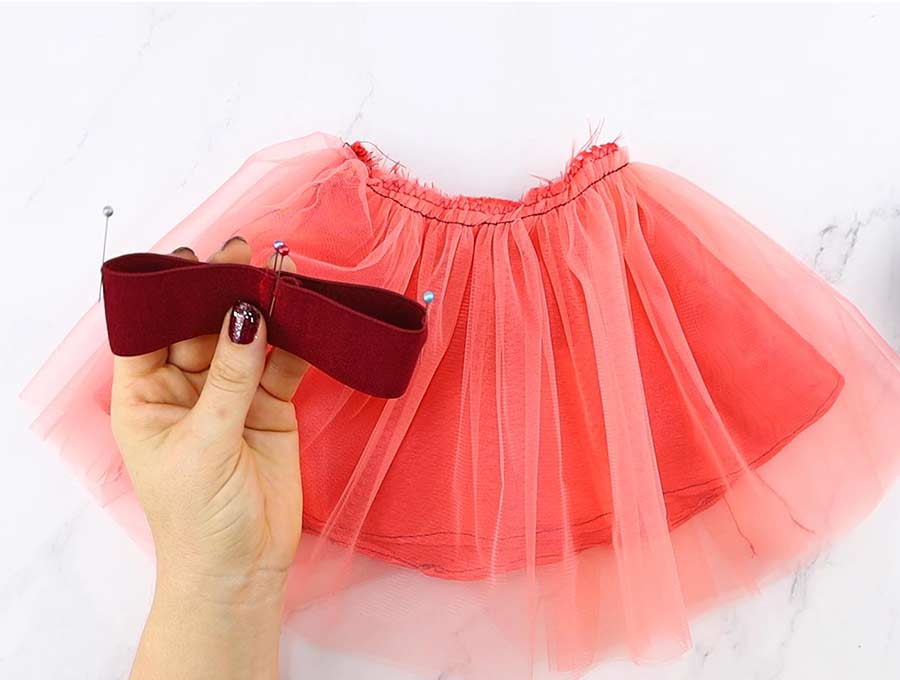
STEP 10: Prepare the elastic waistband
The next step is to prepare the elastic waistband. Measure your waist so that the elastic sits comfortably when stretched, and add an extra inch. Fold the elastic with the wrong side outward and stitch down ½ inch from the edge, backtacking at start and finish. Turn the elastic to the right side and fold the seam to the left, then do a cover stitch ¼ inch from the join to ensure it lies flat.

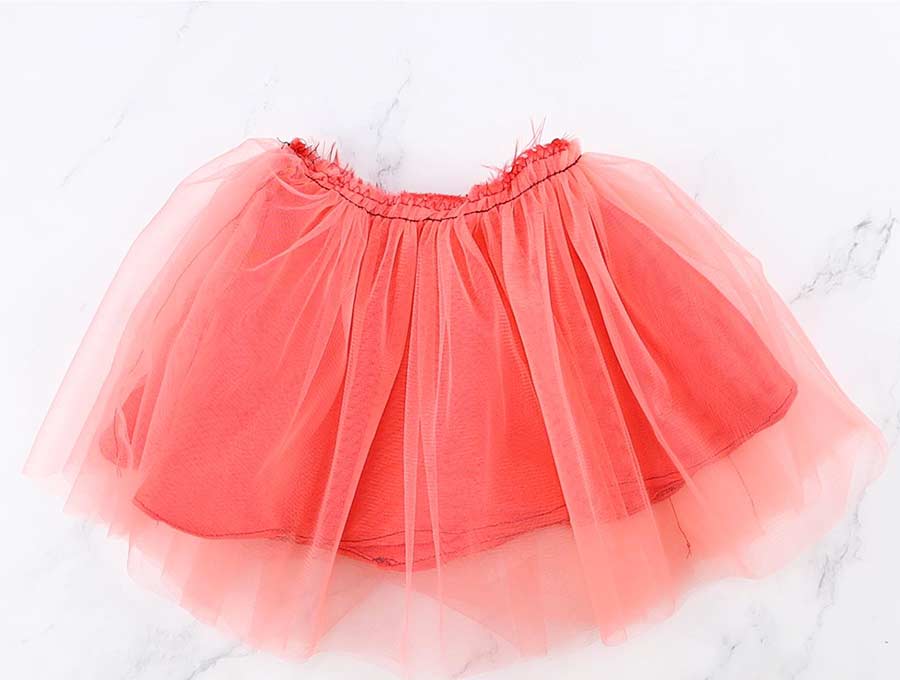
STEP 11: Sew the elastic to the tulle skirt
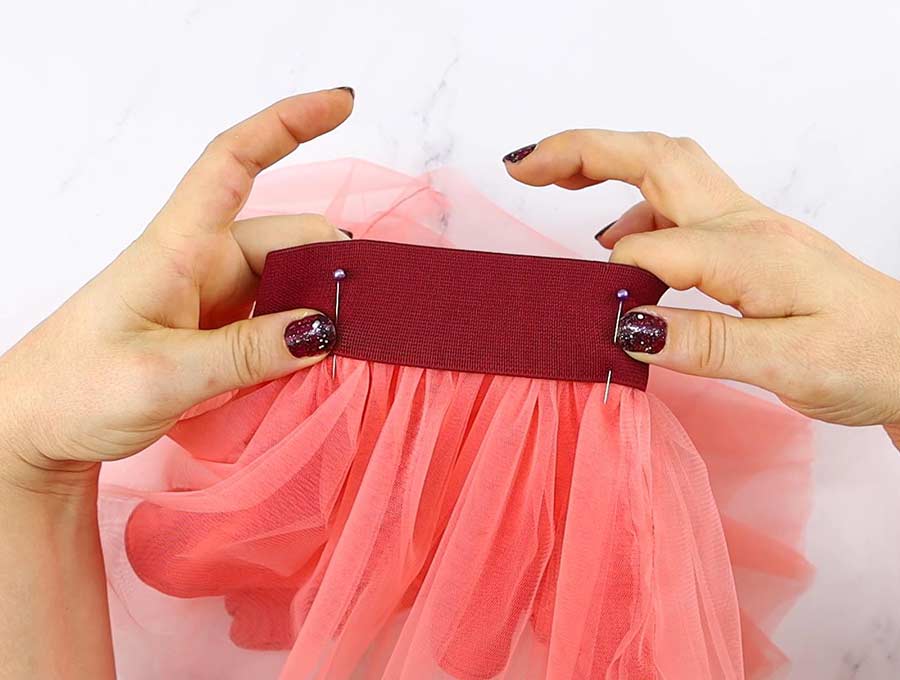
Divide the elastic into fourths, starting at the seam, and place pins at front back and sides.
Divide the layers of the skirt into 4 equal pieces, place pins at the side seams and place pins at center back and center front. Line up the pins in the elastic with the pins in the skirt, placing the seam in the elastic at the middle back of the skirt and lining up the next two points with the sides of the tulle skirt. Remember the skirt has to go over the hips or bust so it will be larger than the waistband. You will ease the extra fabric into place when you attach the elastic. The right side of the skirt should be facing you with the right side of the elastic about half an inch over the skirt’s lines of gathered stitching. Stitch into place right at the edge of the elastic, then do another line of stitching about ½ inch from the edge of the elastic, so you have caught up the gathers and they lie flat, neatly tucked under the exposed elastic waistband.
That’s it – the tulle skirt is ready.
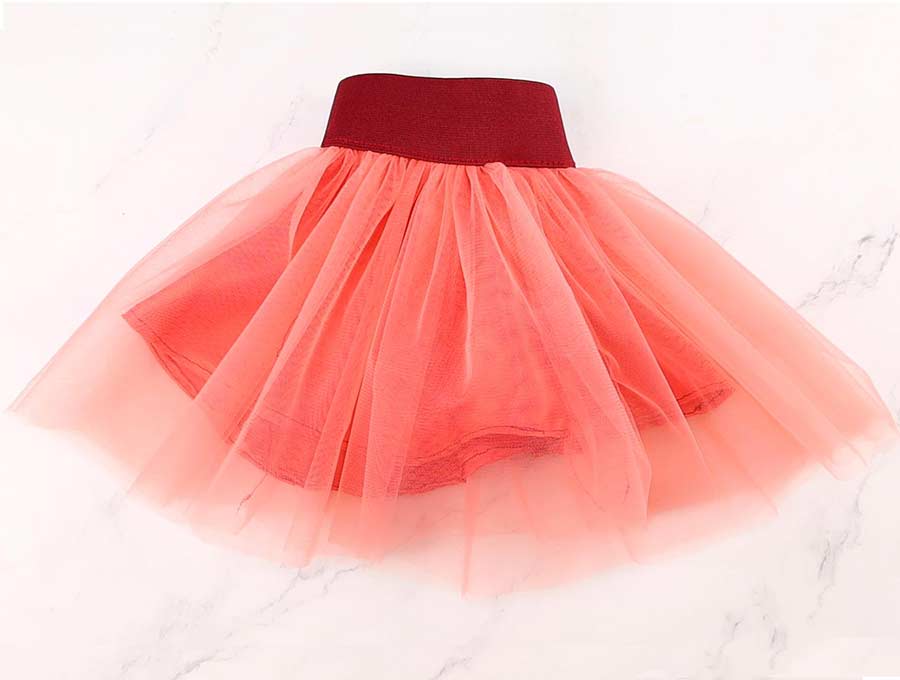
Now it’s time to put on your party shoes, choose something from your wardrobe that is figure hugging for the top, seeing as the tulle skirt is quite full, to achieve a balanced effect. Lastly add a sparkly piece of jewelry, and let the good times roll, while the compliments fly. If you liked this tutorial then please subscribe as there are loads more exciting sewing projects lined up.
That’s it your fabric rose it ready!
DIY Tulle Skirt FAQs, Tips and Troubleshooting:
Q: Can I use two different colored tulles in layers?
A: You certainly can – a blue and a green tulle would look pretty over a sea green lining. Just remember that by using two different colors the color effect will not be as intense as when overlaying two of the same color tulles – example a coral over a pink would be less intense than coral over coral.
Q: Can I make the lining shorter than the tulle?
A: It looks quite pretty and flirty if you choose to make the lining a couple of inches shorter than the tulle layers, particularly on the knee length and mid- calf skirts.
Q: Can I use a stretch fabric for the lining?
A: A stretchy lycra type fabric can be used for the lining but will not have the swish of taffeta or the shininess of satin coming through the layers. It does however make a change, as you will not need to add the extra two inches to the skirt lining measurement, making for less bulk in the lining.
Do you like this? Pin for later:
Wanna be friends? Click HERE and follow me on Pinterest
RELATED:
- How to make a tutu (NO sew – Quick and Easy)
- Sew up your next favorite skirt using these free skirt patterns
- Sew a comfy t-shirt dress
- Need an APRON? Sew ONE OF THESE. No matter what type of apron you like or need, you’ll find it here.
- Benefits of making your own clothes – sewing clothes vs buying