
DIY Multi Compartment Tray Organizer
Absolutely everyone needs this DIY multi compartment tray organizer. Girls for their hair accessories, ladies for makeup, guys for their charger cables, USB sticks and other techie paraphernalia, and craftspeople always need organizers for all their bits and pieces. What I love is that when the DIY multi compartment tray gets grimy you can just toss it in the wash, then give it a bit of spray-starch to make it firm up again, rather than having grimy boxes with corners you can’t get into to clean. And if the organizer is looking tired then toss it and make a new one from your stash of scraps. It’s far better than throwing away plastic!
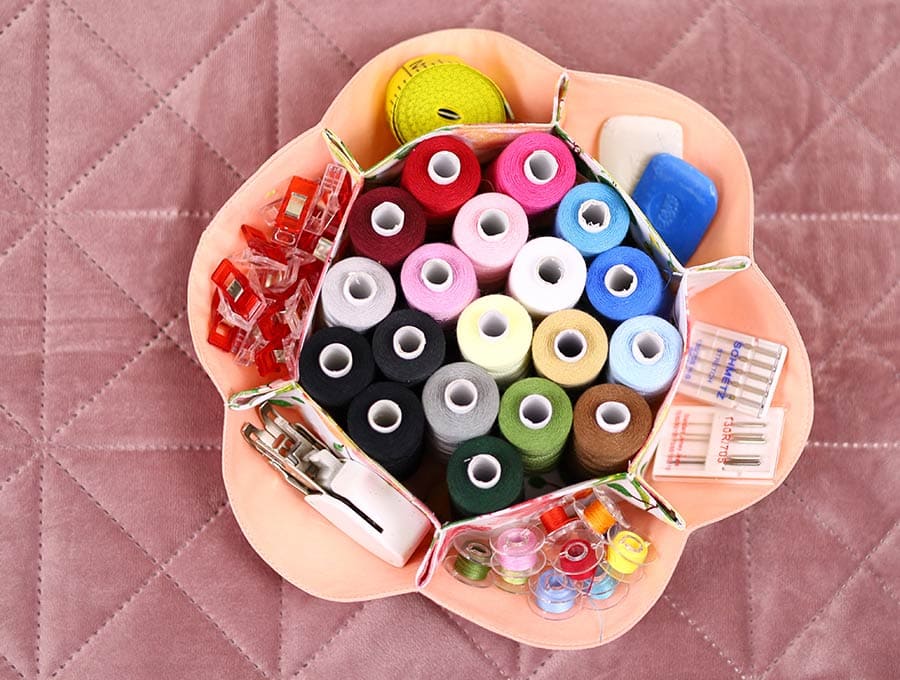
These handmade multi-compartment trays are such fun to make and use. Stash make up to hair accessories, office bits and pieces, cotton, buttons and bobbins, and even those pesky charger cords and USB sticks that tend to lie around. I can’t wait to get out my festive fabrics and make some for Christmas and fill them with various wrapped chocolates and cookies closer to the time – the earlier you start the less stress around the holiday season. Easter is coming up soon and I can see these as great gifts filled with chocolate bunnies and eggs nestled into some straw. Follow our step by step tutorial how to make a DIY multi-compartment tray in around 20 to 30 minutes from start to finish.
Below you will find my step by step written tutorial with VIDEO instructions for all the visual learners.
We occasionally link to goods offered by vendors to help the reader find relevant products. Some of the links may be affiliate meaning we earn a small commission if an item is purchased.
Table of Contents
How to make a multi-compartment tray organizer
Supplies and tools
- fabric – 2 x 11″ pieces of 100% woven cotton (one main, one lining)
- fusible interfacing
- matching thread
- scissors (or rotary cutter and a cutting mat)
- ruler or measuring tape
- hand sewing needle and thread
- iron and ironing board
- sewing clips or pins
- sewing machine
Follow us for free patterns & tutorials! [easy-profiles]
How To Sew multi-compartment tray organizer
Watch the diy organizer tray video first and then follow the written step by step instructions below.
Please enjoy and don’t forget to Like and SUBSCRIBE over on YouTube to be kept up to date with new videos as they come out.
Multi-compartment tray organizer VIDEO TUTORIAL
INSTRUCTIONS:
STEP 1:
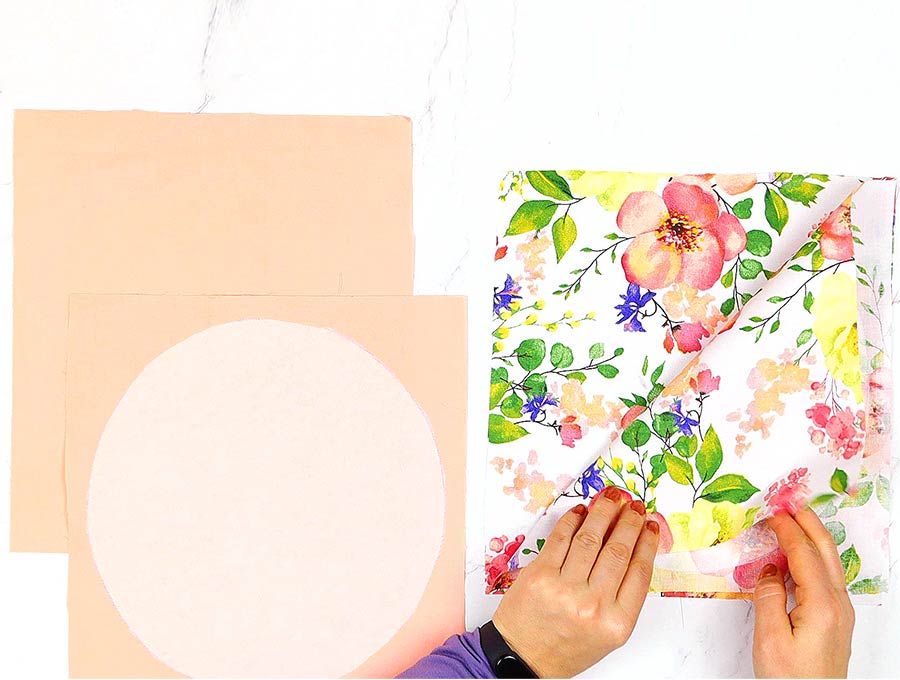
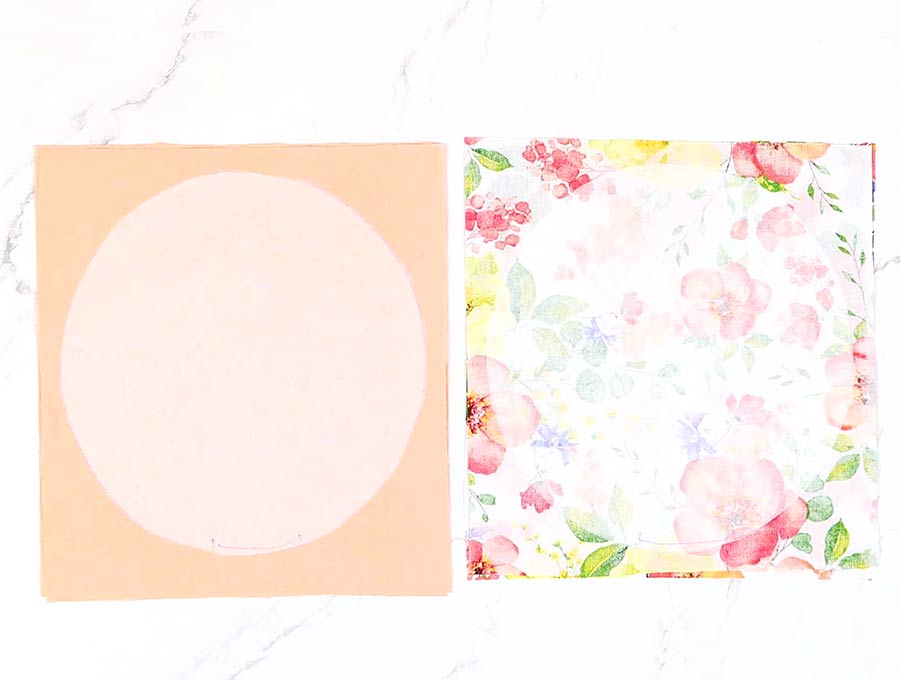
For this project you will need 4 x 10-inch squares of fabric – two in a print and two in a plain color – although if you want to use only plain colors, or mix and match prints that is fine too – as long as you have the 4 squares. You will also need two pieces of iron-on interlining of the same size.
STEP 2:
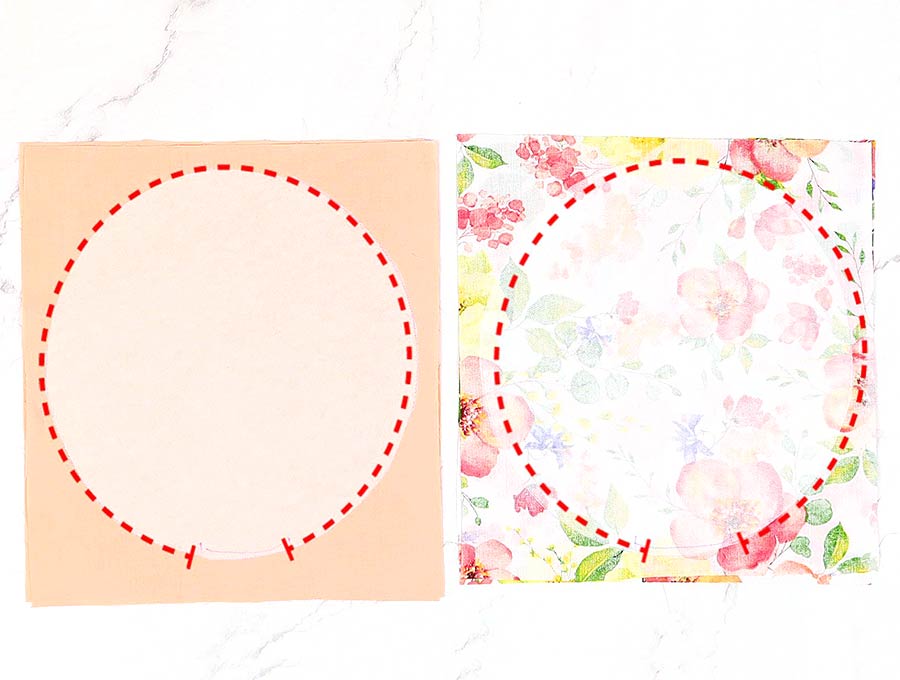
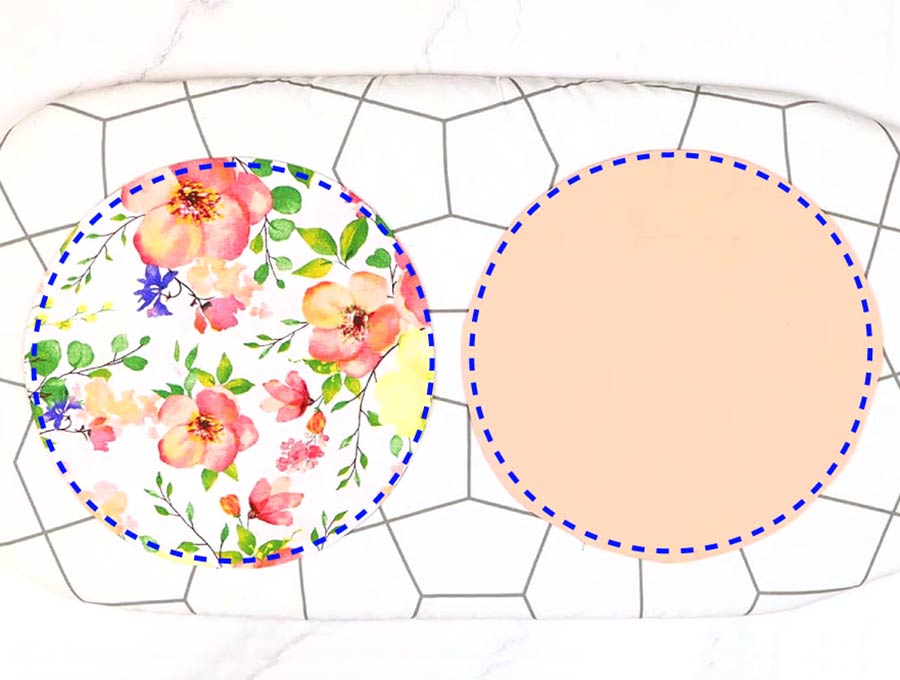
Cut two circles from your squares of interlining by placing a 9-inch plate over the interlining squares and tracing around the plate with a pencil or fabric marker pen, before proceeding to cut them out.
STEP 3:
Apply the interfacing to the wrong side of one of the printed squares, and the other circle of interfacing to the wrong side of the plain fabric.
STEP 4:
Place the interlined square of printed fabric with the right side facing the other printed square and pin or clip to hold the pieces together. Repeat with the two plain pieces of fabric.
STEP 5:
Turn the fabric so the interlining piece is uppermost, and stitch around the edge of the circle on the printed fabric square 3/8 inch (1cm) from the edge, making sure to back tack when you start and then to finish around 2 inches (5 cm) from where you started, again back tacking to create the gap through which you will pull the fabric to turn the circle the right way out. Repeat for the two plain pieces of fabric.
STEP 6:
Trim off the excess fabric from the squares so you have two circles. Leave about 1/4″ (6mm) from the seam, and a bit more at the gap.
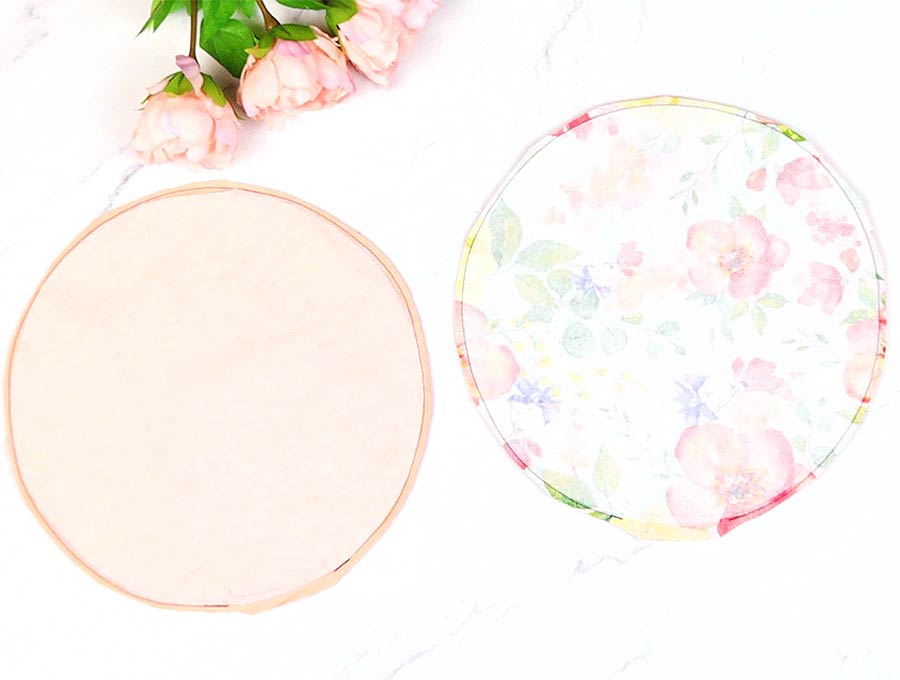
OPTIONAL: If you decide to leave a bit more fabric around the circles, make small nicks in the fabric at ½ inch intervals all the way around the two circles, that don’t quite reach the stitching – this is to ease the fabric so it lies flat when turned right way out.
STEP 7:
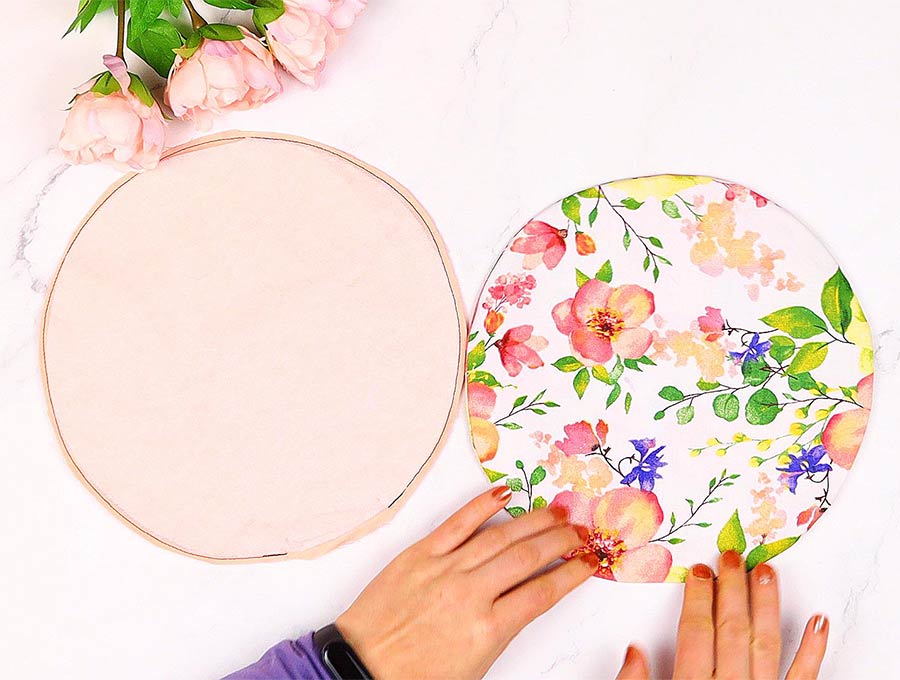
Pull the printed fabric through the gap until it is the right way out. Flatten out the circle, then press with an iron, making sure the raw edges of the gap are turned in to make a smooth circle. Repeat with the plain circle
STEP 8:
Top stitch all the way around the printed circle, back tacking at start and finish.
Repeat with the plain circle.
STEP 9:
Fold the printed circle in half and mark at the edges of the fold with an erasable fabric pen, then open out the circle and place it flat on your worktop.
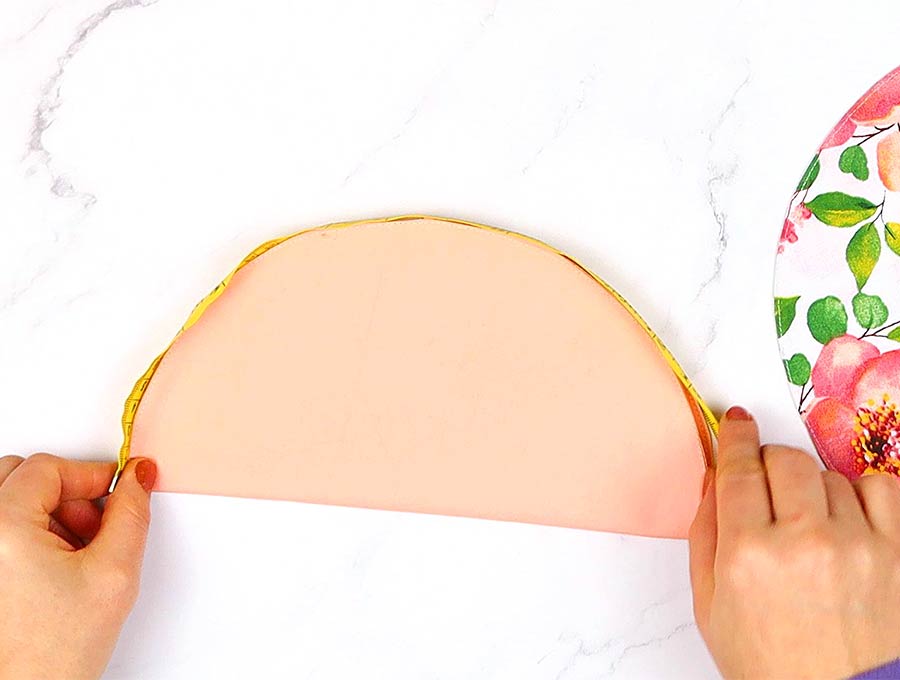
Images shows this on the plan fabric so you can see it better
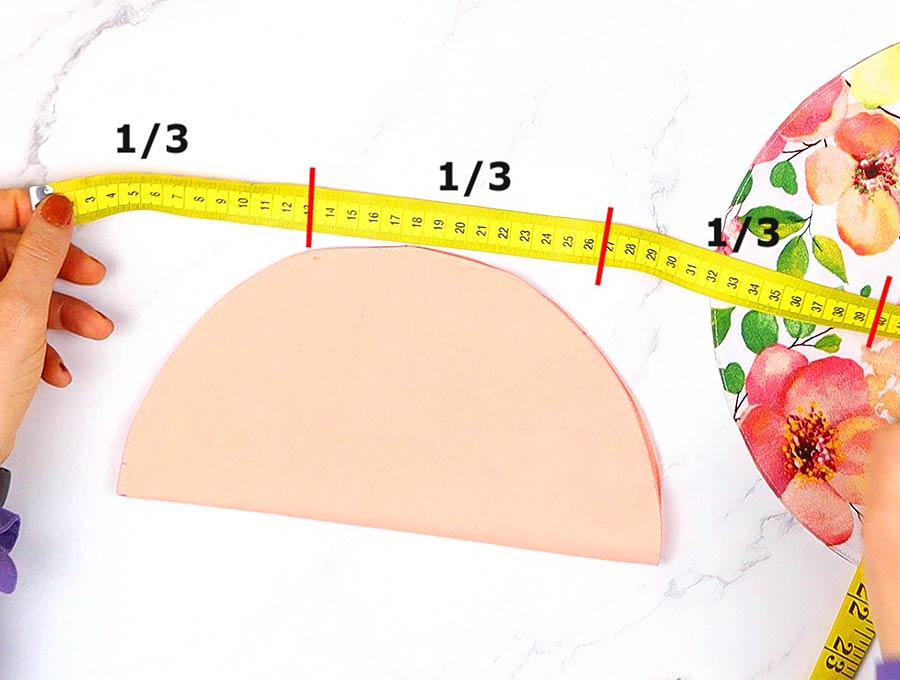
STEP 10:
Measure the distance carefully from the one mark to the other mark around the circumference of the circle. Record this measurement.
Let’s say it was 15 inches – now divide by 3 – that means you will make marks at 5-inch (12.7cm) intervals around one half of the circle. Repeat for the other half so you will have a total of 6 marks. If your distance is an odd figure – like 14.6 inches then use a calculator to determine how far apart the marks should be – 14.6” divided by 3 = 4.86”
STEP 10:
Place a ruler over the diameter of the printed circle, lining up the marks on opposite sides, then draw a line from the edge 2 inches (5cm) in towards the middle, and repeat on the other side. Repeat the procedure twice more lining up the marks, until you have 6 lines drawn, reaching in 2 inches from the edges.

STEP 10:
Place the plain circle underneath the printed circle and pin together, but not where the lines are.
STEP 10:
Back tacking at the start and finish sew along the two-inch lines until all six are done.
STEP 10:
Lay the joined circles down on your worktop and measure 1 inch (2.5cm) from each stitched line, to the left and right, making a small mark.
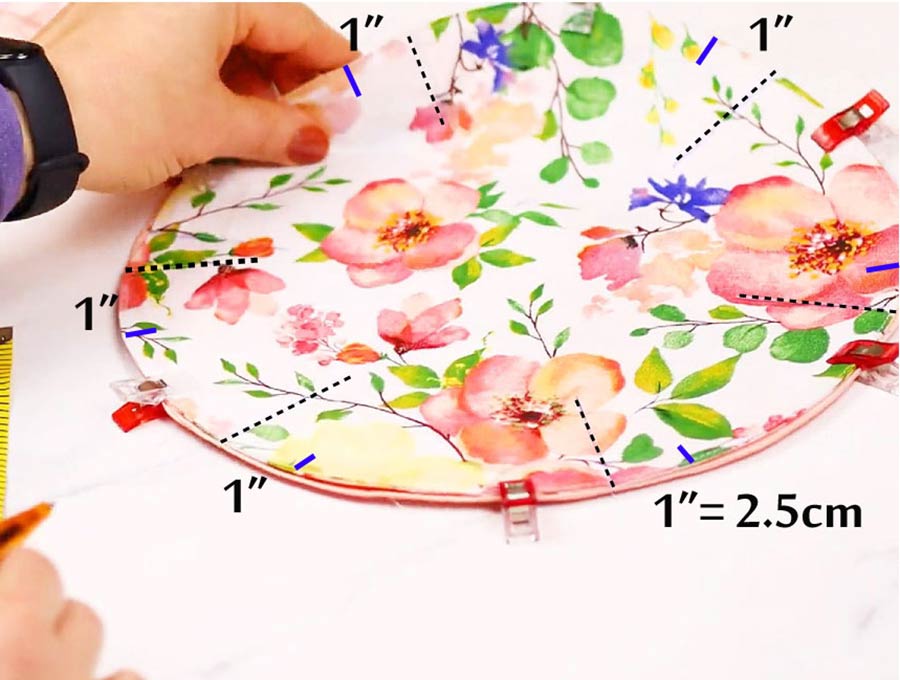
STEP 10:
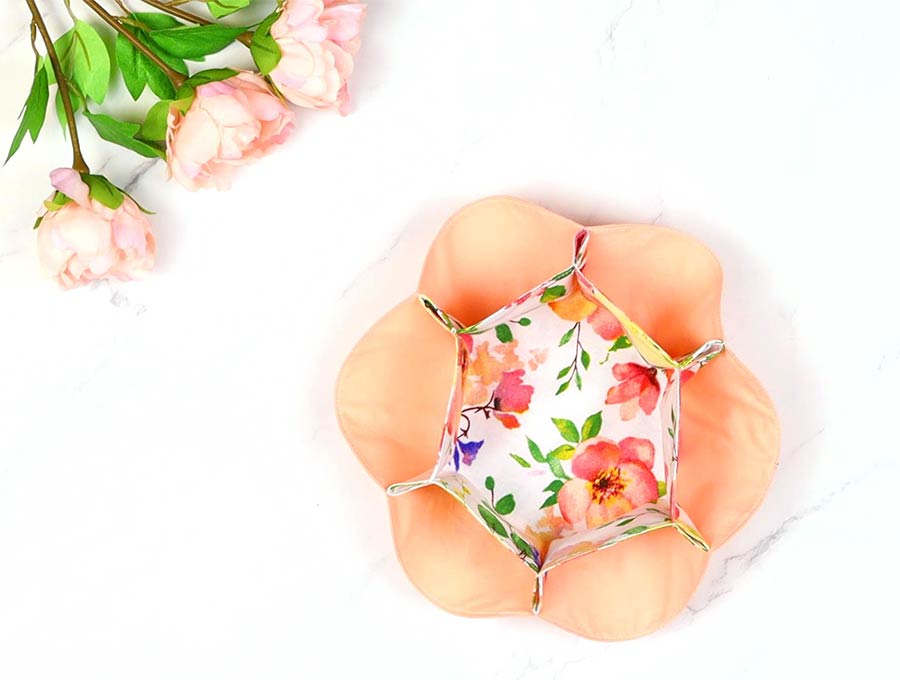
Once all the marks are made, take a needle and thread and pinch up the fabric of the top printed layer until the marks you made one inch from the seam line up on either side of the seam. Catch into place by stitching over the top of the edges around three times then tying of the cotton securely and snipping it off close to the edge. Repeat with the other marks, lining them up until you have created 6 compartments.
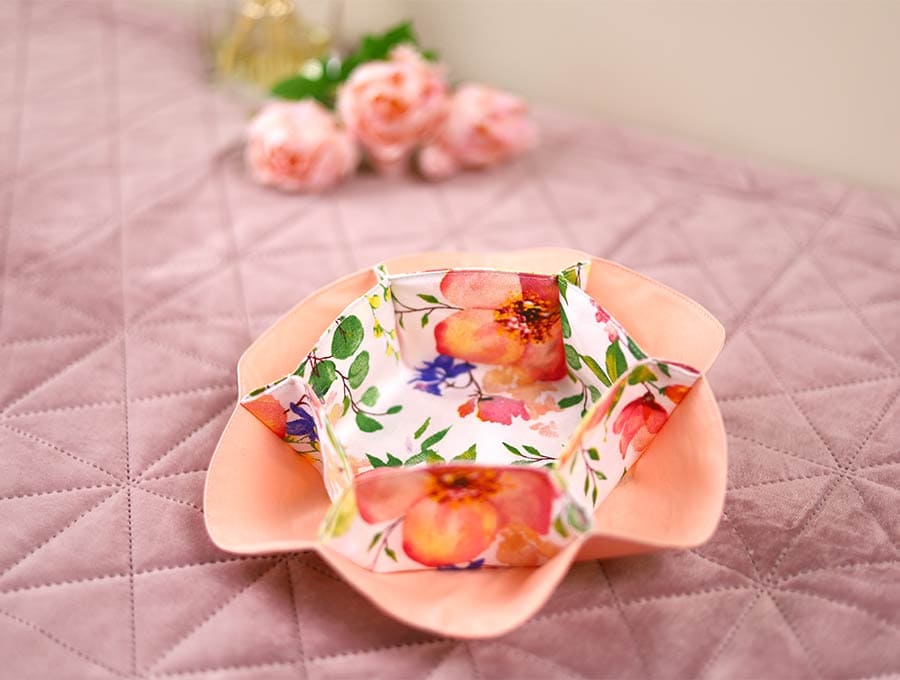
That’s it your handmade multicompartment tray organizer is ready!
All that remains to be done is to put your DIY multi compartment tray to use, or package and give to a friend. I can see these being perfect gifts made in Christmas fabric and filled with a variety of wrapped chocolates in each compartment, with maybe wrapped festive cookies in the main compartment. They would make great double use presents for birthdays and housewarming filled with edible goodies then used to store all sorts of odds and ends.
Have fun making these easy DIY multi compartment organisers. If you enjoyed this project then please subscribe to have more fun step-by-step tutorials delivered to your inbox so you never miss out.
Do you like this? Pin for later:
Wanna be friends? Click HERE and follow me on Pinterest
RELATED: