
How to Make a No Sew Fleece Tie Blanket – 4 Different Ways to Tie
I love that there is no sewing involved in this fleece tie blanket. It is one that is going to be very welcome in the cold weather when all a person wants to do is snuggle up with a hot chocolate or cup of coffee and some good company. Once the cutting is done this DIY fleece blanket is a perfect project to complete while watching TV, or waiting in the car. Our visuals and step-by-step instructions wll guide you through the four different ways you can choose to finish the edging. The fleece tie blanket is made from two pieces of fleece, so it is doubly warm, and the knotted or braided finish provides a good contrast between the fleece used on the front with the fleece used at the back. In addition to family members who will all be wanting their own personal blanket, the fleece tie blanket is one item that is in huge demand by charities.
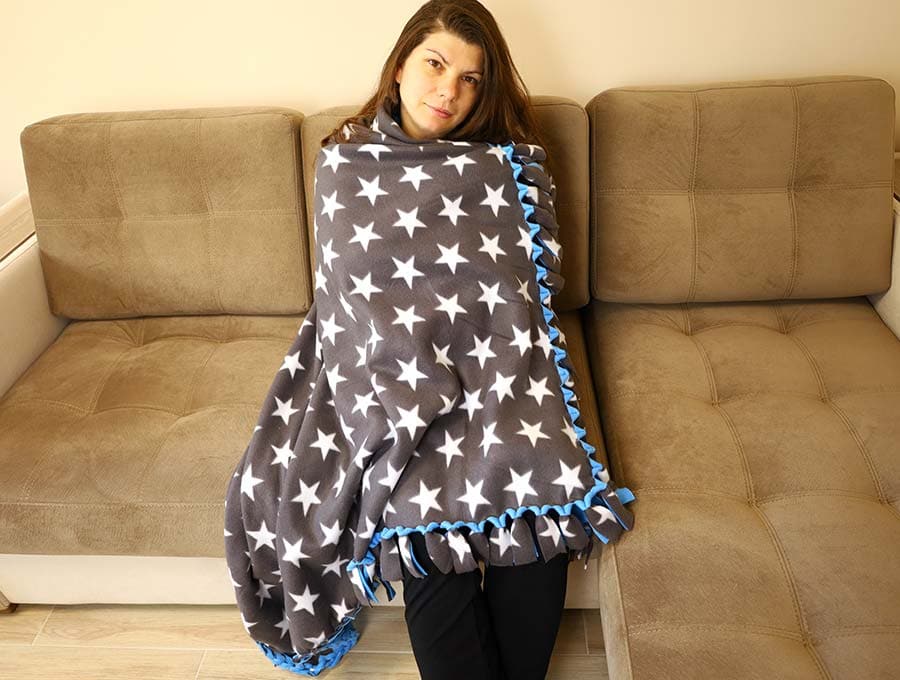
Table of Contents
- 1 Identifying the right and wrong side of fleece
- 2 How to make a tie blanket
- 3 Supplies and tools
- 4 How to make a fleece tie blanket
- 5 Basic tie blanket instructions for all four types of no-sew blankets
- 6 Four ways to complete the blanket edging
- 7 Option 1: Overhand Knotted Fringe
- 8 Option 2: Square Knotted Edge
- 9 Option 3: Double Looped Fringe
- 10 Option 4: Braided Edge
Identifying the right and wrong side of fleece
Before we start cutting let’s establish which is the right side of the fleece and place a pin with a tiny square of colored fabric onto the right side, somewhere in the middle of the blanket. It is easy to get muddled between the right and wrong sides, but if you look at the fleece closely you’ll see one side is nubbly, with a slight bit more texture than the other side which will tend to be a bit smoother.
Another way to identify the wrong side is to pull the fleece along the cross grain – it will curl towards the wrong side.
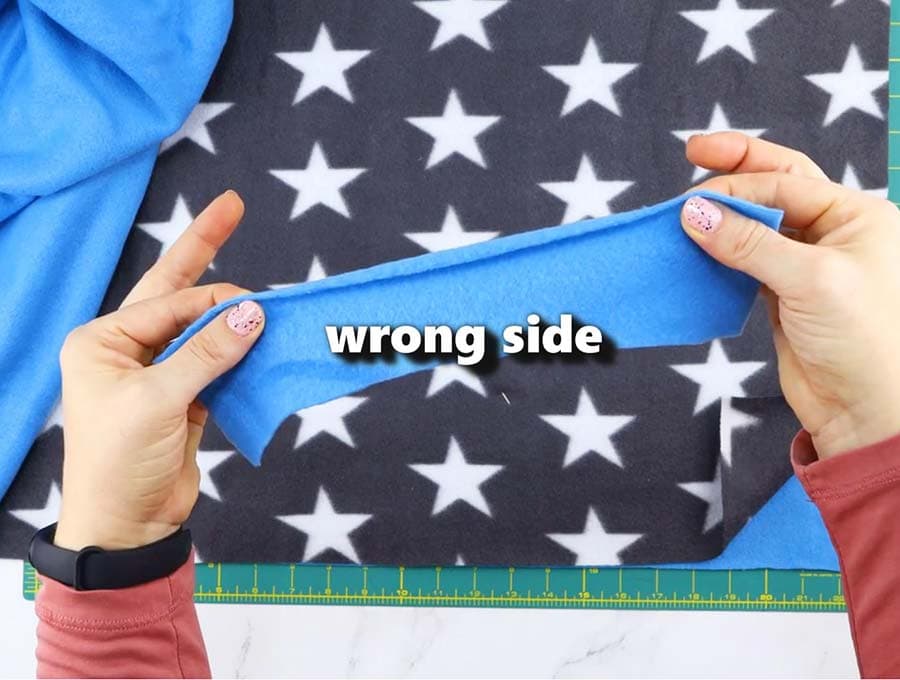
No-pill fleece tends to weigh a little more, as it has been treated so those little pills won’t appear, and it is even smoother than the normal fleece. This makes it even harder to see which is the right side, but if you look closely you’ll be able to see the right side is still a bit more nubbly than the wrong side.
We occasionally link to goods offered by vendors to help the reader find relevant products. Some of the links may be affiliate meaning we earn a small commission if an item is purchased.
How to make a tie blanket
Below you will find my step by step no-sew fleece tie blanket written tutorial with VIDEO instructions for all the visual learners.
Supplies and tools
- 2 coordinating piece of fleece according to the size chart below
- scissors (or rotary cutter and a cutting mat)
- ruler or measuring tape
- sewing clips or pins

OPTIONAL:
- painter’s tape or washi tape
- cardboard to make template that will speed up your work
Follow us for free patterns & tutorials! [easy-profiles]
How to make a fleece tie blanket
Watch the diy tie blanket video first and then follow the written step by step instructions below.
Please enjoy and don’t forget to Like and SUBSCRIBE over on YouTube to be kept up to date with new videos as they come out.
NO SEW BLANKETS VIDEO TUTORIAL
Tie Blanket Size Chart and Cut Chart
Firs you would need to establish the tie blanket measurements. Below are some common sizes as a guide, but you can make the blanket any size you prefer.
We have allowed a 5 inch long fringe on all blankets. For the large blankets you may want to make a slightly longer fringe of 6 inches. If this is the case you will need to cut the blanket two inches longer and 2 inches wider than the dimensions given in the 4th column if you are working in inches and 5cm longer
| Blanket type | Finished size in inches, excluding fringe |
Finished size in centimeters, excluding fringe | Cut two pieces in inches (5-inch fringe) |
Cut two pieces in centimeters (5-inch fringe) |
| Bassinet cover | 13 x 28 | 33 x 71 | 18 x 33 | 46 x 84 |
| Security blanket | 18 x 24 | 46 x 61 | 23 x 29 | 58 x 74 |
| Baby car seat blanket | 20 x 24 | 51 x 61 | 25 x 29 | 64 x 74 |
| Baby stroller blanket | 30 x 35 | 76 x 89 | 35 x 40 | 89 x 102 |
| Toddler crib or lap blanket | 40 x 60 | 102 x 152 | 45 x 65 | 114 x 165 |
| Throw blanket | 53 x 63 | 135 x 160 | 58 x 68 | 147 x 173 |
Basic tie blanket instructions for all four types of no-sew blankets
First things first, these are the steps you’ll need to complete to make any of the 4 no-sew blankets. Up next are the tie blanket instructions for each of the fleece knotted blanket edge ideas.
Step 1
Cut two pieces of fleece to the size you require, allowing for the fringe, and making sure you have already cut off the selvages, because they will be a slightly different texture.
Step 2
After identifying the right and wrong sides place one piece of fleece with the right side facing downward on your worktable. Now line up the second piece of fleece on top of the first piece with the right side facing upwards.
![]()
Step 3
Trim the edges after making sure the two pieces line up neatly, then pin together so the two pieces don’t move when you are cutting the corners and fringing.
Step 4
Cut a square cardboard template (5” for overhand or square knot, 4” for looped edge and 2” for the braided edge). Then place it so it lines up with the bottom right hand corner, and cut out a square from that corner. Repeat with the other three corners of the blanket
![]()
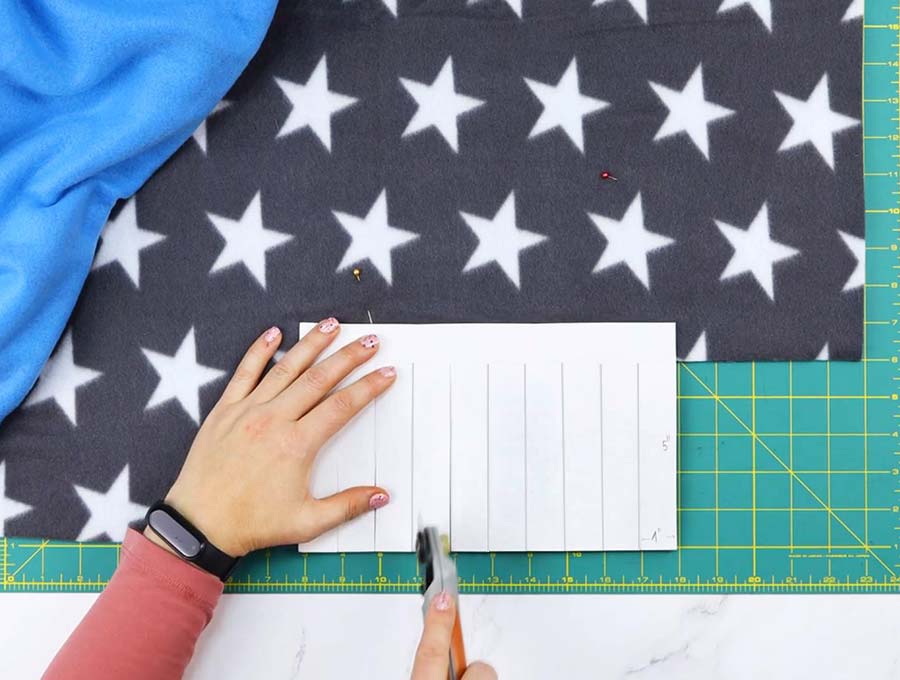
Step 5
Now you are going to cut 1 inch strips (1.5” if you are making a looped edge) all the way along the sides, going through both layers, but this needs to be somewhat accurate. To speed things up make a template similar to the one you used for cutting the corners but this one will be 6 inches by 5 inches. Mark off the length in one inch widths along the five inch side. Cutting through the cardboard to about an inch from the top.
Step 6
Place the fringe marking template over the edge of the blanket closest to the top right hand corner, with the six inch side an inch above the corner that you cut out. This is the point you will cut to eventually. If you prefer you can use painter’s tape (aka masking tape) to create the line above the template to which you should cut, and using a ruler as a guide cut the 1 inch width strips.
Step 7
Take your scissors or a rotary cutter and holding the cardboard template steady in position as a guide, cut towards the line you have drawn if using scissors, or down from the top of the slit in the cardboard template to the edge if using a rotary cutter.
Step 8
Once the strips on the square are cut, remove the template.
Step 9
Continue in this way all around the blanket, marking and cutting.
Four ways to complete the blanket edging
From here you have four choices on completing the blanket fringe. The step-by-step instructions for each method are set out below.
- Overhand Knotted Fringe
- Square Knot Fringe
- Double Looped Fringe
- Braided Edge
Option 1: Overhand Knotted Fringe
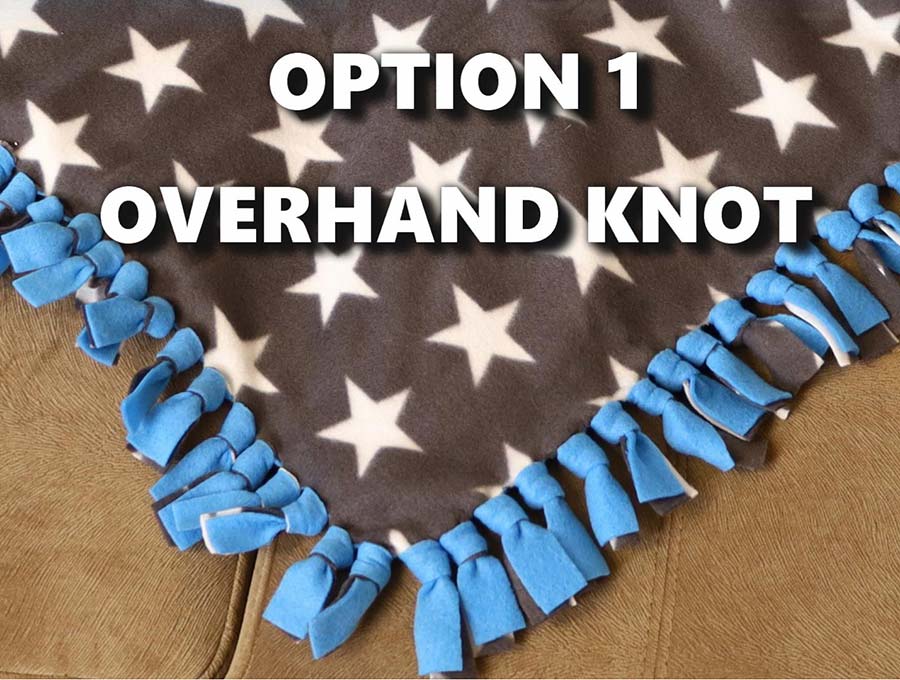
- Cut out 5” (13cm) squares from all four corners
- Cut 1” (2.5cm) wide strips along all edges to make the fringe
Step 1
Once the cutting of the fringe pieces is complete, take both layers of a piece of fringe, and knot them over from right to left, and draw the end through the loop created, to make a double layer knot.
Step 2
Make sure the knot is always made in the same direction to ensure uniformity and make sure the pieces of the fringe lie flat, pulling firmly so it doesn’t unravel. The knot, while made towards the upper part of the fringe should not make the fabric of the blanket itself pucker by being too close to the top of the cut.
Step 3
Continue knotting along all the edges of the blanket, drawing both pieces of fleece fringe left to right and pulling through the loop created to make a flat double knot.
Option 2: Square Knotted Edge
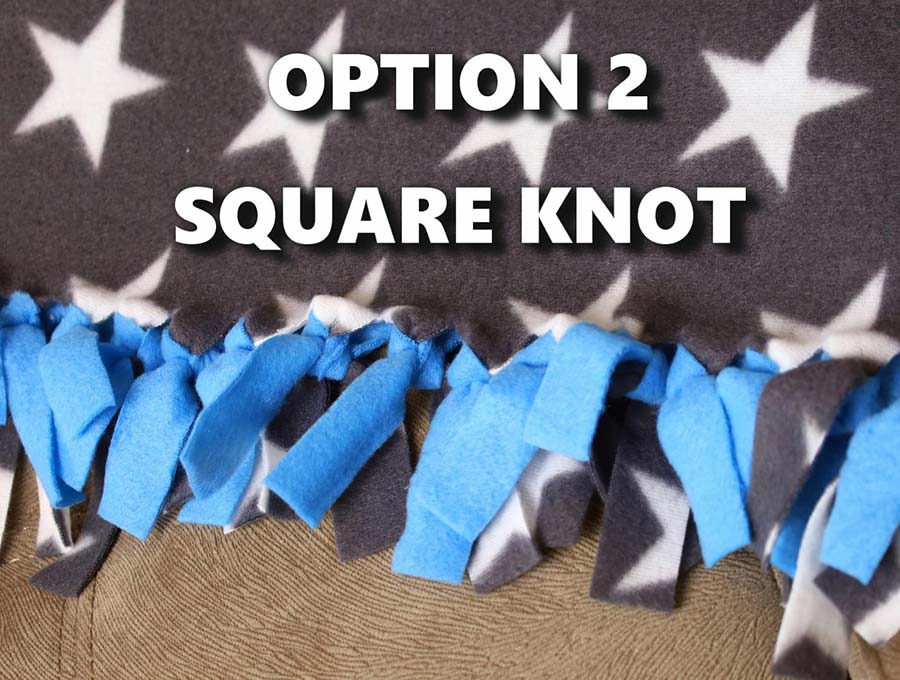
- Cut out 5” (13cm) squares from all four corners
- Cut 1” (2.5cm) wide strips along all edges to make the fringe
The knotted edge is the simplest way to finish the edge of the blanket, but the knots will not all lie the same way so the fringing will not lie flat. It is, however, a quick and effective way to finish off a fleece blanket. Just be careful when making the double knot not to tie it too close to the blanket itself otherwise the main part of the blanket will pucker – you want it to lie flat.
Step 1
After the fringing has all been cut simply take a top fringe piece and the bottom fringe piece directly under it, then tie a knot.
Step 2
Make a second knot so it does not pull out.
Step 3
Continue with steps 1 and 2 all the way around the blanket.
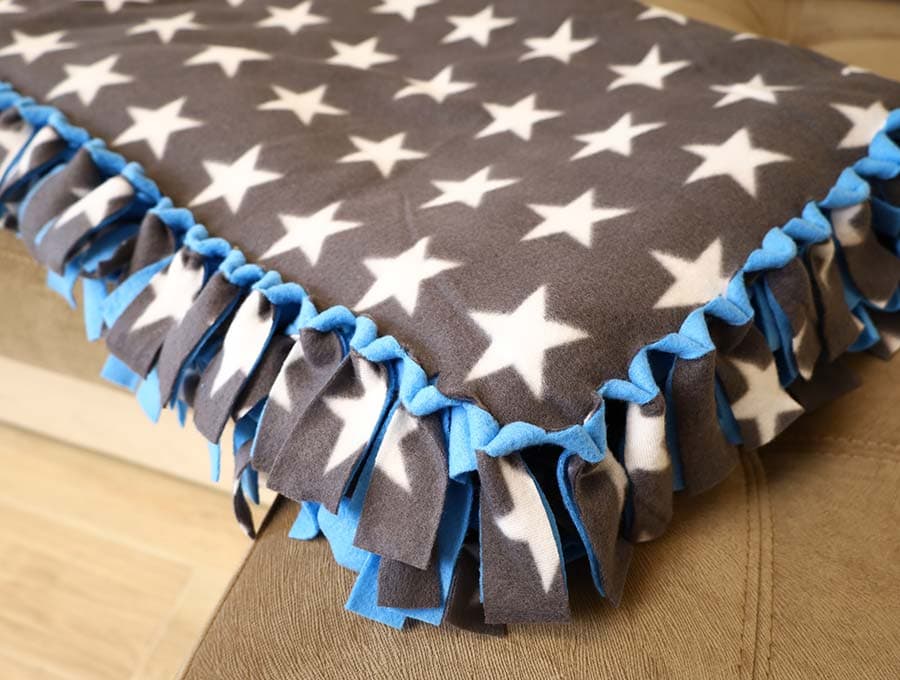
Option 3: Double Looped Fringe
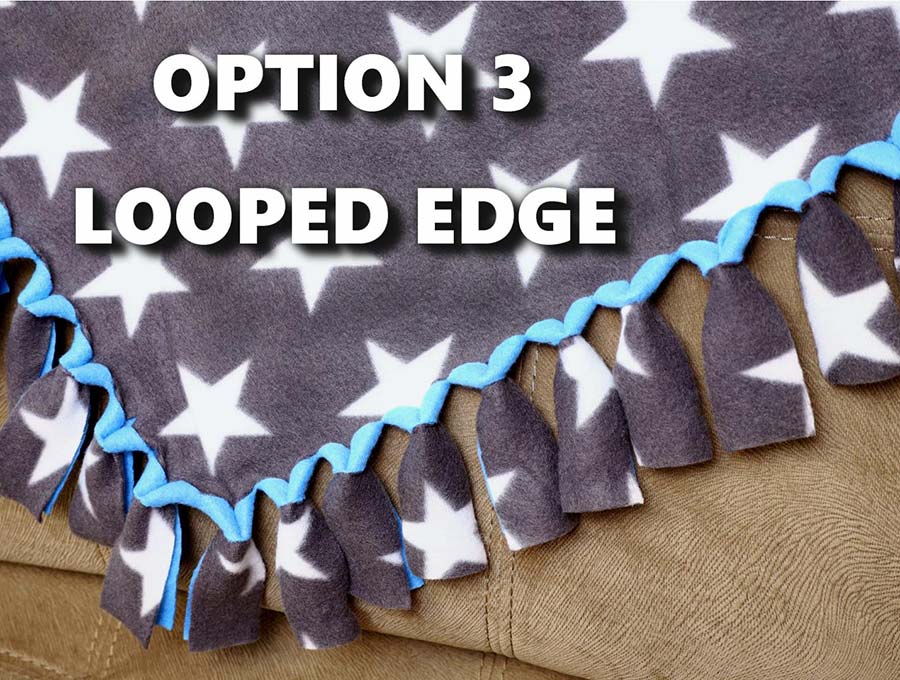
- Cut out 4” (10cm) squares from all four corners
- Cut 1.5” (4cm) wide strips along all edges to make the fringe
Step 1
Once the cutting of the fringe pieces is complete, pick any 1 inch width of the double fringing, and cut down from the erasable fabric pen (or painter’s tape) marked line, right in the center – so ½ inch from the side, cutting through top and bottom layers of the fleece to create a ½ inch vertical slit.
Step 2
Flip the two ends of the fringe upward and push through the slit, in the same piece of fringing then pull the ends downwards to keep in place.
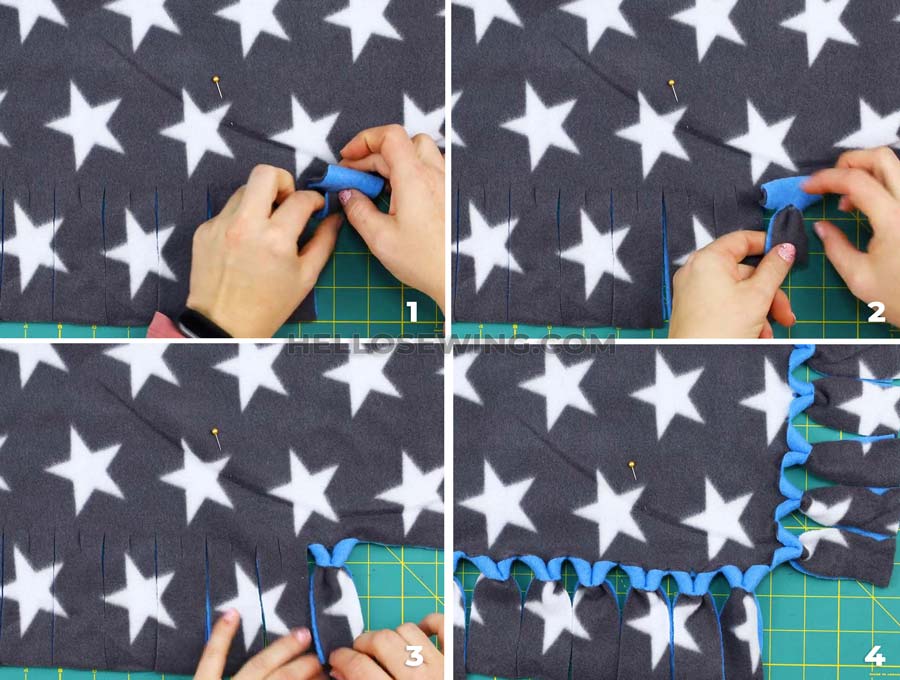
Step 3
Repeat steps 1 and 2 all the way around the blanket so you have a completely fringed blanket. What is particularly pretty is the way the fleece from the back contrasts in the loop with the fleece on the front.
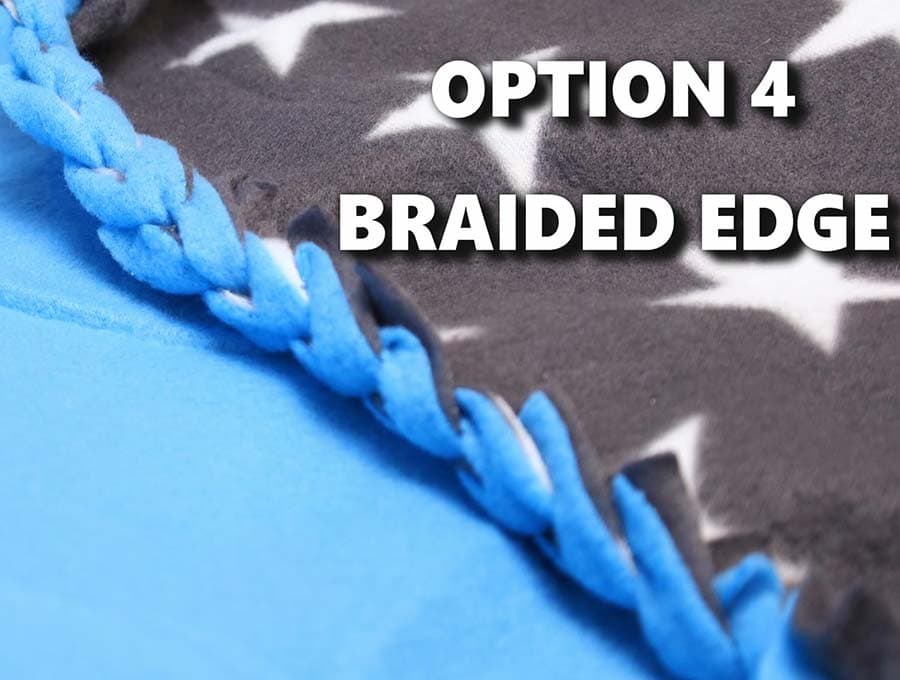
Option 4: Braided Edge
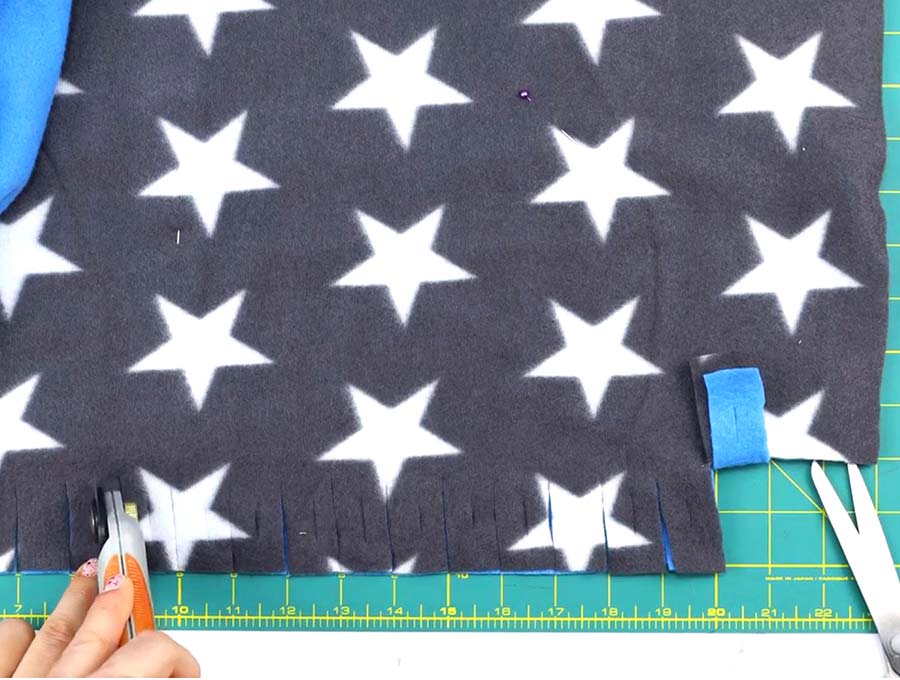
- Cut out 2” (5cm) squares from all four corners
- Cut 1” (2.5cm) wide strips along all edges to make the fringe
The braided edge is attractive. Just be careful that you braid fairly loosely so that the edge does not pull too tight around the perimeter of the blanket, causing bunching of the blanket itself.
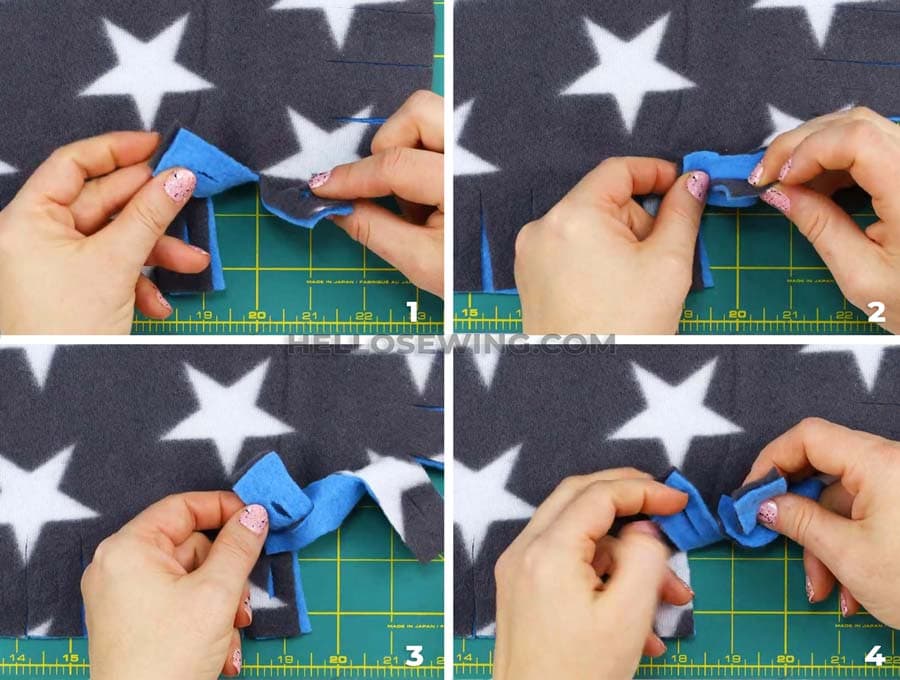
Step 1
Once the cutting of the fringe pieces is complete, take one top fringe piece from anywhere on the blanket and fold it upwards so the end meets the taped or marked line.
Step 2
In the centre, on the fold cut a vertical slit ½ inch from the side and measuring ¼ inch. (When folded out it will be ½ an inch).
Repeat with the piece of fringe directly under that piece. ( It is not advisable to cut through both layers at the same time because of the thickness.) You can speed this step up a LOT by using a rotary cutter and cutting through both layers at ONCE.
Step 4
Continue right around the blanket, repeating Steps 1 and 2
Step 4
Take a double layer of fringing, from any point on the blanket, in your hand and hold firmly while you push the ends of the fringe piece to the left of it through both slits on the second fringe piece to the right. Pull evenly so the ends sit neatly horizontal with the edge of the blanket.
Step 5
Now take the second fringe piece (that has had the ends of the first piece tucked through it ) and push the ends of the second piece through the next double fringe piece to the right, making sure the ends lie horizontal with the edge of the blanket.
Step 6
Continue right round the blanket in this way until you come to the very last fringe piece.
Step 7:
Separate the top and bottom layers of the last fringe piece. Tuck the top layer end into the back of the first piece you did, and pull through the slit in the back piece of fleece. Tie the top and bottom layer of the last fringe piece in a knot. Tuck the knot between both layers of fleece. Your braiding is complete!
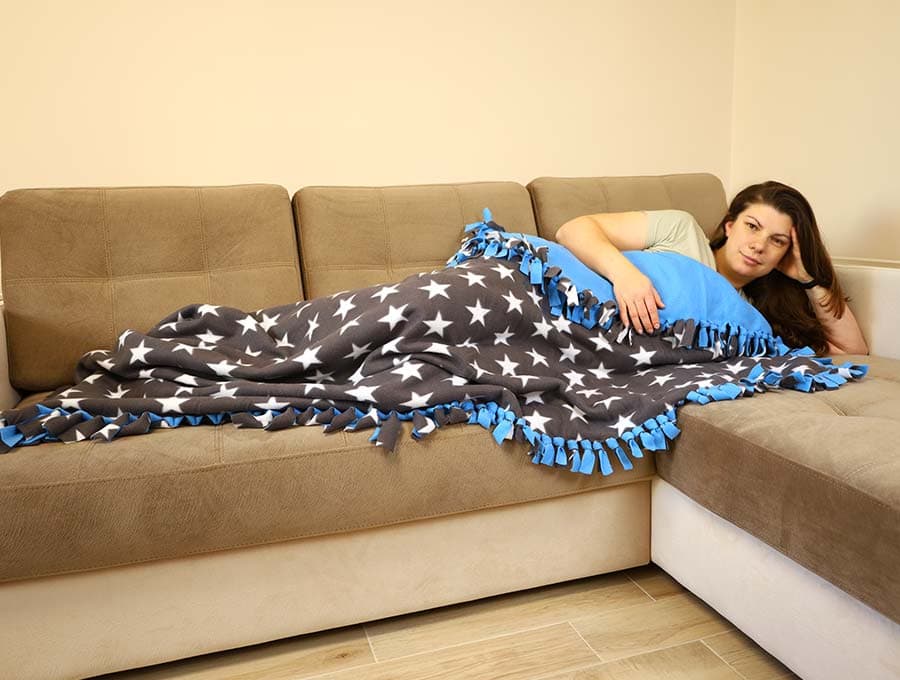
Fleece blankets are snuggly and soft and will be in demand by kids and adults alike. The large throw rugs they can envelop themselves are particularly popular.
Elderly people especially enjoy a warm knee rug.
Charities are always in need of fleece tie blankets and if you have some spare time to make and donate these they will always be greatly appreciated by the recipients. If you want to make knotted tie blankets to donate, here is a handy list of charity sewing organizations that accept donations.
What I love about the no-sew fleece blankets is that apart from having to work at a table to complete the cutting of the fringes, the rest of the knotting or braiding can be done in odd moments, like while you are waiting in the car for the kids to finish school or sport, when sitting in front of the TV, or even on a rare sunny afternoon in winter when you can be outdoors on the porch.
Imagine a cloud of soft fleecy fabric enveloping you in warmth as the trees bend in the wind outside and snow lies thick on the ground. Whenever the chills set in the no-sew fleece tie blanket, with four different ways of finishing the edging, will be ready to haul and use. The knotting can be completed while comfortably seated in front of the TV, or chatting to family members. Have fun making this no sew fleece blanket.
Do you like this How to Make a No Sew Double Sided Fleece Tie Blanket (4 ways)? Pin for later:
Wanna be friends? Click HERE and follow me on Pinterest
RELATED:
Fleece tie blanket – 4 ways to make an adorable blanket.
Sherpa fleece lined blanket – Super soft and cozy. You can make it in ANY size you want
Make a matching throw pillow – 30 + ideas how to make a decorative pillow
Fabric book cover – dress up your favorite book
Funny sewing memes – let’s laugh!