
Quick and Easy Petal Drawstring Gift Bag
I love the petal drawstring bag – it looks so pretty, and honestly, before I knew the trick to making it, I thought it would be quite tricky. But once you follow our step-by-step instructions, you’ll see why I am so excited about these. I can see them being used as gift bags for Christmas treats, being hung on the Christmas tree as ornaments with a little surprise inside, for packing makeup items for a weekend away, or for keeping trinkets on a desk or dressing table – even on the bathroom vanity.

Once you watch our visuals and follow the easy step-by-step instructions for the petal drawstring gift bag you will want to be churning these out as sustainable gift bags that can be reused for a multitude of purposes at home and when you travel. They even make very special wedding gift bags to place at each table setting. The secret to creating a successful petal drawstring gift bag is to choose two contrasting pieces of fabric so the petals show up against the backing fabric. We have done ours in a festive print fabric because – well it’s Christmas and we want you to have a happy crafting Christmas as the snow falls. You only need two pieces of quilting cotton less than 10 inches square and some ribbon. You’re bound to have something suitable in your stash. So, let’s get sewing.
Below you will find my step by step written tutorial with VIDEO instructions for all the visual learners.
We occasionally link to goods offered by vendors to help the reader find relevant products. Some of the links may be affiliate meaning we earn a small commission if an item is purchased.
Table of Contents
How to make a Petal Drawstring Gift Bag
Petal Drawstring Gift Bag Supplies and tools
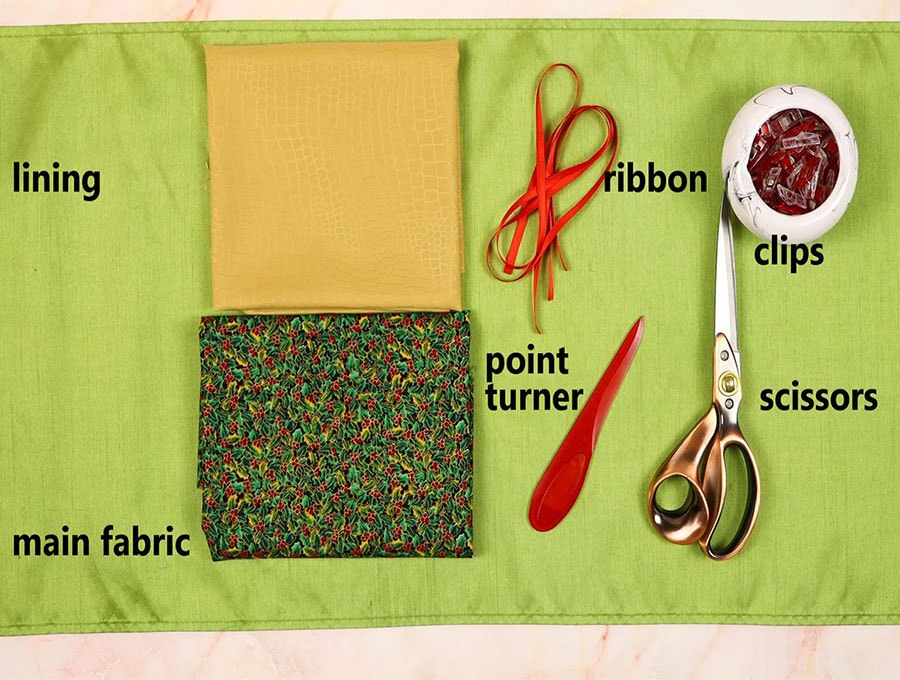
-
1 x 9.5 inches (24 cm) square pieces of quilting fabric
1 x 9.5 inches (24 cm) square pieces of quilting fabric in a contrasting color – this is important for the petal drawstring bag to look good.
- 2 x pieces of ribbon or cord 25 inches (64 cm) to create the drawstring
- matching thread
- scissors (or rotary cutter and a cutting mat)
- ruler or measuring tape
- iron and ironing board
- sewing clips or pins
Follow us for free patterns & tutorials! [easy-profiles]
How to Sew a Petal Drawstring Gift Bag
Watch the diy Petal Drawstring Gift Bag video first and then follow the written step by step instructions below.
Please enjoy and don’t forget to Like and SUBSCRIBE over on YouTube to be kept up to date with new videos as they come out.
Petal Drawstring Gift Bag VIDEO TUTORIAL
INSTRUCTIONS:
STEP 1:

Place the two pieces of 9.5-inch (24 cm) fabric with right sides facing each other and pin or clip near the corners.
STEP 2:
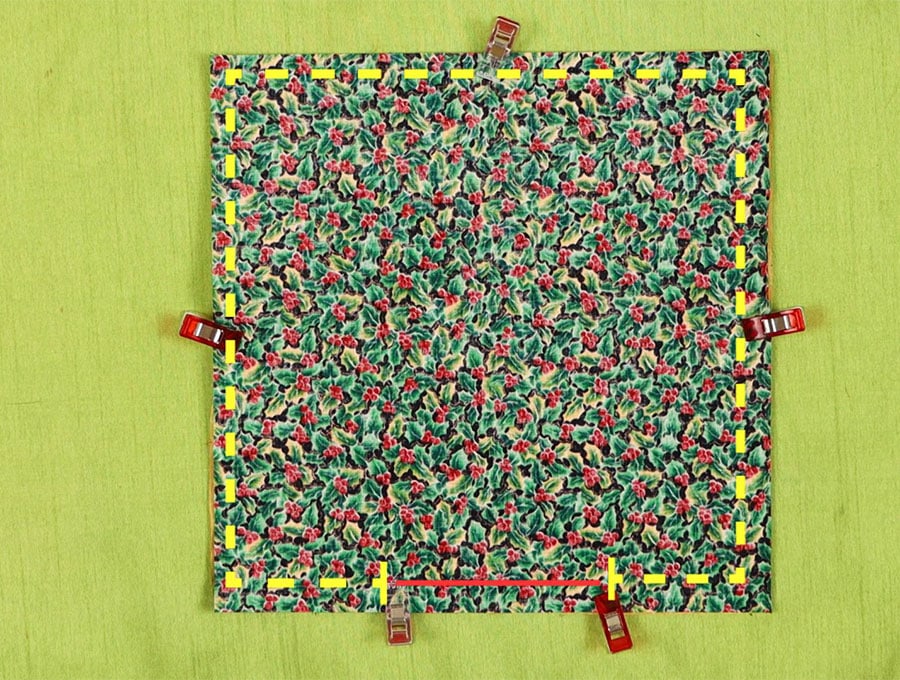
In the middle of one side of the square, place pins on either side to create a gap of 3 inches (7.5 cm). This is to enable you to turn the fabric right way out.
STEP 3:
Start at one side of the gap with a back-tack and stitch around the square’s edge 3/8 of an inch (1cm) from the edge. When you come to a corner, leave the needle in the fabric, lift the presser foot of the machine, gently swing the fabric at 90 degrees, depress the presser foot, and carry on sewing. When you come to the pin indicating the gap, stop and back-tack.
Step 4:
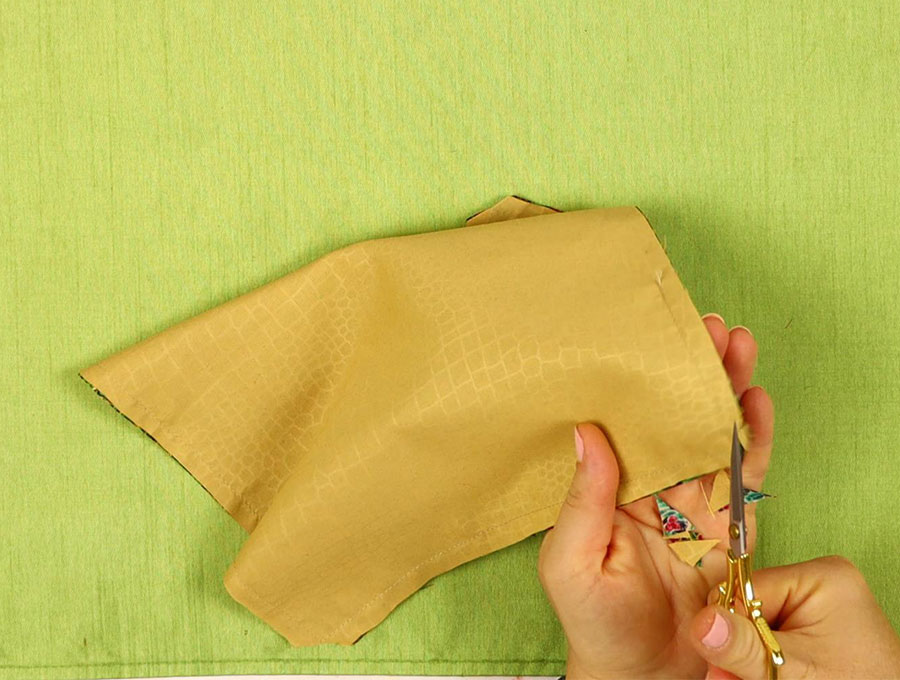
Trim the four corners at an angle to reduce bulk when the fabric is turned. Just make sure not to go too close to the stitching.
Step 5:
Using the tip of the iron or a roller, press each seam of the square open. At the area where the gap is, press the fabric in line with the rest of the seam.
Step 6:
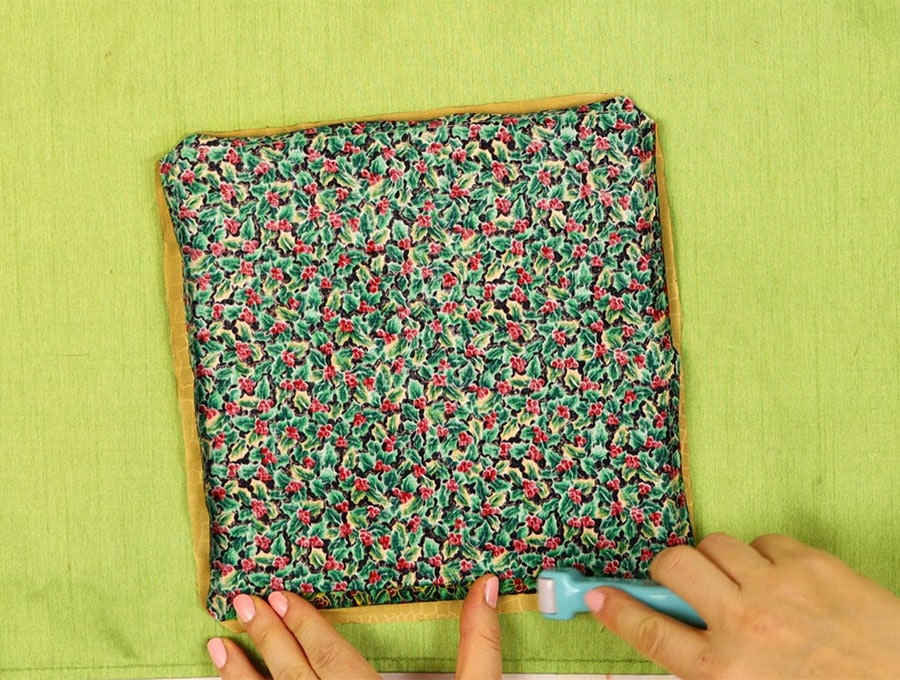
Turn the square right way out by pulling the fabric through the gap. Use the turning tool or a chopstick to gently poke out the corners so they lie flat, then press the whole square.
Stitch the gap
Step 7 :
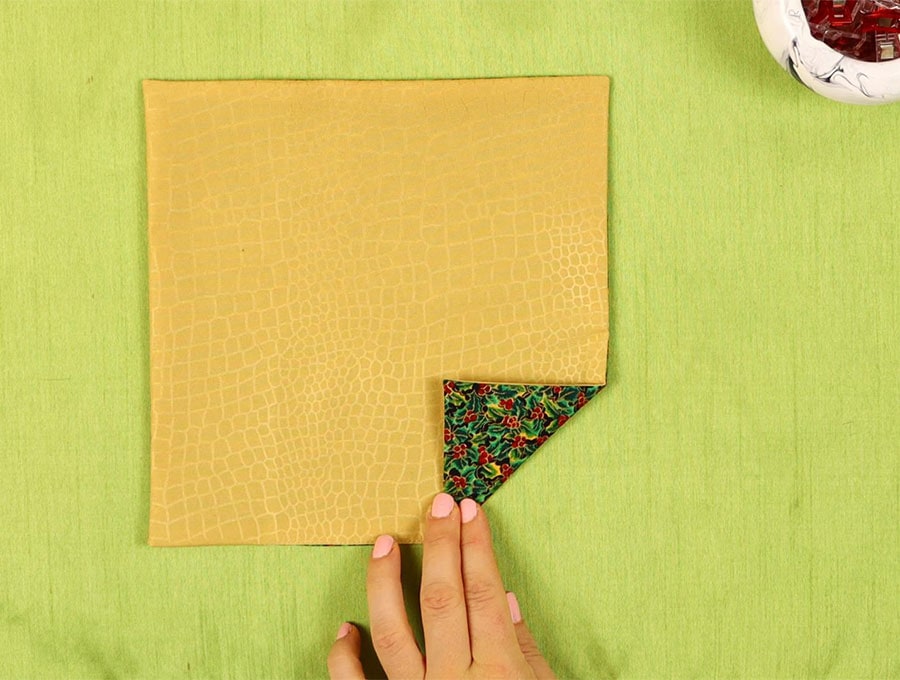
Choose the side you want to be your petal color and lay that side facing down on the worktop. Using your quilting template, measure 3 inches (7.5 cm) from the point of a corner once you have folded it back into the square. Press the fold to secure it.
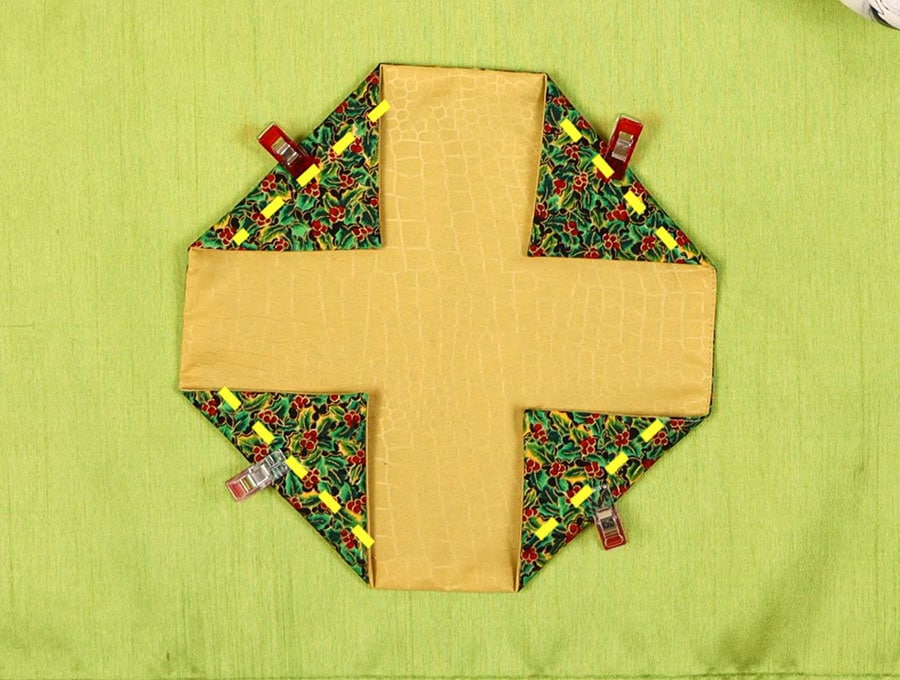
Repeat with the other three corners.
Step 8:

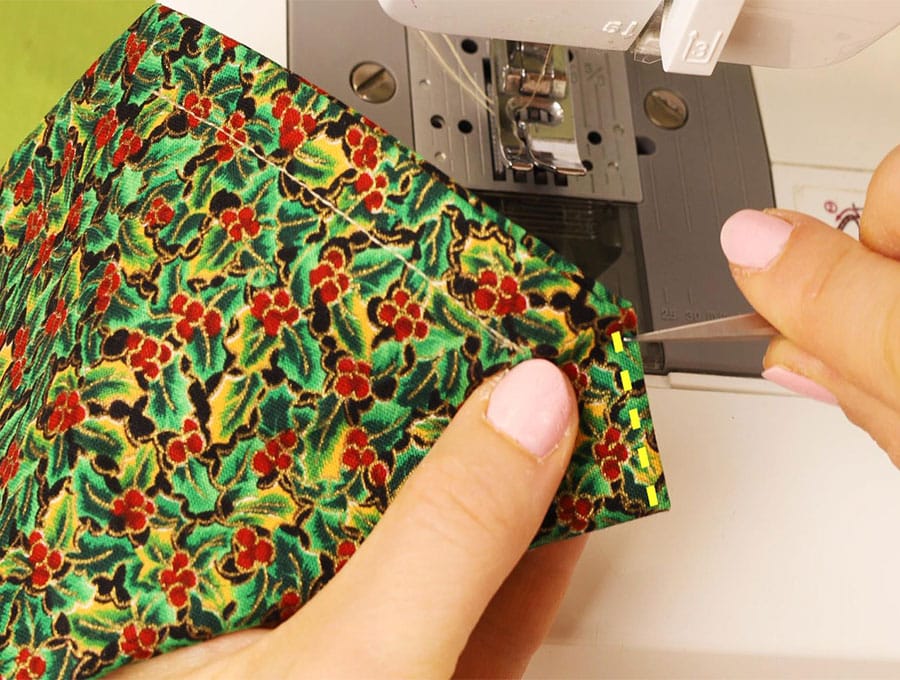
Stitch across the first fold ½ an inch from the edge, back-tacking at the start and finish. Without cutting the thread, move to the next corner fold and complete all four corners before cutting and trimming the thread. This saves you time and thread when creating the four channels through which the ribbon or cord will be threaded later.
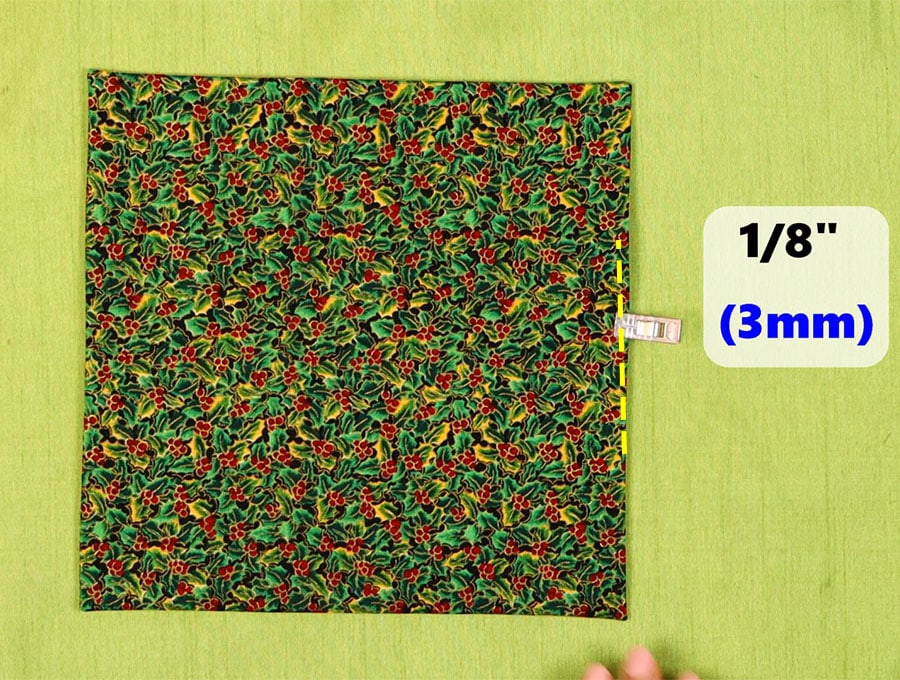
Step 9:
To create the box effect, we now line up two of the folded edges and, making sure not to catch any part of the channel, stitch 1/8 of an inch (3mm) from the edge down the straight side.
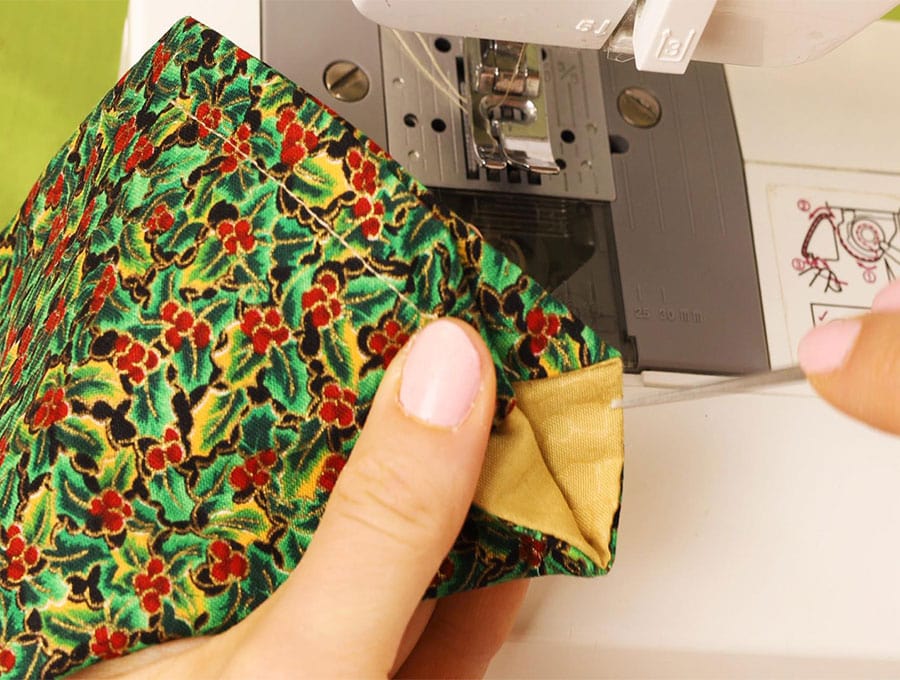
Repeat with the other three sides.
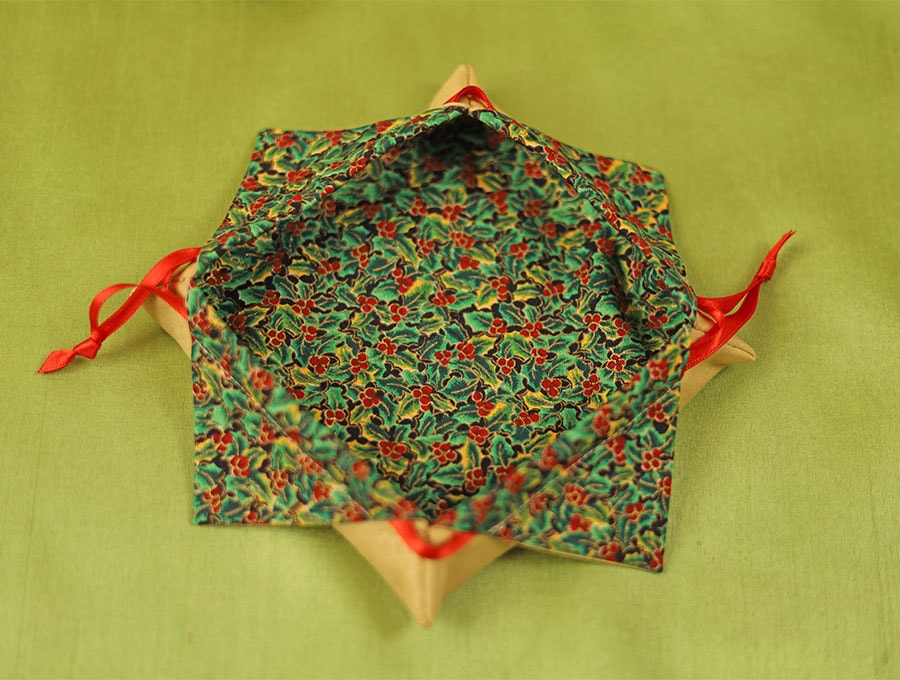
Step 10:
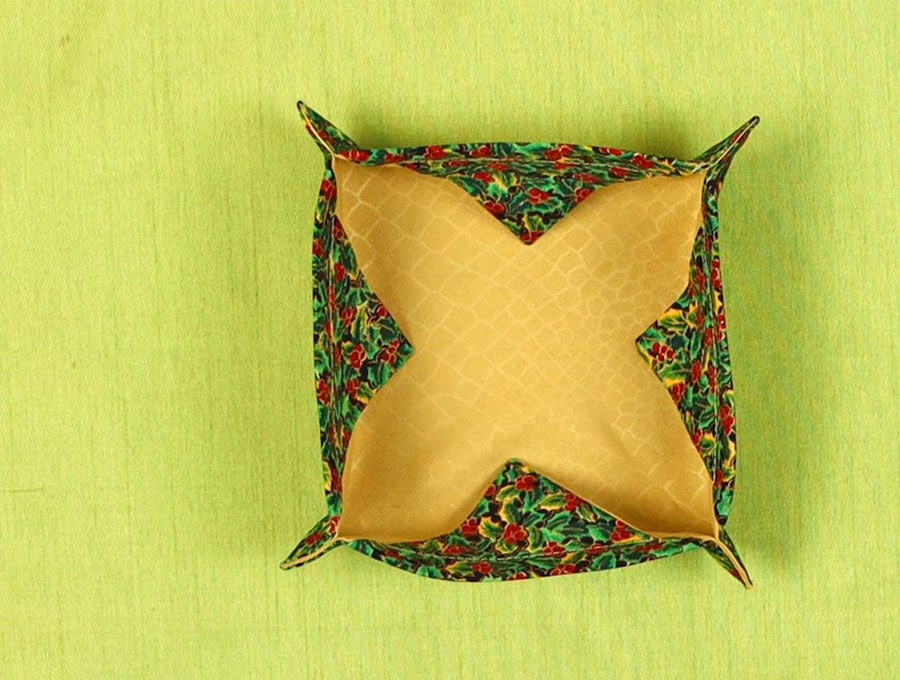
Trim off any threads and open the fabric to create a little box with folded back petals.
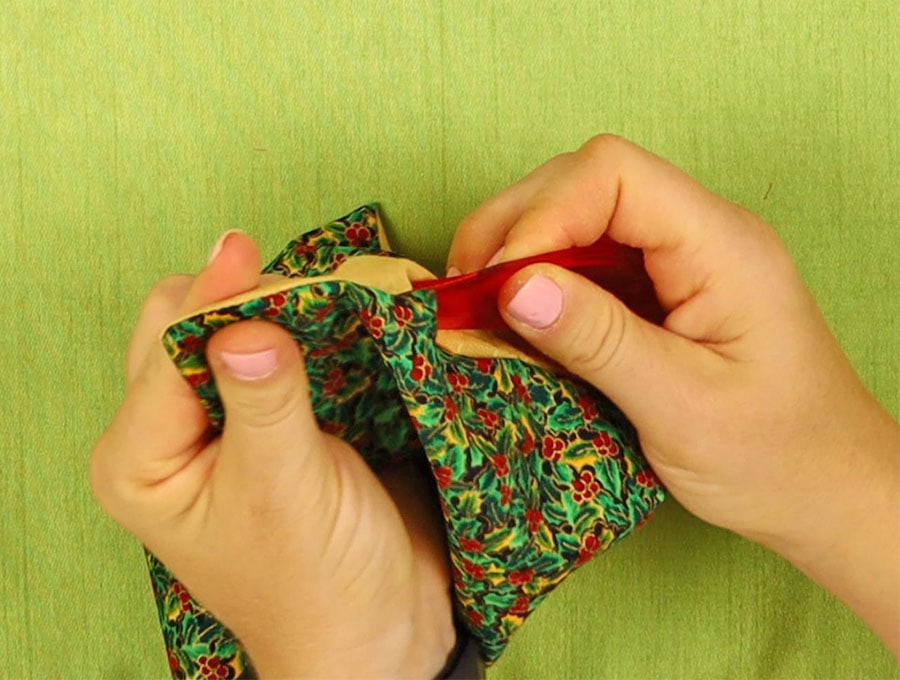
Step 11:
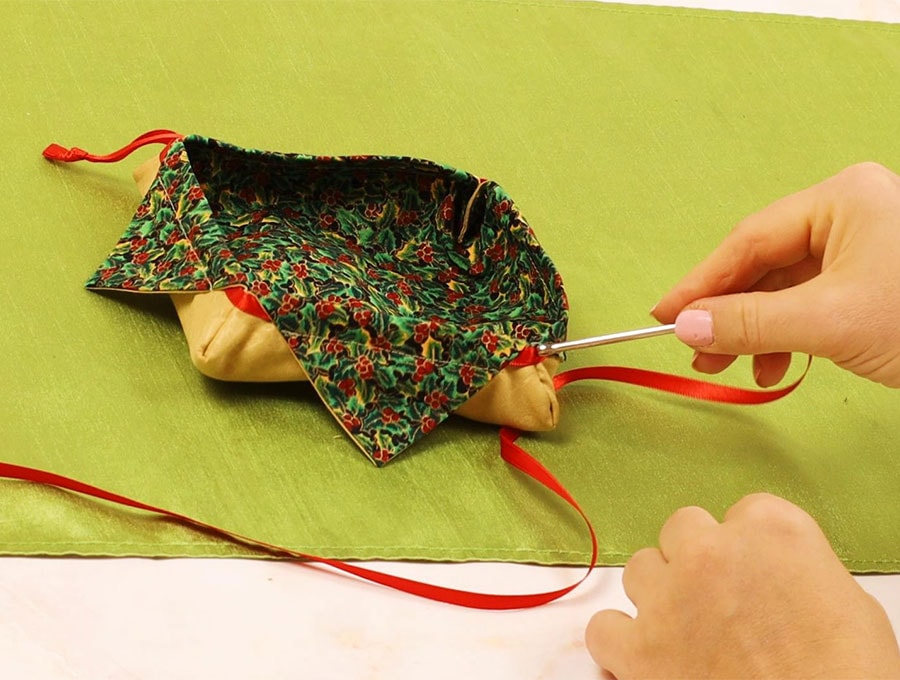
Take up one of the pieces of ribbon or cord and thread it through all four channels using a safety pin or bodkin. Level up the ends of the ribbon or cord and tie the two ends together in a knot about an inch from the ends. Trim the ends at an angle or swallowtail V to avoid fraying the ribbon. If you are using a cord, there is no need to trim – it will naturally fray out up to the knot.
Step 12:
Take the other piece of ribbon or cord and thread it through all four channels using a safety pin or bodkin, starting at the end where the first one was tied off and finishing on the opposite side of the bag. Level up the ends of the ribbon or cord and tie the ends together, trimming as you did in Step 10.
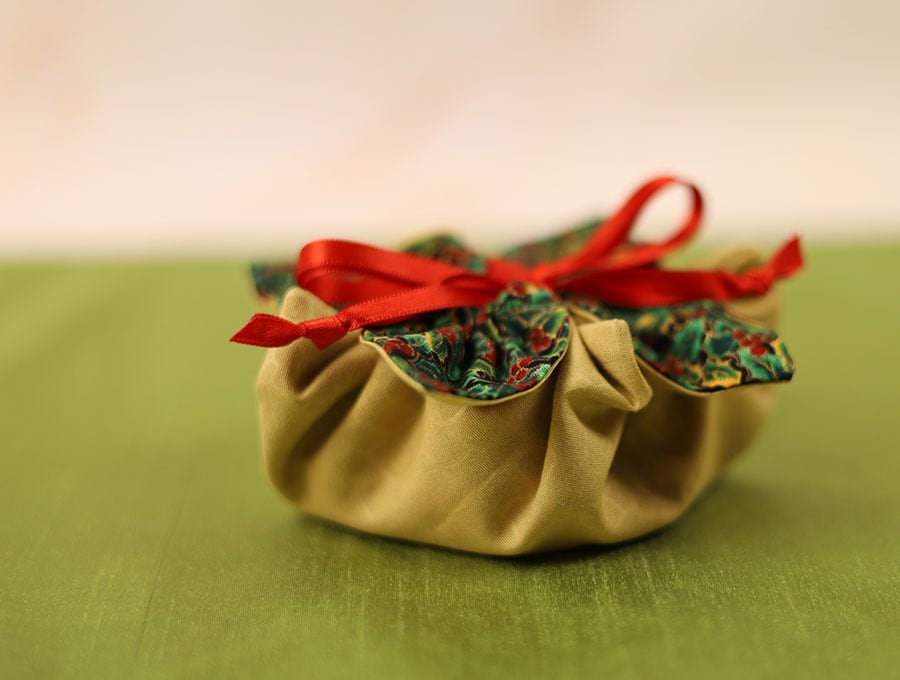
Step 13:
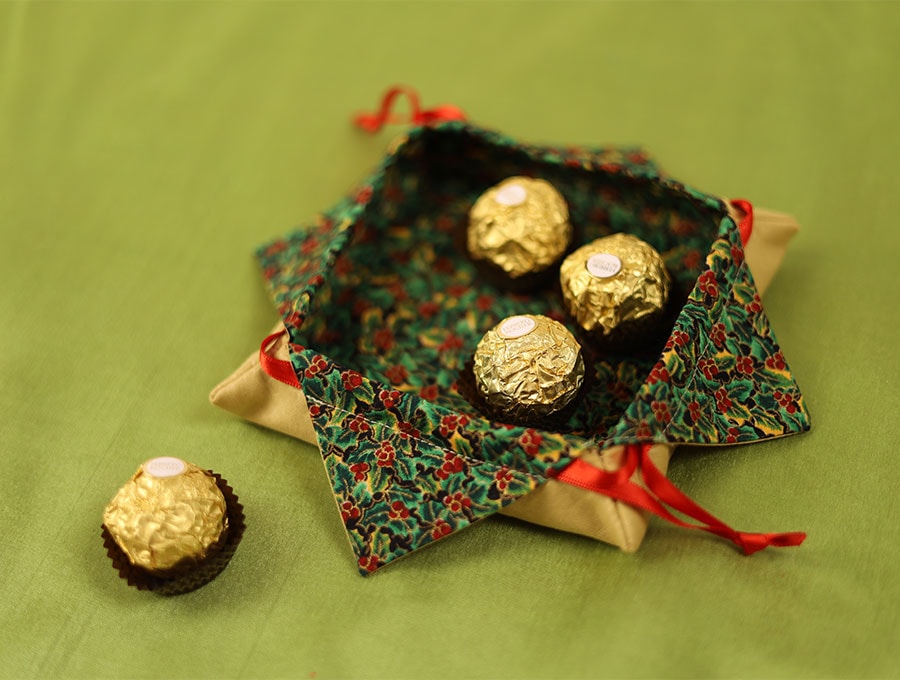
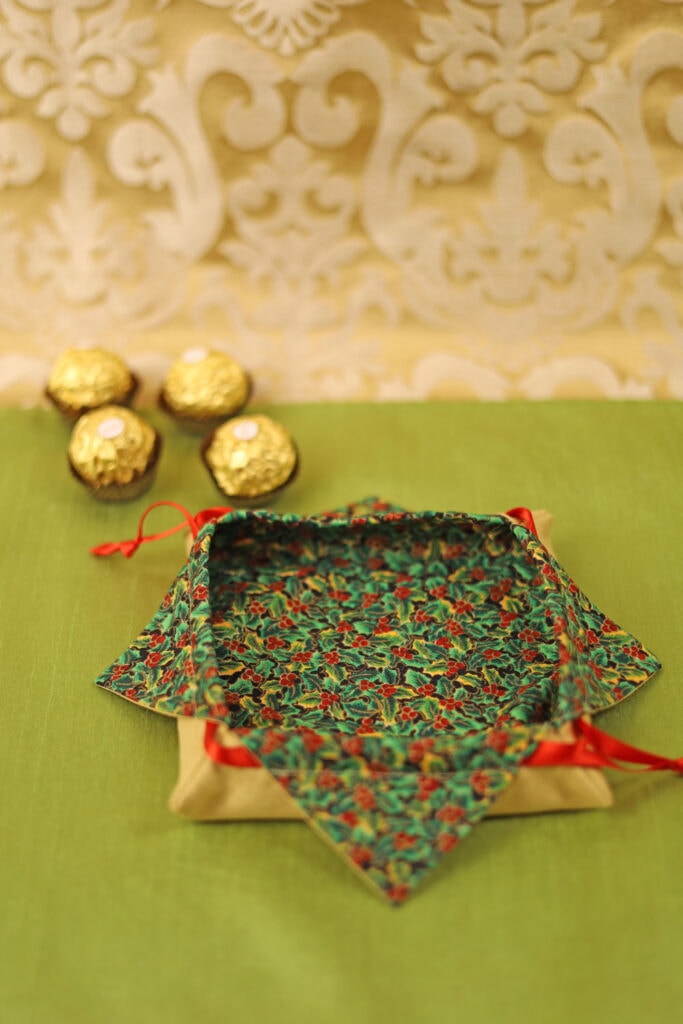
As you pull on the two pieces of ribbon from opposite sides, the drawstring bag will close, creating a really pretty little flower. Load the bag with a few luxury-wrapped chocolates or marzipan – or whatever you like and hang the festive favors on the Christmas tree.
You can use the Petal Drawstring Gift bag for small presents like rings, chains, lipstick, or any other small gifts you may have. I like to take one when I travel to dump my jewelry in at the end of the day so I don’t risk items rolling off a hotel bedside table and being forgotten. They are also great for packing your phone charging cable when you travel. If you enjoyed this fun and easy project, please like and subscribe. Subscribers have all the new projects delivered straight to their inboxes, so they never miss out on the easy and fun projects from Hello Sewing.
Do you like this? Pin for later:
Wanna be friends? Click HERE and follow me on Pinterest
RELATED: