
How to Sew a Lined Gift Bag in ANY Size You Want
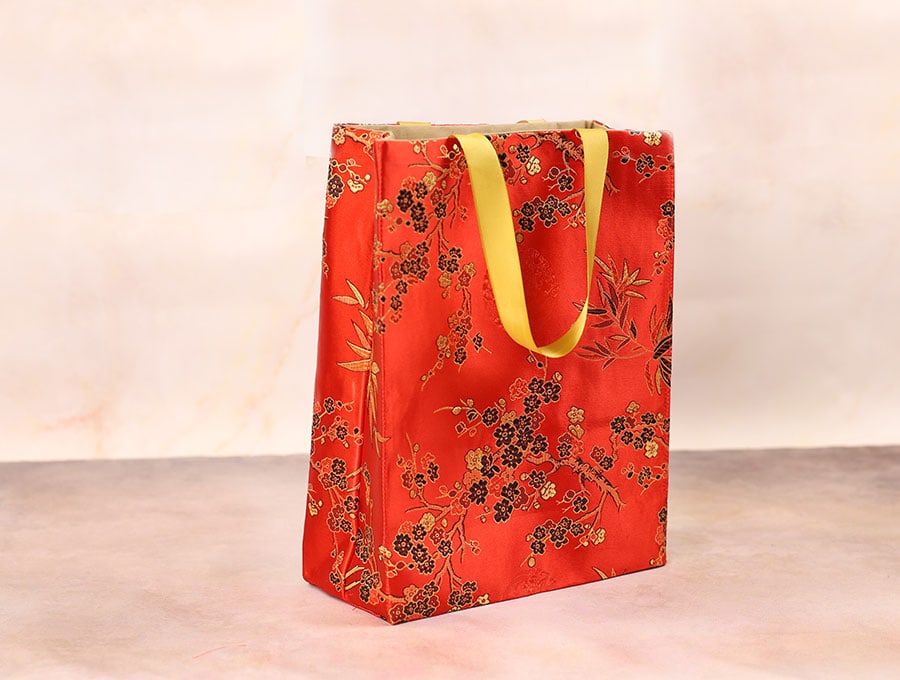
Making a reusable gift bag means that instead of ending up in landfill, it can be passed from recipient to recipient, getting plenty of use, or it can be used for storing items. Make it in two print fabrics so it can be reversible, or if you prefer to use just one side, then choose plain cotton for the lining. Make them in festive prints for Christmas gifting, or try gorgeous satins or brocade for birthday gifts, teen prints, and cute unicorn, fairy, or dinosaur prints for kids. Our step-by-step instructions show you exactly what to do, backed up by our visuals.
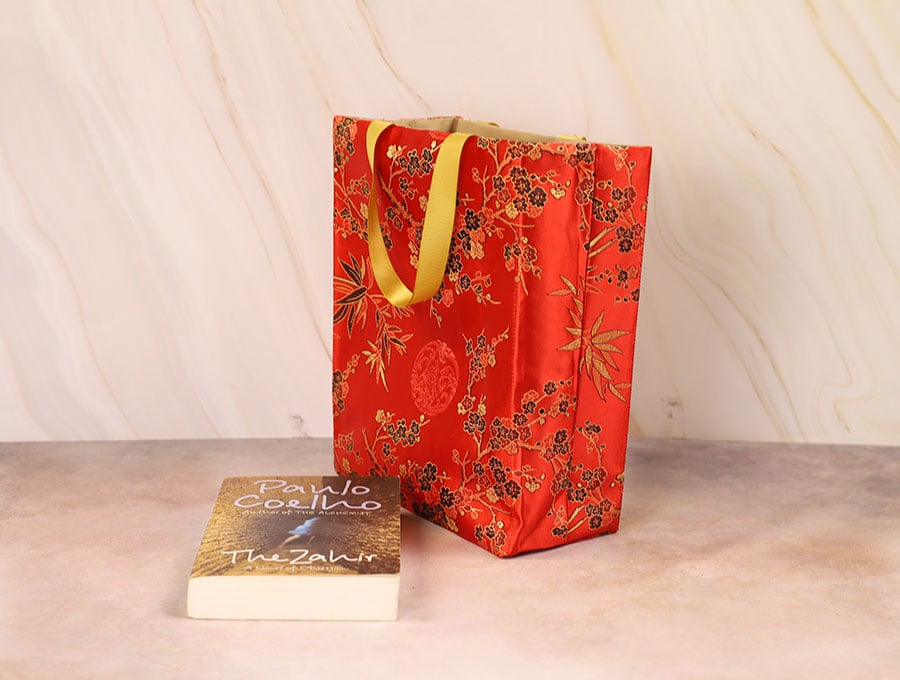
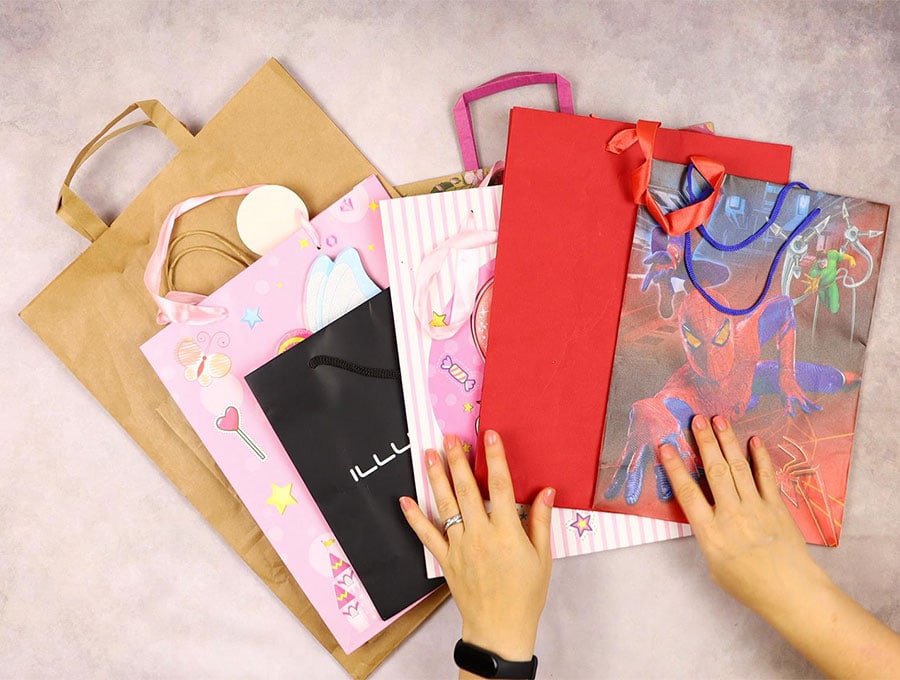
If having to throw out gift bags really goes against your principles of recycling and reusing, then make a reusable gift bag. It’s so pretty it will be used by each recipient to pass on with a beautiful gift inside. Who knows, it may even eventually return to you – a true circular journey. Many people also like to use them for short-term storage. Our visuals show you how to make the bag using an existing paper gift bag for your pattern. They are pretty quick and easy to make once you follow our step-by-step instructions and can be made so they are reversible – one bag, two different looks.
Below you will find my step by step written tutorial with VIDEO instructions for all the visual learners.
We occasionally link to goods offered by vendors to help the reader find relevant products. Some of the links may be affiliate meaning we earn a small commission if an item is purchased.
Table of Contents
How to make a lined gift bag
Reusable Lined Gift Bag Supplies and tools
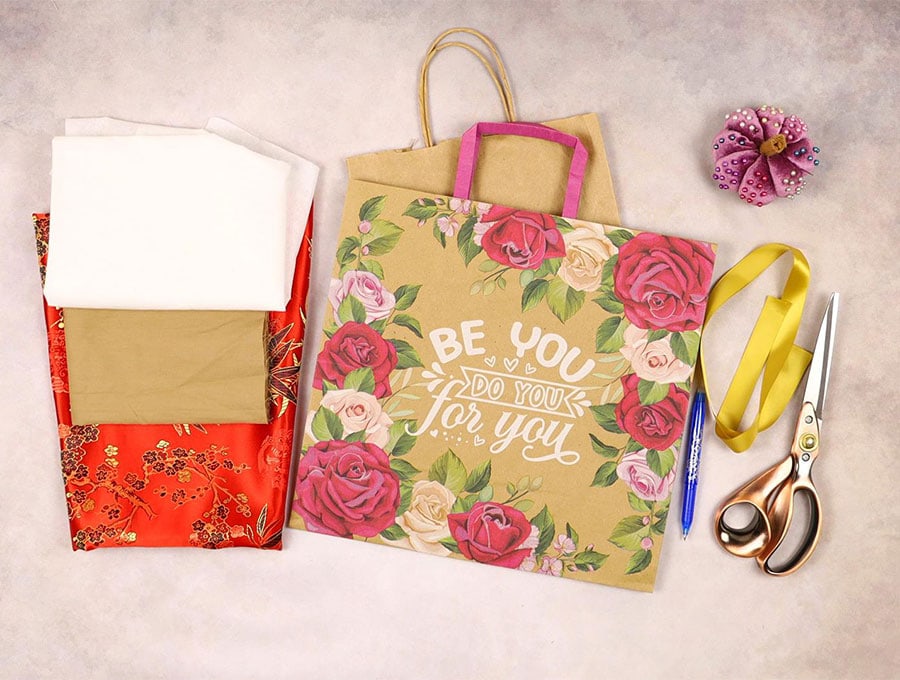
- paper gift bag – any size you choose, to serve as a pattern
- firm fusible interfacing the same size as the paper bag once it’s laid out flat
- fabric for the exterior of the bag (brocade, cotton, linen)
- fabric for the lining of the bag (plain cotton will do)
- matching thread
- scissors (or rotary cutter and a cutting mat)
- ruler or measuring tape
- iron and ironing board
- sewing clips or pins
DOWNLOAD: [Free pdf file]
Follow us for free patterns & tutorials! [easy-profiles]
How to Sew a lined gift bag
Watch the diy lined fabric gift bag video first and then follow the written step by step instructions below.
Please enjoy and don’t forget to Like and SUBSCRIBE over on YouTube to be kept up to date with new videos as they come out.
DIY lined gift bag VIDEO TUTORIAL
INSTRUCTIONS:
STEP 1:
Take a paper gift bag that has seen better days to use as a pattern and cut it straight down the middle of the side panel. Then, cut along the fold where the base joins the side panel to the left and right.
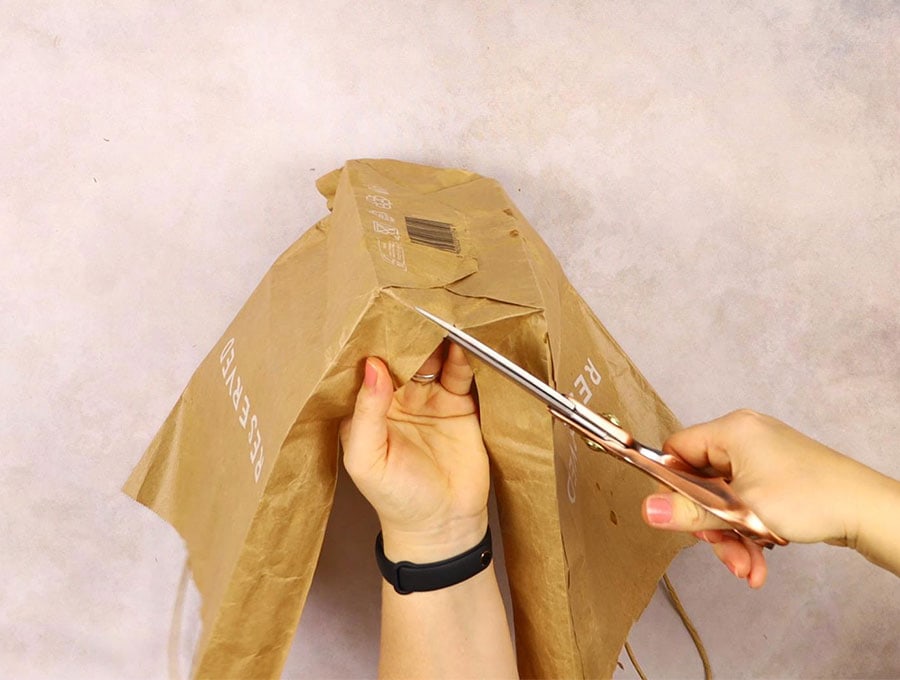
Repeat with the other side of the paper bag.
STEP 2:
Remove both the string handles and lay them aside for the moment, as these will provide the length for cutting your new ribbon or cord handles.
STEP 3:
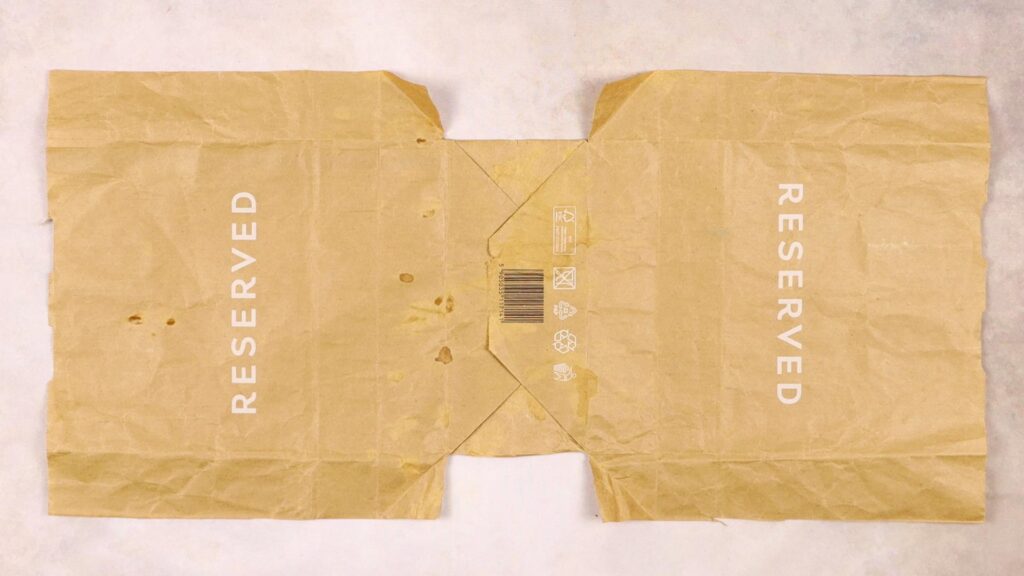
Grab your iron and iron the paper bag flat so it is easier to work with as a pattern.
STEP 4:
Lay out your fusible interfacing fabric on your worktop, place the paper pattern over it, and pin it in place.
STEP 5:
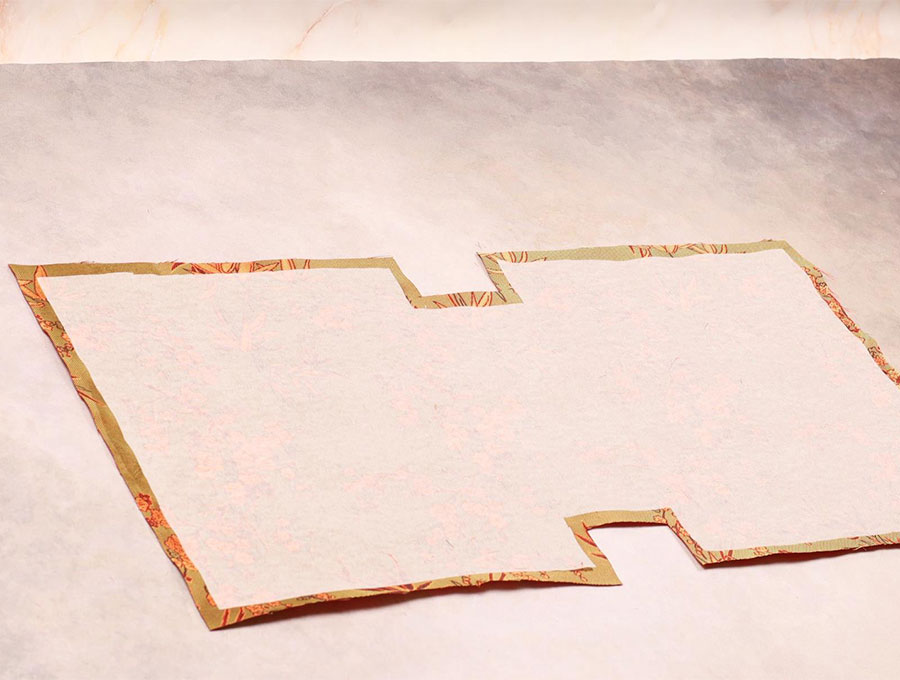
Using a ruler, mark around the edges of the paper pattern with a fabric marking pen. Remove the pattern and then cut out the shape of the gift bag.
STEP 6:
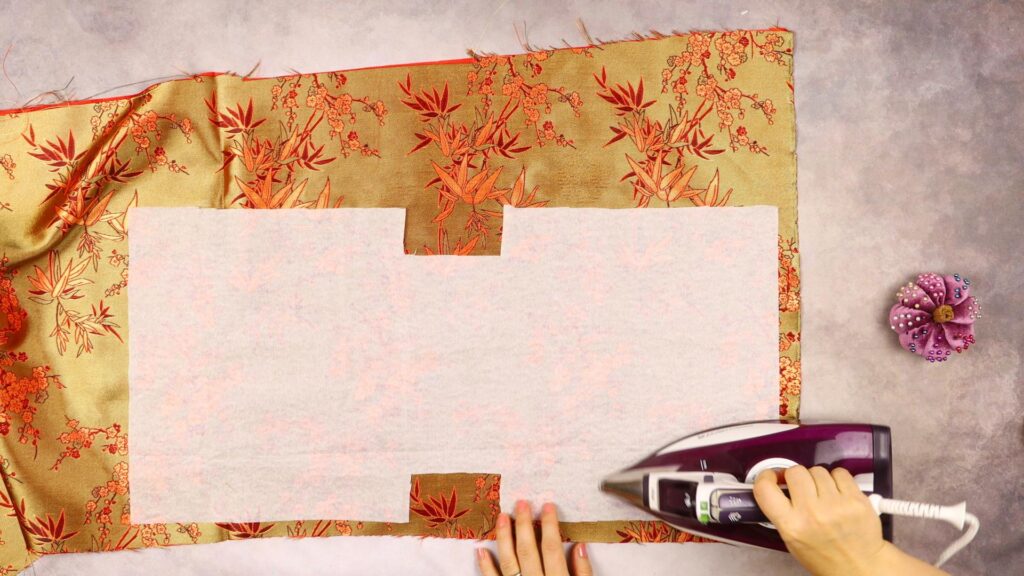
Place the interfacing with the fusible side face down on the wrong side of the fabric chosen for the outside of the gift bag and iron to fuse as per the manufacturer’s instructions. Now, cut out the fabric 3/8 inch (12mm) larger than the interfacing all the way around.
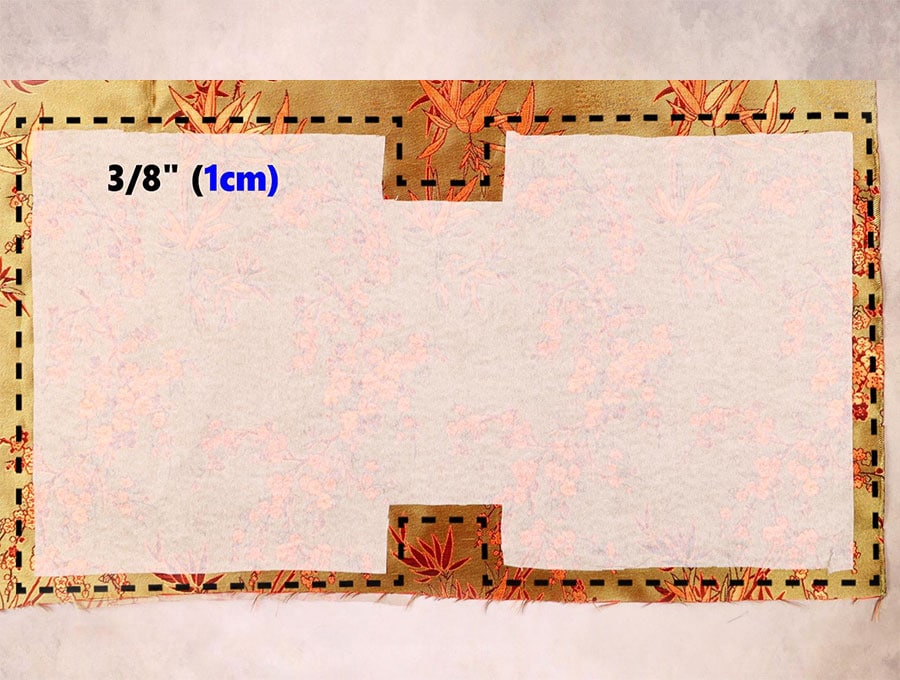
This is so that when you sew the bag, you do not have multiple layers of firm interfacing to sew through.
STEP 7:
Lay the fused fabric with the interfacing upwards on the worktop, and using a ruler, draw straight lines with your fabric marking pen across the bottom and down the sides. See our diagram or watch the visuals. You are marking where the folds in the paper bag you deconstructed would typically be.
STEP 8:
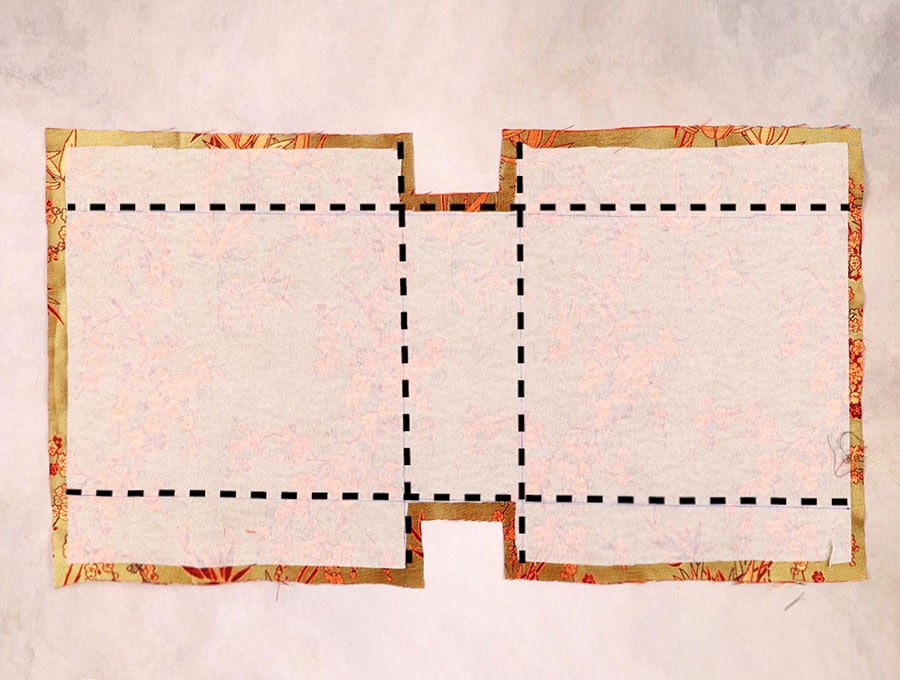
Stitch down the 6 marked lines – 2 on the base and 4 along the sides.
STEP 9:

Place your lining or second piece of fabric if you are making a reversible gift bag right-side down on the worktop and place the fabric with the fused interfacing right-side up onto it. Pin in place and cut around the edges to create the pattern for the lining. Set these pieces aside after removing the pins.
STEP 10:
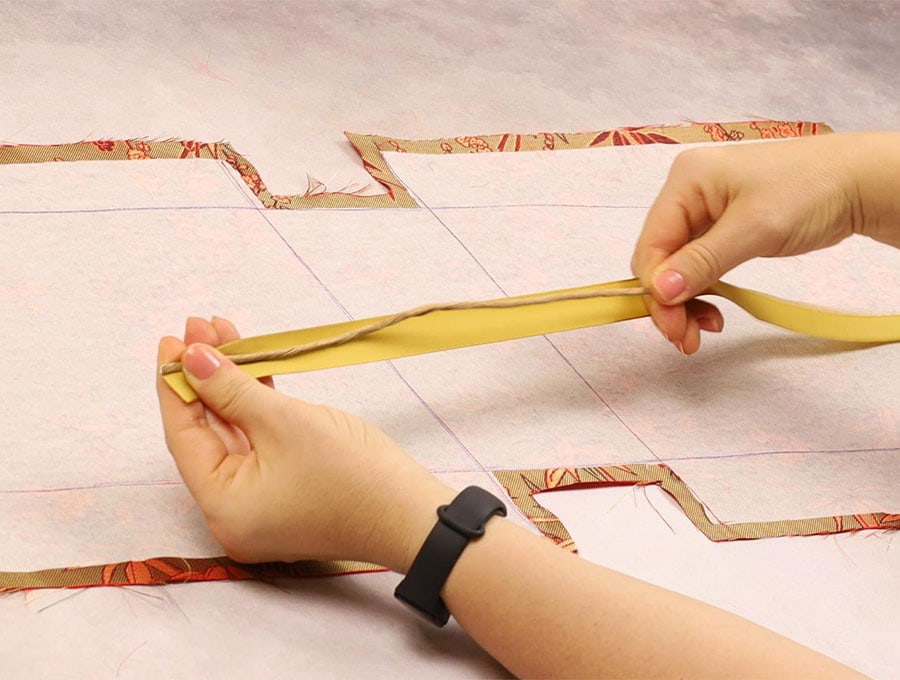
Take the handles you removed from the paper bag and use them to measure and cut new handles from ribbon or cord for your reusable, reversible bag.
STEP 11:
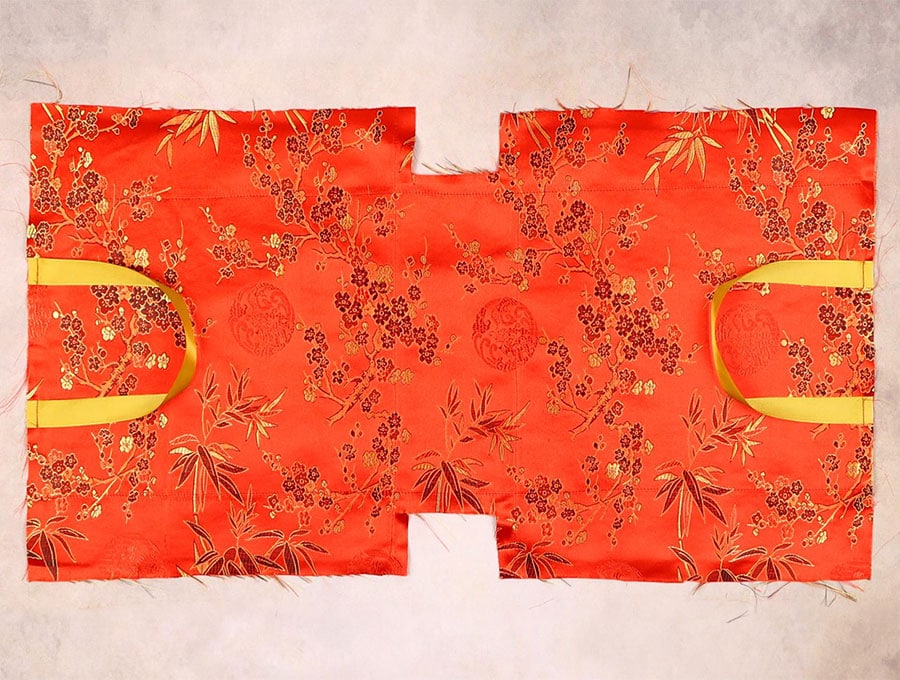
Pin the handles facing inwards to the middle of the fabric on either side of the center front and back. Ensure the ends are pinned 3 inches(7.5 cm) apart for smaller bags and 4 to 5 inches (10 to 13 cm) apart for larger bags. Use your machine to run a stitch across each end of the ribbon or cord to secure it in position 1/8 inch (3mm) from the edge. This is so you don’t have to fiddle with pins and risk them moving.
STEP 12:
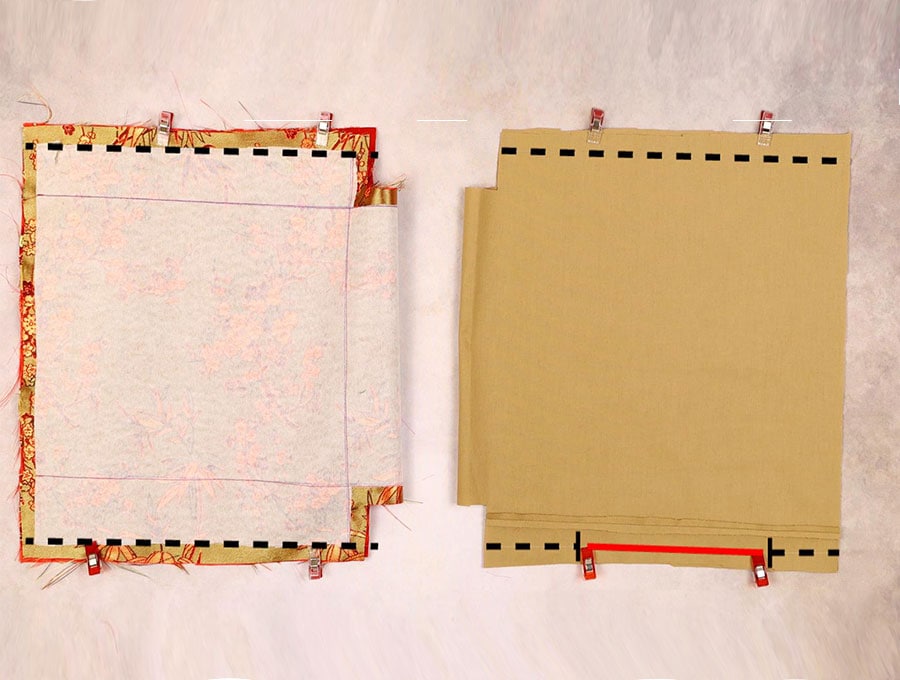
Fold the exterior fabric across the base with right sides facing each other, pin the sides in place, and stitch down each straight side 3/8 inch (12mm) from the edges, back tacking at the start and finish of each seam.
STEP 13:
Repeat the previous step with the lining or second fabric if you are making a reversible bag, except you will leave a 4-inch (10 cm) gap in the middle of one of the sides to pull the bag through to get it the right way out eventually.
STEP 14:

With the bag still inside out, line up the stitched seam to the middle of the base, opening the seam and flattening the fold. This will create the boxed shape at the bottom of the bag.
Stitch across the diagonal on either side of the bag, back-tacking at the start and finish.
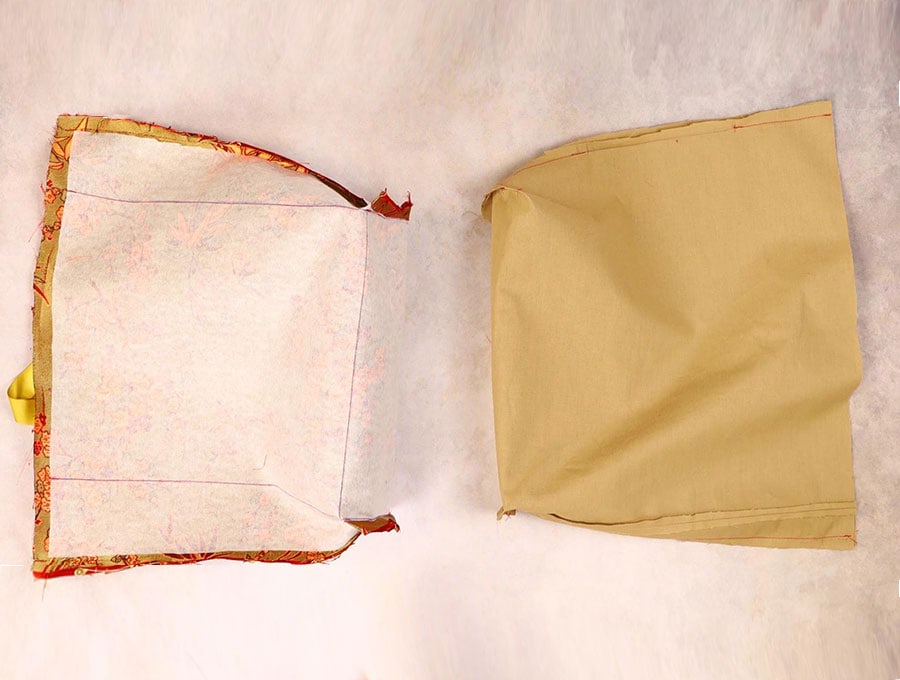
Repeat with the second lining piece.
STEP 15:
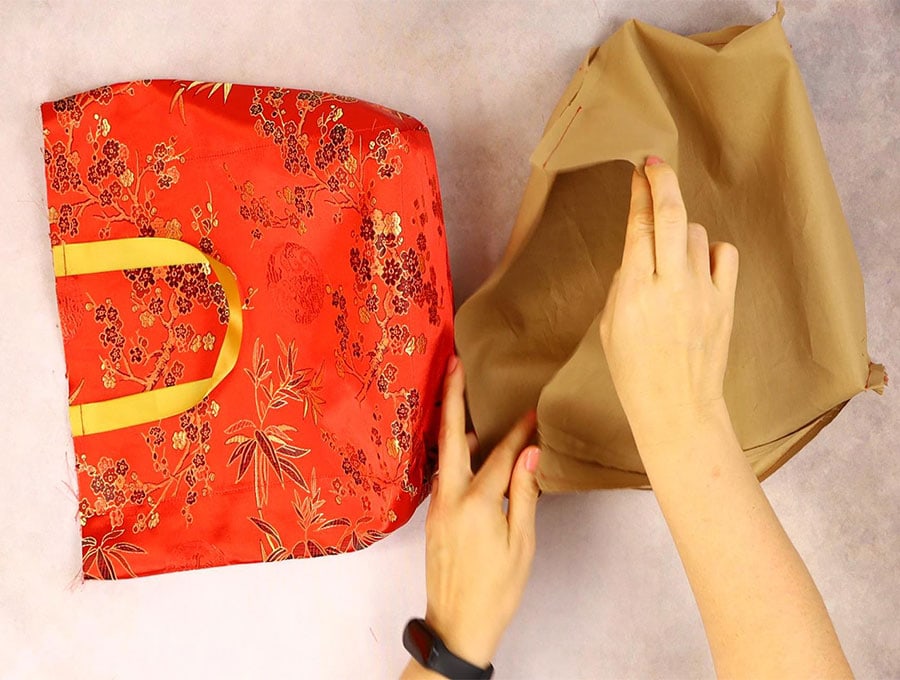
Turn the exterior part of the bag the right way out, and keeping the lining piece with the wrong side out, slip it over the outer bag – you will have the right sides facing each other.
STEP 16:

Check the handles are neatly tucked inside and can’t get caught up when you stitch around the top. Line up the tops of the exterior and interior parts of the bag so the seams match up and pin or clip in place.
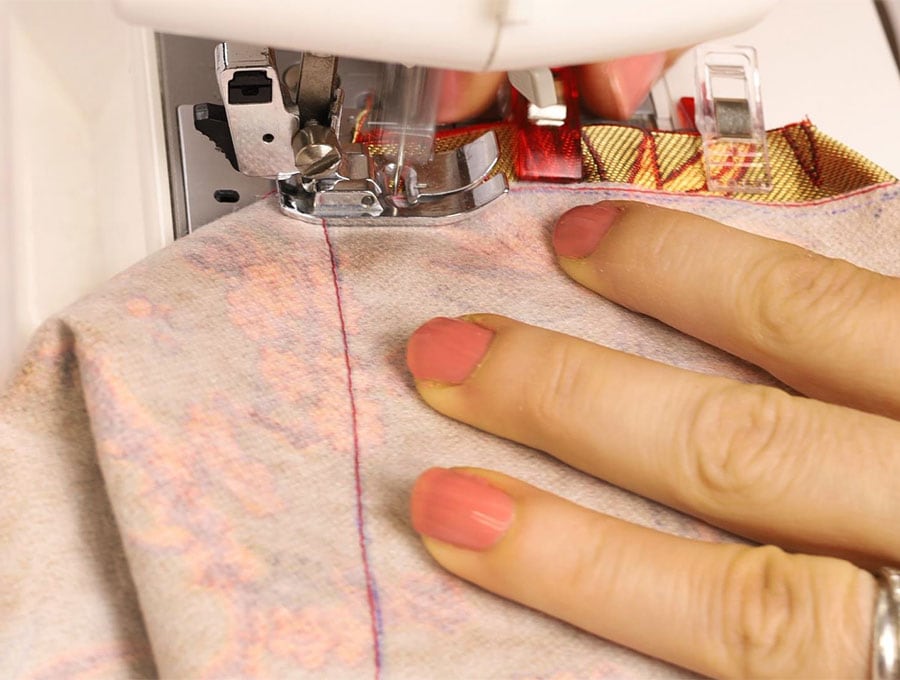
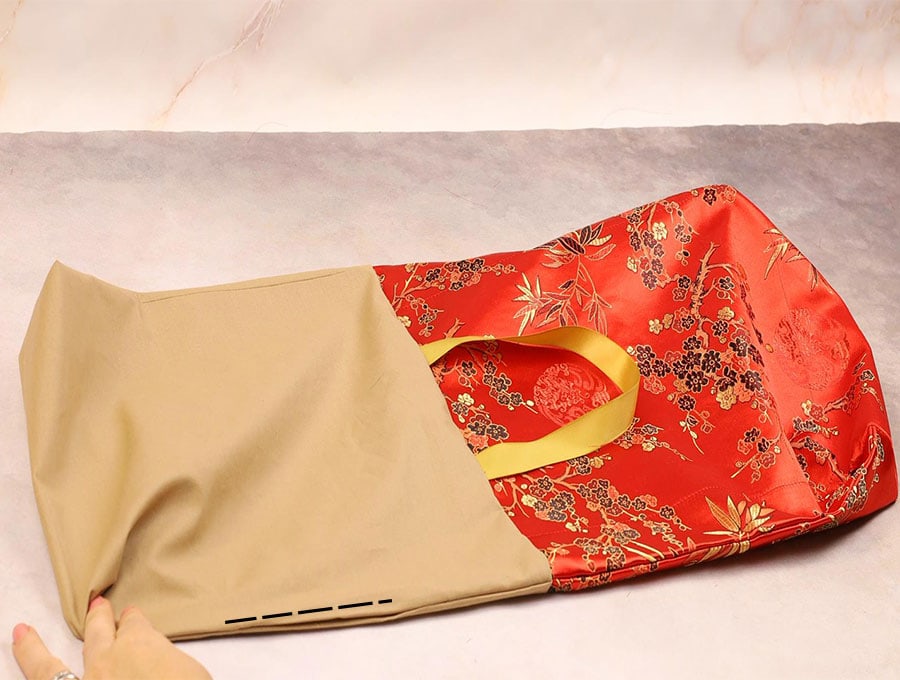
STEP 17:
Stitch right around the edge, then turn the bag the right way out by pulling it through the gap in the lining.
STEP 18:
Ensure all the corners are pressed out neatly, tuck in the gap’s edges in line with the seam, press, and slip stitch together.
STEP 19:
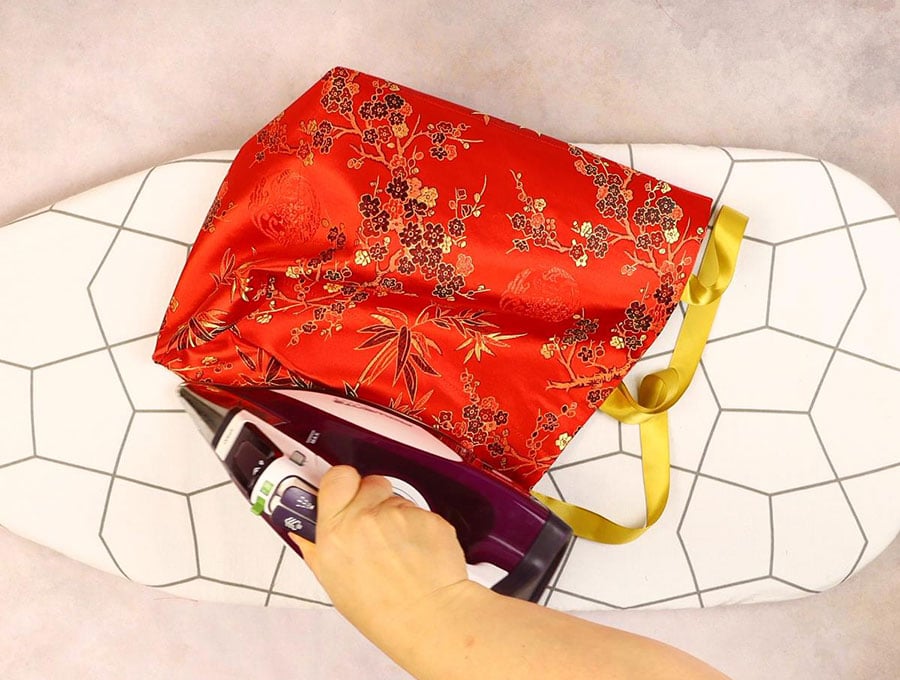
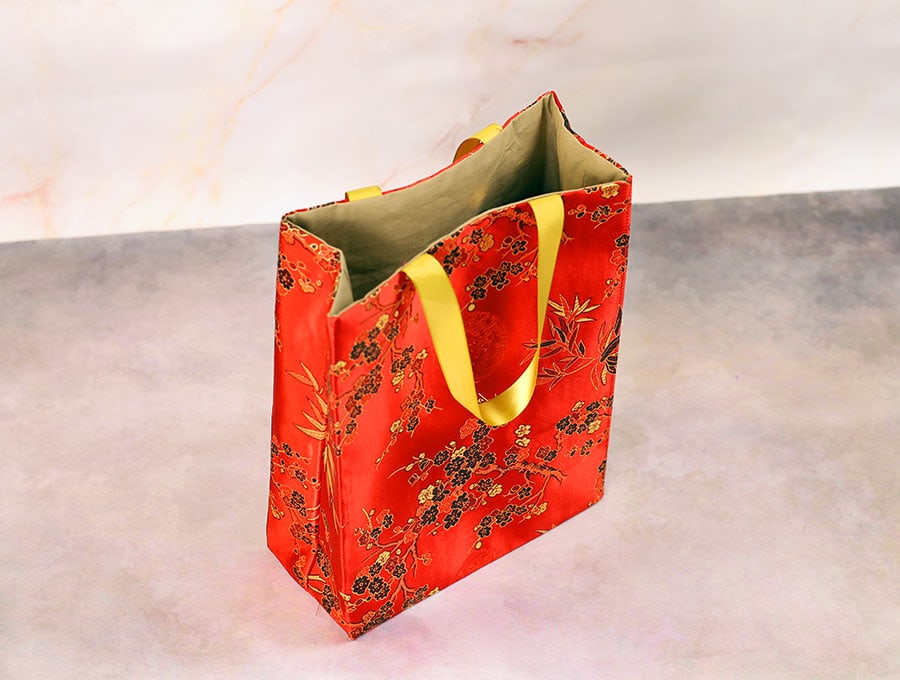
Fit the lining into the bag and press like the paper bag had folds – along the sides and across the bottom.
The lines of stitching you did in step 8 will be your folding guides. Once pressed, the reusable gift bag is ready to be loaded with goodies.

If you used two print fabrics, the bag can be used on the reverse side, giving it a new look. Please hit the like button and subscribe to have more useful tutorials delivered to your inbox.
Do you like this? Pin for later:
Wanna be friends? Click HERE and follow me on Pinterest
RELATED: