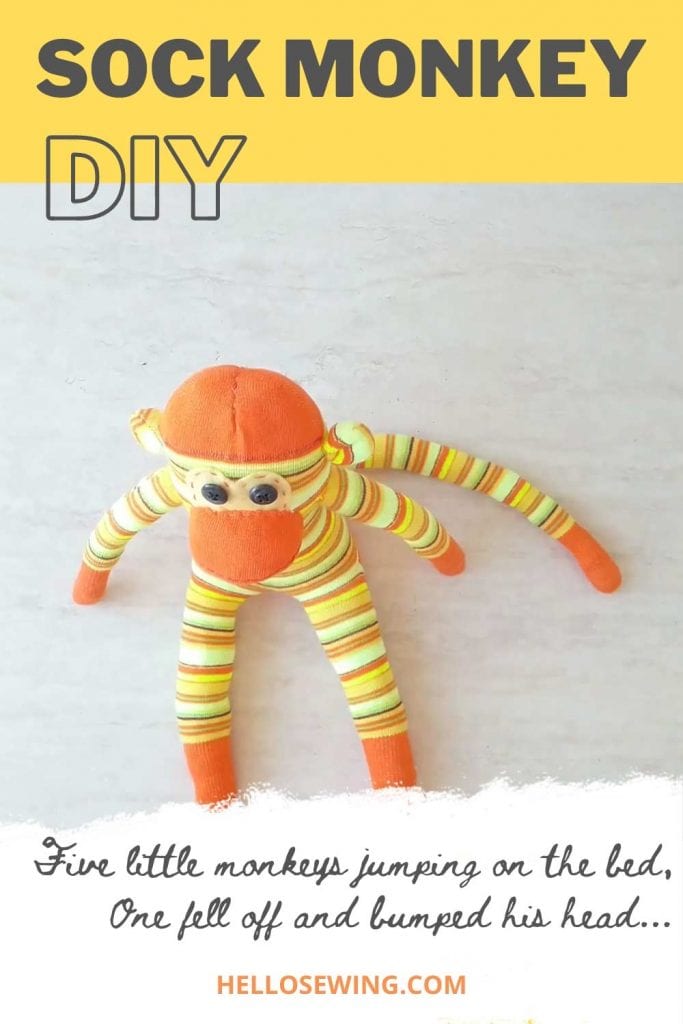
How to Make a Sock Monkey – Pattern and Video
The holidays are just around the corner and that means you have to prepare some presents for your little ones. This is a great opportunity to combine something that you love with something that your kids love. Sewing with toys!
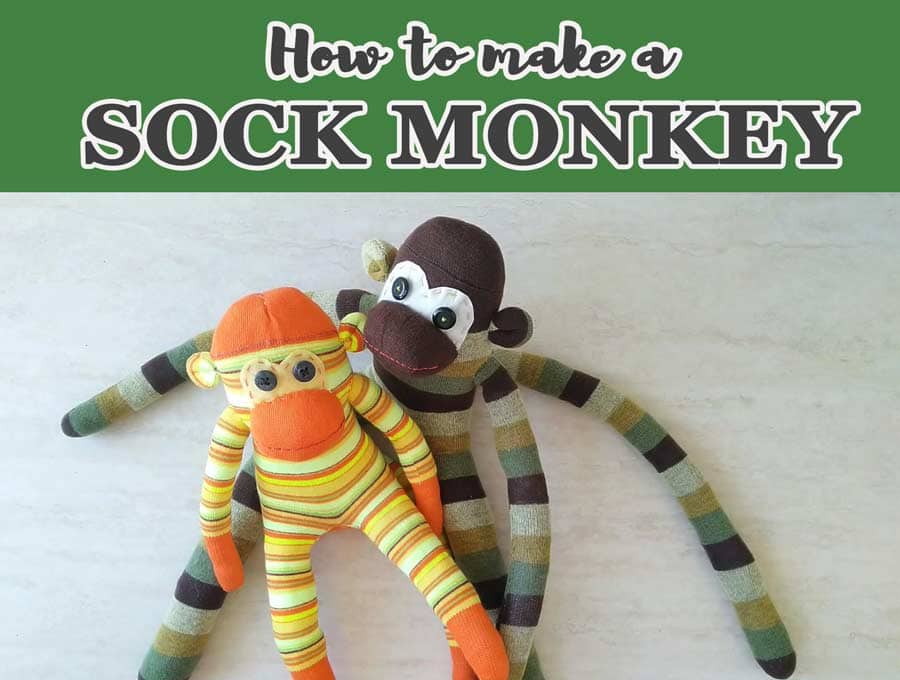
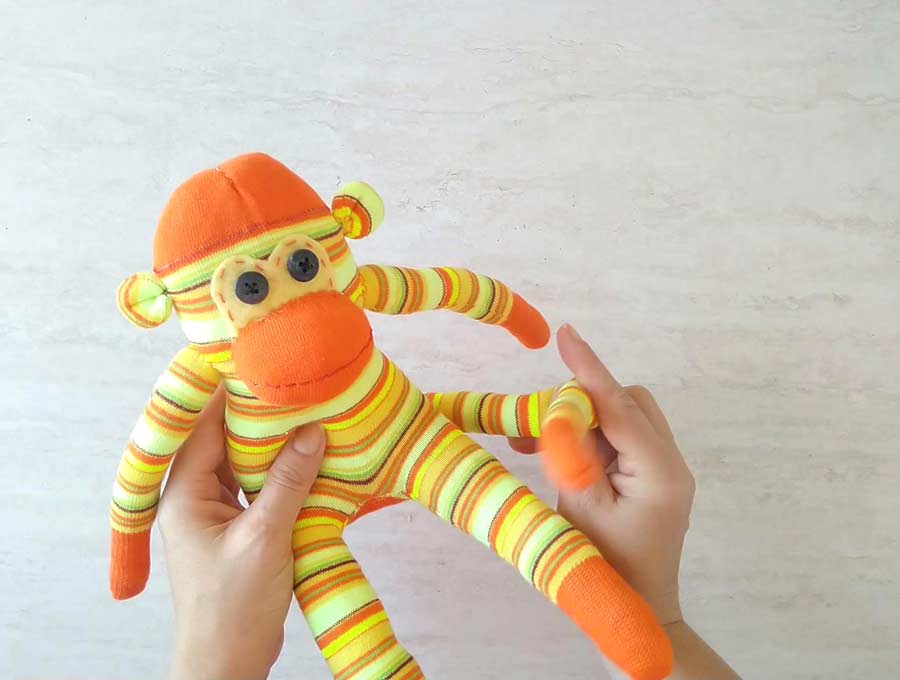
You won’t be making just any toys though, you’ll be making DIY sock monkeys. They are cute little stuffed monkeys that are environmentally friendly, fun to make, but most importantly, they are the kids’ favorite!
Don’t worry if you’re not very skilled at sewing, because this project is easy enough for beginners to finish it without hiccups.
If you like how that sounds, you’re at the right place. Now waste no more time and keep reading to find out how to make a sock monkey with a sock monkey pattern!
Below you will find my step by step written tutorial with VIDEO instructions for all the visual learners.
We occasionally link to goods offered by vendors to help the reader find relevant products. Some of the links may be affiliate meaning we earn a small commission if an item is purchased.
Table of Contents
- 1 How to make a sock monkey
- 2 Supplies and tools
- 3 How To Sew Sew Monkey Pattern
- 3.1 DIY Sock Monkeys VIDEO TUTORIAL
- 3.2 INSTRUCTIONS:
- 3.3 STEP 1: Prepare the pattern for sock monkey
- 3.4 STEP 2: Prepare the socks
- 3.5 STEP 3: Transfer the pattern and start sewing the monkey sock puppet
- 3.6 STEP 4: Sew
- 3.7 STEP 5: Cut
- 3.8 STEP 6: Turn right side out
- 3.9 STEP 7: Stuff
- 3.10 STEP 8: Make the ears
- 3.11 STEP 9: Pin all parts to the assigned places
- 3.12 STEP 9: Sew the body to the sock monkey
- 3.13 STEP 10: Let the monkey see
- 3.14 STEP 11: Let the monkey speak
- 3.15 STEP 11: (OPTIONAL) Adjust the head
How to make a sock monkey
Supplies and tools
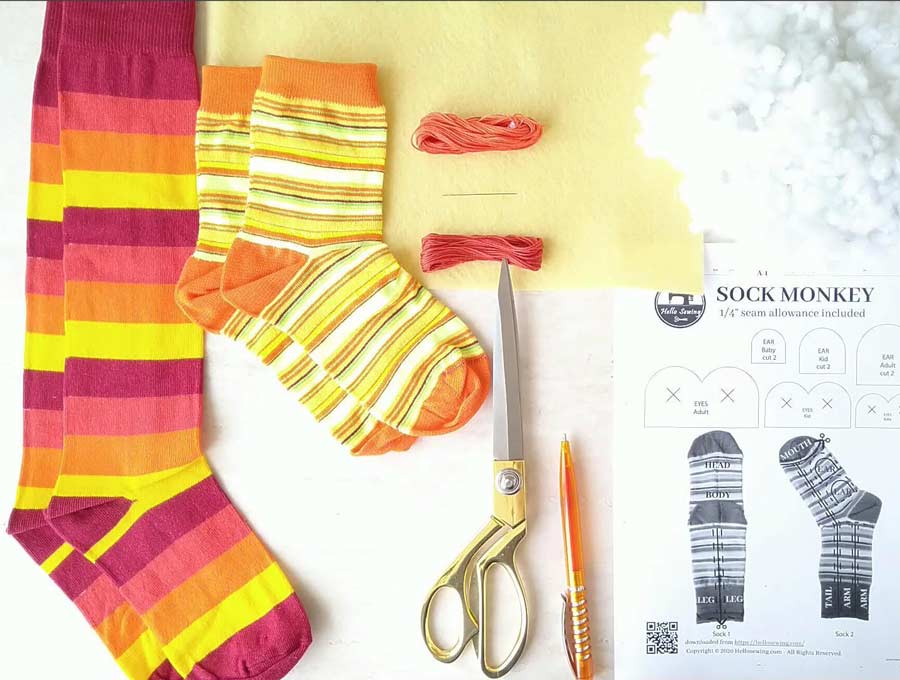
- 1 pair of striped socks
- piece of felt for the face
- 2 buttons
- polyfill stuffing
- embroidery thread (2 colors – one for the face and one for mouth)
- matching thread
- scissors (or rotary cutter and a cutting mat)
- ruler
- iron and ironing board
- sewing clips or pins
- sewing machine
DOWNLOAD: sock monkey pattern (Free PDF file)
Follow us for free patterns & tutorials! [easy-profiles]
How To Sew Sew Monkey Pattern
Watch the diy sock monkey video first and then follow the written step by step instructions below.
Please enjoy and don’t forget to Like and SUBSCRIBE over on YouTube to be kept up to date with new videos as they come out.
DIY Sock Monkeys VIDEO TUTORIAL
INSTRUCTIONS:
STEP 1: Prepare the pattern for sock monkey
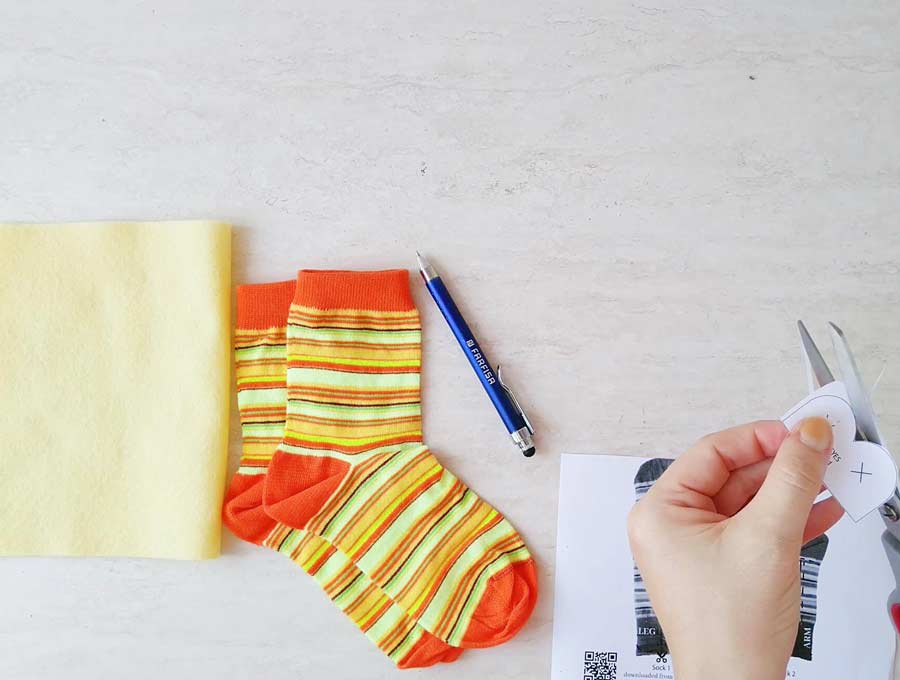
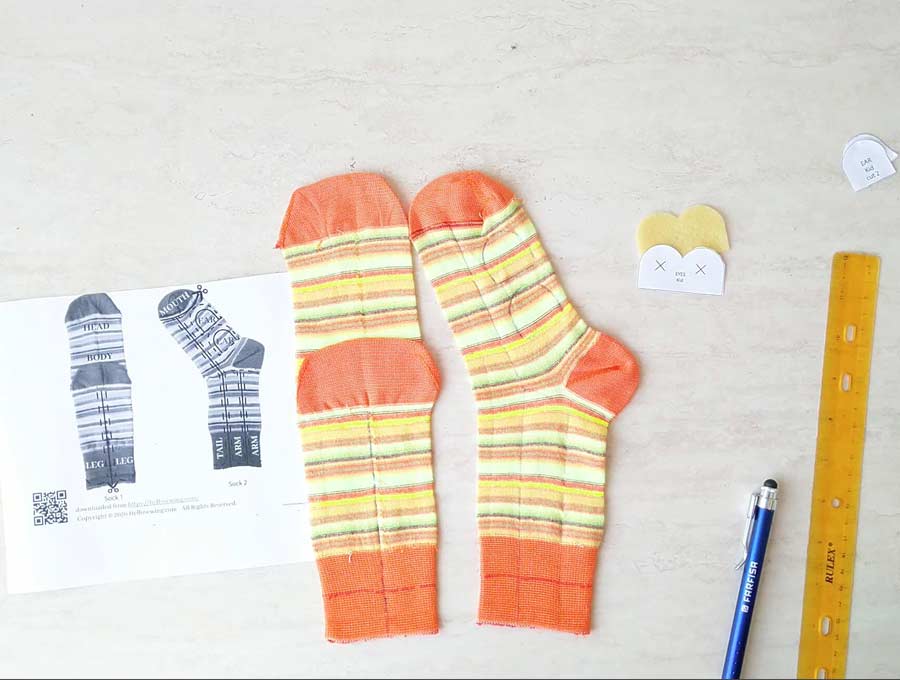
Download the stuffed monkey pattern and print it out on a piece of paper.
Cut the patterns you’ll need out and remove any excess fabric. If you are making adult monkey you’ll need just the Adult eyes and the adult ear, if making the baby – cut out only the baby ear and eyes. If you are making the whole monkey family, yeah, you get it – you’ll ned to cut them all out.
The size of the socks will determine the size of the monkey. If you want a small monkey use a pair of regular socks. If you want your monkey with extra large limbs (these are soo huggable!) use long socks and cut the folded cuff out.
STEP 2: Prepare the socks
Wash the socks you’ll use for the monkey puppet, turn them wrong side out, and lightly iron them. If your socks have a folded cuff, you’ll need to remove its stitches carefully.
Then iron the sock to stretch it out a bit.
STEP 3: Transfer the pattern and start sewing the monkey sock puppet
You need two socks for this step. One sock will be for the body, head, and legs. The other sock will be for the remaining body pieces.
Use the pattern and transfer the appropriate markings onto the socks with a washable pen or sewist chalk.
If you want to level up – align the stripes on both layers before you sew and cut the sock.
STEP 4: Sew
Sew along the sewing lines (these are about 1/4 inch away from the cutting lines)
STEP 5: Cut
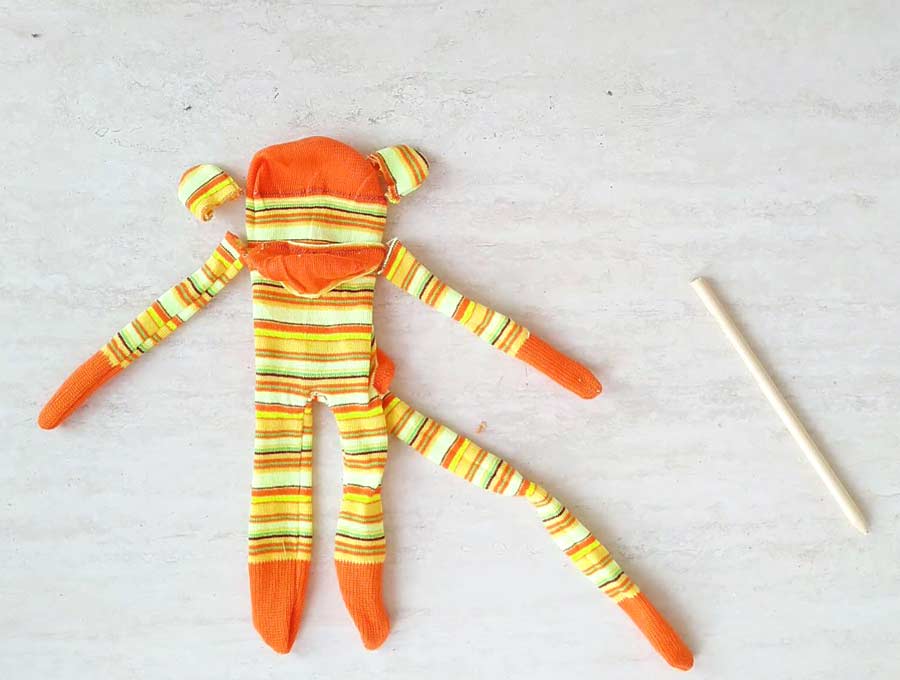
Cut along the cutting lines. Round the corners of the limbs and tail
STEP 6: Turn right side out
Turn everything inside out
STEP 7: Stuff
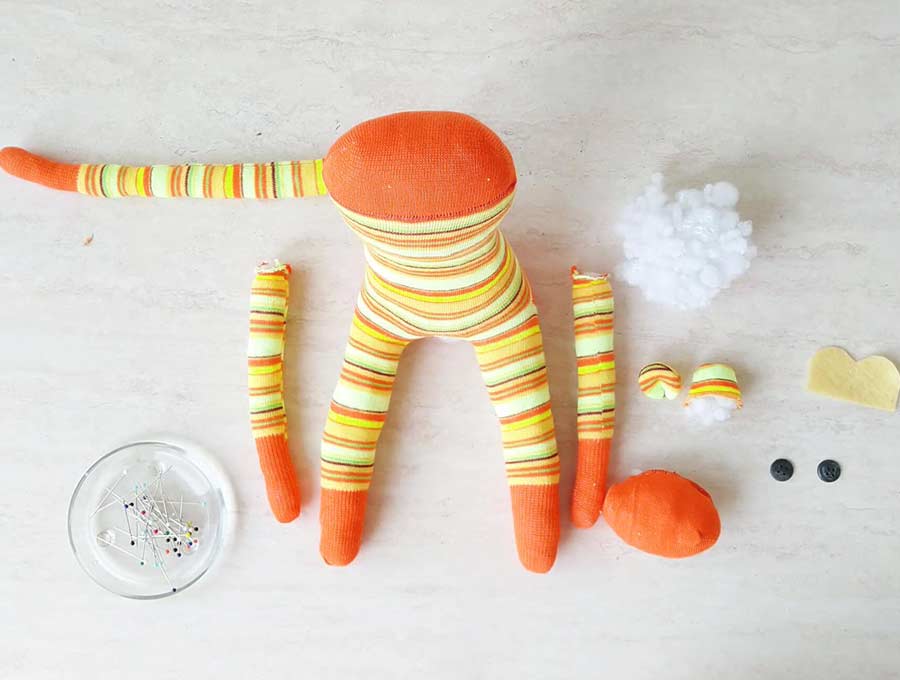
Put the stuffing into the body section, all limbs and tail. The body and legs should nice and tight so put enough stuffing to form it well. You can make the cute sock monkey firmer or softer, it’s up to you.
Close the opening with a ladder stitch. Keep the stitch about an eighth-inch away from the edge.
Wrap the thread around the needle a few times and run it through the puppet. Push the thread inside the puppet and cut it off when the needle goes out at the other end.
Roll the limbs between your palms to form the stuffing.
STEP 8: Make the ears
Fill the ear section with the stuffing, fold its raw edge, and close the opening with the ladder stitch.
Fold the ear vertically and ladder stitch the seam line.
If you did everything right, the ear will look a lot like a fortune cookie. Repeat for the second ear.
STEP 9: Pin all parts to the assigned places
Pin the arms, tail, felt eyes, mouth and ears to their assigned places
Adjust the ears on the sides of the monkey’s head and whip stitch around them. Keep the ears aligned with the side of the monkey.
STEP 9: Sew the body to the sock monkey
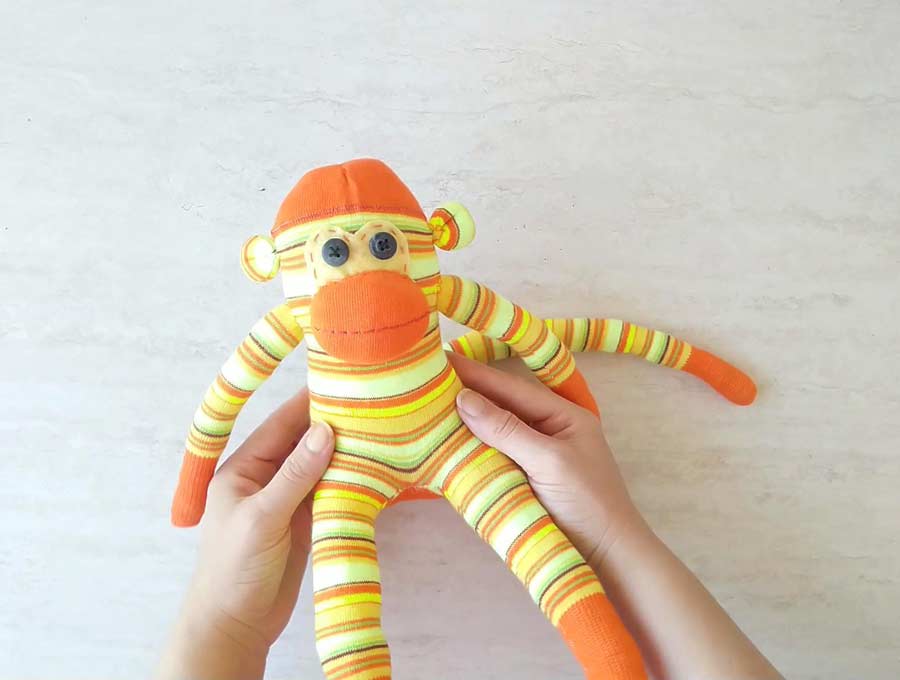
Use slip stitch to sew the arms, tail and mouth
STEP 10: Let the monkey see
Now it’s time to give your monkey his eyes.
Set the eye fabric on the center of the head and pin it. Stitch it in place with a blanket stitch. You can use a contrasting thread here to give your monkey puppet a bit more color.
Sew the buttons onto their position. If you want them tightly secured, make sure to pull the needle out at the same side where you put it in. Then just tighten and knot the thread.
STEP 11: Let the monkey speak
To make the mouth, first, draw where you want them to be with a washable pen or sewist chalk. The shape is a rounded rectangular and its top edge should align with the bottom edge of the eye felt section.
Fold the raw edge of the mouth and baste stitch it. Secure it with pins and sew with a ladder stitch all around the mouth section. Stop when the opening becomes about an inch wide and stuff the mouth through it. Finish the stitch and add embroidery branch stitches across the middle of the mouth for decoration.
STEP 11: (OPTIONAL) Adjust the head
If the head doesn’t turn out round, pinch the fabric vertically on the top of the head and stitch it in place like that.
What do you think about the tutorial? Go ahead and make a few of these sock monkey toys in various colors, your kid will love them! Tell us if you have any ideas on how to make these monkeys even better, your feedback is precious to us. Have fun sewing these cute little jungle dwellers!
Do you like this? Pin for later:
Wanna be friends? Click HERE and follow me on Pinterest
RELATED TOYS SEWING TUTORIALS:
- Unicorn plush pattern
- Free easy stuffed animal patterns
- DIY rag doll with FREE pattern

