
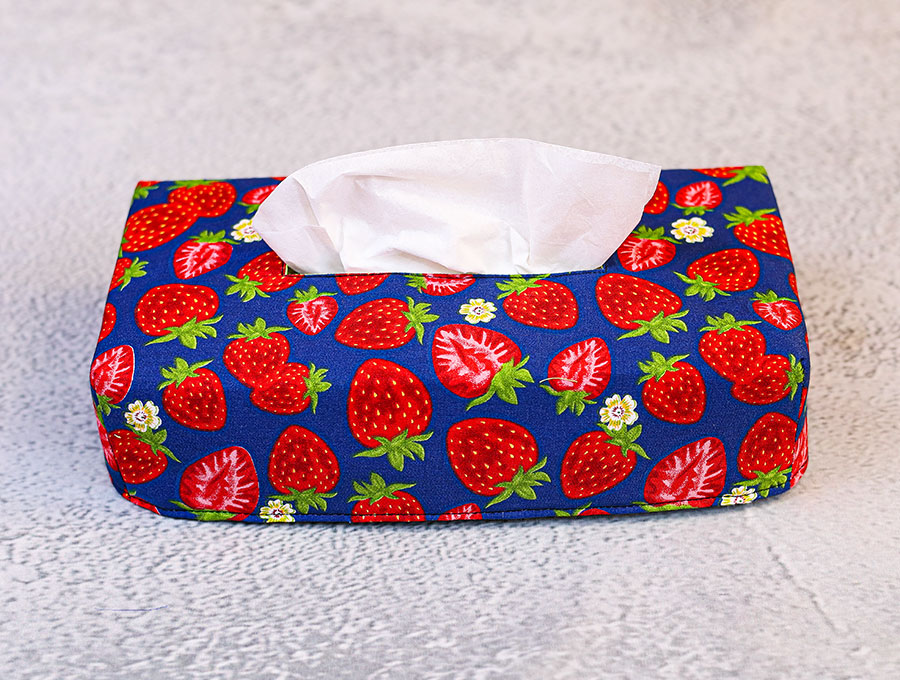
DIY Tissue Box Cover // 5 Rectangle and Square Tussue Box Sewing Patterns
Let’s be honest — a plain cardboard tissue box isn’t exactly up for home décor nomination. Whether it’s sitting on your nightstand, perched on the coffee table, or tucked in the bathroom, it’s one of those everyday essentials that’s just… there. But with a little fabric and a few minutes of your time, you can transform that tissue box into something that actually complements your home.
This free tissue box cover pattern from Hello Sewing is designed to fit the most commonly found tissue boxes in both the US and EU, coming in five sizes — three rectangular and two square — so no matter which box is sitting on your shelf, we’ve got you covered (Yes, the pun is intended).
Made from the fabric of your choice, a tissue box cover is the simplest way to tie together a room’s color scheme and style. Whether your home leans toward cozy farmhouse, sleek modern, or bright and playful, a few fabric pieces from your stash can make your tissue box look stylish. These covers are so quick and satisfying to sew that you’ll want to make one for every room that has a tissue box
They also make a thoughtful gift as they are easy on the budget, and can be personalized. A handmade tissue box cover is the kind of present that’s as welcome on a young child’s dresser as it is on grandparents’ side tables and all the ages in between.
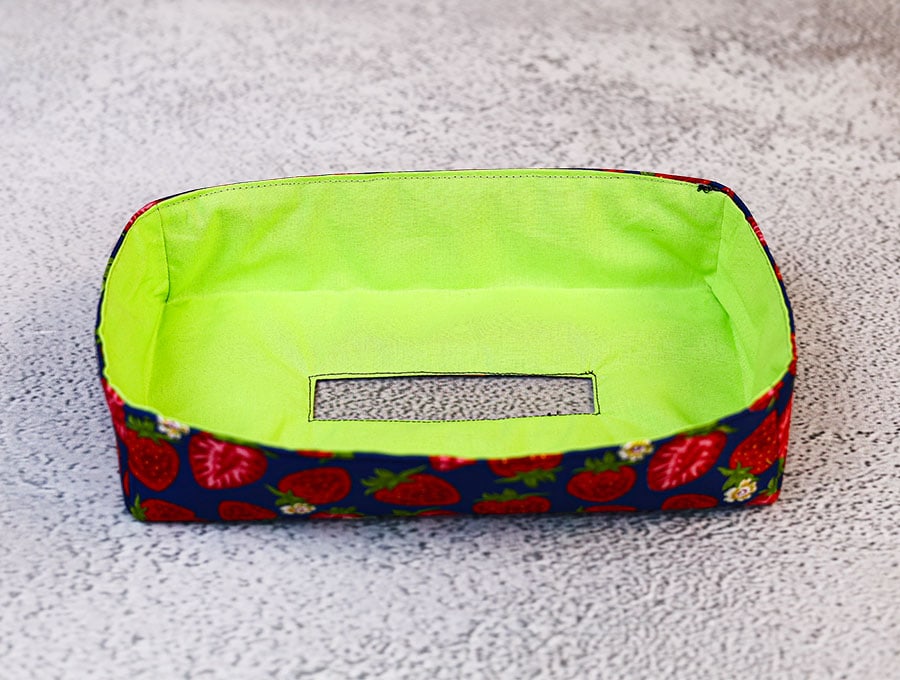
Measure your box and print one of the patterns to make yours now. the best part – it’s reversible! Below you will find my step by step written tutorial with VIDEO instructions for all the visual learners.
We occasionally link to goods offered by vendors to help the reader find relevant products. Some of the links may be affiliate meaning we earn a small commission if an item is purchased.
Table of Contents
How to make the tissue box cover
Supplies and tools
- fabric – 2 pieces of woven cotton (one main, one lining)
- fusible or sew in batting
- matching thread
- scissors (or rotary cutter and a cutting mat)
- ruler or measuring tape
- iron and ironing board
- sewing clips or pins
DOWNLOAD: Tissue Box cover patterns [Free pdf file]
Follow us for free patterns & tutorials! [easy-profiles]
How to Sew a Tissue Box Cover
Watch the diy tissue box cover video first and then follow the written step by step instructions below.
Please enjoy and don’t forget to Like and SUBSCRIBE over on YouTube to be kept up to date with new videos as they come out.
Tissue Box Cover VIDEO TUTORIAL
INSTRUCTIONS:
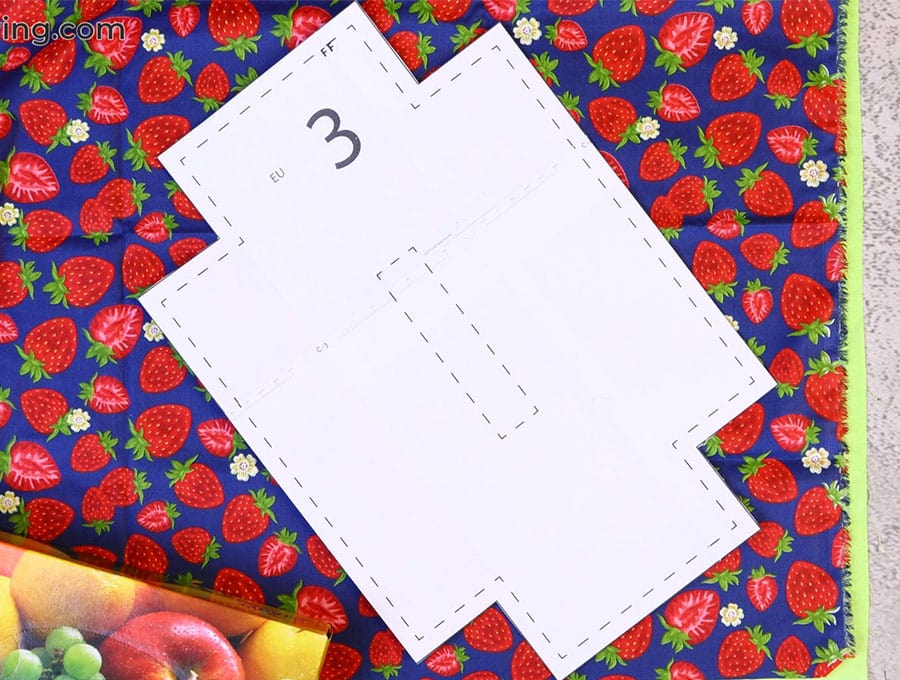
STEP 1:
Measure your tissue box (L x W x H) and cut the corresponding pattern. If your box is slightly smaller it will still fit inside the cover.
Pattern 1 – Rectangle Tissue box size – 16.5 x 16.5 x 9 cm (6.5″ x 6.5″ x 3.5″)
Pattern 2 – Square Tissue box size – 9.5 x 9.5 x 12 cm (3.75″ x 3.75″ x 4.75″)
Pattern 3 – Rectangle Tissue box size – 23 x 11,5 x 5 cm (9″ x 4.5″ x 2″)
Pattern 4 – Square Tissue box size – 13 x 11,5 x 13cm (5″ x 4.5″ x 5″)
Pattern 5 – Rectangle Tissue box size – 25 x 13 x 7 cm (10″ x 5″ x 2.75″)
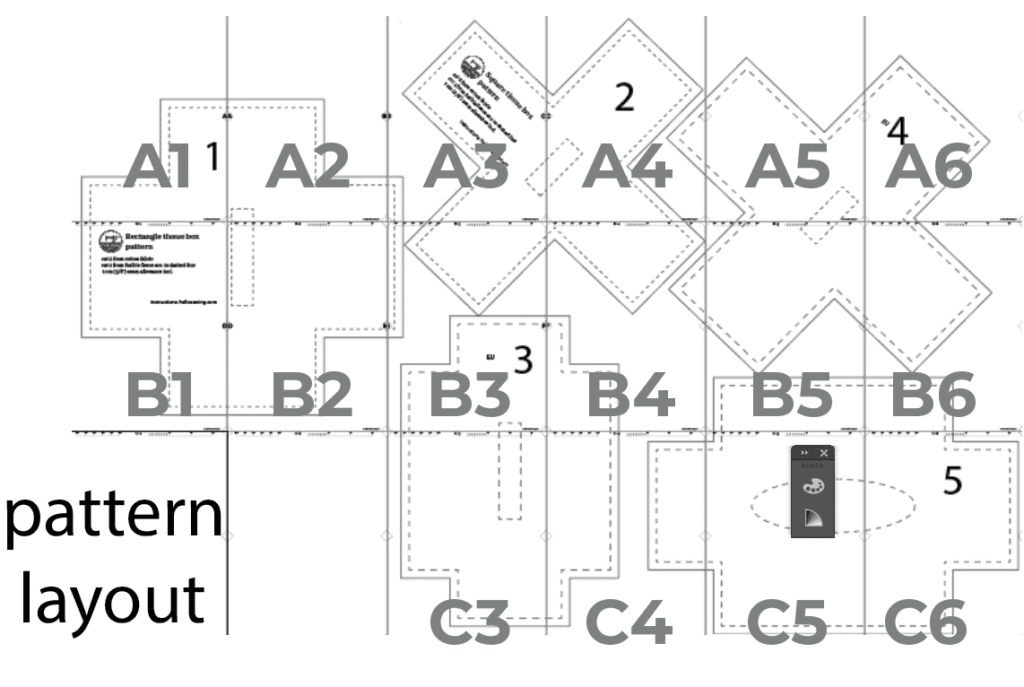
You can only print and cut the pattern you need:
Pattern 1 – print pages 1, 2, 3, 7, 8, 9
Pattern 2 – print pages 3, 4, 9, 10
Pattern 3 – print pages 9,10,13,14
Pattern 4 – print pages 4,5,6,10,11,12
Pattern 5 – print pages 11,12,14,15,16
Stick the pattern pieces together based on the printed instructions on the sheets of A4 paper.
STEP 2:
Check the size of the tissue box against the printed out pattern before cutting your fabric. It should fit just inside the dotted lines of the pattern.
STEP 3:
Place the lining wrong side up on your worktop, then the outer fabric, right side up over it and cut around the outer solid printed line of the tissue box pattern. Do not cut the inner rectangle marked on the pattern at this stage.
STEP 4:
Fold your pattern and cut around the dotted lines. (If you’re making a few of these tissue box covers then print 2 patterns and keep one with the outer solid line and one cut along the dotted line for future use). Also cut out the rectangle in the middle, where the tissues come out, along the dotted line.
STEP 5:
Place the trimmed pattern over your piece of batting and cut out, including the inner rectangle.
STEP 6:
Place the outer fabric wrong side up on the worktop. Put fabric spray glue on the batting to hold it in place once you position it on the fabric – equidistant from the edges. If you have fusible batting you can fuse it to the outer fabric using your iron and working according to the manufacturer’s instructions
STEP 7:
Place lining fabric right side up on your worktop, then over it place the outer fabric with batting attached, right side to right side.
STEP 8:
Pin or clip in place on the edges, then pin to ensure the center doesn’t move when you start to stitch around the gap where the tissues emerge.
STEP 9:
Stitch around the central rectangle, just inside the edge where the batting finishes. TIP: Leave the needle down at the corners, lift the presser foot, swing the fabric at 90 degrees, then lower the presser foot and continue to stitch – this ensures all corners are neat.
STEP 10:
Draw a line down the center of the opening with a fabric marking pen, then make a Y shape at each end, so the arms of the Y end up at each corner.
STEP 11:
Carefully cut along the double ended Y shape, cutting as close to the seam as possible but not cutting through the stitch line.
STEP 12:
Pull the lining fabric through the gap and smooth it out to cover the batting and line up with the edges of the outer fabric, then give the item a press to ensure the area around the rectangle in the middle is smooth and even.
STEP 13:
Stitch around the edge of the rectangle 1/8” (3 mm) from the edge, using the TIP in STEP 9 to ensure neat corners, backtack at the start and finish.
STEP 14:
To box the corners bring the outer fabric sides on each corner, right sides together, to meet up and pin, then stitch 3/8” (1 cm) from the edges, backtacking at the start and finish.
Repeat for the lining
STEP 15:
Use scissors to carefully slit the small fabric fold at the top of the seam, then finger press each side open. Do this for all four corners on both the outer fabric and the lining.
STEP 16:
Use your iron to press a 3/8” (1 cm) fold over at the top of the outer fabric, towards the wrong side, working your way around all four sides and ensuring the seams you finger pressed open are lying flat.
Repeat for the lining
STEP 17:
Pin the folded over edges of lining and outer fabric to each other, right sides of both fabrics showing and the batting enclosed within. Pin each corner first, then ease the fabric along the sides and pin or clip in place.
STEP 18:
Stitch 1/8” (3 mm) from the edge right the way around the tissue box holder, backtacking at the start and finish.
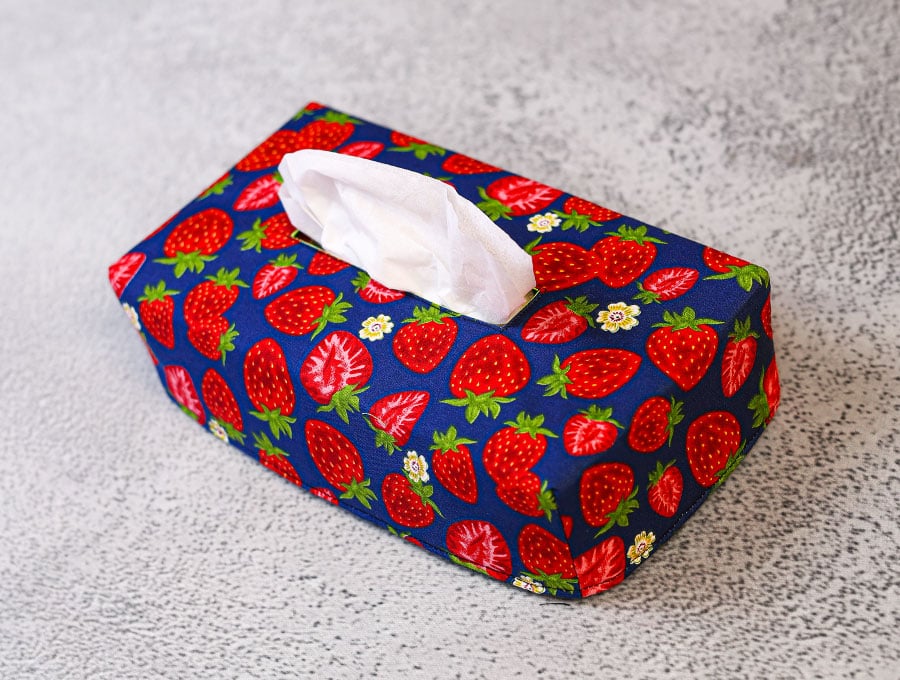
STEP 19:
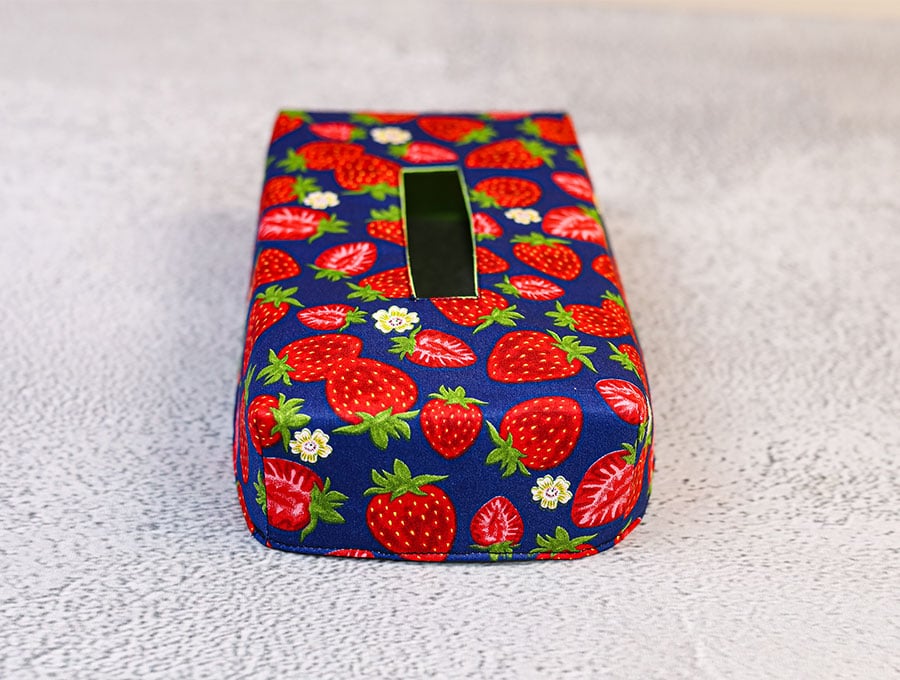
Give the item a final press, folding each side in to iron in the creases for the corners. All that remains is to pop the cover over the tissue box and admire your handiwork.
No matter whether the tissue box you want to cover is square or rectangular deep or slim, HelloSewing has the common sizes covered with this selection of free sewing patterns. The method remains the same for all common sizes, so go ahead and have fun. Make them in cotton, make them in velvet, try some recycled denim, and even attach some bling with fabric glue, or hand stitch charms to the tissue box cover. These will brighten a person’s day when they are feeling sniffy and are easy to wash and reuse.
A box of tissues is one of those practical items that isn’t usually given much thought, but if you’re the kind of person who loves to coordinate your home décor then sewing a tissue box cover from our selection of free printable patterns to suit most tissue box sizes will add a personal touch that says, “I care.” Make the covers for every room in your house where there is a tissue box and make for friends too. They make a very welcome gift!
Like and subscribe to remain first in line to receive updates on our new patterns as they drop.
Do you like this? Pin for later:
Wanna be friends? Click HERE and follow me on Pinterest
RELATED: