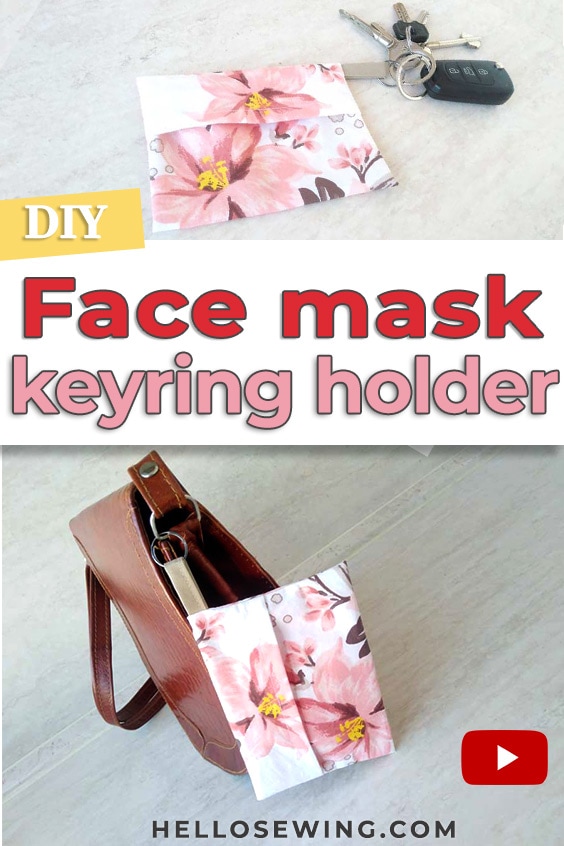
DIY Face Mask Carrying Pouch (FREE pattern + VIDEO)
I can’t remember how many times I had to return from the store to my car to pick up the face mask I forgot. After getting mad at myself too many times that I care to count..
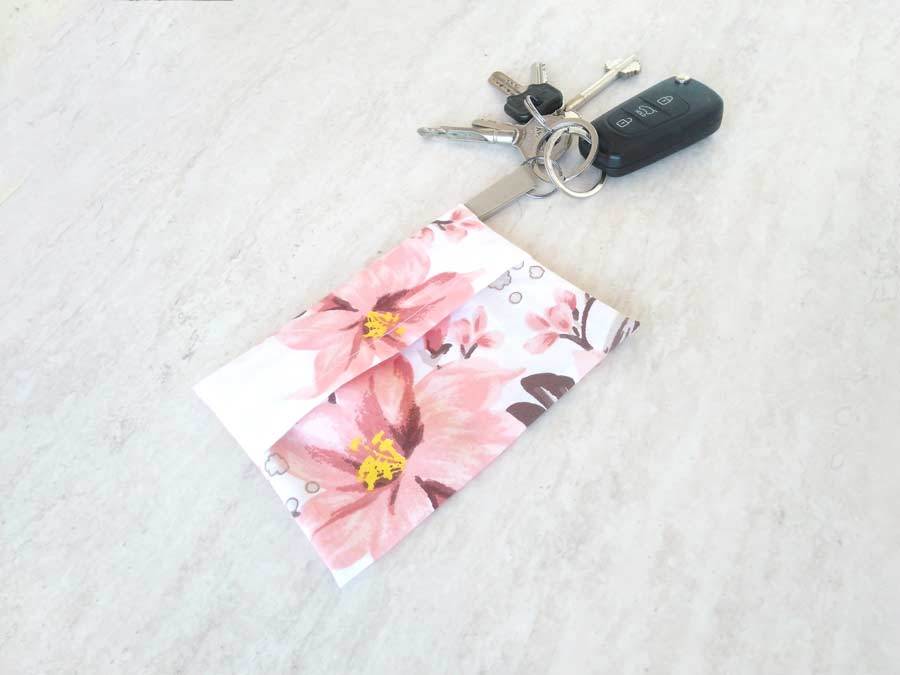
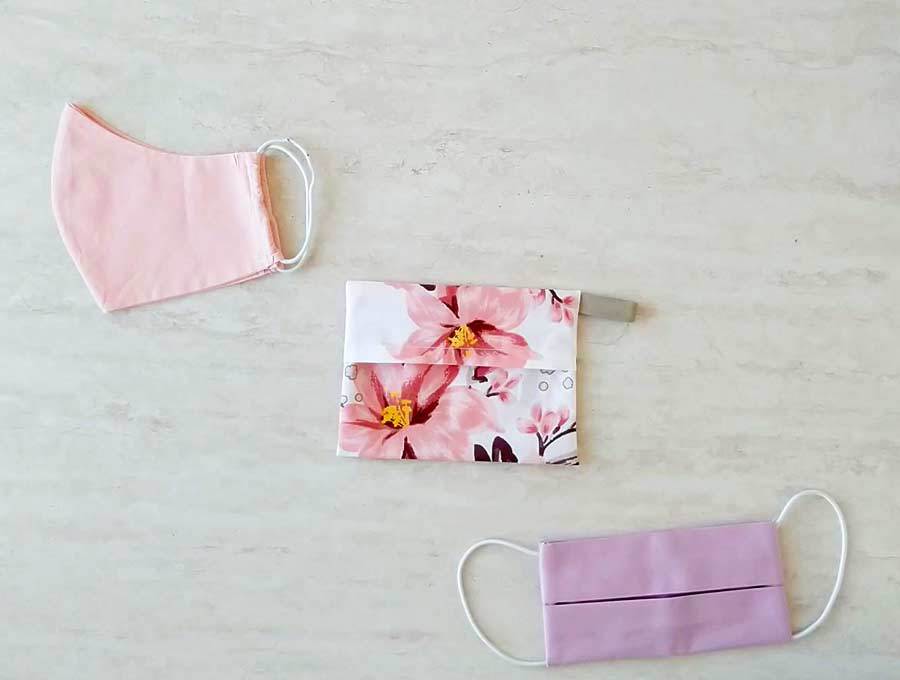
I came up with a solution.. A simple face mask carrying case that attached to a keyring was the solution to my problem. The face mask pouch will stay clean on the inside, so you don’t need to worry about the mask getting dirty.
With this face mask keychain case pattern, you can make a convenient bag holder that will be easy to wear on your purse or in your pocket.
Follow the steps in this tutorial to learn how to make a face mask pouch in minutes.
We occasionally link to goods offered by vendors to help the reader find relevant products. Some of the links may be affiliate meaning we earn a small commission if an item is purchased.
Table of Contents
- 1 How to make face mask carry pouch
- 2 Supplies and tools
- 3 How To Sew face mask pouch
- 3.1 Face Mask keychain holder VIDEO TUTORIAL
- 3.2 INSTRUCTIONS:
- 3.3 STEP 1: Prepare the pattern for use
- 3.4 STEP 2: Cut out the fabric
- 3.5 STEP 3: Prepare the main fabric piece
- 3.6 STEP 4: Prepare the loop holder
- 3.7 STEP 5: Sew
- 3.8 STEP 6: Prepare the face mask holder for sewing
- 3.9 STEP 7: Sew
- 3.10 STEP 8: Finish the mask holder DIY
- 4 Face Mask pouch OPTIONS:
How to make face mask carry pouch
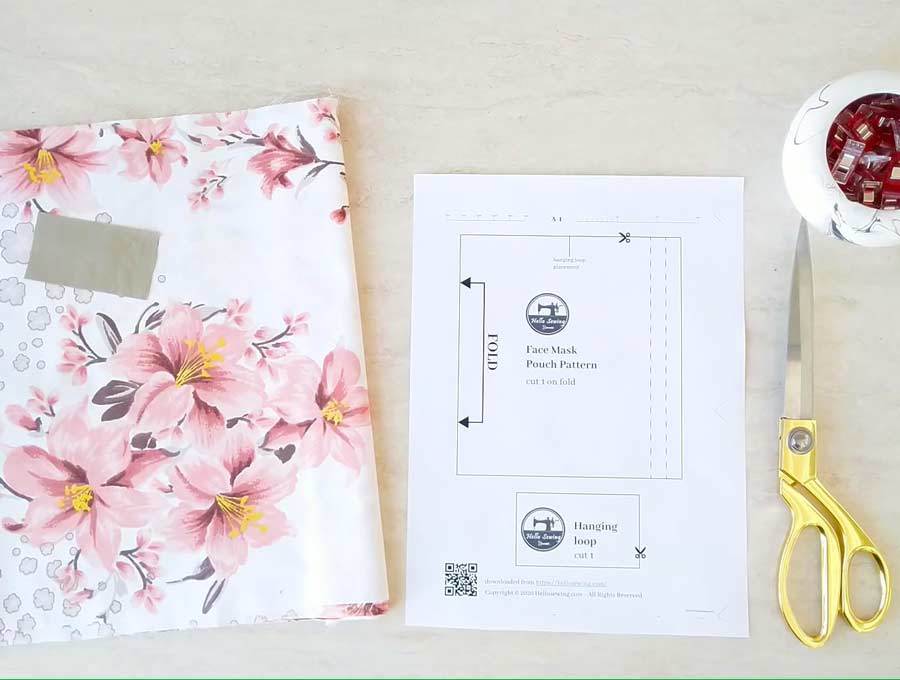
Supplies and tools
- fabric – 100% cotton (or linen)
- matching thread thread
- Our downloadable mask holder pattern /link below/
- scissors (or rotary cutter and a cutting mat)
- ruler or measuring tape
- iron and ironing board
- sewing clips or pins
- sewing machine (it’s an easy sew even for an entry level machine )
- No products found. (optional)
When you prepare all that, you can proceed to the next step.
DOWNLOAD: Face mask pouch sewing pattern (Free PDF file)
Follow us for free patterns & tutorials! [easy-profiles]
How To Sew face mask pouch
Watch the diy face mask pouch video first and then follow the written step by step instructions below.
Please enjoy and don’t forget to Like and SUBSCRIBE over on YouTube to be kept up to date with new videos as they come out.
Face Mask keychain holder VIDEO TUTORIAL
INSTRUCTIONS:
STEP 1: Prepare the pattern for use
Download the pattern and print it out at 100% on US letter paper (no scaling). The pattern has two parts, one for the bag and the other for the loop holder.
Cut out any excess paper, and your pattern will be ready for action.
STEP 2: Cut out the fabric
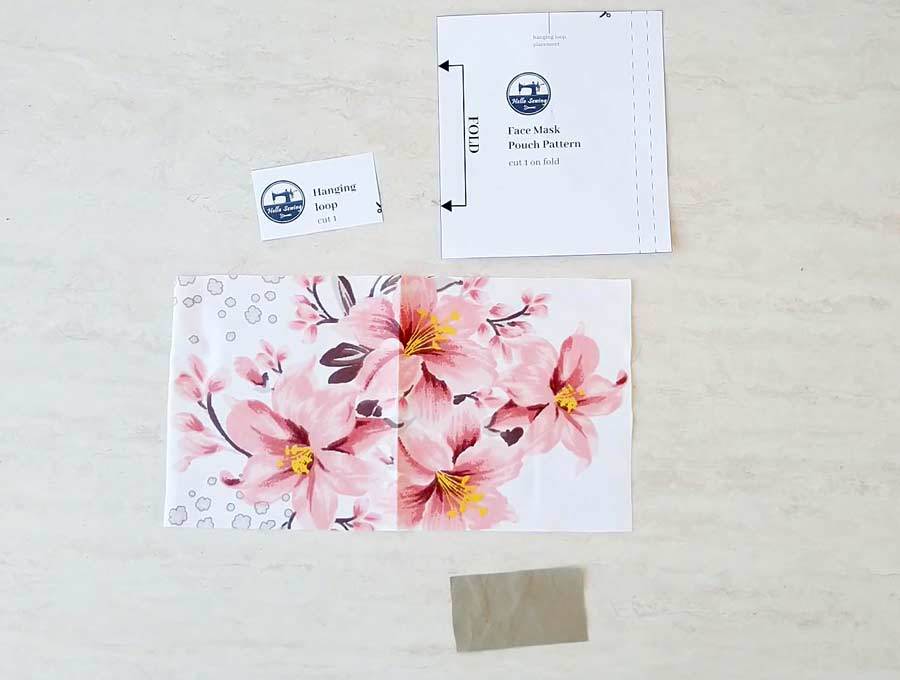
Fold the main fabric in half and place the pattern on the fold. Cut out the fabric according to the bigger pattern piece.
Cut out the loop holder according to the smaller pattern piece.
TIP: Wash the fabric thoroughly and press it flat with your iron before you start sewing. This will prevent the fabric from shrinking or deforming later on when you wash it for the first time.
STEP 3: Prepare the main fabric piece
Lay the larger fabric piece so that the wrong side is up. Transfer the fold lines on both sides of the fabric. Fold twice according to the fold lines and pin.
Repeat the same process on the other short edge.
STEP 4: Prepare the loop holder
Lay the small fabric piece so that its wrong side is up. Fold it in half lengthwise and press with your iron.
Unfold the fabric piece and fold again, but this time, up to the crease in the middle. Fold towards the crease from the top and bottom. Press flat.
To finish it up, fold once more in half lengthwise, and press flat. You will get a small fabric strap with four layers. Pin.
STEP 5: Sew
Make a stitch along the two folded edges on the bigger fabric piece.Finish the raw edges with a zig zag stitch.
Make a stitch across the small fabric piece as well.
STEP 6: Prepare the face mask holder for sewing
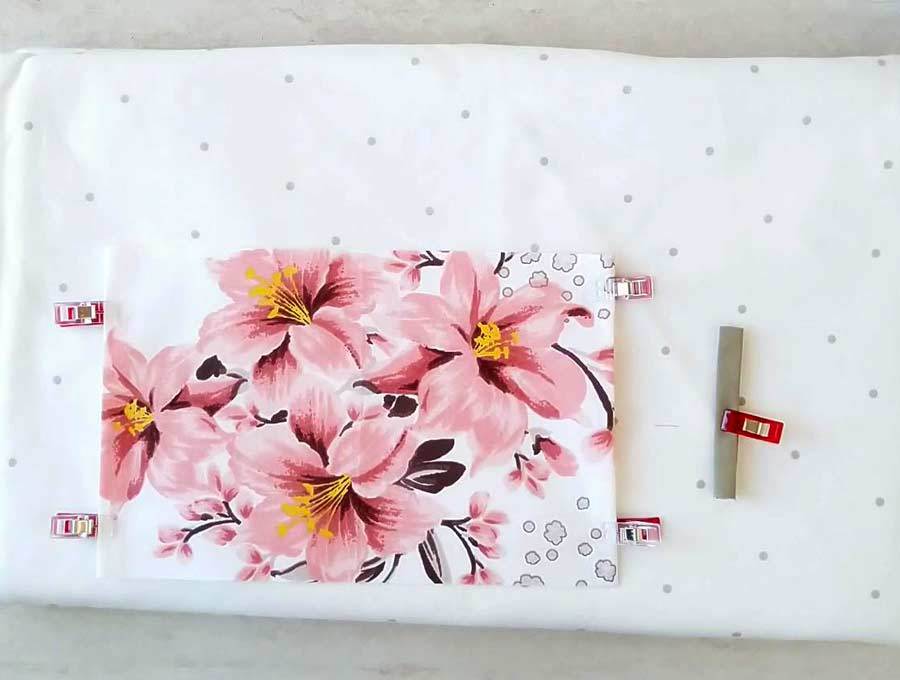
Lay the bigger fabric piece so that its right side is up. Transfer the loop holder placement from the pattern or just fold one of its shorter edges towards the right side for about 2 inches, and press flat with your iron.
Put the smaller fabric piece inside the fold, next to the crease. Align one of its short edges with the long edge of the bigger fabric piece. Secure everything with pins or clips.
Now fold the other short side of the bigger fabric piece, aligning its edge with the edge of the small fabric piece on the inside of the fold.
Secure everything with pins or clips.
STEP 7: Sew
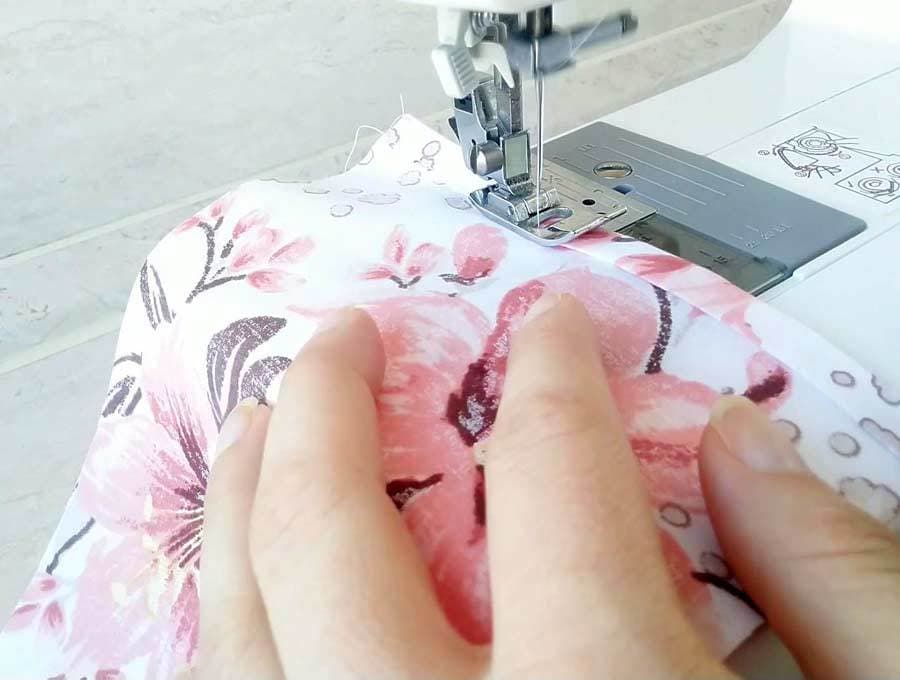
Make a stitch along both short edges of the face mask keyring pouch. Backstitch at the beginning and the end of your seams, as well as over the top and bottom flaps
STEP 8: Finish the mask holder DIY
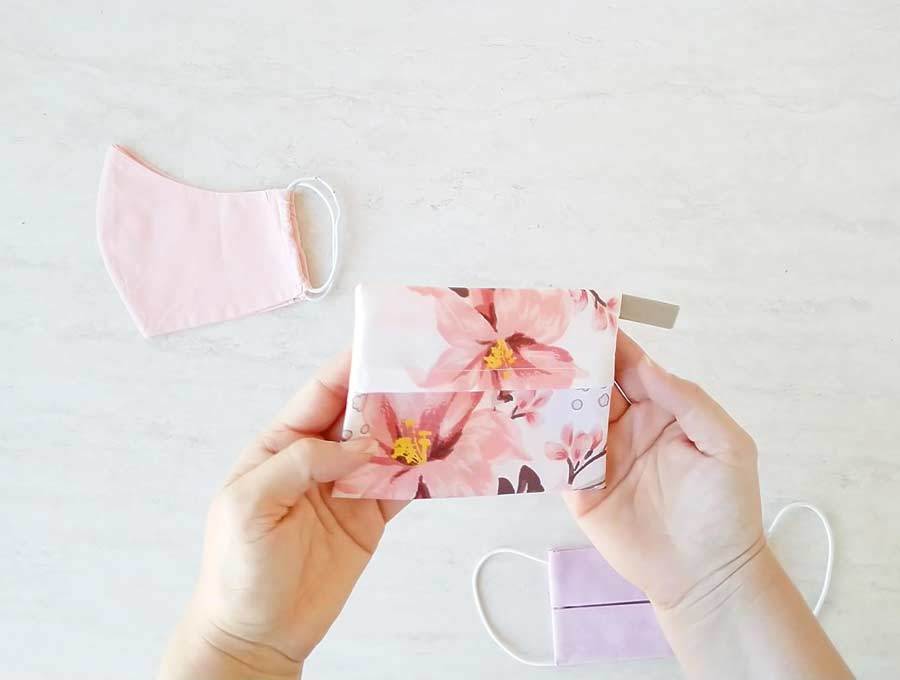
Clip the corners at an angle with scissors. Turn the face mask pouch inside-out through the opening. Push out the corners with your fingers or with a blunt end of a pencil.
Press everything flat on the ironing board.
Your face mask keyring holder is now complete!
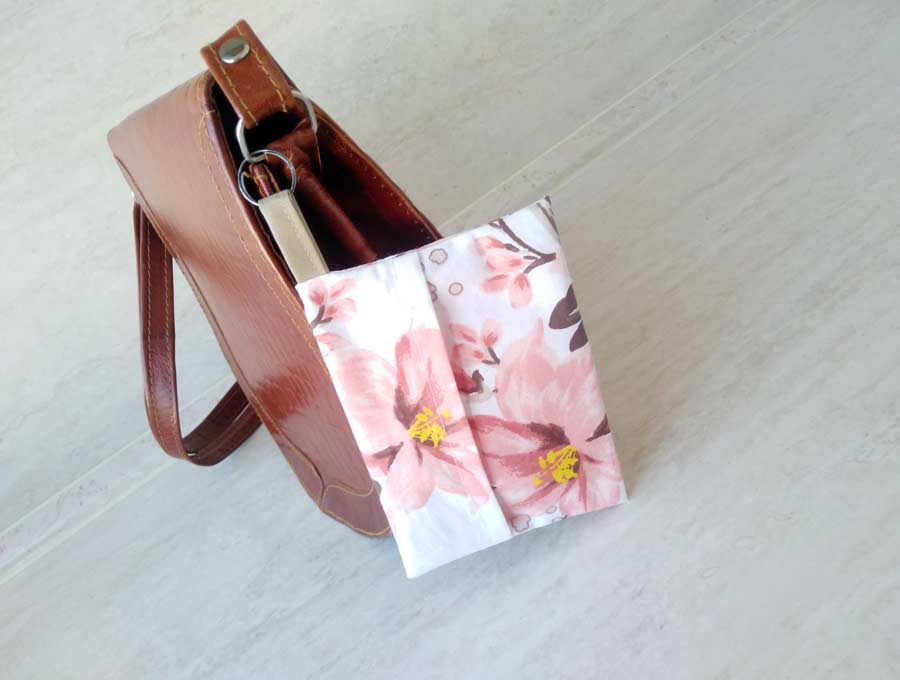
You can attach a keychain ring to the pouch and hook it to your bag or pocket. Insert your favorite face mask inside and you are all set!
Face Mask pouch OPTIONS:
- ADD LOBSTER CLIP – Attach a lobster clip before you sew in the loop holder at step 5
Did you find the tutorial useful? Make sure to try sewing a face mask pouch for yourself. If you notice something that could be improved, share your ideas with everyone in the comment section below! Stay safe and act responsibly, wear a face mask!
Do you like this? Pin for later:
Wanna be friends? Click HERE and follow me on Pinterest
RELATED:
- Printable face mask template (FITTED) our most popular model!
- 3d mask template (in 5 sizes, the second most popular mask)
- Transparent face mask pattern – great for teachers, deaf/hard of hearing – based on the popular 3d model above
- Hand gel pouch template + video
- Lip balm keychain holder diy

