")
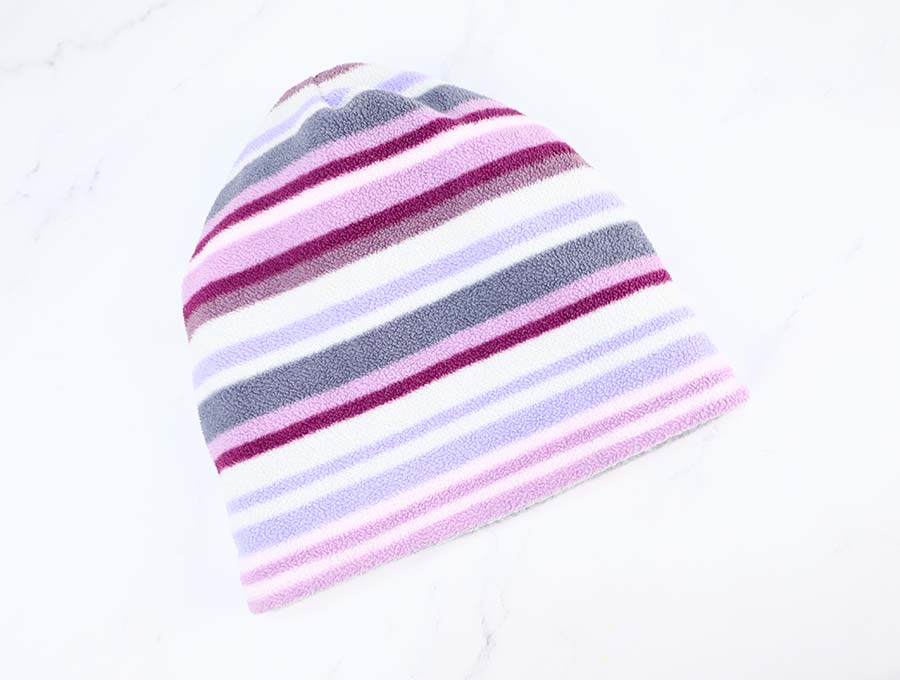
How to Sew: a Reversible Fleece Hat Pattern and Tutorial (VIDEO)
Fleece just makes you want to snuggle into it. Now, as winter sets in, is the time to make DIY reversible fleece hats for kids and adults, using our easy to follow tutorials, as a reversible fleece hat keeps you warm, and is light and soft to the touch. With our free fleece hat pattern and tutorial you’ll be able to make reversible fleece hats super-fast, so there will always be one on hand for each family members to grab on their way outdoors. We have supplied some handy tips you’ll need to know about sewing fleece successfully, and on distinguishing the right from the wrong side, before you dive into making the reversible fleece hats, that are plain on one side and printed on the other.
Below you will find my step by step written tutorial how to sew a reversible fleece hat with VIDEO instructions for all the visual learners.
We occasionally link to goods offered by vendors to help the reader find relevant products. Some of the links may be affiliate meaning we earn a small commission if an item is purchased.
Table of Contents
- 1 8 Tips for Sewing Fleece Fabric on your domestic machine
- 2 Tips for telling the right and wrong side of fleece
- 3 How to make a fleece hat
- 4 DIY Fleece Hat Supplies and tools
- 5 How to Sew a Fleece Hat
- 5.1 REVERSIBLE FLEECE HAT VIDEO TUTORIAL
- 5.2 DIY FLEECE HAT INSTRUCTIONS:
- 5.3 STEP 1: Download and print the fleece hat pattern
- 5.4 STEP 2: Cut the fabric
- 5.5 STEP 3: Sew the base of the hat
- 5.6 STEP 4: Sew the darts
- 5.7 STEP 5: Cut open the darts
- 5.8 STEP 6: Layer and pin
- 5.9 STEP 7: Stitch around
- 5.10 STEP 8: Turn around
- 5.11 STEP 9: Stitch the gap
- 5.12 STEP 10: Stitch around the edge
- 6 DIY Fleece Hat FAQs, Tips and Troubleshooting:
8 Tips for Sewing Fleece Fabric on your domestic machine
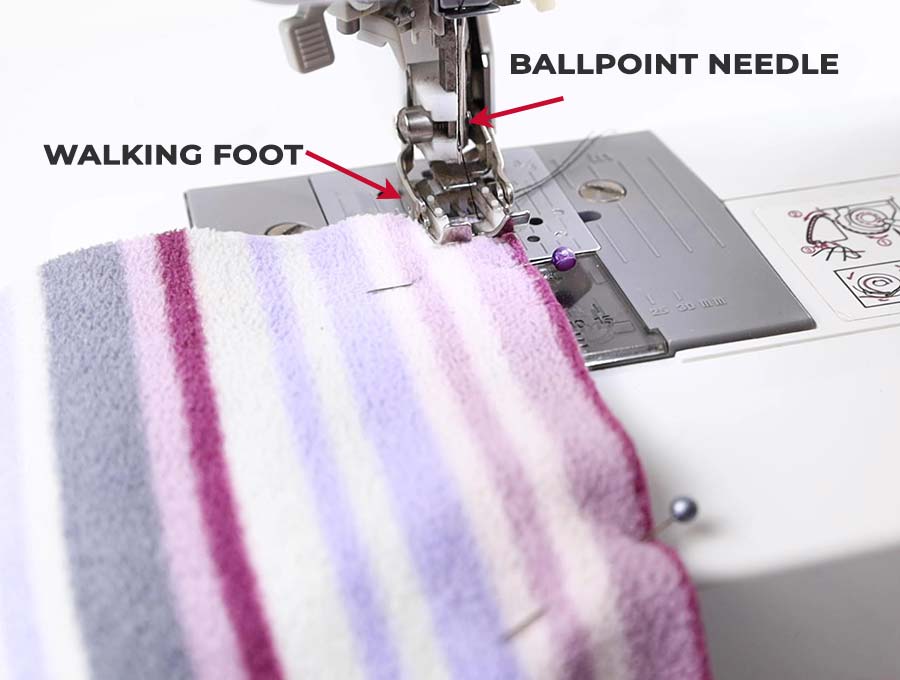
- Use a walking foot on your machine – it is also called an even feed foot or dual feed foot and it exerts an even pressure so that fabric does not slip when sewing thicker layers. Quilters will be familiar with this type of foot.
- Use a ball-point needle as it has a rounded point that kind of slides between the fibers of the fleece rather than piercing through the fabric like a regular needle.
- Use polyester thread as it is more durable and can stretch slightly more than cotton, which can snap when a seam is stretched on a fleece or jersey knit garment.
- Increase stitch length, and correspondingly reduce tension slightly, because fleece is thicker.
- Use long pins or clips to put your seams together before stitching – this helps to avoid that kind of rippled look.
- A light weight stabilizer fabric used along a seam provides a professional finish, avoiding that give that can result in the above-mentioned rippled look.
- Iron – Sewists usually have their irons handy to press as they work, but don’t use an iron straight onto fleece, otherwise you get a kind of shiny patch where you have used the iron. If you must press seams use a pressing cloth and keep the iron on a low setting.
- Don’t stretch the fleece– Lastly, be careful when feeding the fabric through the machine that you are not inadvertently stretching it, as this is the fastest way to get those unwelcome wavy seams.
Tips for telling the right and wrong side of fleece
Distinguishing the right and wrong side of fleece is a little harder than with many other fabrics. You’ll find the right side is a bit more coarse or bumpy, while the wrong side is smoother, but this difference is very small.
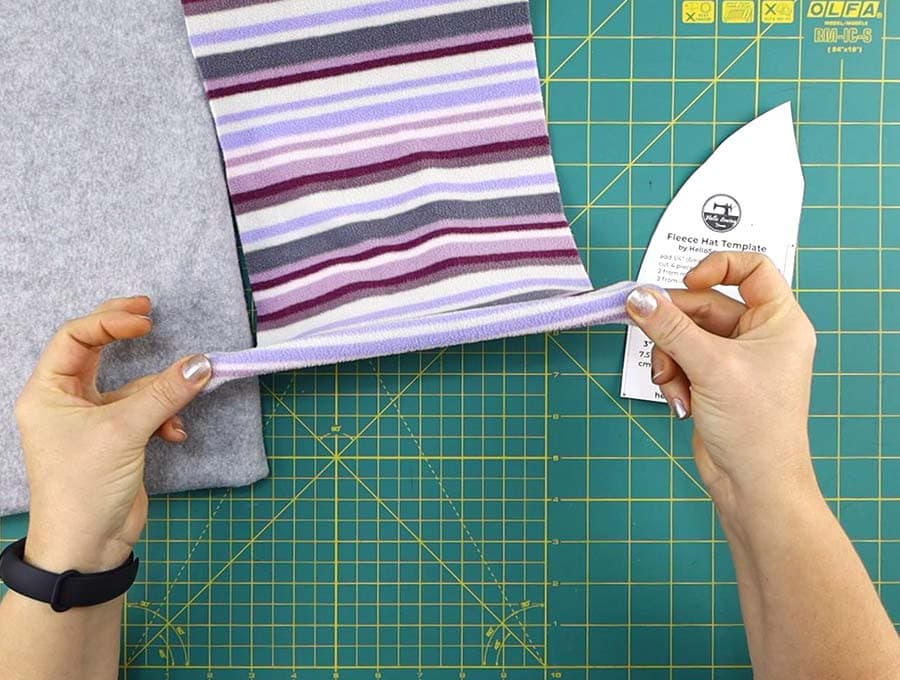
If you still have difficulty, cut a little test piece and stretch it along the cut edge – the cut edge will curl to the wrong side of the fabric.
It is suggested you use a particular colored pin placed in the center of the pattern pieces to indicate the right sides when you cut out all your pattern pieces – once you have placed pieces together and pinned them you can remove the color-coded pins, as once you stitch, the seam will indicate which is the right or wrong side.
How to make a fleece hat
DIY Fleece Hat Supplies and tools
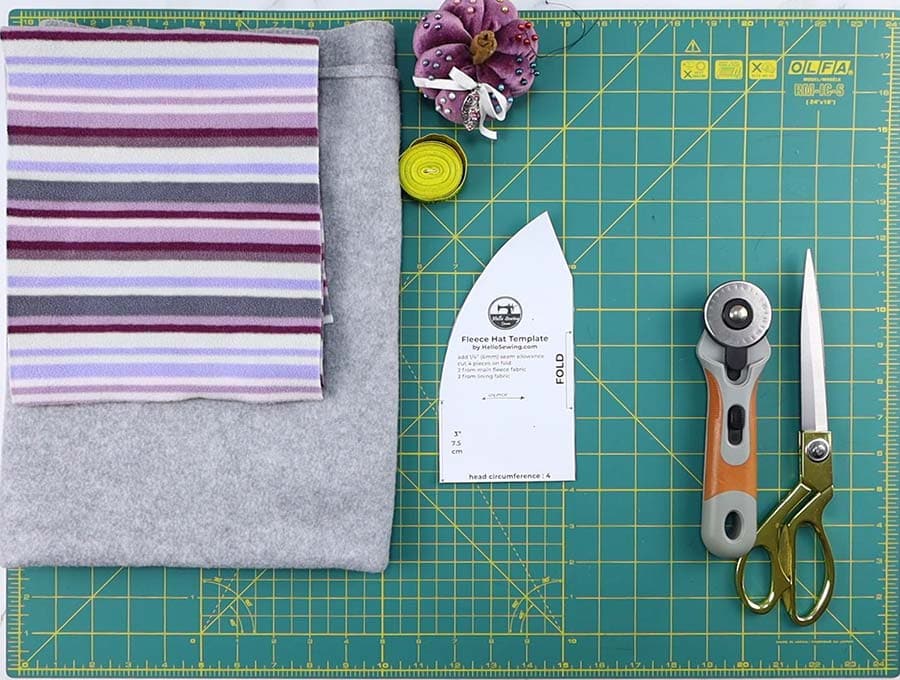
- fabric – 2 pieces of fleece (one patterned, one plain)
- matching thread
- scissors (or rotary cutter and a cutting mat)
- ruler or measuring tape
- sewing clips or pins
- sewing machine
DOWNLOAD: reversible fleece hat pattern (Free PDF file)
Follow us for free patterns & tutorials! [easy-profiles]
How to Sew a Fleece Hat
Watch the diy fleece hat video first and then follow the written step by step instructions below.
Please enjoy and don’t forget to Like and SUBSCRIBE over on YouTube to be kept up to date with new videos as they come out.
REVERSIBLE FLEECE HAT VIDEO TUTORIAL
DIY FLEECE HAT INSTRUCTIONS:
STEP 1: Download and print the fleece hat pattern
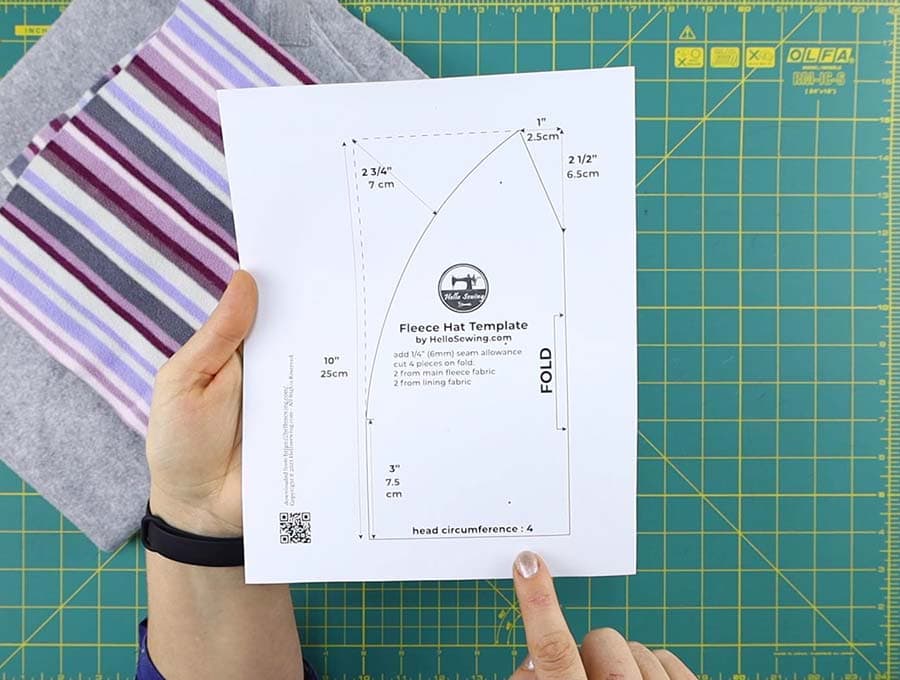
Get the free reversible fleece hat pattern from the link above and trim the excess paper. Measure the head circumference and draw your own fleece hat template according to the measurements given in the pattern.
STEP 2: Cut the fabric

From the pattern supplied cut 4 pieces on the fold as indicated – two in plain fleece and two in printed fleece. Don’t forget to add a 1/4″ (6mm) seam allowance all around except on the fold. Mark the right sides with a colored pin as suggested in our tips for sewing fleece.
***Be sure to have the stretch of the fleece going AROUND your head, otherwise the hat will end up too small to fit the head***
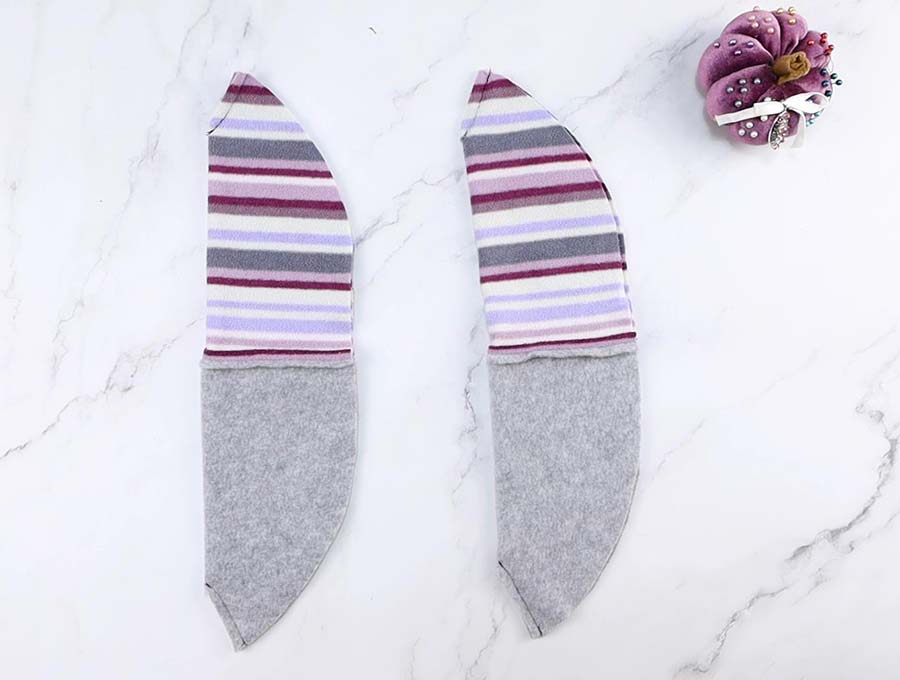
STEP 3: Sew the base of the hat
Using your walking foot and the stitch lengthened to 3, stitch 1/4 inch (6 mm) from the edge of the base of the hat, backtacking at start and finish. Repeat with the other side of the hat.
PRO TIP: If using stabilizer, use a a 1-inch width length of light-weight stabilizing fabric lined up to the edges before you sew
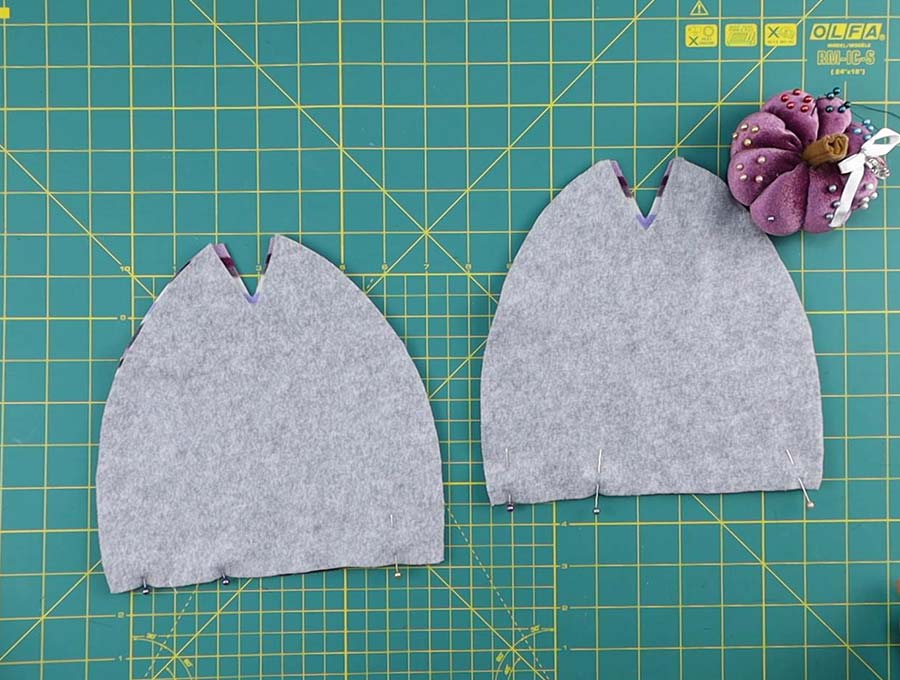
STEP 4: Sew the darts
Open out the pieces and on the wrong side pin the V shape cut for the dart at the top of the head and stitch ¼ inch (6mm) from the edge on each side of the outer and the lining for both sides of the hat – that is 4 darts in total.
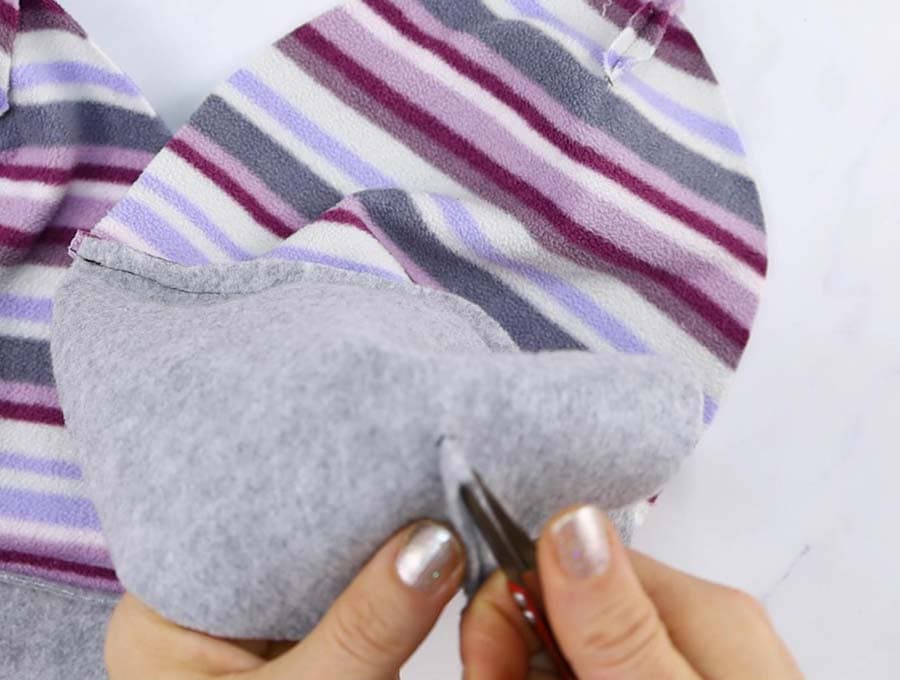
STEP 5: Cut open the darts
Where the dart ends towards the body of the fabric carefully cut open the small bit of fabric, with a small pair of sharp scissors and flatten the dart out with your fingertips or you can use an iron on a low setting with a pressing cloth to ensure the seams lie flat.
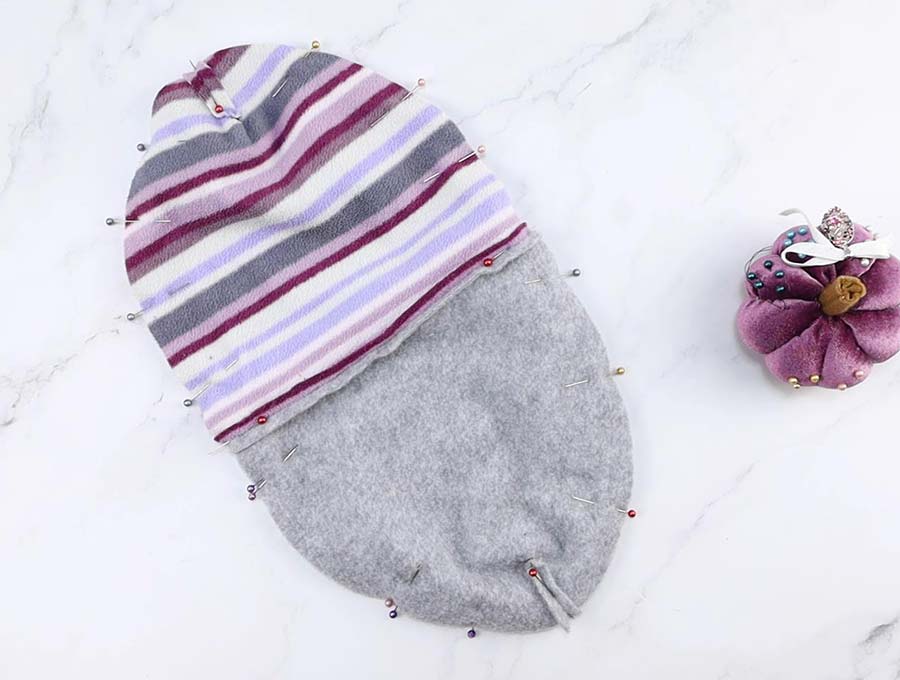
STEP 6: Layer and pin
Open up the two sides and with right sides facing, and print to print and plain to plain facing each other pin the two halves together starting with where the two darts meet at the top, then line up the seams at the brim. After that, ease in the pins so the two pieces of the hat are lying flat and lining up with each other.
STEP 7: Stitch around
Stitch right around the edges with a 1/4″ inch seam, leaving a 2 inch (5cm) opening midway down the plain side, which is the gap through which you will turn the hat.
STEP 8: Turn around
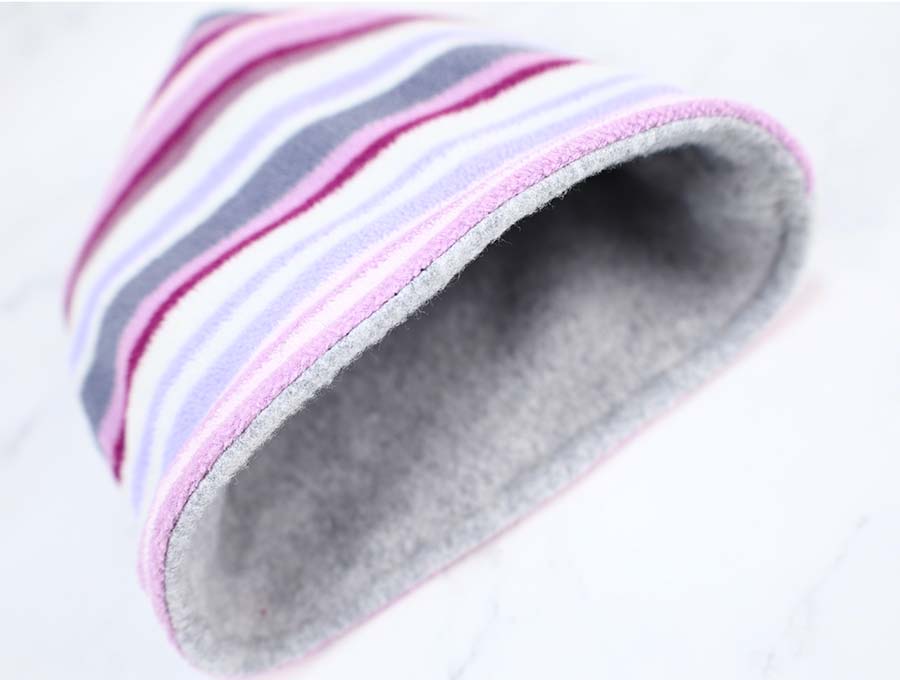
Pull the hat through the gap so the right side is showing, then tuck the printed side inside the plain side to create the reversible hat.
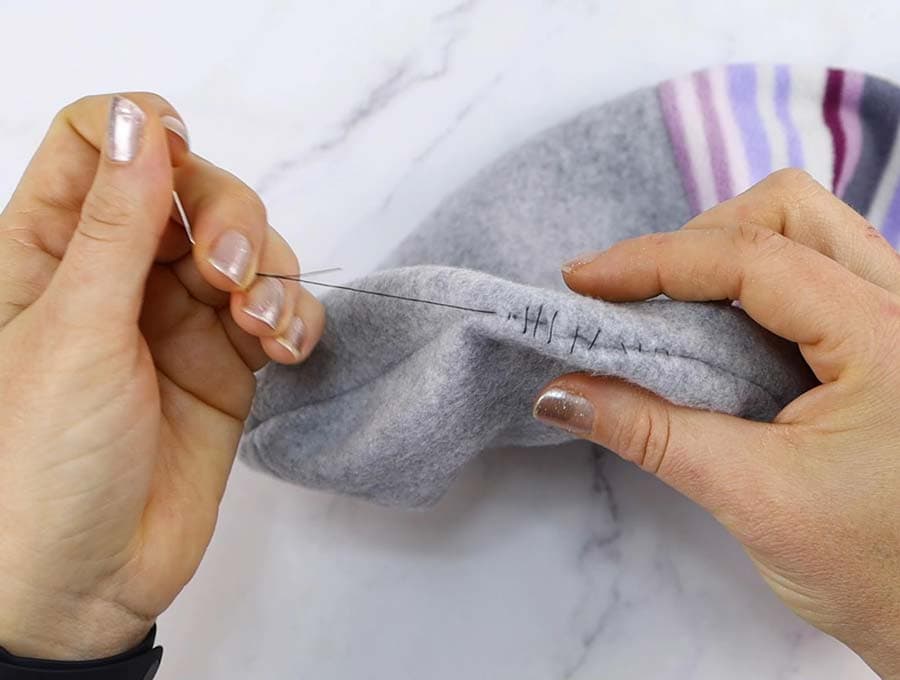
STEP 9: Stitch the gap
Carefully hand stitch the gap closed using a invisible stitch.
STEP 10: Stitch around the edge
Overstitch around the edge of the brim of the hat 3/8 inch (1cm) from the edge.
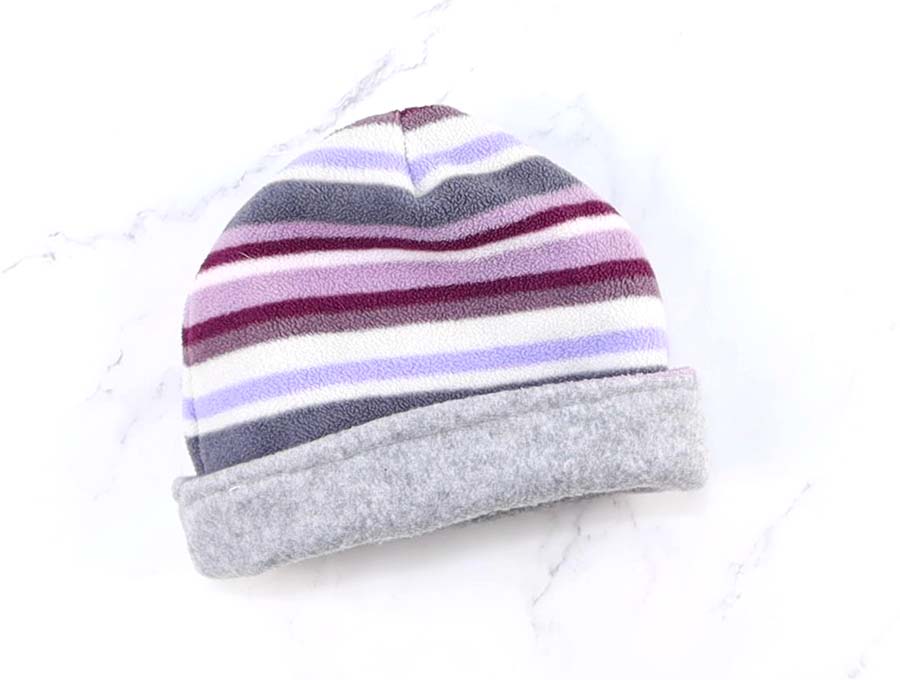
And that’s it – the reversible hat is finished, just turn up the brim and the hat is ready to go. The printable pattern we have supplied is scalable to various size heads, so make up a few for family, friends and as gifts – a reversible fleece hat would be particularly welcome in the Boo Baskets for Halloween along with a You’ve been booed printable, as a Christmas stocking filler, or as gifts for the less fortunate to keep their heads warm in the chilly weather.
That’s it your handmade reversible fleece hat is ready! Make sure to share this free fleece hat pattern with your friends and family!
DIY Fleece Hat FAQs, Tips and Troubleshooting:
Q: Can I make the gap to pull through the hat on the brim rather than on the side?
A: You can – when you sew one side of the brim leave a 2 inch gap to pull through, then when you have almost completed the hat, at step 9 when you do the overstitching then run two lines – one ½ inch from the edge, and one ¼ inch from the edge, right around the hat, ensuring you have tucked in the raw edges of the gap and it lines up with the rest of the brim.
Q: Can I make the hat with two prints or two plain colors of fleece?
A: Two plain colors can certainly work together, but two prints together may be a bit busy as you will see the second print when the brim is turned up on the hat. However, if you can find two prints that work well together then by all means give it a try.
Do you like this? Pin for later:
Wanna be friends? Click HERE and follow me on Pinterest
RELATED:
Warm mittens with lining – with pattern in 3 sizes
Reversible Neck warmer – it’s great to keep the kids warm
Ear warmer headband w.Free pattern
Repurpose old sweaters into these (20+ ideas to turn trash into treasures)