
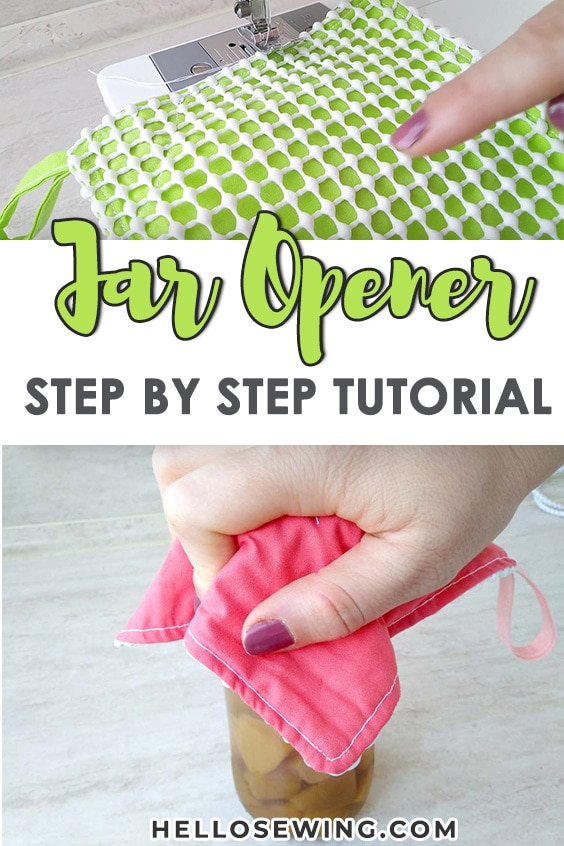
How to Make a DIY Jar Opener for a Bit of Extra Grip
Make opening stubborn jar lids a breeze with this jar opening pattern! Perfect for seniors, anyone with arthritis, or just those looking for a little extra help in the kitchen, this handy tool will quickly become your new favorite accessory. The mini jar opener is compact enough to keep in your medicine cabinet for quick access, while the standard size features a built-in magnet so you can stick it right on your fridge or any metal appliance.
Jars that won’t open no matter what can be a real pain sometimes. Especially if you’re cooking and you need that ingredient right away or your famous special chili won’t turn out perfect.
Recently, I’ve found a great way to solve that problem. DIY jar opener.
These little useful easy jar lid openers will help you open any tightly sealed jar without anyone’s help. I think my husband loves them even more than I do because he doesn’t have to be the designated jar opener anymore!
This tutorial will show you how to make a jar opener in a very short amount of time, without much effort. Make your life easier and add a touch of handmade charm to your daily routine!
Below you will find my step by step written tutorial with VIDEO instructions for all the visual learners.
We occasionally link to goods offered by vendors to help the reader find relevant products. Some of the links may be affiliate meaning we earn a small commission if an item is purchased.
Table of Contents
- 1 How to Make Jar Opener from Fabric
- 2 Supplies and tools
- 3 How To Sew DIY Jar Opener
- 3.1 Rubber Jar Opener VIDEO TUTORIAL
- 3.2 INSTRUCTIONS:
- 3.3 STEP 1: Cut the fabric
- 3.4 STEP 2: Make the handle (optional)
- 3.5 STEP 3: Layer fabrics
- 3.6 STEP 4: Start stitching
- 3.7 STEP 5: Turn it inside out
- 3.8 STEP 6: (optional) Press flat
- 3.9 STEP 7: Sew around the edges
- 3.10 STEP 8: Secure the magnet in place (optional)
- 3.11 STEP 9: Finish the jar opener
- 4 Jar Lid Opener OPTIONS:
- 5 FAQs, Tips and Troubleshooting:
How to Make Jar Opener from Fabric
The first thing you’ll need to do is prepare the required materials and tools for making a jar lid opener.
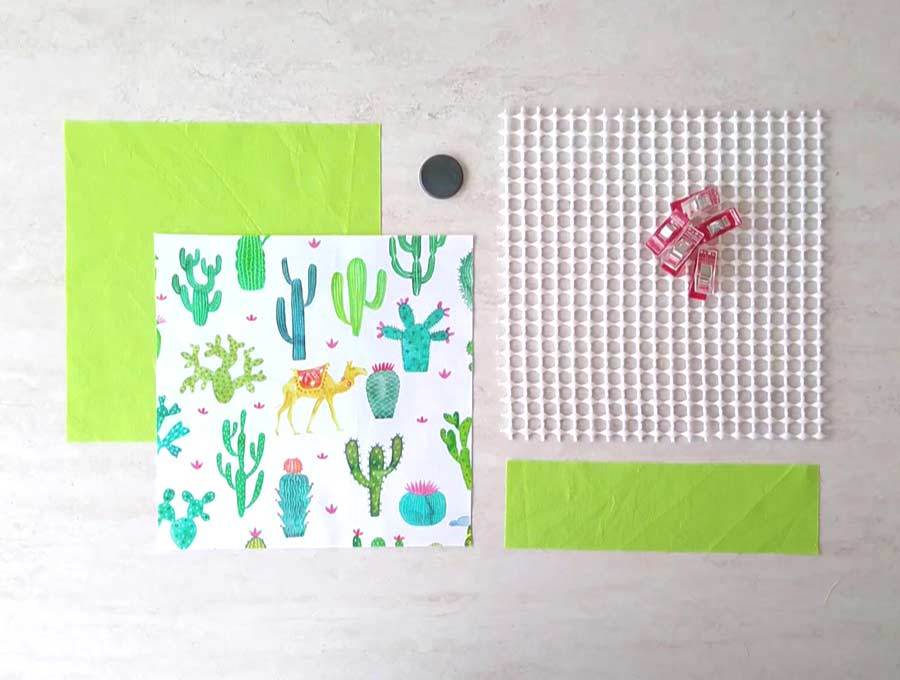
Supplies and tools
- fabric – (2) 18 x 18cm (7 x 7″) (cotton fabric)
- 13 cm (5″) long ribbon or more of the same fabric for the loop 13 x 4.5cm (5 x 1.75″)
- rubber backing: rubber shelf liner or non-slip carpet pad – 18 x 18cm (7 x 7″)
- magnet (optional)
- matching thread
- scissors (or rotary cutter and a cutting mat)
- ruler or measuring tape
- sewing machine (even a 3/4 or a kid friendly machine will do sew this just fine, or you can even hand sew this, although admittedly it will take you more time)
Once you get all that ready, you can start making the jar lid opener.
DOWNLOAD: jar opener pattern in 2 sizes[Free pdf file]
Follow us for free patterns & tutorials! [easy-profiles]
How To Sew DIY Jar Opener
Watch the diy jar lid opener video first and then follow the written step by step instructions below.
Please enjoy and don’t forget to Like and SUBSCRIBE over on YouTube to be kept up to date with new videos as they come out.
Rubber Jar Opener VIDEO TUTORIAL
FINISHED SIZE: standard – 16.5 x 16.5cm (6.5 x 6.5″), mini 10 x 10cm (4 x 4″)
INSTRUCTIONS:
STEP 1: Cut the fabric
Download the pattern, print it out and trim the excess paper or you can opt to use the measurements instead and cut your fabric directly.
BODY (standard size):
- 18 x 18cm (7 x 7″) from the main fabric
- 18 x 18cm (7 x 7″) from lining
- 18 x 18cm (7 x 7″) from rubber backing
BODY (mini size):
- 11.5 x 11.5cm (4.5 x 4.5″) from the main fabric
- 11.5 x 11.5cm (4.5 x 4.5″) from lining
- 11.5 x 11.5cm (4.5 x 4.5″) from rubber backing
HANGING LOOP:
13 x 4.5cm (5 x 1.75″) from lining fabric OR 5” long ribbon
TIP: When cutting the rubber backing, don’t use your fabric scissors as they will dull quickly – just use an old pair of scissors.
STEP 2: Make the handle (optional)
You can use either a strip of fabric or a length of ribbon.
To make the handle our of fabric, fold the strip in half lengthwise and press with an iron. Open up and fold both edges towards the middle crease you’ve just created. Press again and fold in half again so that the bottom fold meets the top fold. One final press and your handle is ready for stitching. Sew along the long edge.

If you are making lots of these, you will definitely find my tip for the fastest way to make bias tape really useful. Check it out
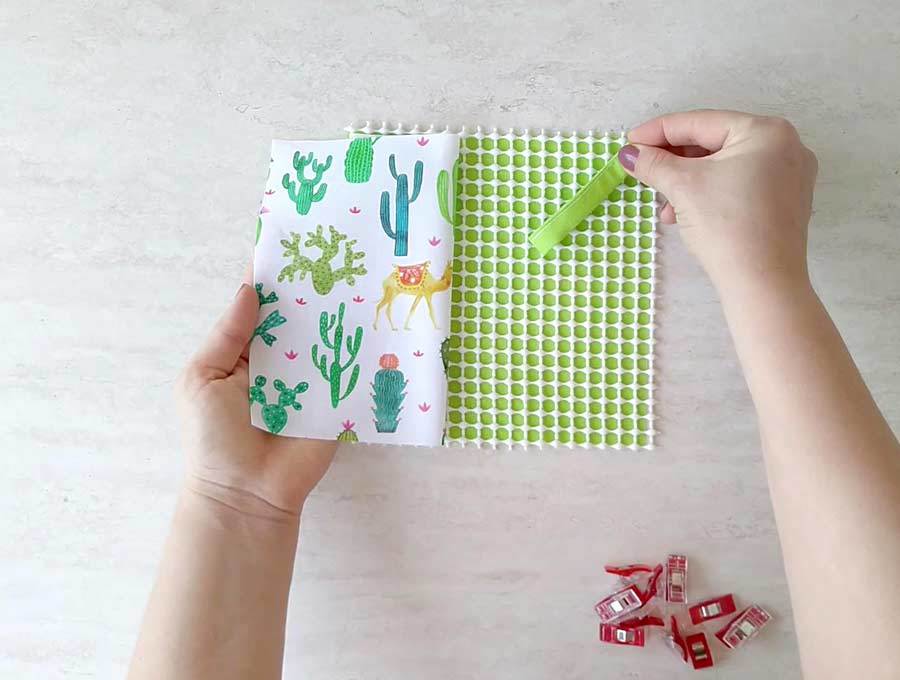
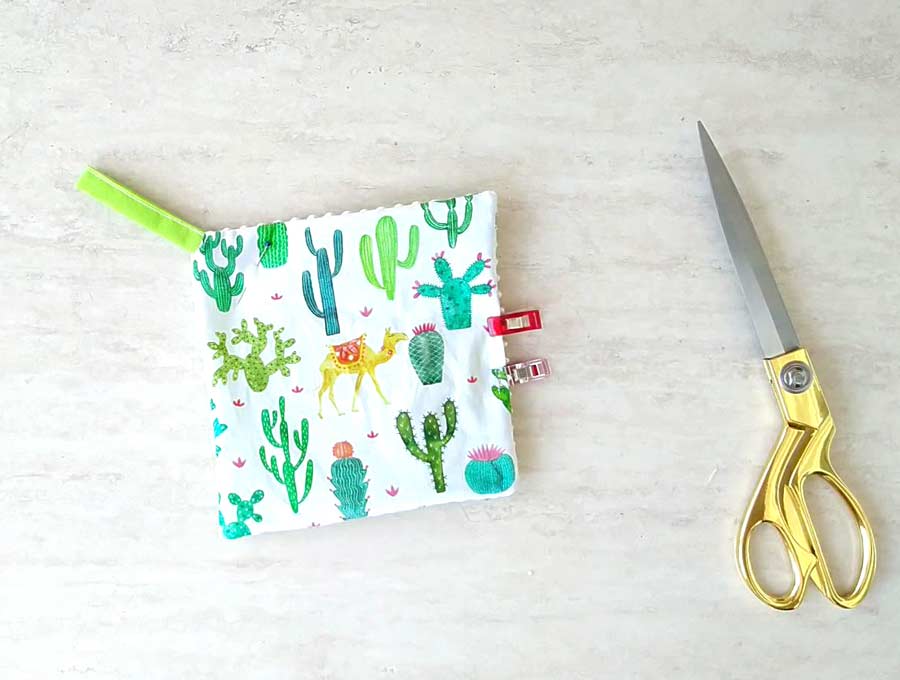
STEP 3: Layer fabrics
Place one piece of fabric on your workspace, right side facing up. Then set the rubber piece on top, facing its wrong side towards the fabric, and align the edges.
Fold the fabric strip loop in half and put it on the corner so that the folded end faces towards the center. Set the main fabric piece on top of everything, right side down. Pin or clip in place.
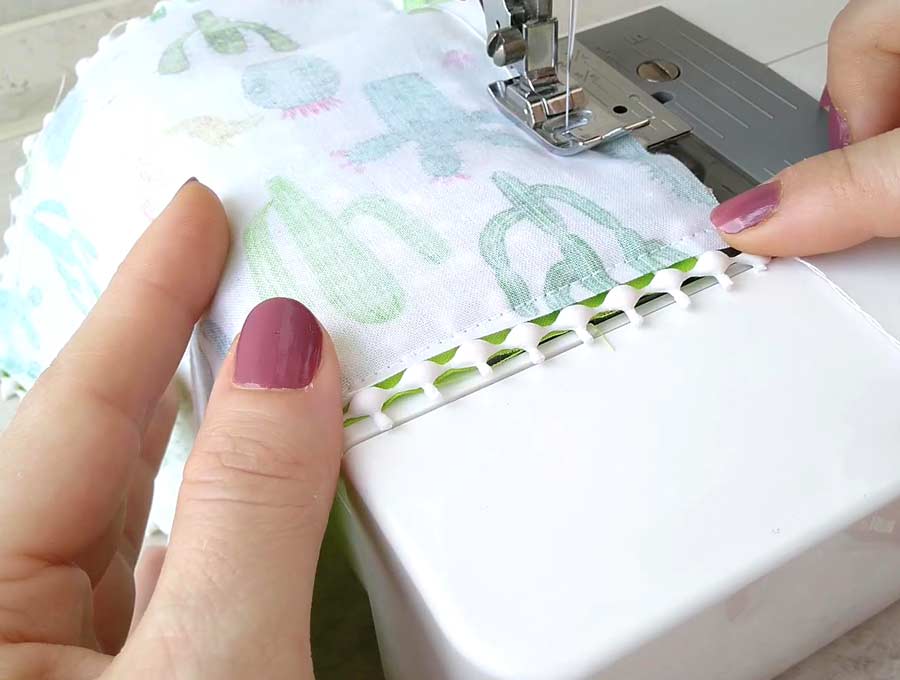
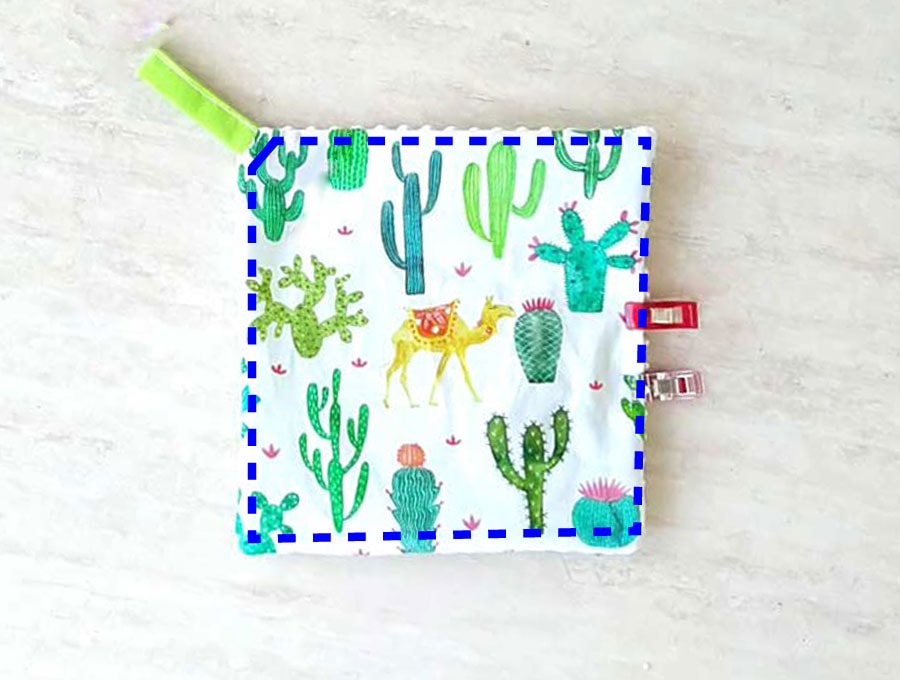
STEP 4: Start stitching
Sew all around the edges of the fabrics using a 6mm (1/4″) seam allowance pivoting as you reach the corners. Stitch at an angle at the corner where your fabric strip is.
Leave a 7cm (3″) opening for turning in the middle of one of the sides.
STEP 5: Turn it inside out
Clip all corners and trim the bulk of the seam allowance.
Then turn the jar opener through the gap you left earlier. This can be tricky because there are multiple layers inside, but don’t worry. Just pull out the layer where your fabric strip is, that’s the right one.
Push the corners out with a blunt tool.
TIP: Not sure which way to turn the whole thing? Just grab the handle and pull – problem solved!
STEP 6: (optional) Press flat
You can finger press or iron the edges to make them lay flat. While doing this, make sure to iron over the fabric side, not the rubber one. If you want extra insurance, press over a piece of fabric.
When you reach the opening, fold it in a quarter of an inch and then press it. Tuck it in and pin it in place.
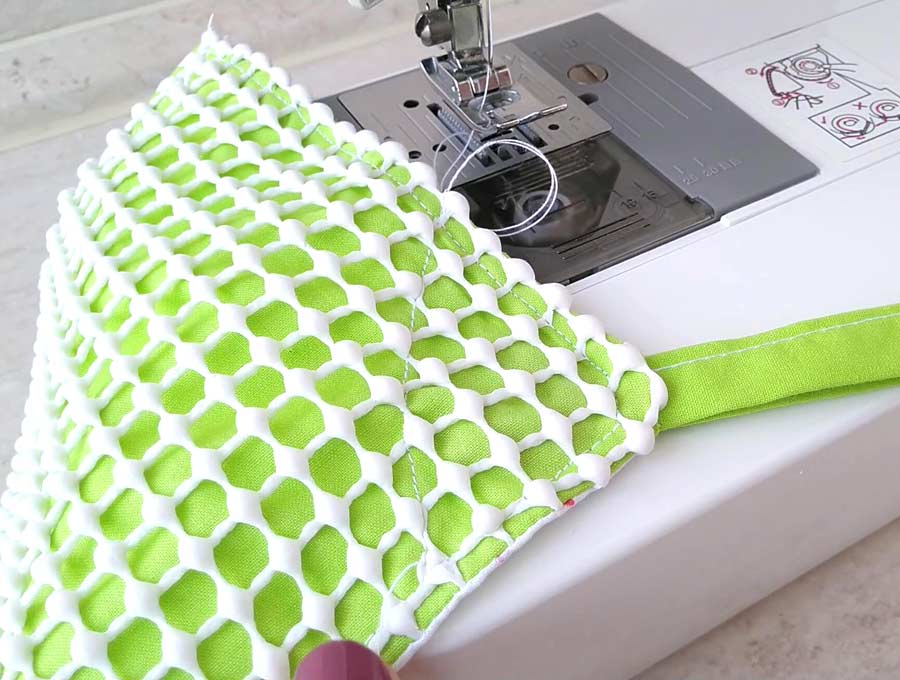
STEP 7: Sew around the edges
 Insert the magnet in through the opening.
Stitch all around the edges, this time going over the opening as well. Pivot as you reach the corners. Sew at an angle when you reach the corner where the fabric strip is. Reinforce your stitches by backstitching, providing the jar opener with additional durability.
As you sew, keep the magnet away from the throat plate, so that it doesn’t stick and interrupt your work.
Bonus Tip: Sewing over the rubber
You may have issues if you try to stitch the jar opener with the rubber backing facing down – the rubber may catch on the feed dogs. To solve this, you can either 1) flip the holder around so that the fabric side is facing down or 2) take a piece of paper and place it under the rubber backing. Now sew over it. Once you finish, just tear the paper away. If the paper sticks and doesn’t come off easily, dampen it with water and it’ll come off quickly
STEP 8: Secure the magnet in place (optional)
 Push the magnet all the way to the corner where the hanging loop is. Then make a stitch across, just below the magnet, securing it in place. See the image above for reference where the magnet is.
STEP 9: Finish the jar opener
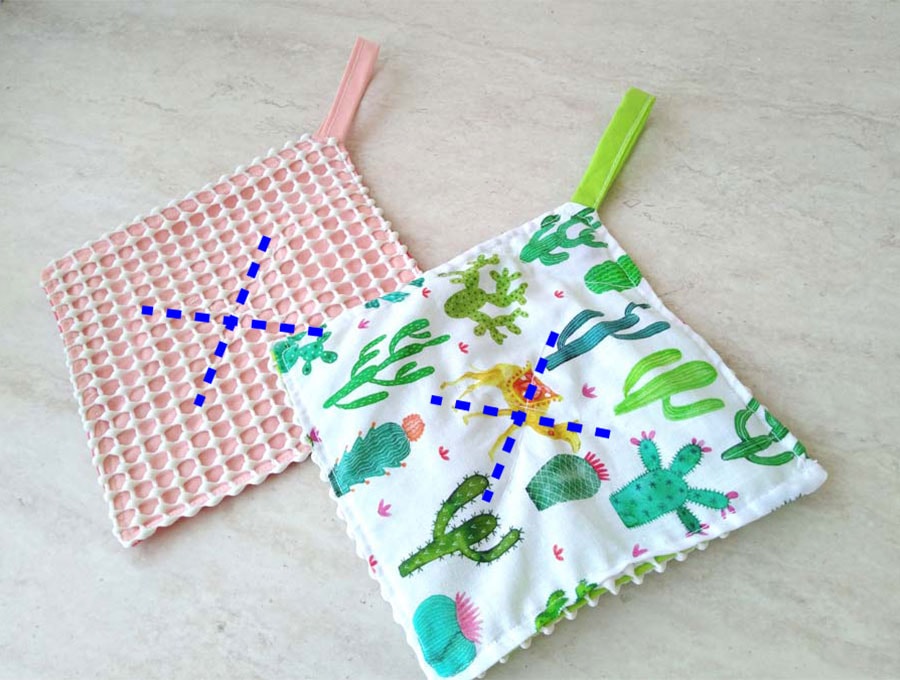
Shifting of the layers can affect the performance of the jar opener. To ensure that the layers don’t shift around you use it or wash it, just stitch an X mark across the center.
If not using a magnet you can just stitch diagonally from corner to corner. Project complete!
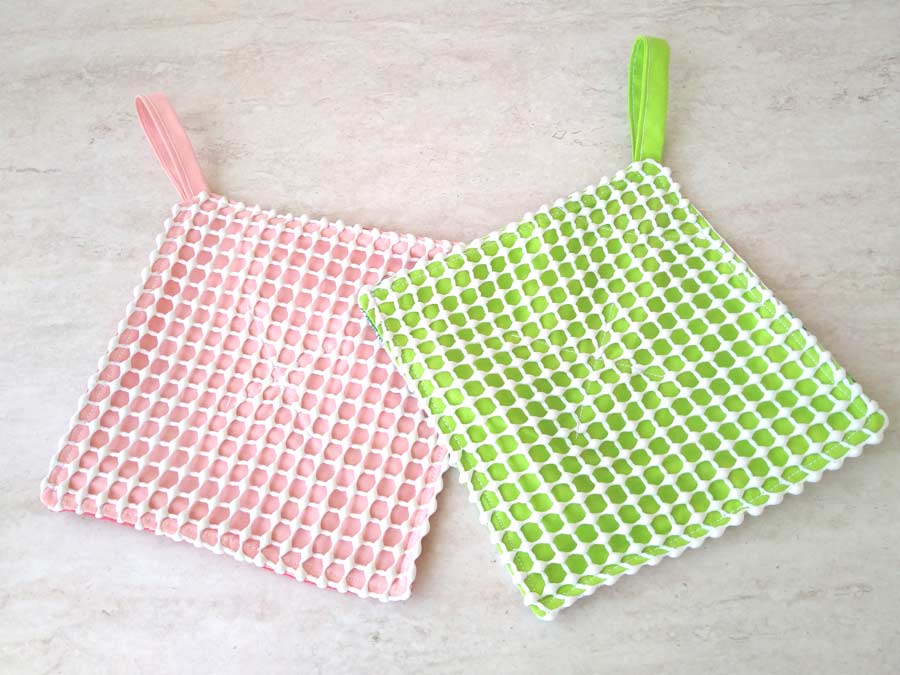
That’s it! Your diy jar opener is ready!
That’s it! Your diy jar opener is ready, let’s put it to a test!

Jar Lid Opener OPTIONS:
- 2 sizes – standard or mini. The standard size is great for most jar lids, whether the mini version is perfect for your medicine cabinet
- With or without a loop to hang on your drawers
- With or without magnet so that you can easily slap it on the fridge door and keep it at an arms reach
- Make the project even easier and skip the lining – the jar opener will still work wonderfully
FAQs, Tips and Troubleshooting:
- I have problems sewing through the shelf liner. What should I do?
Ahh, that rubber grippy thing really sticks to everything. Just flip the whole thing over and place a piece of paper underneath. You will sew it much easily and all you need to do afterwards is gently peel off the paper. The needle will have already pierced the fabric so it will come off quite easily. - The magnet sticks to the metal plate when I try to sew across to make the pocket. Help! What to do?
Flip the holder around so that the part with the magnet is on the left and further away from the metal. Gently pull it as you sew to help it pass.
Those jar lid openers make wonderful gifts for friends and family members. It’s especially useful for the seniors or the disabled, a really thoughtful, practical gift for the kitchen.
Do you like this? Pin for later:
Wanna be friends? Click HERE and follow me on Pinterest
RELATED:
- DIY reusable cotton rounds for makeup removal
- DIY reusable cloth napkins
- Unpaper towels DIY
- How to make produce bags
- DIY doorstopper
- How to shorten jeans
- DIY shopping bag tutorial
- How to make a clothespin bag
- DIY oven mitt
- I hope you liked the tutorial. Try making a few and then tell us what you think about them in the comment section below. Have fun opening jars!