
DIY Travel Kit Out of a Washcloth – Roll Up Travel kit in 5 minutes
Don’t you just hate it when you go on a vacation trip and you realize that you forgot to bring some of your toilet necessities with you? It happened way too many times to me, so I decided to do something about it. To somehow prevent it from happening.
That’s when I came up with an idea to sew a travel kit. That way, I can keep all the things I need on a trip ready to go at any time.
The best part about it is its simplicity. It sews up in a flash. And you don’t even have to buy any materials. You can just repurpose a washcloth instead. Which means that this DIY travel kit is also environmentally friendly.
If you like the idea and want one for yourself, take a look at this step by step washcloth travel kit tutorial I have prepared for you.
Table of Contents
How to make a washcloth travel kit
DIY washcloth travel kit supplies
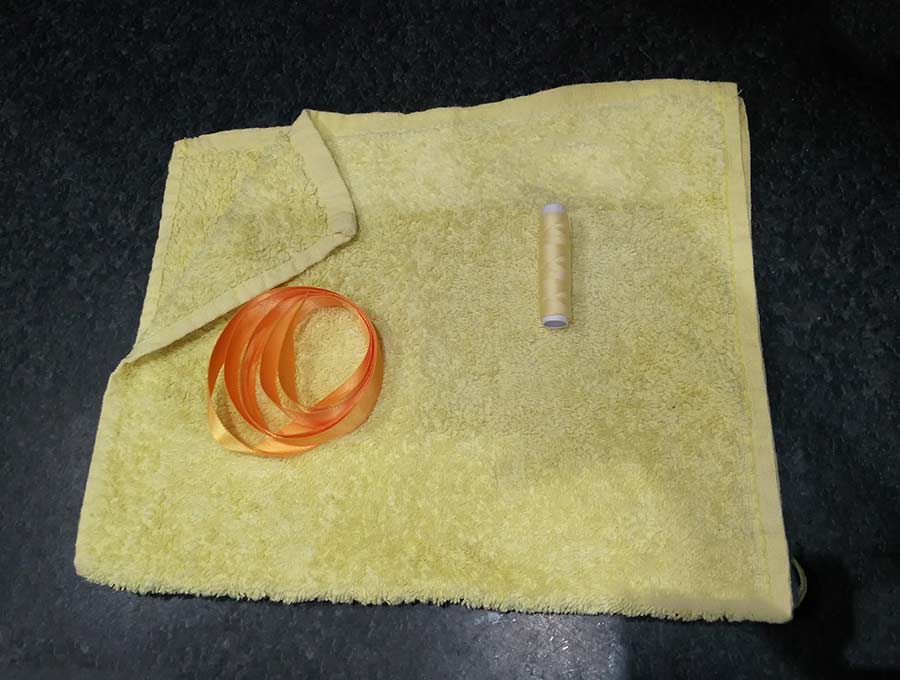
When it comes to required materials for this project, you don’t need much.
A washcloth, a ribbon in a color of your choice, and two threads of different colors.
The tools you will be using are scissors or shears, pins, and a sewing machine, or a needle if you prefer sewing by hand.
How to sew a DIY travel kit out of washcloth
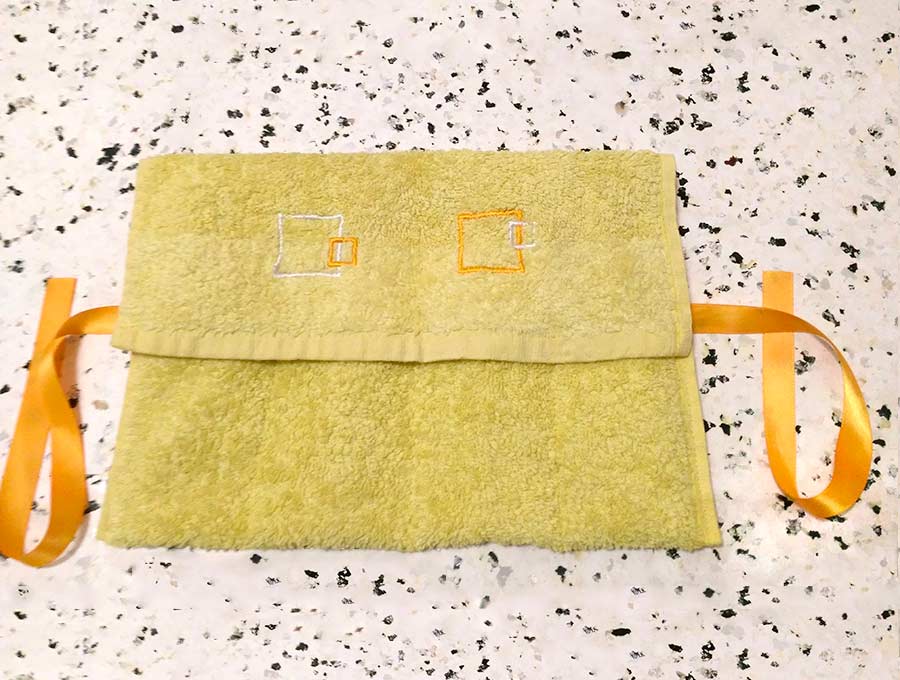
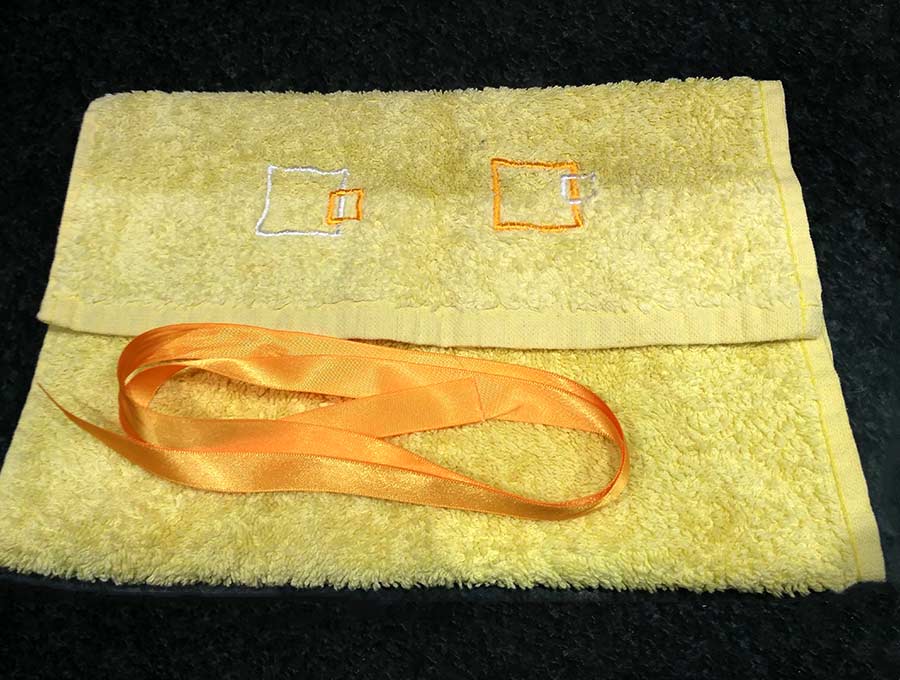
STEP 1: Add your creative touch to it
Since the washcloth is already cut into a shape you can add just a bit of creativity and add a simple decoration. Team lazy decided to go the simplest way possible – stitch simple squares using a tight zig zag stitch. As you can see, I matched the pattern design with the shape of my pouch. If you prefer you can skip this step altogether.
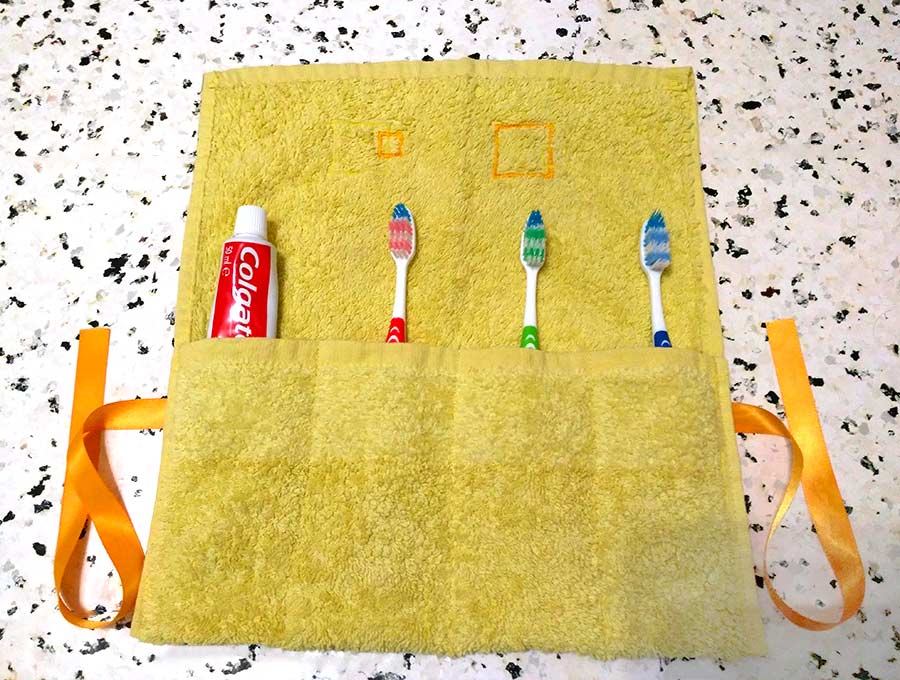
STEP 2: Mark the pockets and the fold
Decide how much pockets you want your pouch to have, and how wide you want them. To do that fold the bottom of the washcloth up about 2/3 of the way and insert the items you want to carry in the roll up.
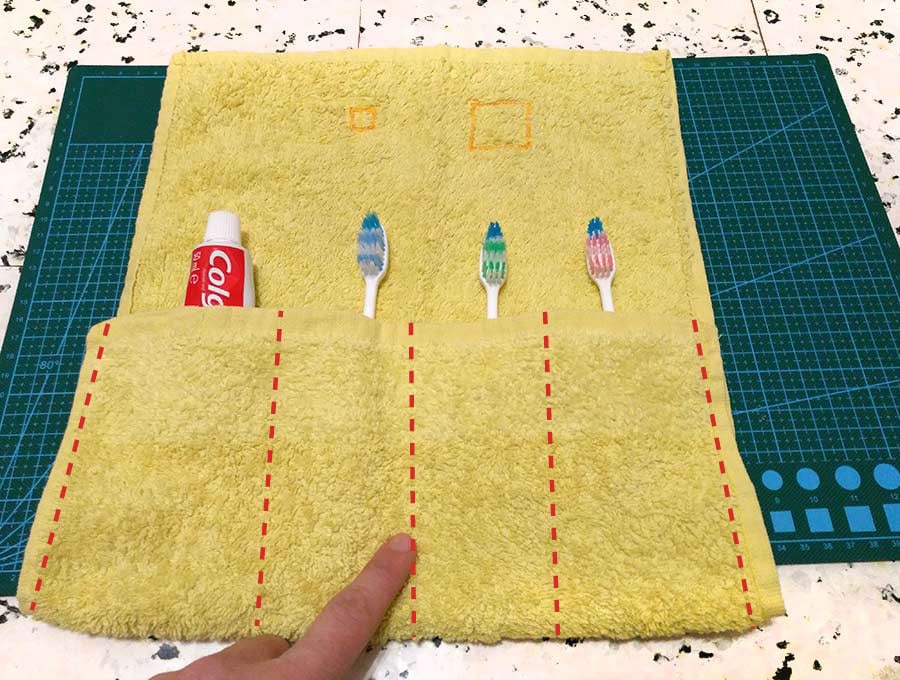
Pin them when you make your choice. I made three rows here, which means that my pouch will have four pockets.
Narrow pockets are better for items like toothbrushes, tweezers, or nail files because they hold them in place firmly. Wider ones are better for deodorants or toothpastes.

With this, the items in the pouch won’t be touching each other. And since the fabric absorbs moisture very well, it will remain hygienic and tidy.
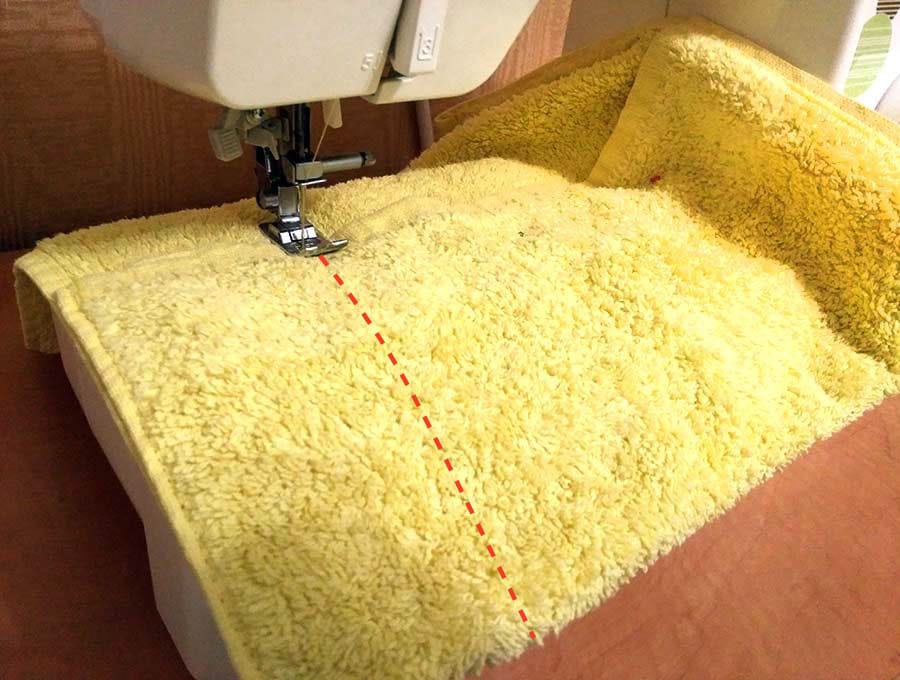
STEP 3: Sew the pockets of the travel kit
Next thing you need to do is to sew the pockets and the ribbon. First deal with the pockets. Stitch them with a sewing machine or by hand if you wish. I recommend that you use a thread of different color than the one you used to make a pattern on the fold.
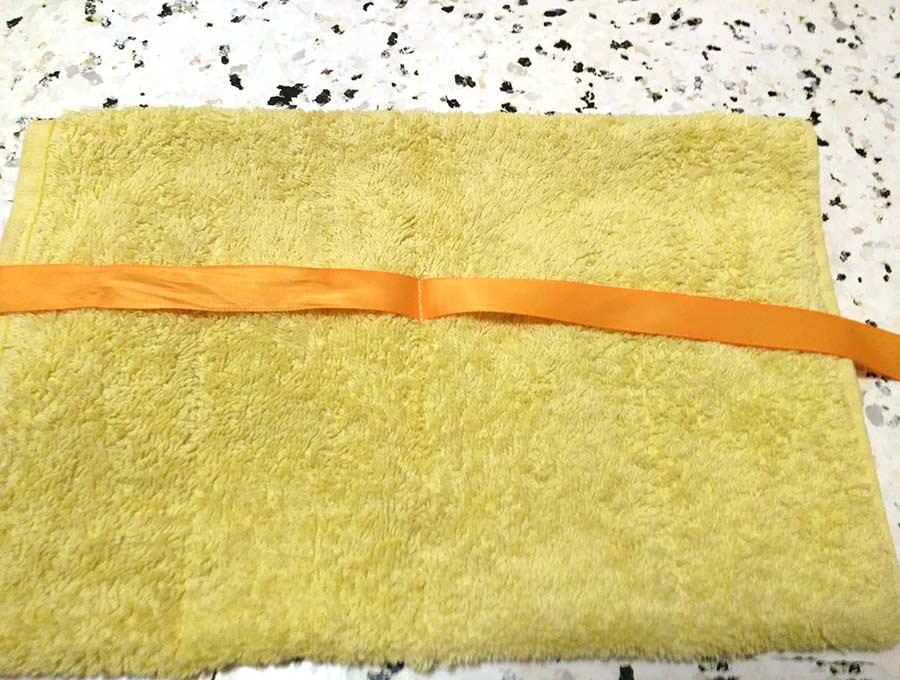
STEP 4: Sew the ribbon
Once you finish making the pockets, it’s time to sew the ribbon. Stitch it to the middle of the pouch, on the back. This will allow you to tie it up over the fold when you’ve packed everything you need. Nothing will fall out no matter how much your bags tumble around during the trip.
That’s it, your pouch is ready for the next adventure.
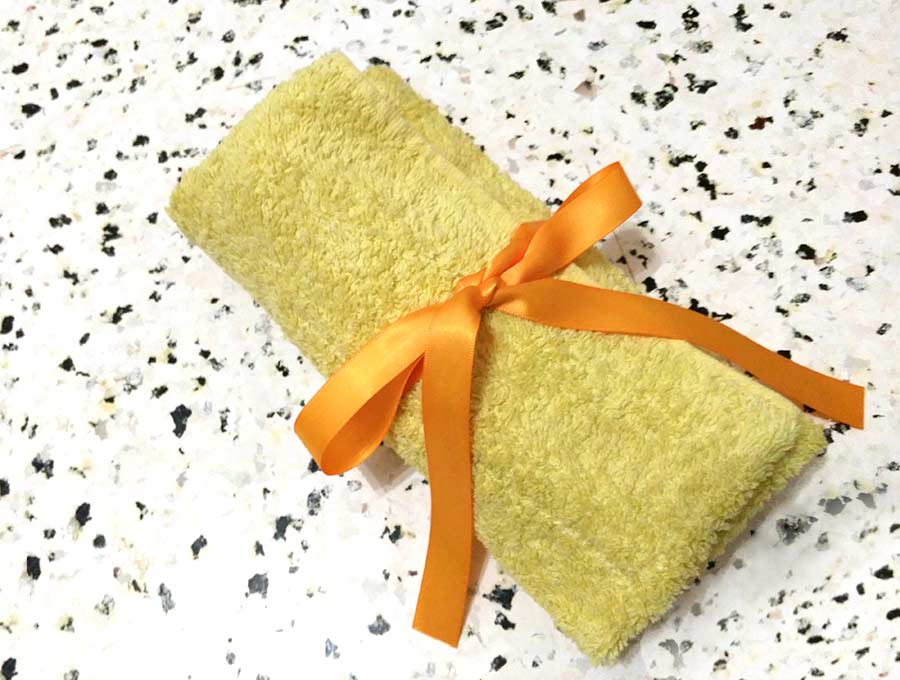
I hope you liked this DIY travel kit out of washcloth tutorial. Now you can make your own unique travel pouch. Let me know how it turned out in the comments.
RELATED PROJECTS:
- Soap pouch out of washcloth (VIDEO)
- How to make a hooded baby towel
- How to make a towel wrap