
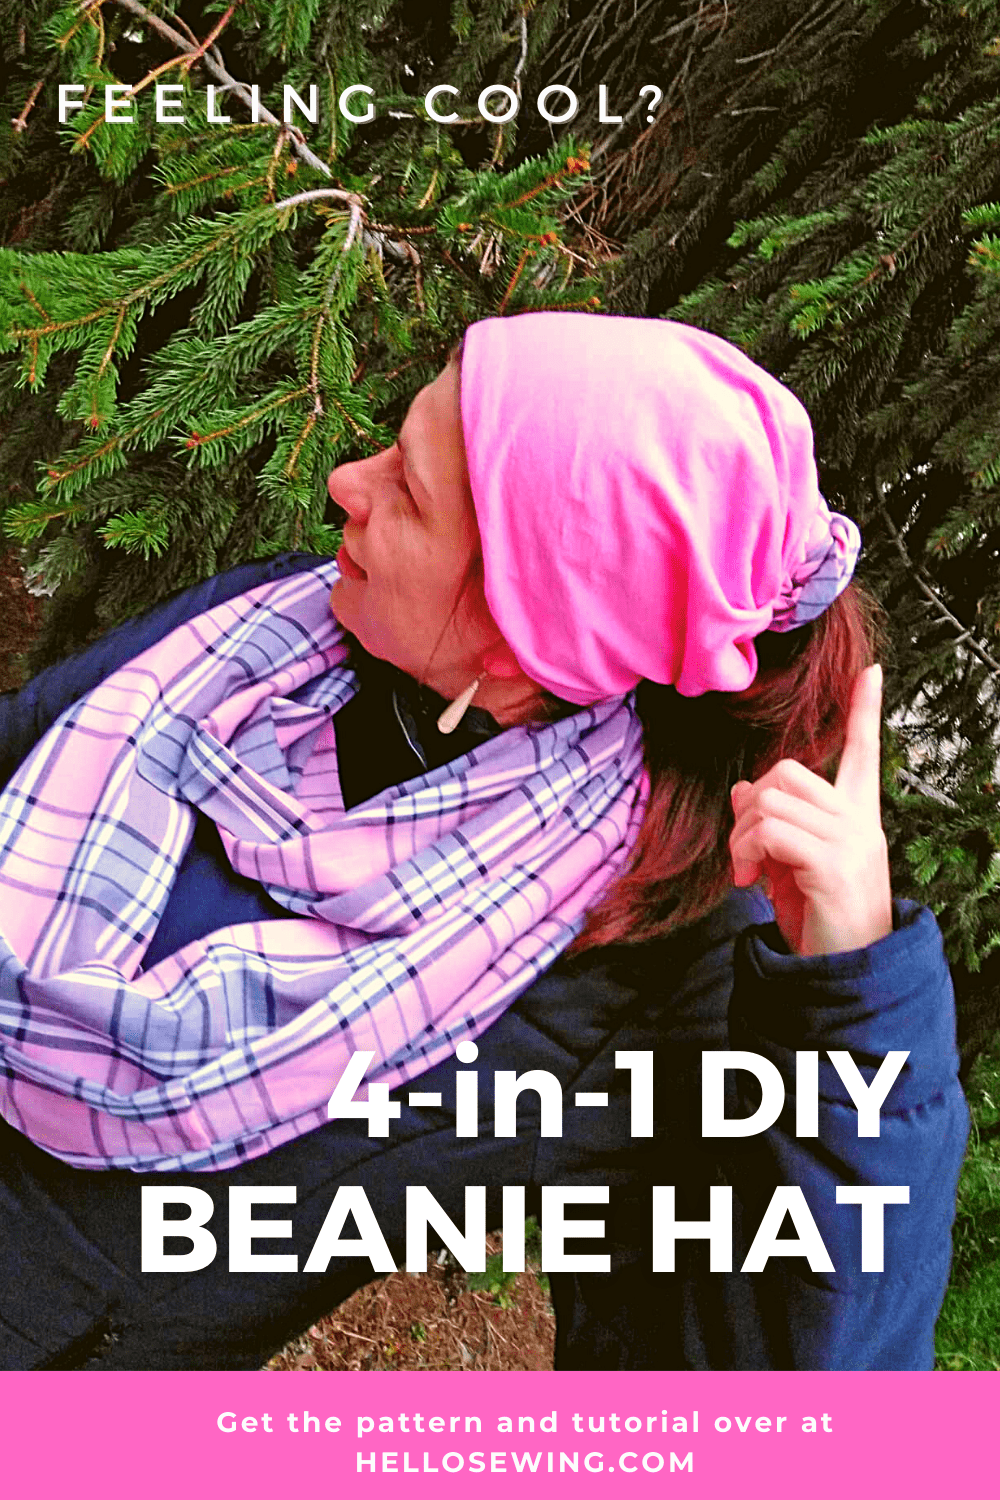
How to Make a Beanie Hat | 4-in-1 Beanie Hat Pattern for Slouchy + Ponytail Hat
We’ve stepped deep into autumn and winter is getting closer, which means one thing. It’s the perfect time to learn how to make a beanie hat!
Right around this time of year, you need a hat that will keep you warm but at the same time, you don’t want to whip out those heavy-duty winter hats.
This beanie hat we’re about to show you doesn’t use a plain beanie hat pattern since it’s completely different from your regular beanies.
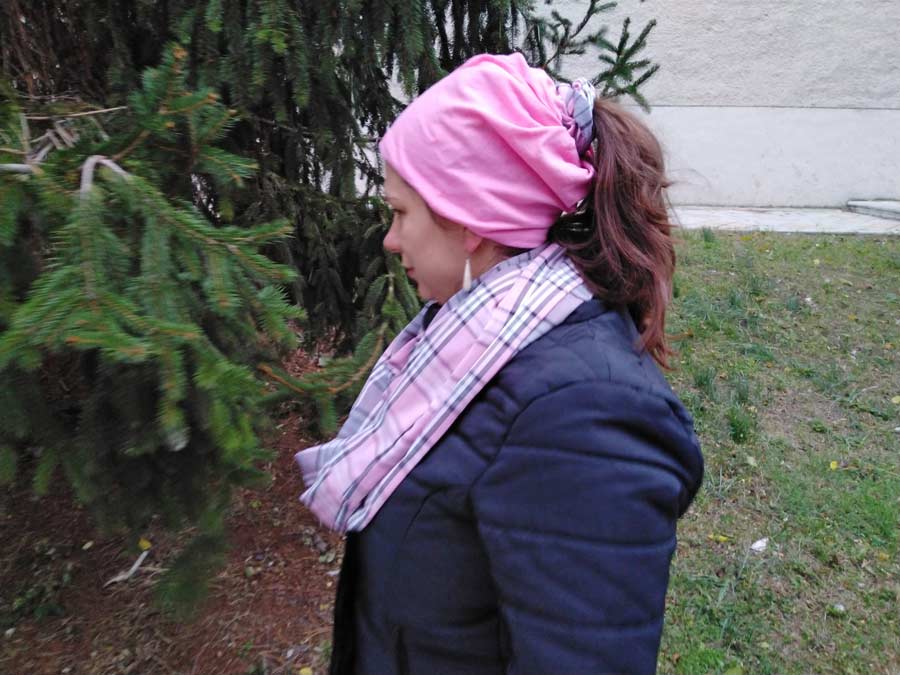
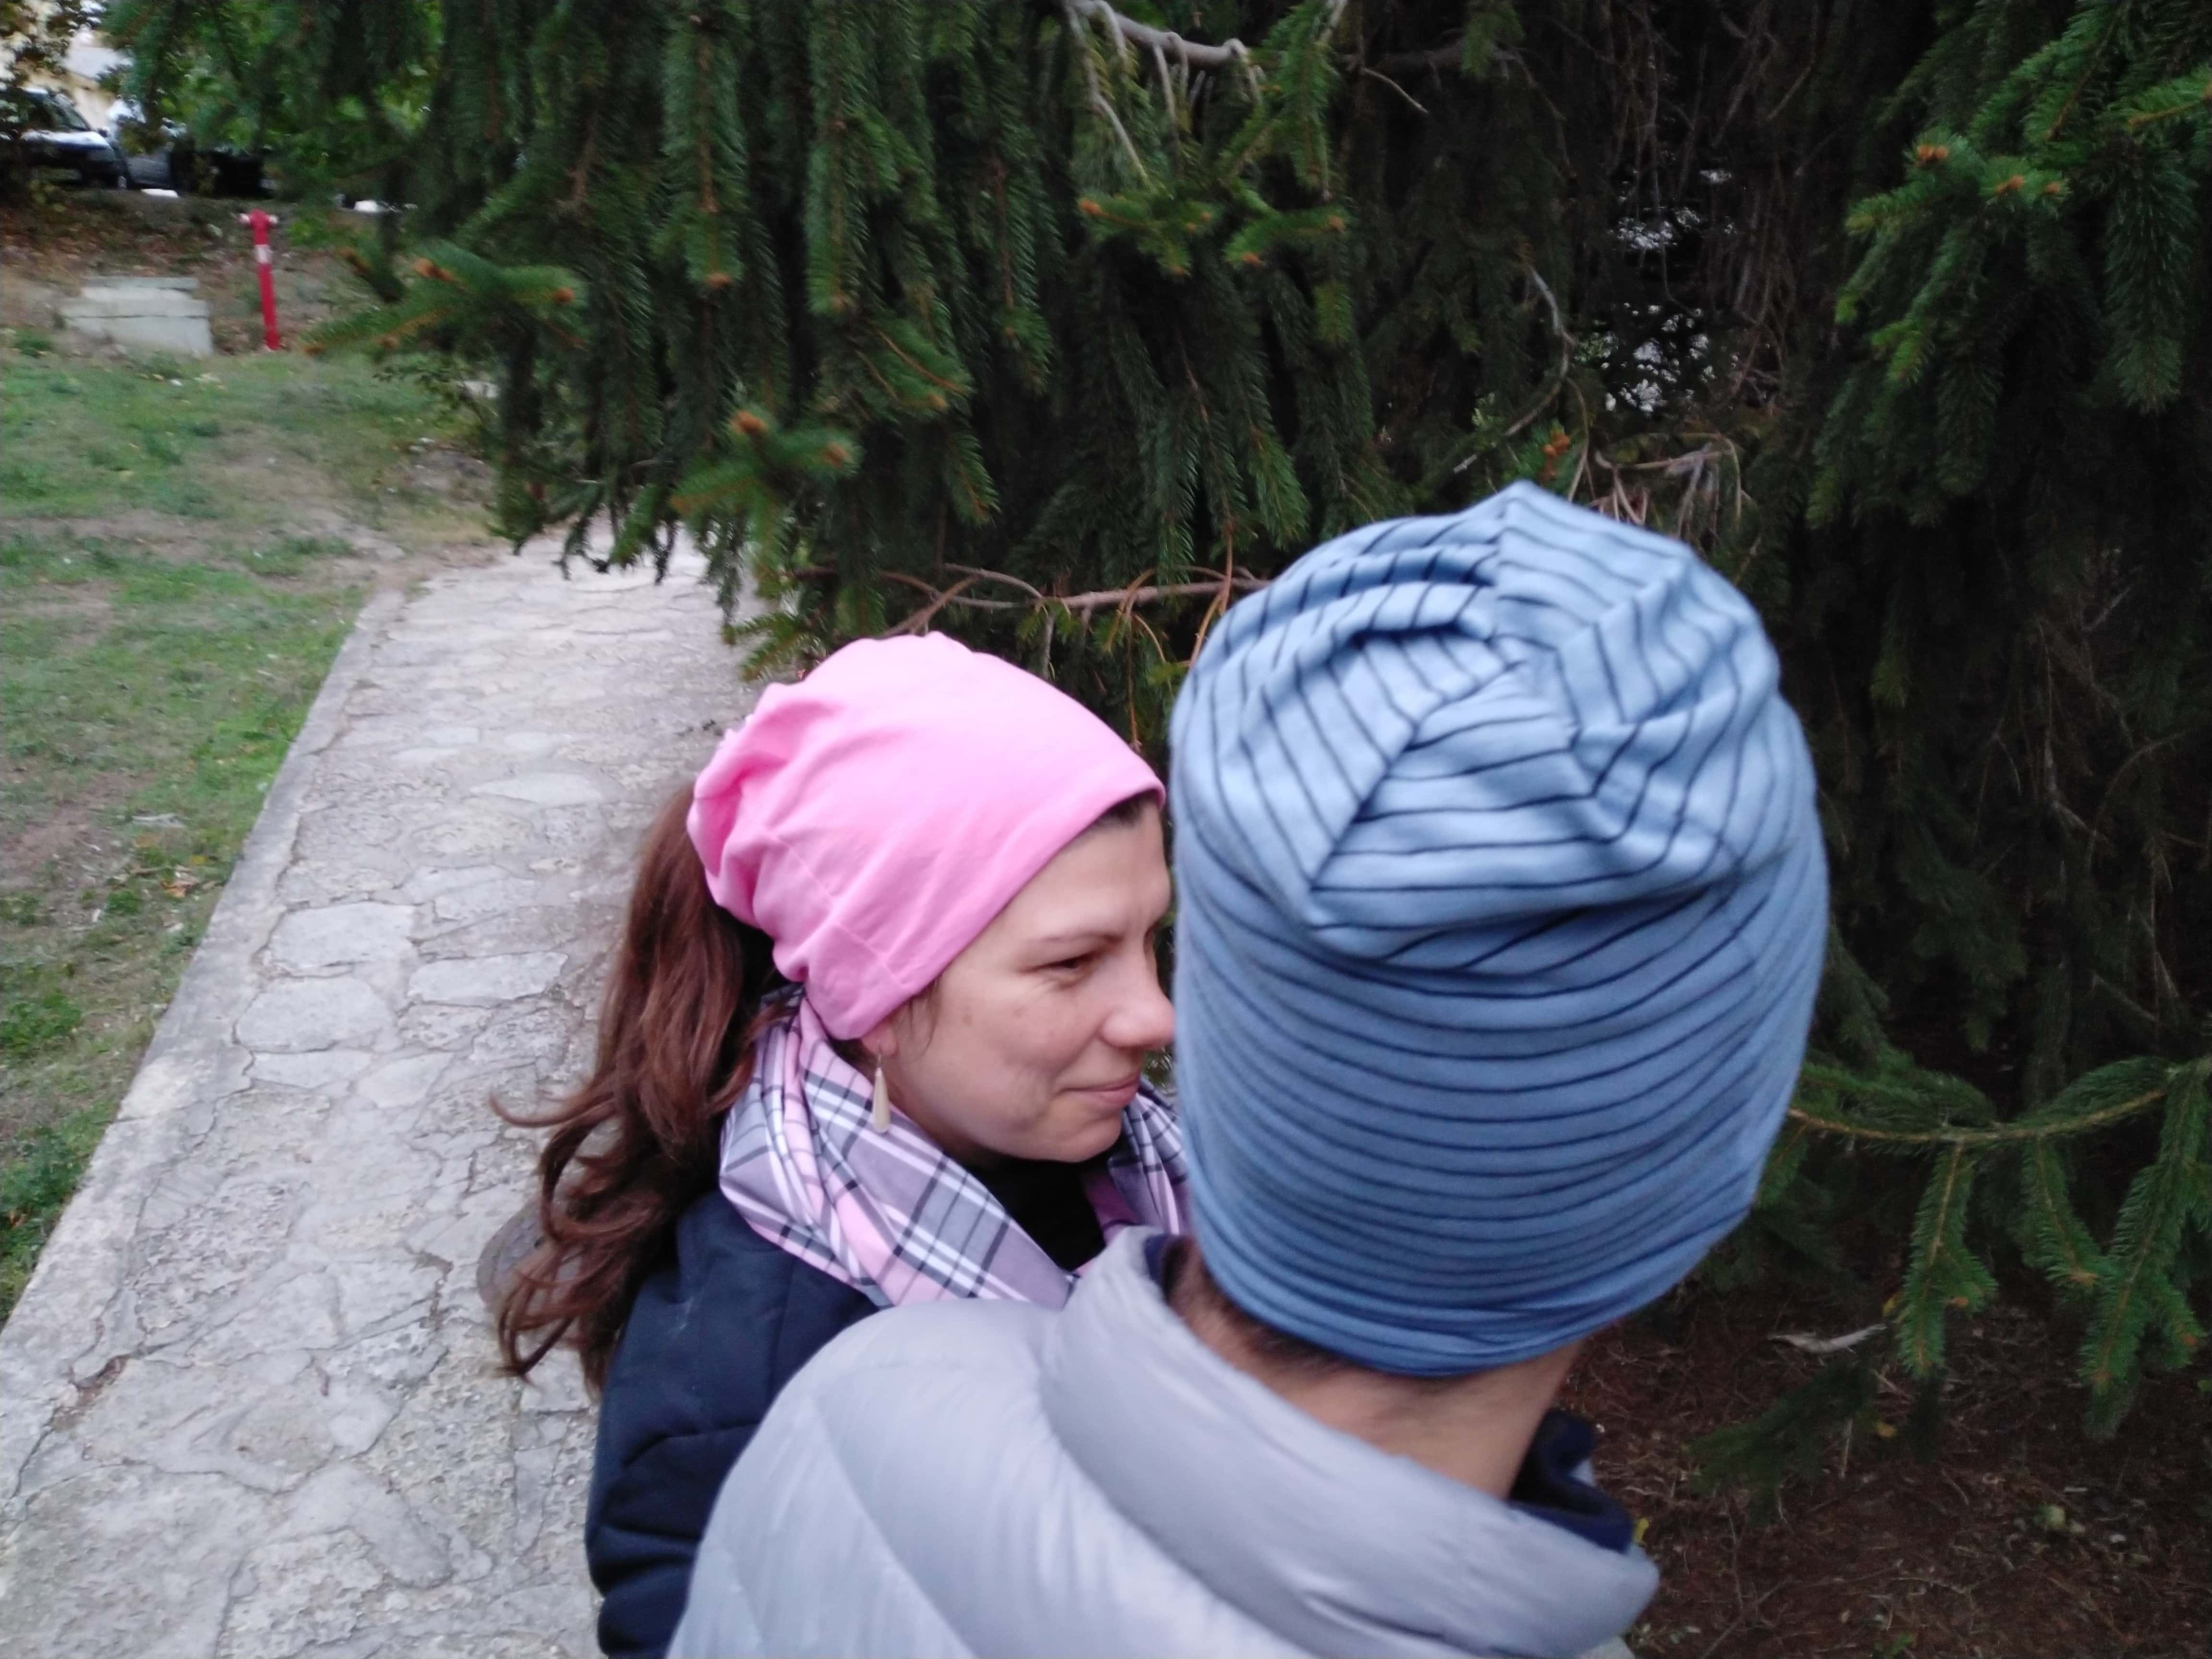
It’s a 4-in-1! You can use it as a normal beanie hat, ponytail hat, a scarf, or as a headband! It will keep you warm and fashionable, no matter how you decide to wear it!
Now say goodbye to that chilly breeze going through your hair and say hello to style and comfort because you’re about to whip up this awesome beanie!
Below you will find my step by step written tutorial with VIDEO instructions for all the visual learners.
We occasionally link to goods offered by vendors to help the reader find relevant products. Some of the links may be affiliate meaning we earn a small commission if an item is purchased.
Table of Contents
- 1 How to make a beanie hat
- 2 Supplies and tools
- 3 How to Sew a Beanie
- 3.1 4-in-1 BEANIE HAT VIDEO TUTORIAL
- 3.2 BEANIE HAT SEWING INSTRUCTIONS:
- 3.3 STEP 1: Take the measurements and cut the fabric
- 3.4 STEP 2: Start sewing the beanie hat
- 3.5 STEP 3: Fold the fabric
- 3.6 STEP 4: Pin the bottom raw edge of the beanie hat
- 3.7 STEP 5: Sew the beanie hat
- 3.8 STEP 6: Finish the twisted beanie hat
How to make a beanie hat
For everyone in the family. It’s unisex and due to the stretch fits most heads, so you needn’t worry about the fit.
Supplies and tools
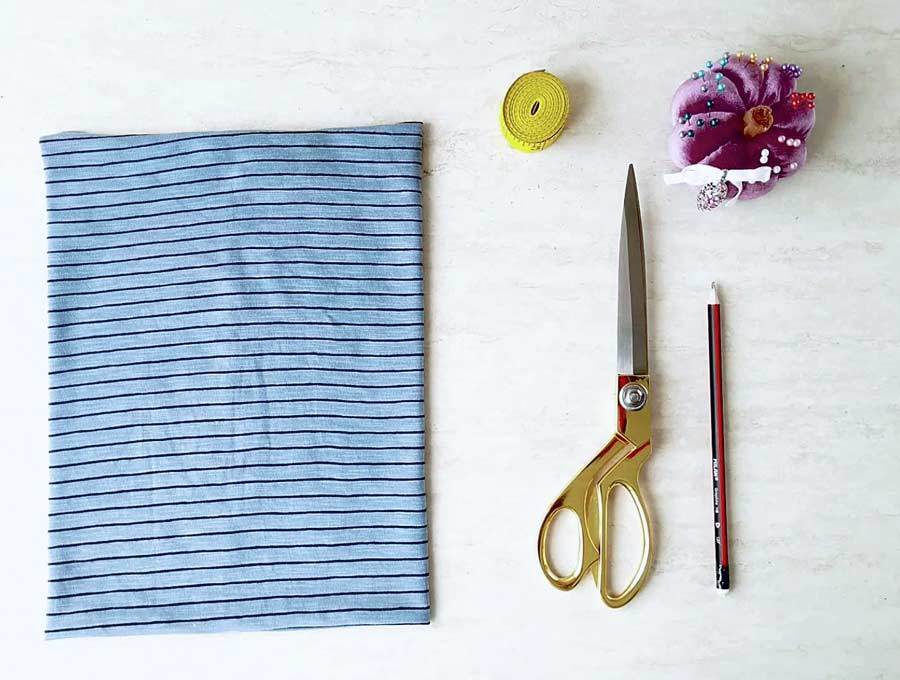
- stretchy knit fabric – 1/2 to 3/4 yard for 2 hats
- matching thread
- scissors (or rotary cutter and a cutting mat)
- ruler or measuring tape
- iron and ironing board
- sewing clips or pins
- sewing machine (it’s an easy sew, even a child sewing machine or a mini stitching machine can handle this)
DOWNLOAD: free 4 in 1 beanie hat pattern (Free PDF file)
Follow us for free patterns & tutorials! [easy-profiles]
How to Sew a Beanie
Watch the diy beanie hat video first and then follow the written step by step instructions below.
Please enjoy and don’t forget to Like and SUBSCRIBE over on YouTube to be kept up to date with new videos as they come out.
4-in-1 BEANIE HAT VIDEO TUTORIAL
BEANIE HAT SEWING INSTRUCTIONS:
STEP 1: Take the measurements and cut the fabric
Start by measuring your head circumference first. This will be the width of the fabric you’ll be using.
The length of the beanie depends on who is going to wear it. For adults, about 22 inches should do. For kids, the length should be about 20 inches. If you plan on putting this beanie on your toddler or a child younger than 6 years, the length should be about 18 inches. Here’s a quick reference guide.
- fabric width = head circumference
- fabric height:
-
- adults and teens – 22 in / 55 cm
- kids 6-12 – 20 in /50cm
- toddlers and kids under 6 – 18 in/45 cm
If you prefer download the beanie hat sewing pattern above for a quick reference later.
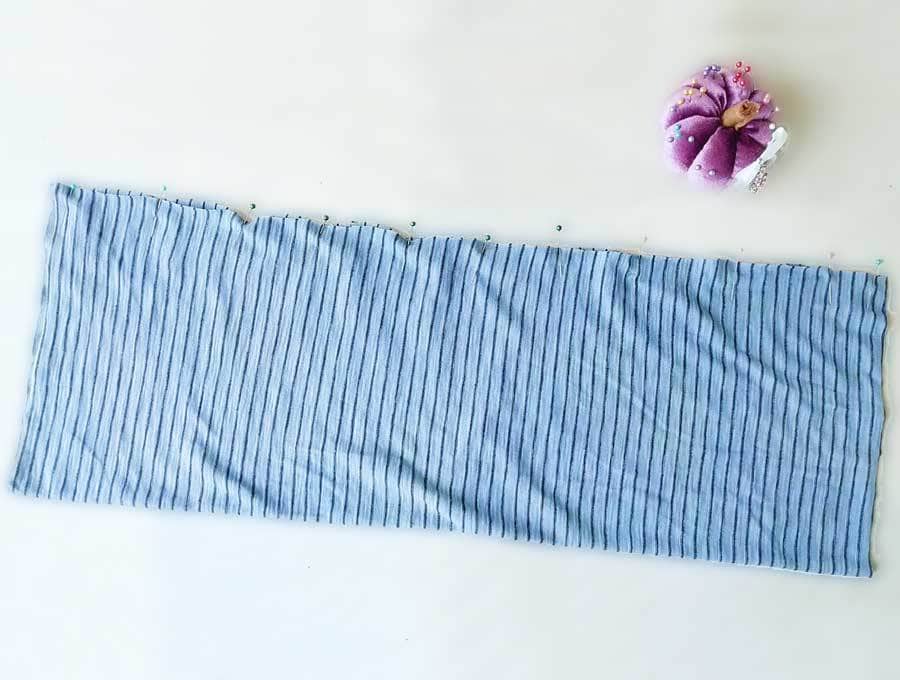
After you’ve taken the measurements, cut out the fabric according to them.
STEP 2: Start sewing the beanie hat
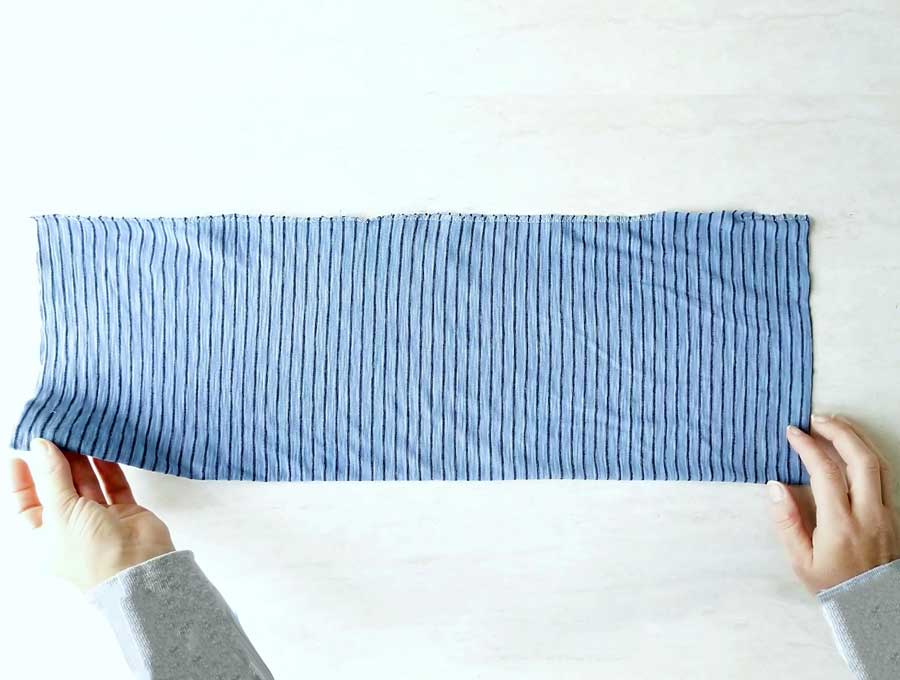
Lay the fabric on your workspace so that its vertical side is the width and its horizontal side is the length.
Fold the fabric in half so that its horizontal sides meet. Keep the right side in, align the edges, and secure everything in place with some pins or clips.
Sew along the pinned raw edges that meet after folding. Use a serger machine for all sewing in this project, if you have one. If you don’t have it, use your regular sewing machine but use a stretch stitch, a mock serger stitch or a medium zig zag.
Leave a small opening unstitched near the bottom of the tube so that you can turn the fabric through it.
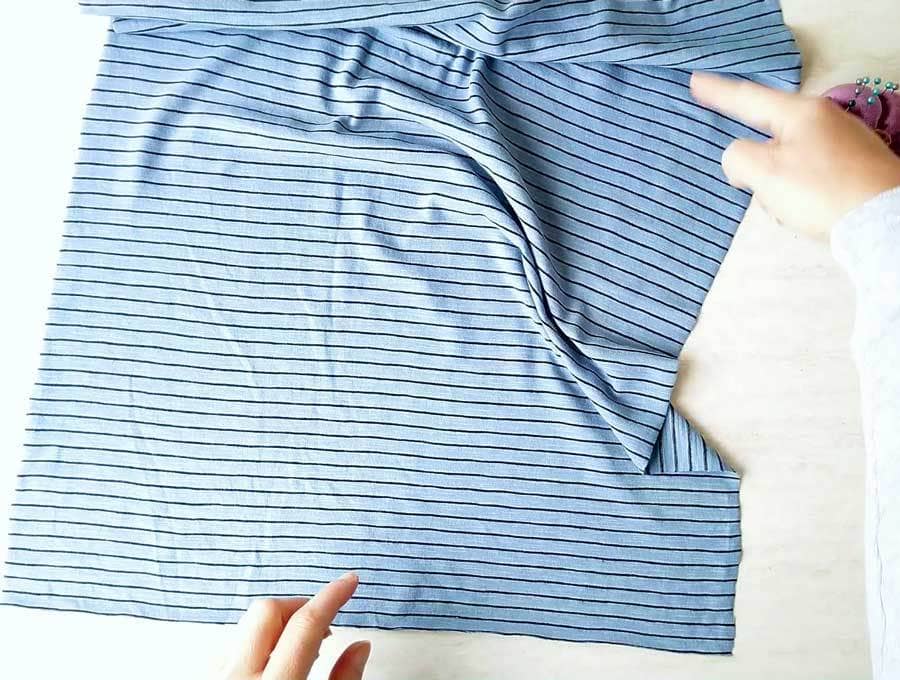
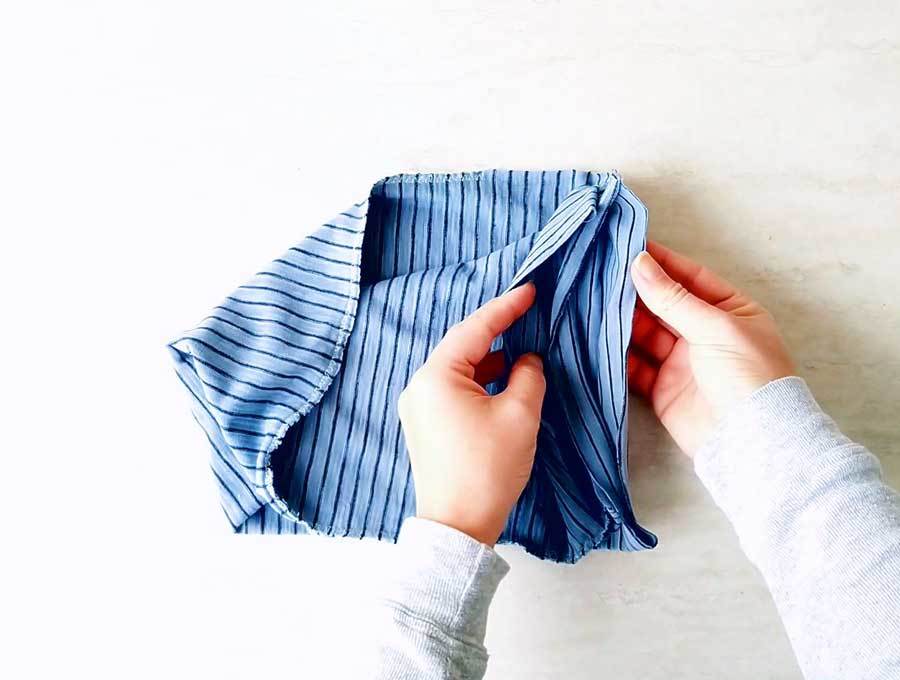
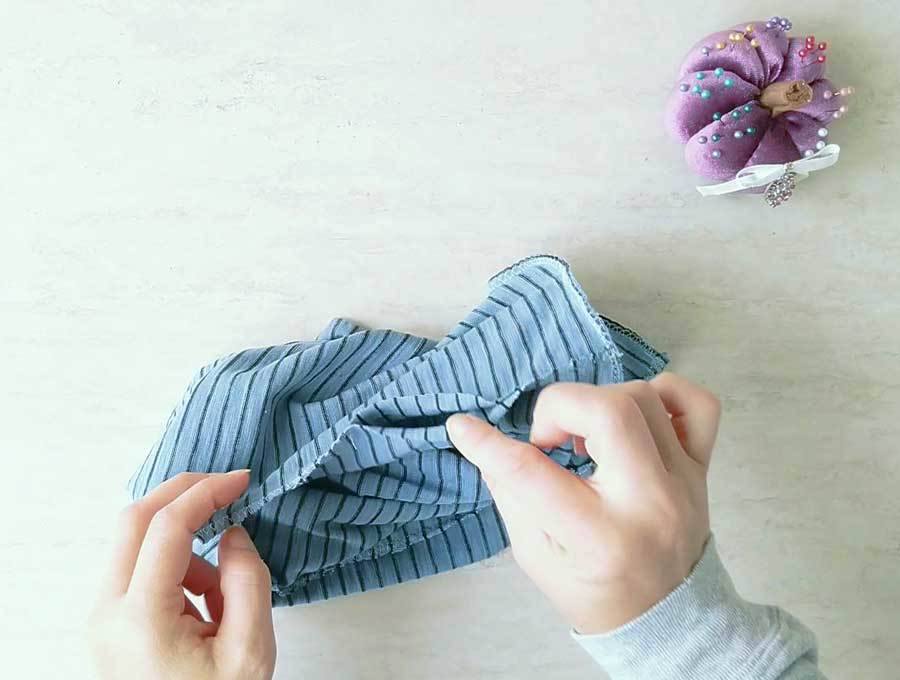
STEP 3: Fold the fabric
Lay the fabric on your workspace as it was just before you have sewn it.
Then grab its bottom left corner and pull it towards the top right corner. Join their tips together.
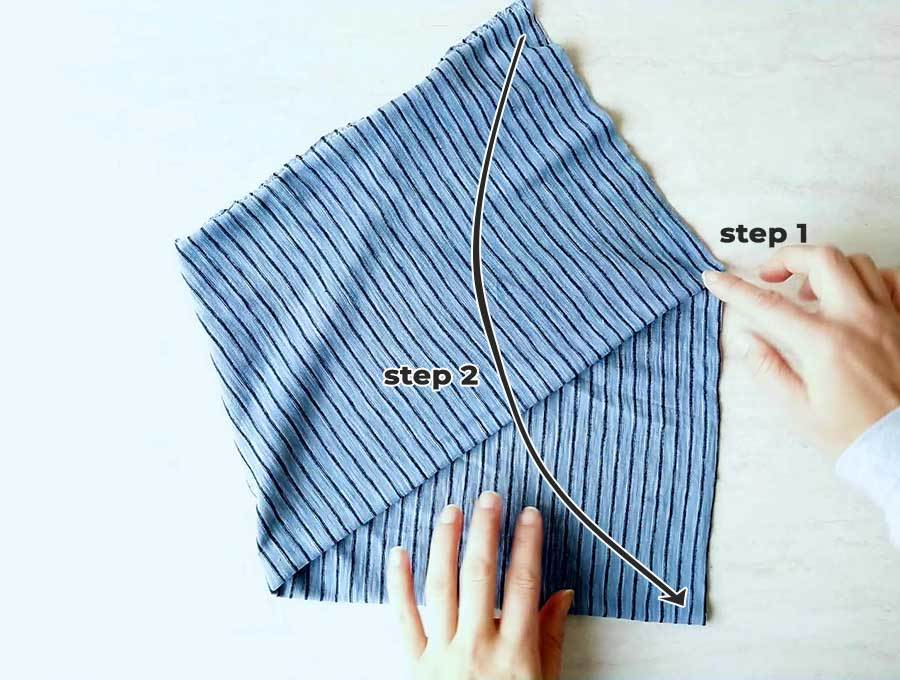
While keeping the fold you just made in place, pull the other top corner towards the bottom right corner. Join the tips of the corners. Straighten everything out a bit.
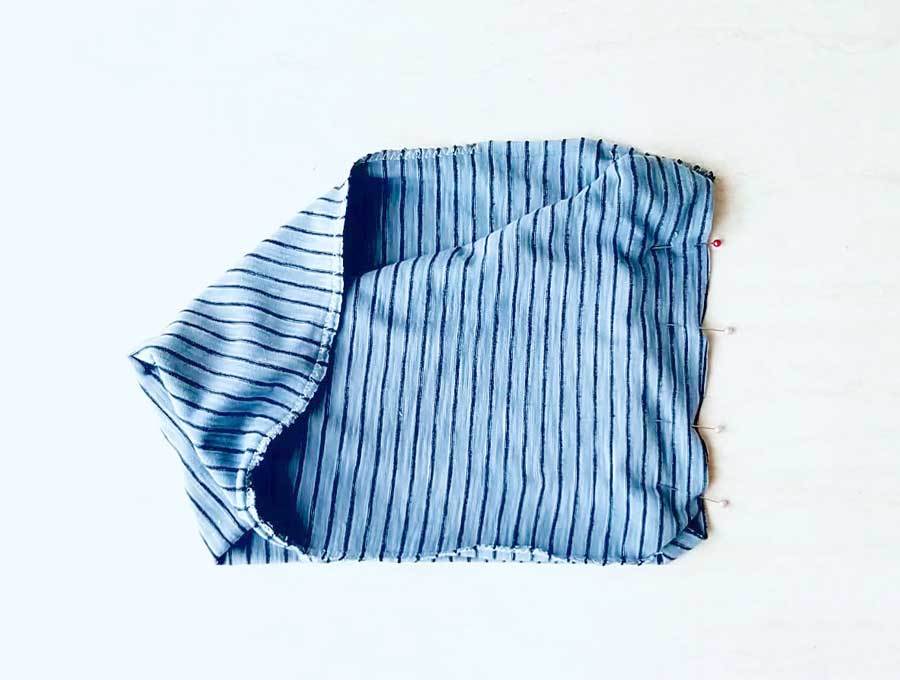
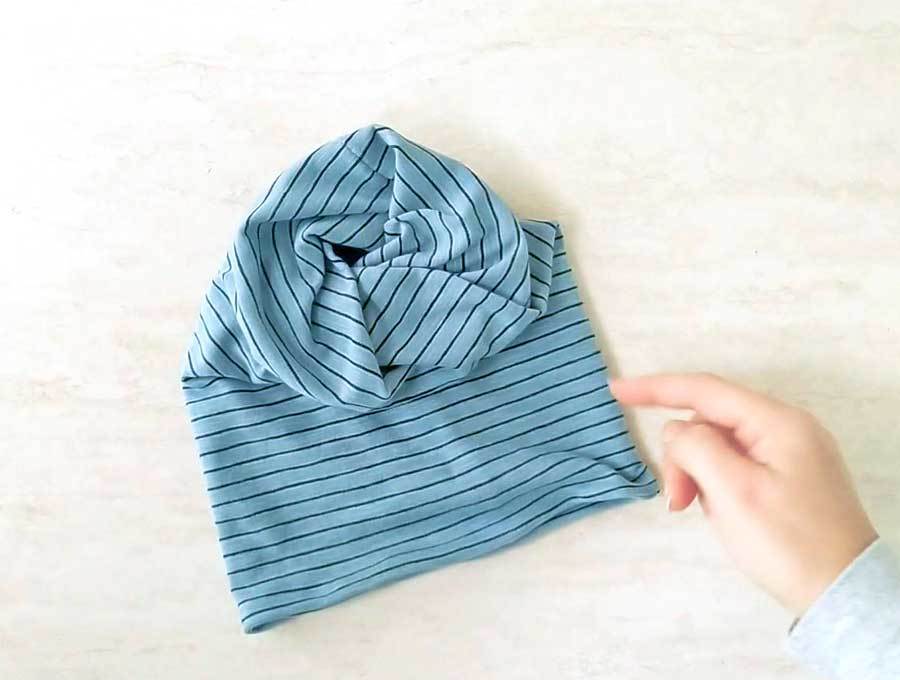
If you did everything right, your fabric piece should look a bit like a crooked house.
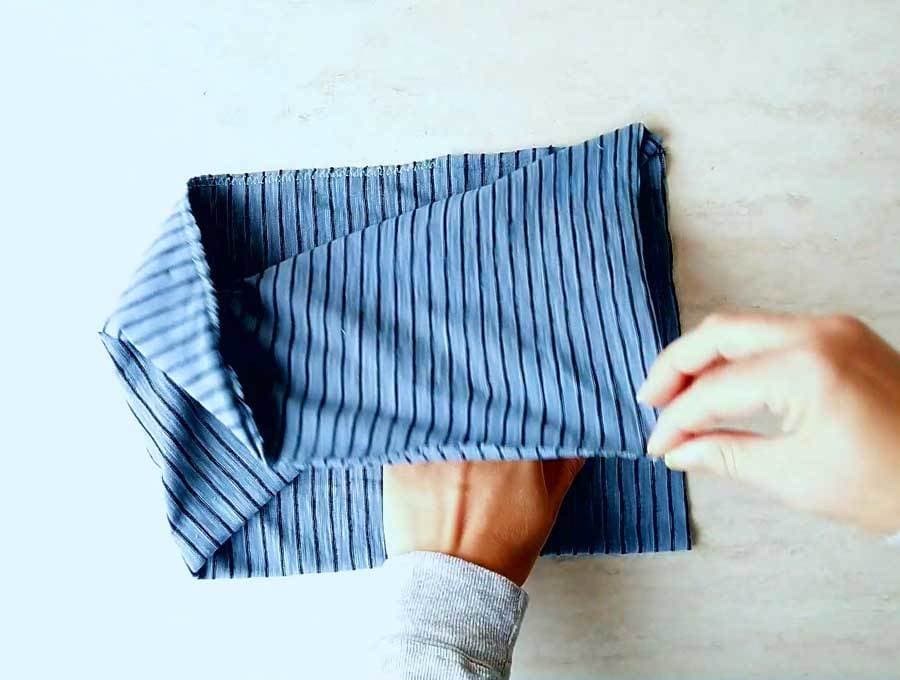
STEP 4: Pin the bottom raw edge of the beanie hat
You’ll notice that your fabric piece now has four layers on the bottom edge.
Grab the two inner layers and fold them inward a bit, then pin the bottom and top edge. Use pins or clips to secure everything in place and be careful not to pin the inner layers.
STEP 5: Sew the beanie hat
Now you’ll need to sew the two outer layers together. Start after the first pin and slowly go towards the last pin. Make sure not to catch the two inner layers!
When you get close to the opposite end, stop with the presser foot and the needle in DOWN position. Then slightly pull out the fabric from the inside, towards the side where your seam is heading.
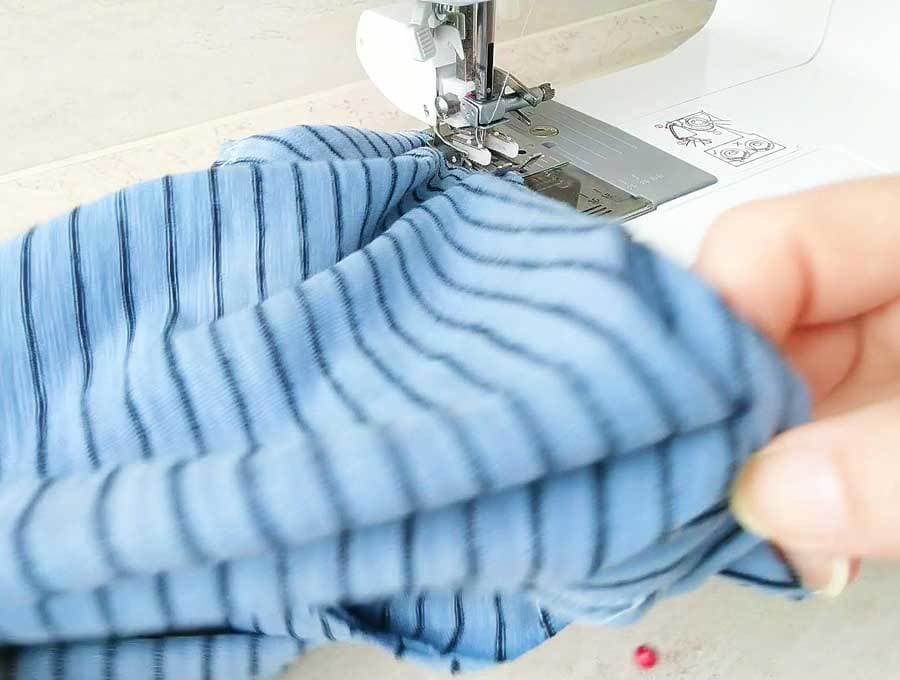
Align the top and bottom edges again and continue your seam.
Keep doing this until your stitch reaches its beginning. In other words, you’ll need to sew all around the outer layers.
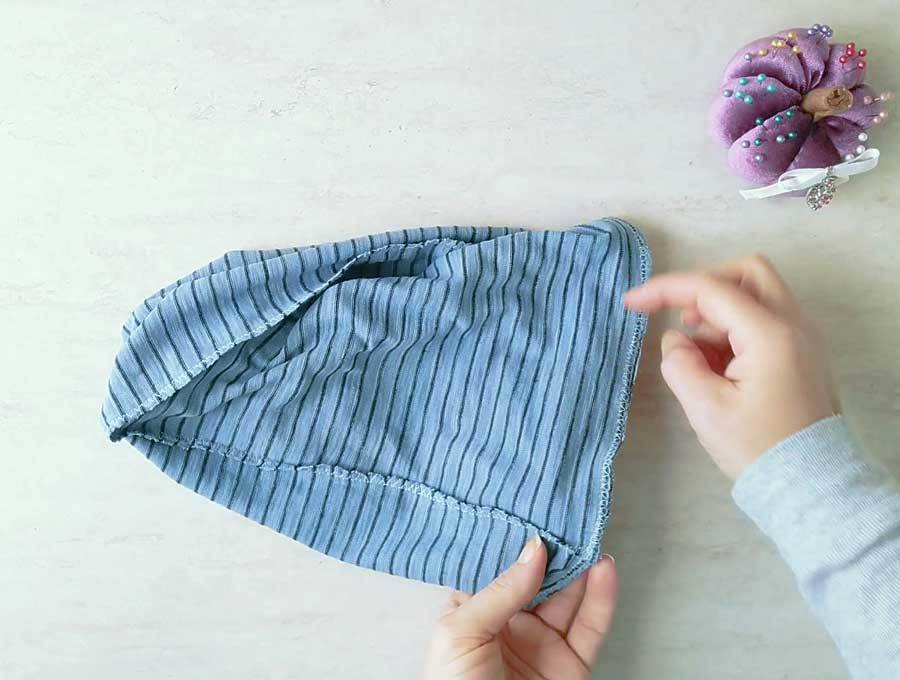
STEP 6: Finish the twisted beanie hat
Search the hat for the unstitched section you left when making the first seam. When you find it, turn the entire hat through it.
Fold the raw edges of the opening inward a bit and pin them in place. Sew the opening shut either by hand or with your sewing machine.
If you are sewing by hand, use ladder stitch the make the seam invisible. If you are in a hurry, use your sewing machine as this part will be the lining of the hat and will not show.
Shake the entire thing a bit until it twirl opens and it takes the form of a hat. If you want to use it as a ponytail hat, just put it on as a regular hat and then push your messy bun or ponytail through the opening.
When you want to use it as a scarf or headband, just roll it up a bit.
Your new twisted beanie hat is complete!
What do you think about this tutorial? Were you able to make a beanie hat? Make sure to tell us your thoughts and ideas for improvement in the comment section below. Enjoy your new practical and stylish accessory!
Do you like this? Pin for later:
Wanna be friends? Click HERE and follow me on Pinterest
RELATED:
- Infinity scarf tutorial
- Fleece neck warmer pattern
- Homemade hand warmers
- How to sew a scrunchie (with bow, ties, long or short ears, in two colors or a cute mini scrunchie)
- DIY hair tie
RELATED HATS: