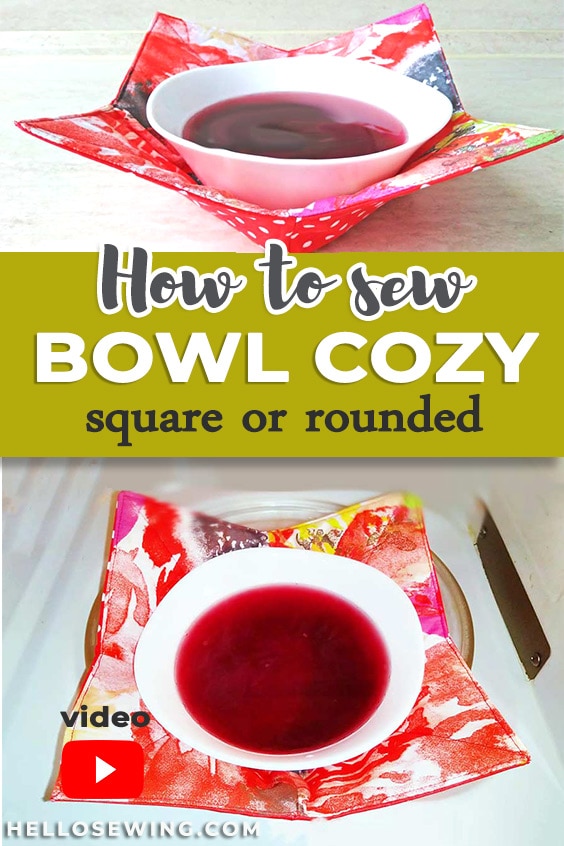
How to Make: Soup Bowl Cozy Pattern and VIDEO tutorial
Does your microwave also have a portal to the hottest volcano in the world? And when you heat something up, it becomes engulfed in searing lava only for that same lava to magically disappear just before you open the microwave?
Well, mine obviously does because every time I heat something up, the bowl gets so hot that when I grab it, I end up prancing around the kitchen like a chimpanzee until I finally put it down.
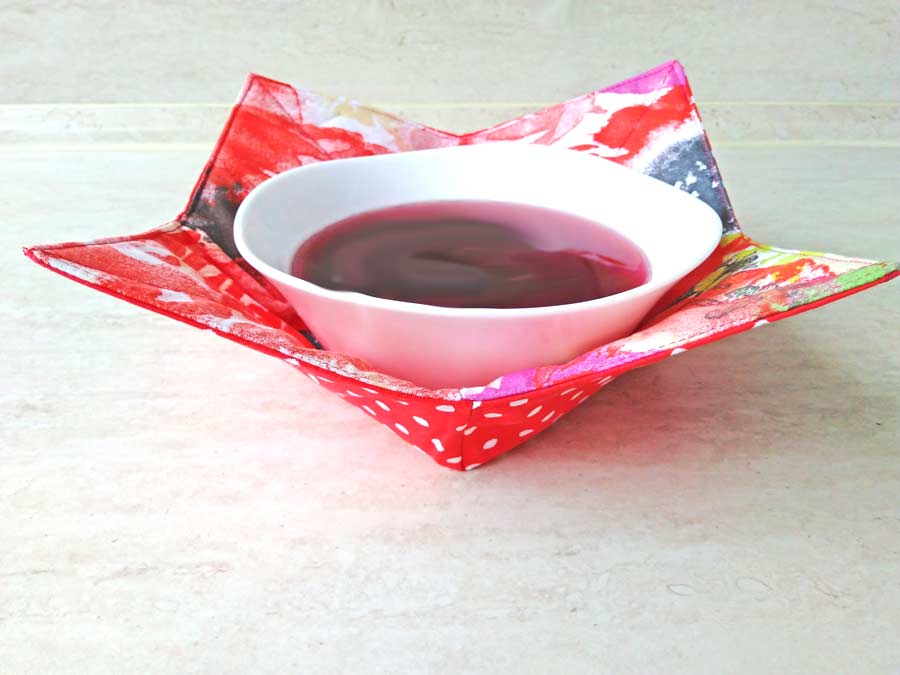
Luckily, I don’t experience that anymore, ever since I made this neat soup bowl cozy pattern. With this bowl cozy pattern you can make a cover for your bowls and not burn your hands with 3rd-degree burns whenever you heat something up.
If you prefer not to burn your hands, keep reading and learn how to make a bowl cozy!
Below you will find my step by step how to make microwave bowl cozy written tutorial with VIDEO instructions for all the visual learners.
We occasionally link to goods offered by vendors to help the reader find relevant products. Some of the links may be affiliate meaning we earn a small commission if an item is purchased.
Table of Contents
- 1 How to make a bowl cozy
- 2 Supplies and tools
- 3 How to Sew a Microwave Bowl Holder
- 3.1 Microwave Bowl Cozy VIDEO TUTORIAL
- 3.2 SOUP BOWL COZY INSTRUCTIONS:
- 3.3 STEP 1: Prepare the microwave bowl holder pattern
- 3.4 STEP 2: Cut out the fabric
- 3.5 STEP 3: Layer fabrics
- 3.6 STEP 4: Transfer pattern markings
- 3.7 STEP 4: Sew the batting to the main fabric
- 3.8 STEP 4: Make the darts
- 3.9 STEP 5: Join the pieces together
- 3.10 STEP 6: Finish the DIY bowl cozy
How to make a bowl cozy
Supplies and tools
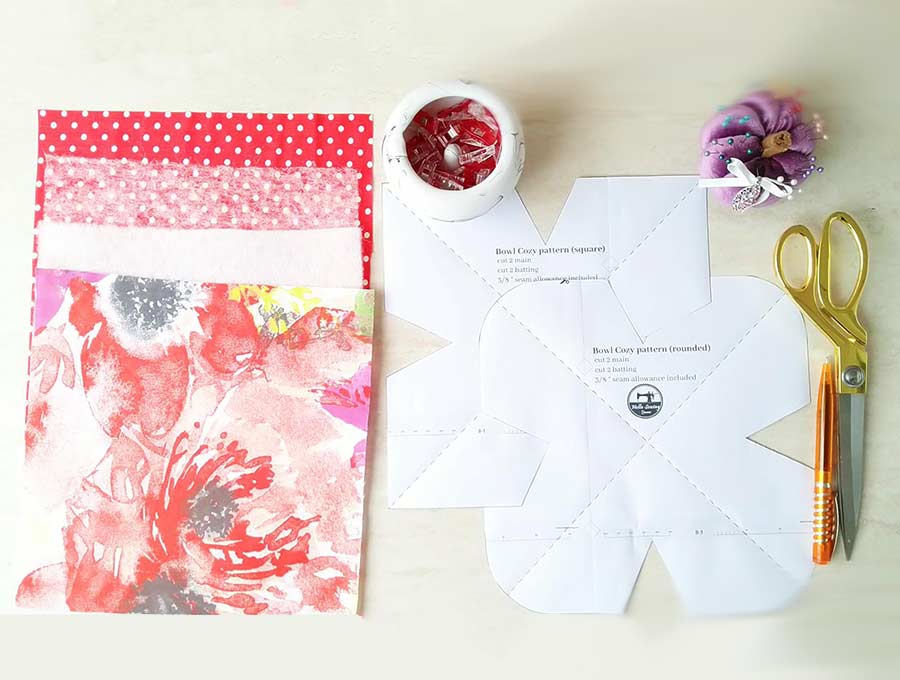
- fabric – 2 pieces of cotton (one main, one lining) – 10″ x 10″ each
- cotton batting – 2 pieces 10″ x 10″ each
- matching cotton thread
- microwave bowl holder pattern (FREE from the link below)
- scissors (or rotary cutter and a cutting mat)
- ruler or measuring tape
- iron and ironing board
- sewing clips or pins
- sewing machine
Notes: If you are going to use the bowl cozy in a microwave, make sure that all materials are 100% cotton. That includes the fabric, the batting and even the thread. Otherwise it might catch fire in the microwave! Regardless of what you use, keep a close eye on the microwave at all times. The bowl cozy is machine washable.
DOWNLOAD: microwave-friendly soup bowl cozy pattern (Free downloadable PDF file)
Follow us for free patterns & tutorials! [easy-profiles]
How to Sew a Microwave Bowl Holder
Watch the diy soup bowl cozy video first and then follow the written step by step instructions below.
Please enjoy and don’t forget to Like and SUBSCRIBE over on YouTube to be kept up to date with new videos as they come out.
Microwave Bowl Cozy VIDEO TUTORIAL
SOUP BOWL COZY INSTRUCTIONS:
STEP 1: Prepare the microwave bowl holder pattern
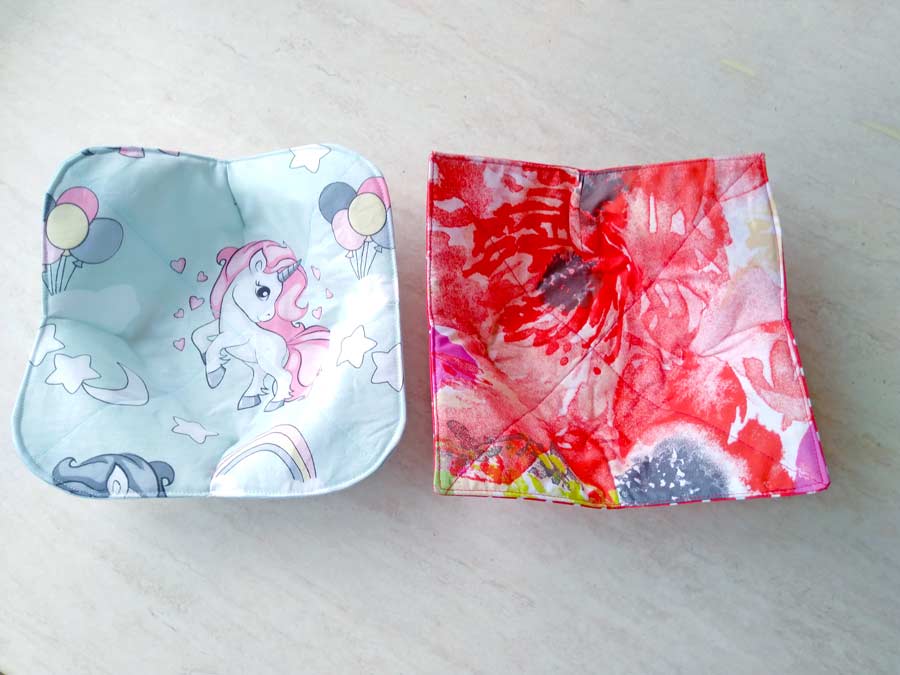
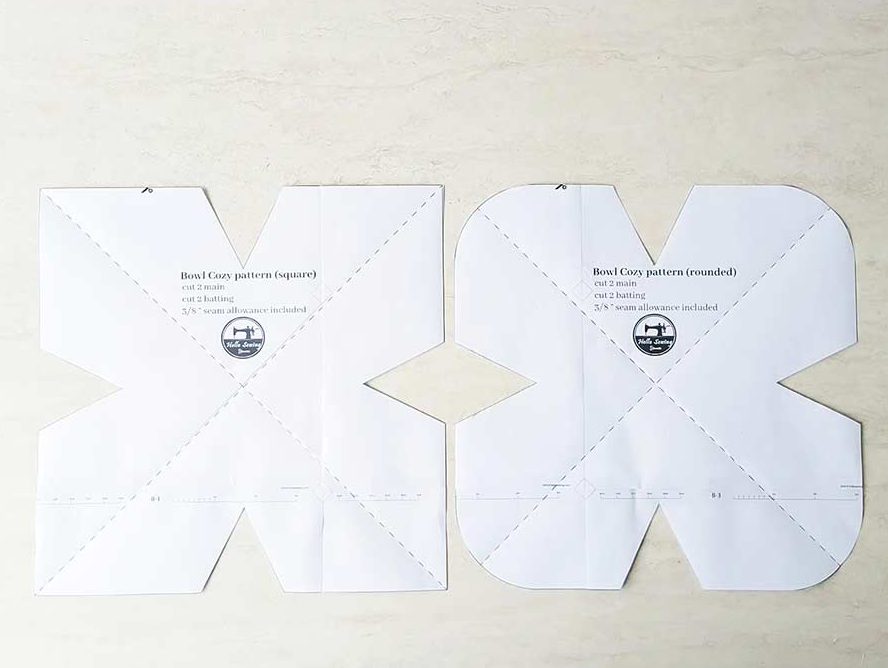
Download the soup bowl cozy (or bowl koozie) pattern from the link above, print it at 100% (no scaling) on a US letter paper. The free sewing pattern for microwave bowl holder has two versions – one with square corners (red summer pattern) and one with rounded corners (blue unicorn)
- SQUARE: If you are need only the square bowl cozy template, you only need to print pages 1-2 and 4-5
- ROUNDED: if you are making the round bowl koozie pattern, you need to print pages 2-3 and 5-6
When you decide which one you’ll go with, print out the right pieces and cut out any excess paper. Now your bowl cozy template is ready for use.
STEP 2: Cut out the fabric
Cut out two square pieces of 10 inches from the main fabric. Then cut out two square pieces from the batting, around 9.5-10 inches big.
TIP: Before you do anything with the fabrics, you should first wash, dry, and iron them both well. This will keep the DIY bowl cozy from deforming with time.
STEP 3: Layer fabrics
Place one batting piece on top of one main fabric piece. Keep their wrong sides together and pin the two fabrics together. Repeat for the second main piece and second batting.
STEP 4: Transfer pattern markings
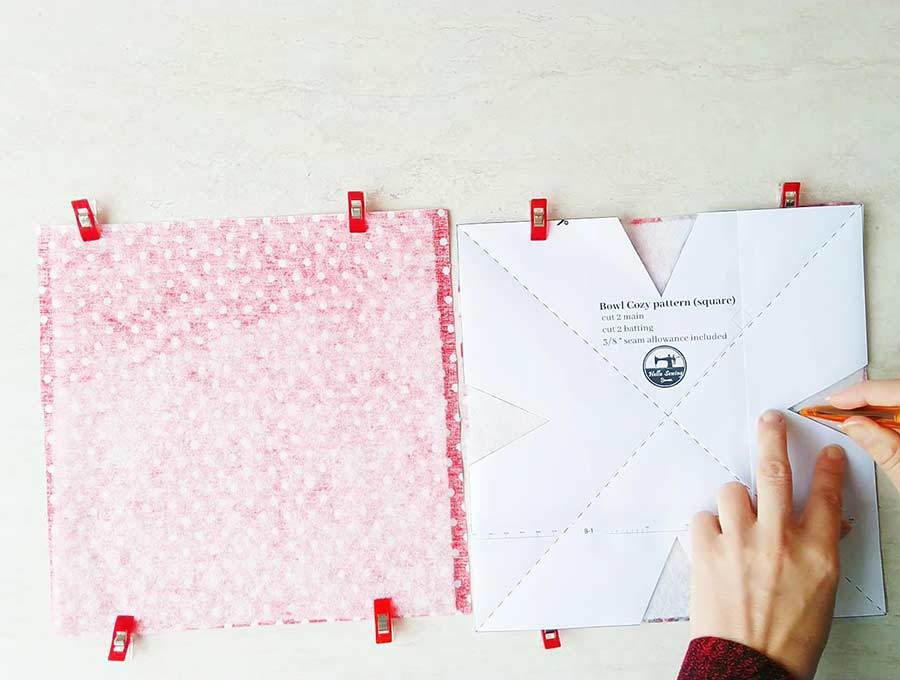
Place the pattern on top of the batting side of the fabric. Draw out the darts onto the batting with a washable pen or sewist chalk.
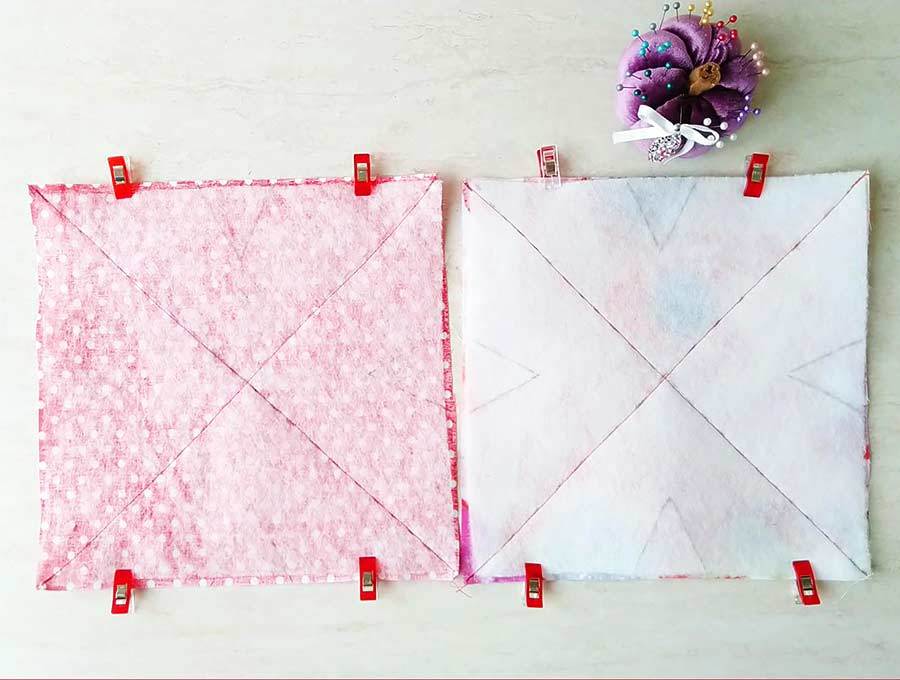
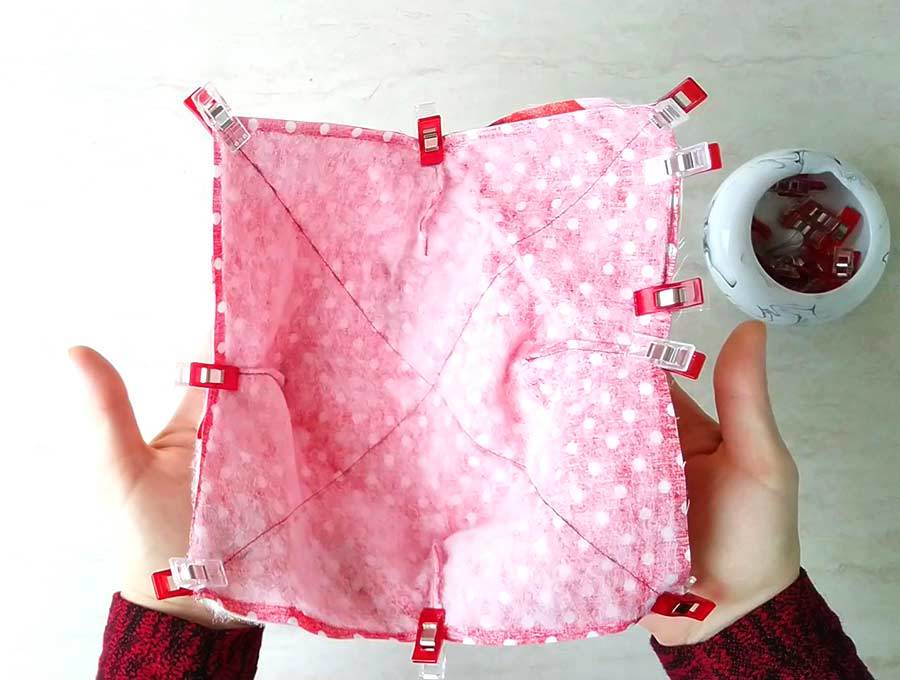
Transfer the pattern markings (darts and diagonals) on each set of fabrics. First transfer the darts onto the batting, then fold the paper pattern diagonally and transfer the first diagonal marking. Unfold and fold the opposite site, transfer the other diagonal marking. Repeat for the second set of fabrics.
If you don’t want to fold your pattern or find it a bit tricky, you can just draw a line across the fabric, connecting the two opposite corners. Draw a second line between the other two corners. You should have an X mark going through the middle of the fabric.
STEP 4: Sew the batting to the main fabric
Make a stitch along the X mark you made in the previous step on each of the fabric sets.
STEP 4: Make the darts
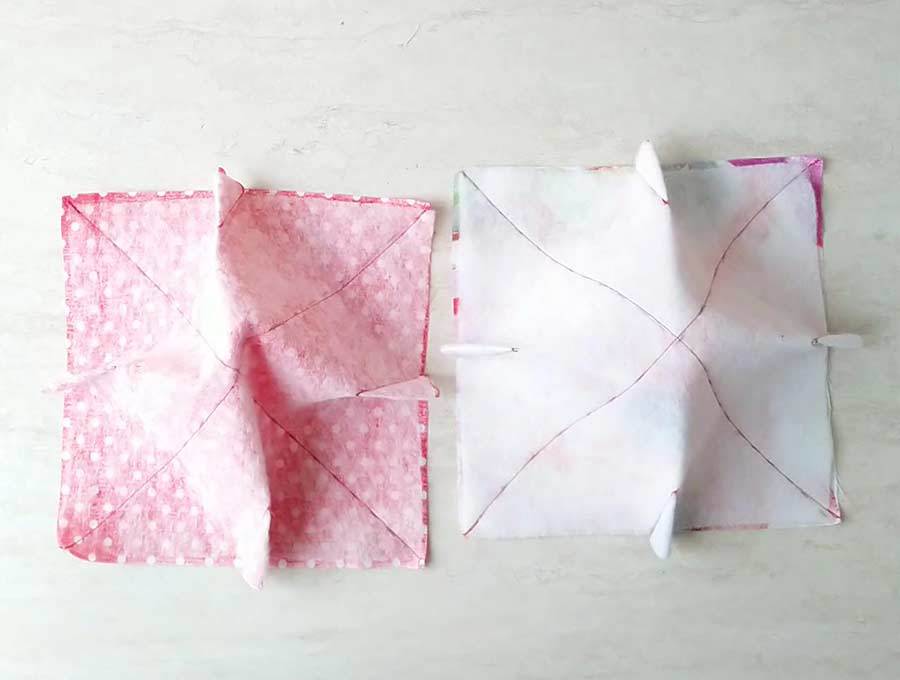
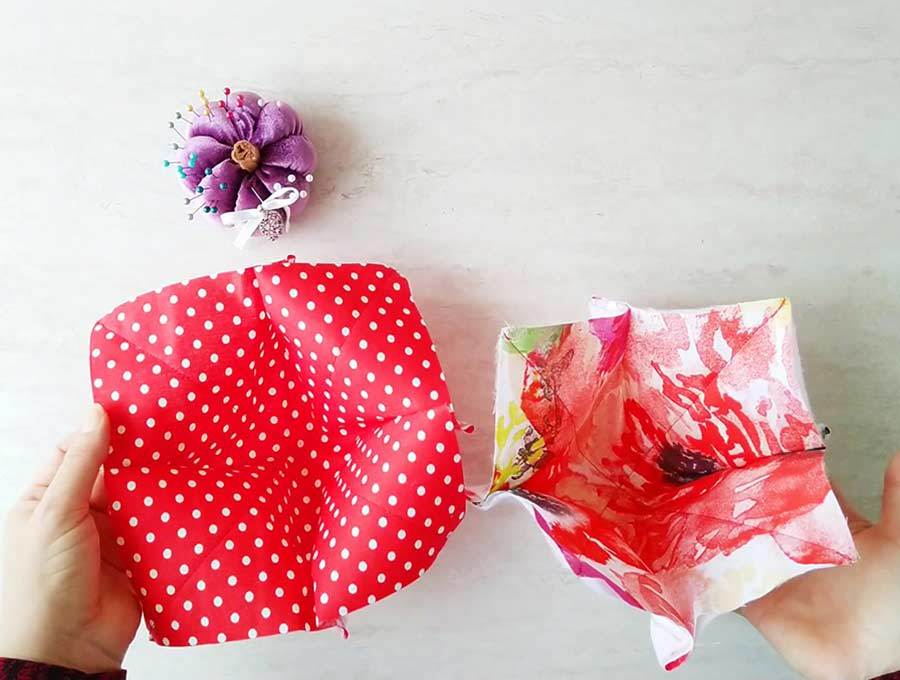
Fold the fabric piece in half, towards the back, but not diagonally. The batting side should be facing up. Align the dart marks and pin about 1/4 inch from the dart. Do this for all darts.
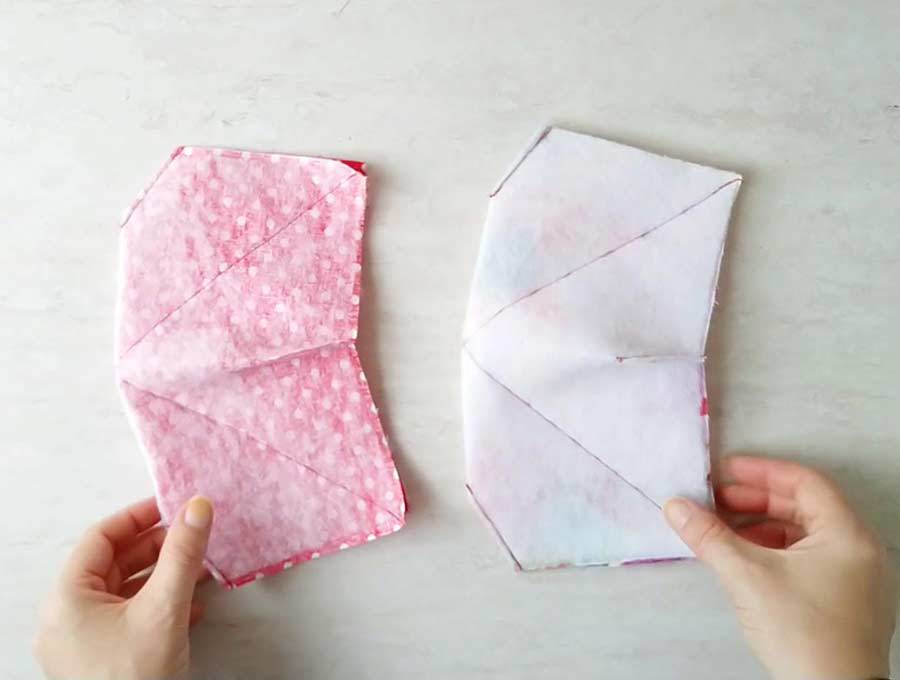
Sew along the dart markings. Backstitch the seams to give them more strength.
Trim down the seam allowance to around one-eighth of an inch.
STEP 5: Join the pieces together
Now you are going to sew the two fabric pieces together to form the bowl cozy.
Take one of the pieces and turn it inside-out so that the main fabric is facing outward.
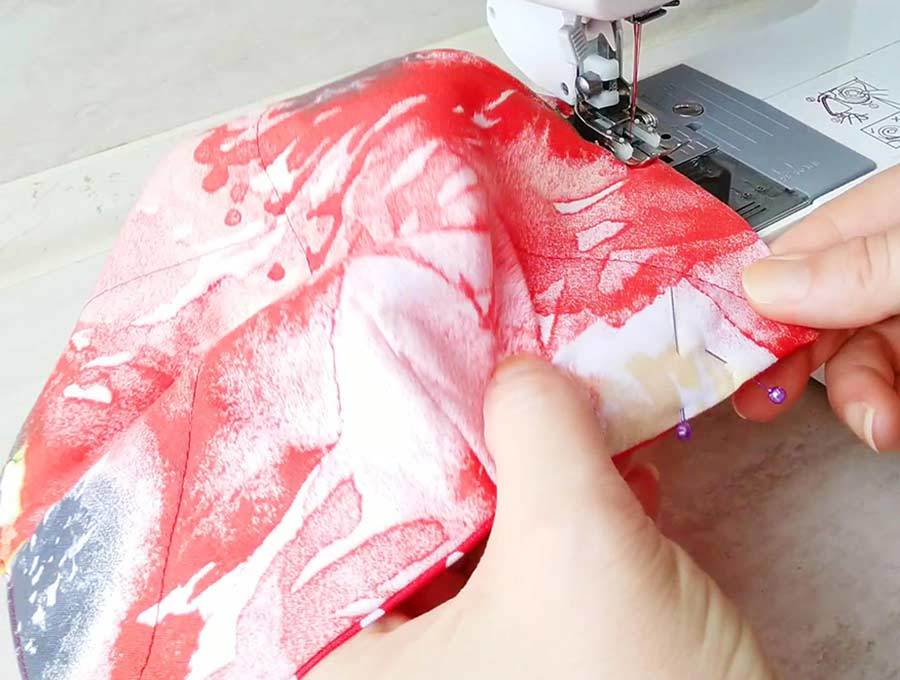
Then place one bowl cozy piece into the other. Make sure that their right sides are facing each other. Tuck them well and align their edges, as well as their darts. Pin around and leave a 2 inch gap for turning. Mark the gap with double pins/clips/
Sew the two pieces together along the top edge with a 1/4 inch seam allowance. Don’t sew along the entire edge, remember to leave those two inches unstitched to turn the bowl through.
You can clip the corners at this point, especially if you decided to make the square variant of the bowl cozy.
STEP 6: Finish the DIY bowl cozy
The only work that remains now is to add the finishing touches to the bowl cozy.
Turn the entire thing inside-out through the opening you left unstitched. Then fold the opening inward until it’s aligned with the rest of the seam, pin it and press it flat.
Topstitch along the top edge of the bowl cozy all around. This will close the opening shut in the process.
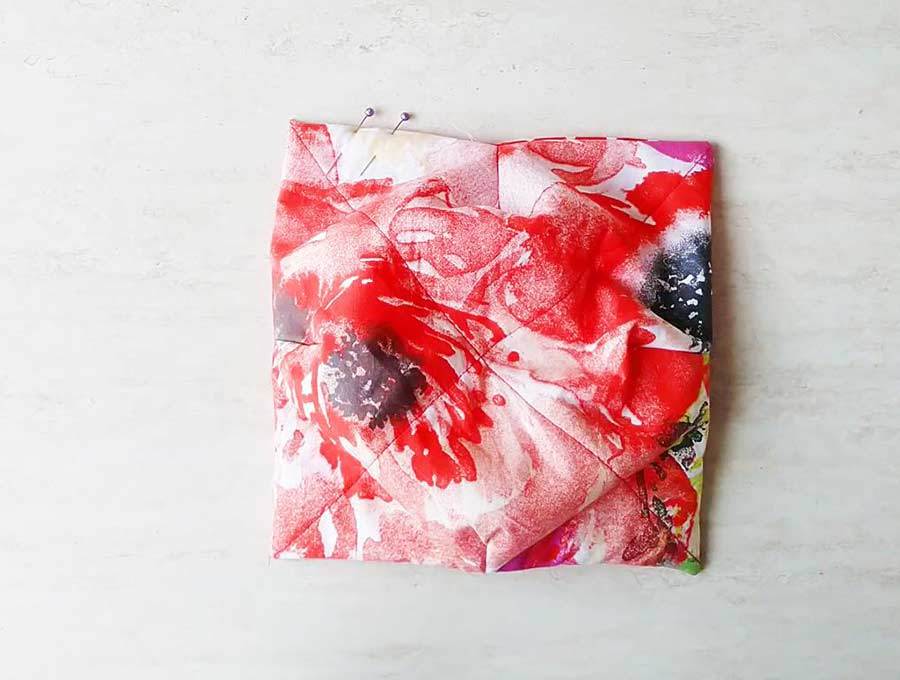
The bowl cozy is now ready for use! No more burned hands for you!
What do you think about our soup bowl cozy instructions? Were you able to make the bowl cozy by following the steps? Tell us how it turned out in the comment section below. Make sure to sew a couple of these for your friends and family, they will surely love them! Enjoy using your microwave without burning your hands ever again!
Do you like this? Pin for later:
Wanna be friends? Click HERE and follow me on Pinterest
RELATED:

