
DIY Japanese Knot Bag Tutorial / It’s Reversible!
Do you know what is a Japanese knot bag?
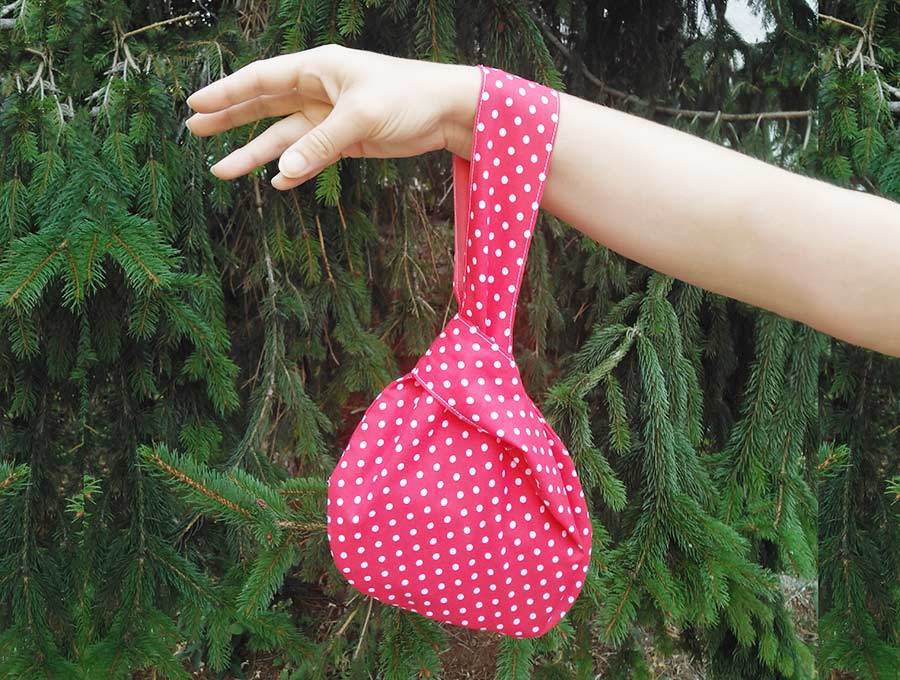
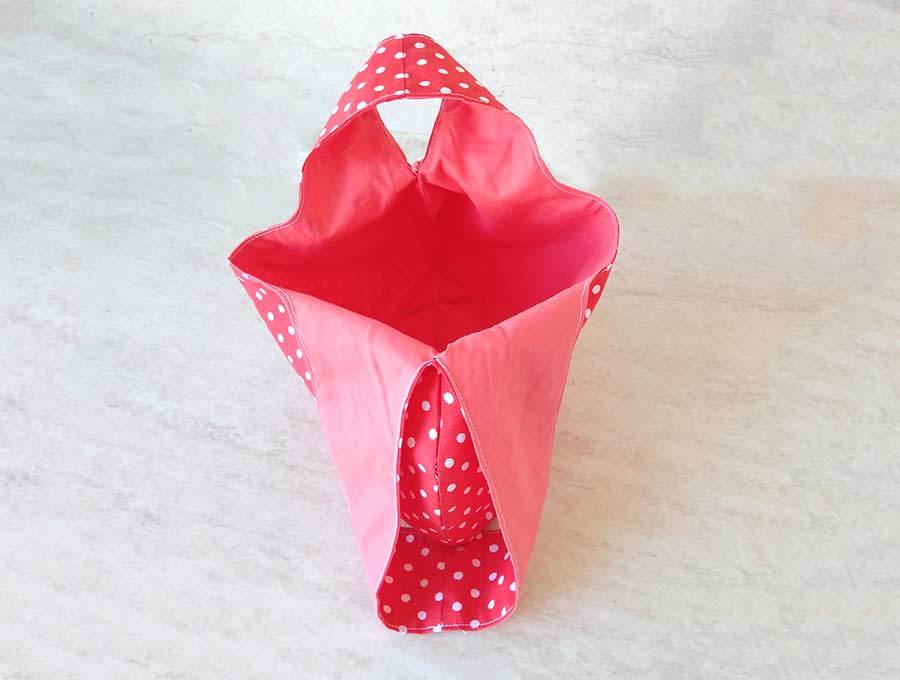
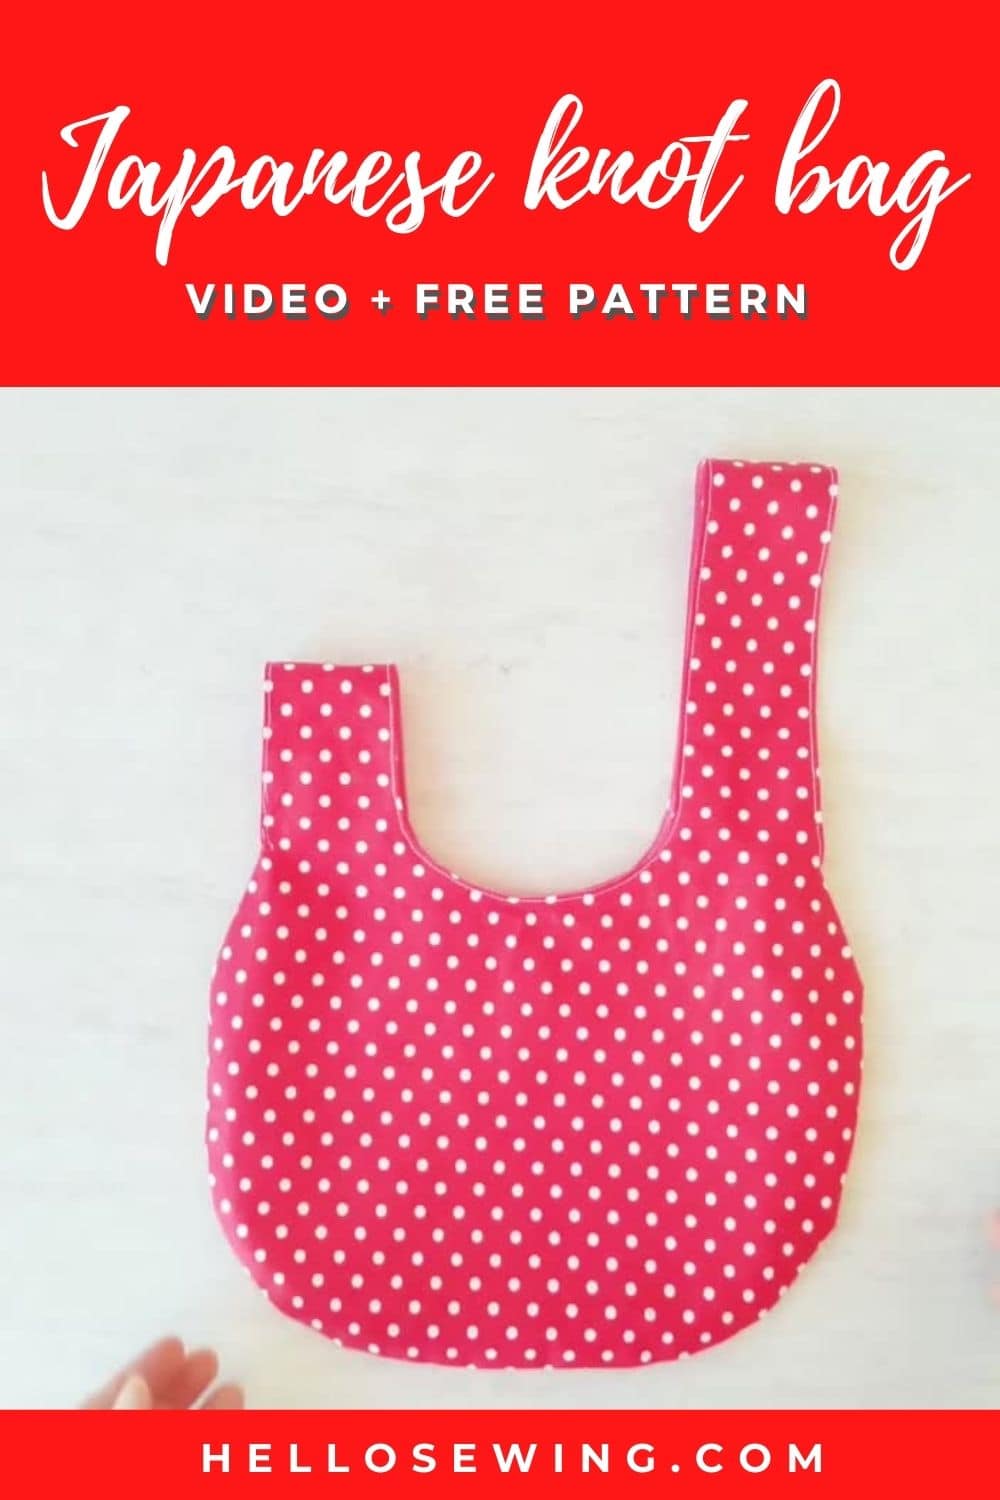
A Japanese knot bag is small open tote bag, but with a twist. It has asymmetrical handles, and one of the handles slips through the other to form a knot and close the bag. The handle could be slightly longer, or up to three times as long when compared to the other handle.
The reason why it is longer is so that you can thread one handle through the other and carry the bag without worrying whether the stuff you’re carrying will fall out. No need for zippers, buttons, or drawstrings. Neat, right?
So let me show you how to make one reversible Japanese knot bag! It’s simple, fun, and it doesn’t take a lot of time. Download our Japanese knot bag pattern, follow the instructions in this tutorial and you’ll be finished before you know it!
We occasionally link to goods offered by vendors to help the reader find relevant products. Some of the links may be affiliate meaning we earn a small commission if an item is purchased.
Table of Contents
- 1 How to make a Japanese Knot Bag
- 2 Supplies and tools
- 3 How To Sew a Japanese reversible knot bag
- 3.1 Japanese knot bag VIDEO TUTORIAL
- 3.2 INSTRUCTIONS:
- 3.3 STEP 1: Prepare the pattern
- 3.4 STEP 2: Cut out the fabric
- 3.5 STEP 3: Start stitching the knot bag
- 3.6 STEP 4: Prepare the bag for further stitching
- 3.7 STEP 5: Stitch and turn
- 3.8 STEP 6: Topstitch the curve
- 3.9 STEP 7: Finish the Japanese knot bag
How to make a Japanese Knot Bag
Supplies and tools
This is a simple project, so you don’t need a lot of supplies. Here’s what you’ll have to prepare:
- main fabric – cotton – 2/3 yd (2/3m)
- lining fabric- cotton – 2/3 yd (2/3m)
- matching thread thread
- scissors (or rotary cutter and a cutting mat)
- ruler or measuring tape
- iron and ironing board
- sewing clips or pins
- sewing machine (it’s an easy sew, even a child sewing machine or a mini stitching machine can handle this)
- fusible interfacing (optional, if your fabric is really thin and you need some structure)
Once you get all that ready, you can start making the DIY knot bag.
DOWNLOAD: Japanese knot bag pattern (Free PDF file)
Follow us for free patterns & tutorials! [easy-profiles]
How To Sew a Japanese reversible knot bag
Watch the diy japanese knot bag video first and then follow the written step by step instructions below.
Please enjoy and don’t forget to Like and SUBSCRIBE over on YouTube to be kept up to date with new videos as they come out.
Japanese knot bag VIDEO TUTORIAL
INSTRUCTIONS:
STEP 1: Prepare the pattern
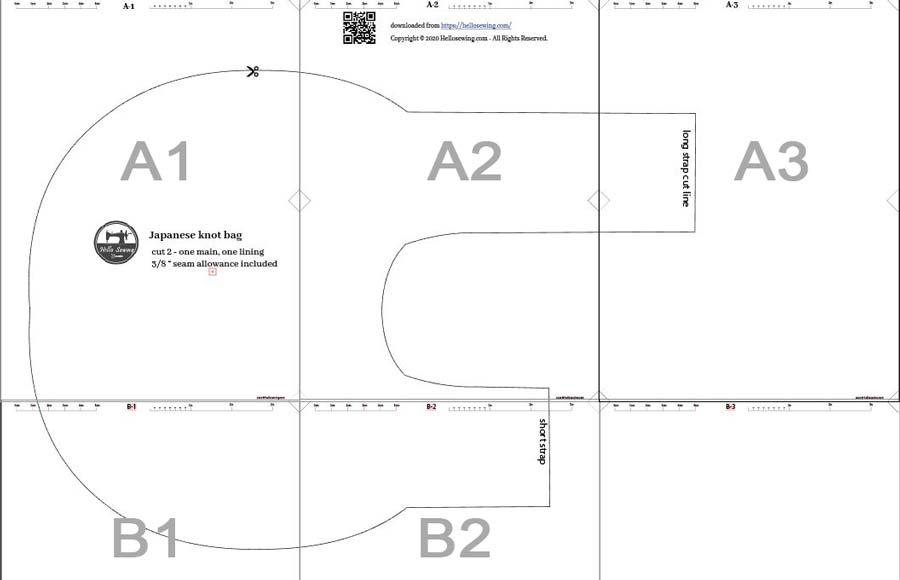
Download the japanese knot bag pattern and print it out in full size (no scaling). Cut it out as instructed, tape all 5 pages together and get rid of any excess paper. Here’s how it looks when taped together:
STEP 2: Cut out the fabric
Before you start working with the fabric, wash it thoroughly and iron it well. This will prevent any unwanted deformations later on when you wash it for the first time.
Use the pattern as a guide and cut out two mirror pieces from each type of fabric.
The dimensions of our finished knot bag will be around 11 x 15.5 inches (25 x 40cm), including the longer handle.
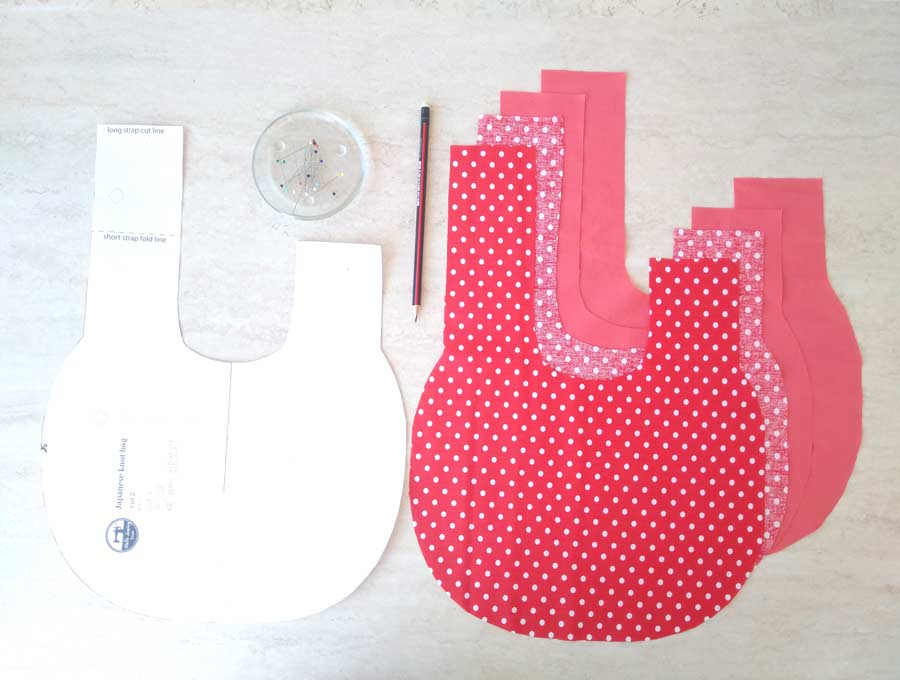
TIP: To get mirror pieces you will need to fold your fabric either wrong sides together or right sides together and then cut.
STEP 3: Start stitching the knot bag
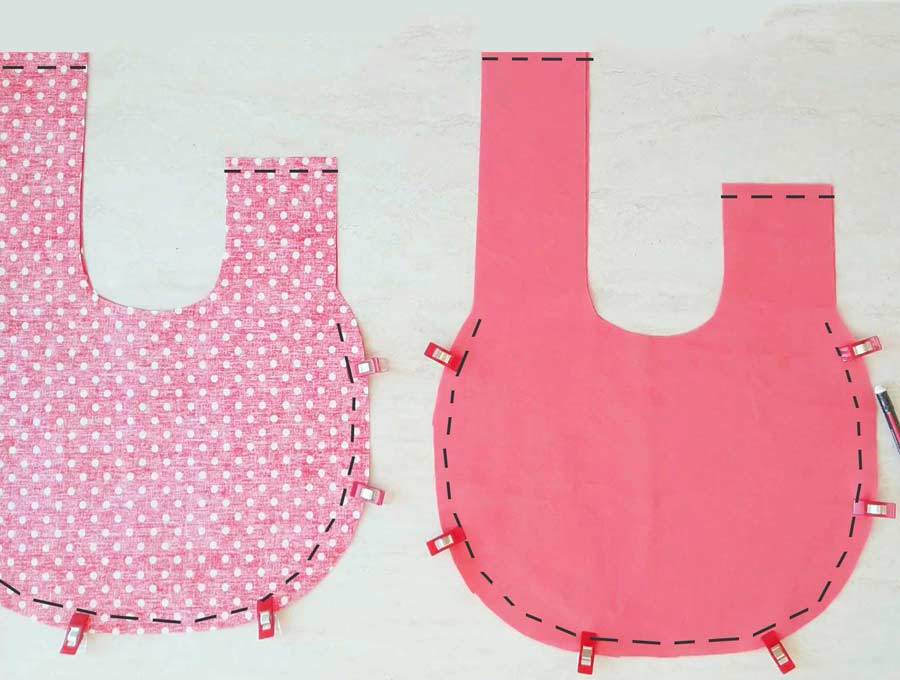
Place the fabric pieces on top of each other, with their wrong sides up. Align the edges and secure with pins or clips.
Using a 3/8 inch (1cm) seam allowance, start stitching the two layers together. Begin just below one handle and go along the bottom curve, all the way to the other side. Stop the stitch below the second handle.
Stitch the the upper edge of each handle.
Repeat the entire process with the second set of fabric pieces.
STEP 4: Prepare the bag for further stitching
Make small cuts along the bottom curve of the fabric piece. Keep the cuts about half of an inch apart. Turn one of the fabric pieces inside-out. Insert it into the second piece.
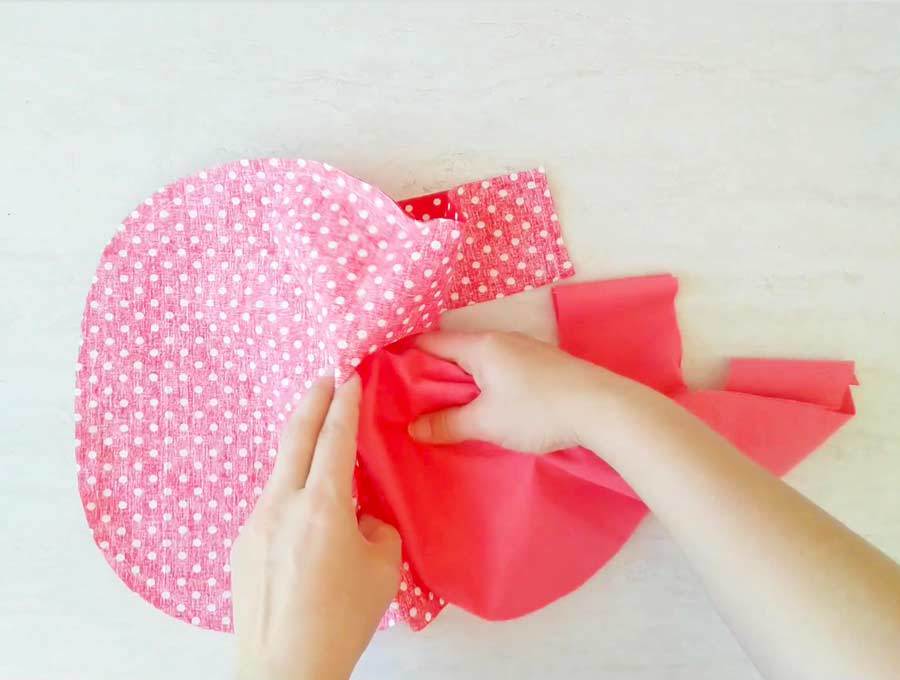
Align the two sets of fabrics with each other and secure everything in place with pins or clips. Don’t connect all four layers together! Keep the gap between the two sets or you’ll end up closing the bag shut.
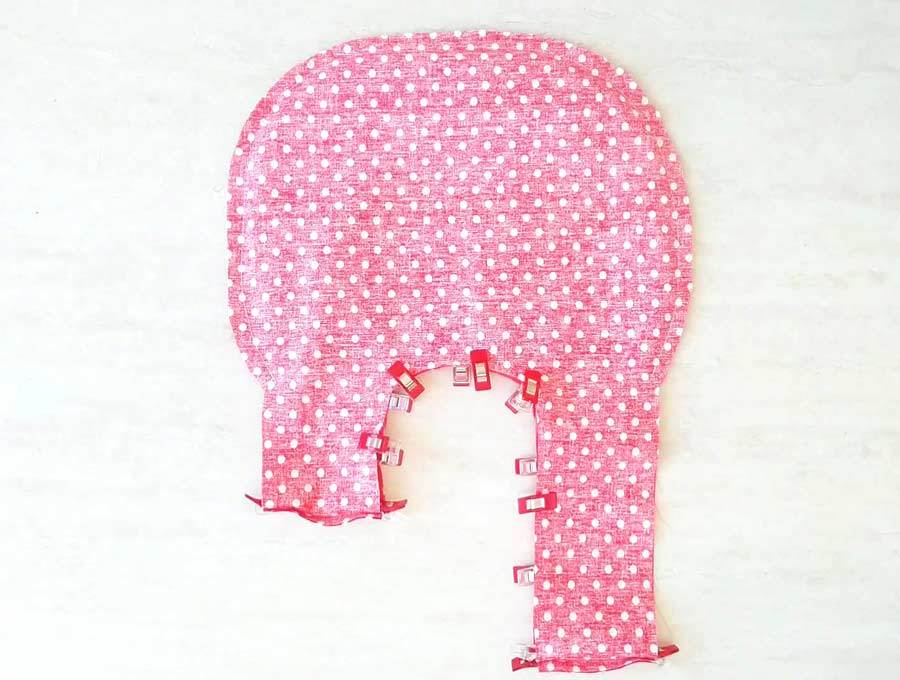
STEP 5: Stitch and turn
Using a 3/8 inches (1cm) seam allowance, sew along the curve between the handles. Pay attention not to stitch all four layers together.
Make some shallow cuts about half-inch (1-1.5 cm) apart along the inside curve of the handle.
Turn the entire knot bag inside-out through the opening at the handle. You will probably pull one fabric from the other while doing this, so just return them back into each other. Press everything flat.
STEP 6: Topstitch the curve
Now you will need to topstitch along the inside curve between the handles. Be careful not to sew the bag shut as you do this. Start the stitch from the top corner of one handle and stop at the top corner of the second handle.
STEP 7: Finish the Japanese knot bag
All that’s left is to sew the outer edges of each handle that are still raw and unstitched.
Fold each of the raw edges inwards for about half of an inch. Press them flat with your iron. Secure everything with pins or clips.
Now topstitch along the outer edge of each handle. Start from the top corner of the handle and go all the way to the beginning of the bottom seam. Make sure that you don’t sew the handles shut when sewing.
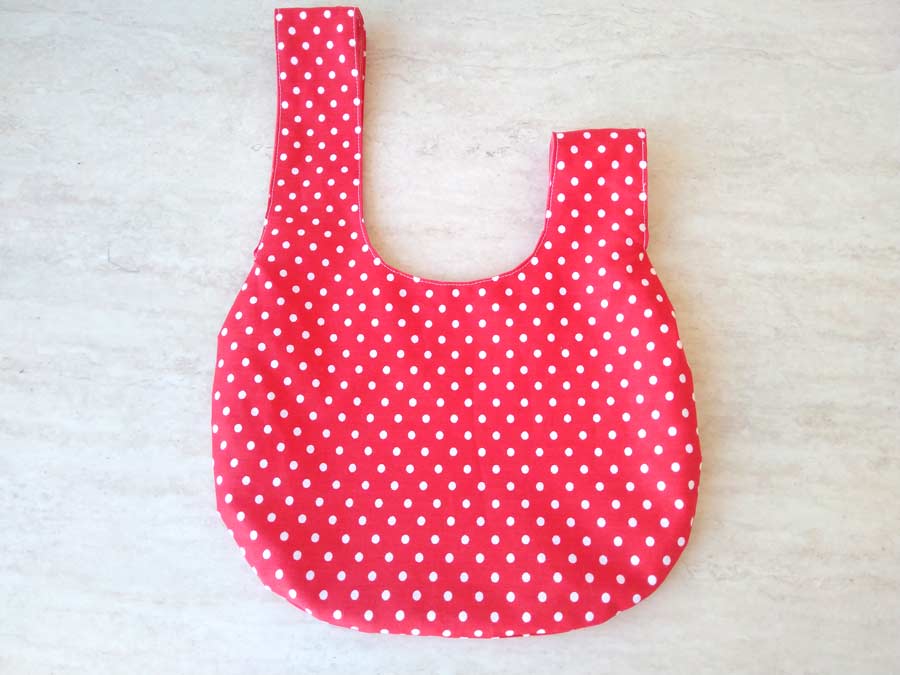
This completes our Japanese Knot Bag tutorial! The bag is officially ready for action.
Do you like this? Pin for later:
Wanna be friends? Click HERE and follow me on Pinterest
OTHER BAG TUTORIALS and PATTERNS:
- Bento bag pattern – another adorable Japanese pattern, great for a market tote
- Dice bag sewing pattern
- Shopping bag pattern with video
- Fabric produce bags DIY
- Reusable sandwich bags tutorial
- How to make a drawstring backpack
- How to make a clutch
- How to sew a makeup bag – make a cute round drawstring bag that opens flat