
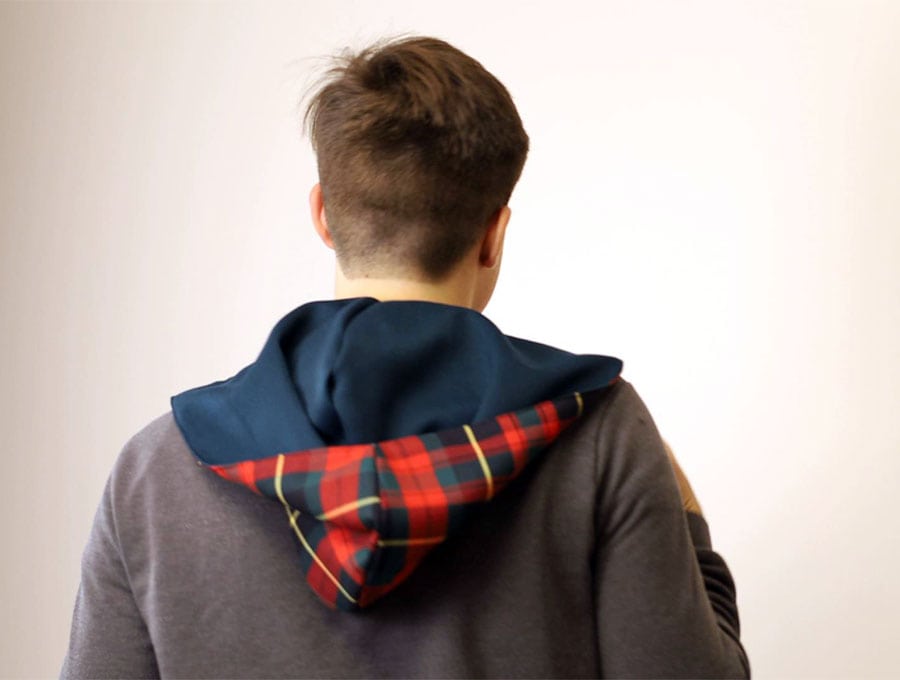
DIY Hooded scarf – How to make a Scoodie [Scarf with a hood]
This DIY hooded scarf will not only keep the recipient warm, but will give you a warm sense of achievement. It is so easy when you follow our visuals and step-by-step instructions. Once you have made one DIY hooded scarf you will be able to turn these out in around half an hour. They make stylish presents and you will find that teens particularly will like the ones with pockets. These are also a great project if you sew for charities as people in colder countries need something small and warm that can be handed out with relief packages.
I’m excited to share this DIY hooded scarf sewing project with you. It comes with a free printable pattern in three sizes, from child through to adult. It’s the perfect accessory for keeping warm in winter, especially when you don’t want to wear a hoodie, and just want something to slip on when you go out into the weather. Follow our step-by-step instructions to make this in around half an hour.
Below you will find my step by step written tutorial with VIDEO instructions for all the visual learners.
We occasionally link to goods offered by vendors to help the reader find relevant products. Some of the links may be affiliate meaning we earn a small commission if an item is purchased.
Table of Contents
How to make a Scoodie
DIY Scoodie Supplies and tools
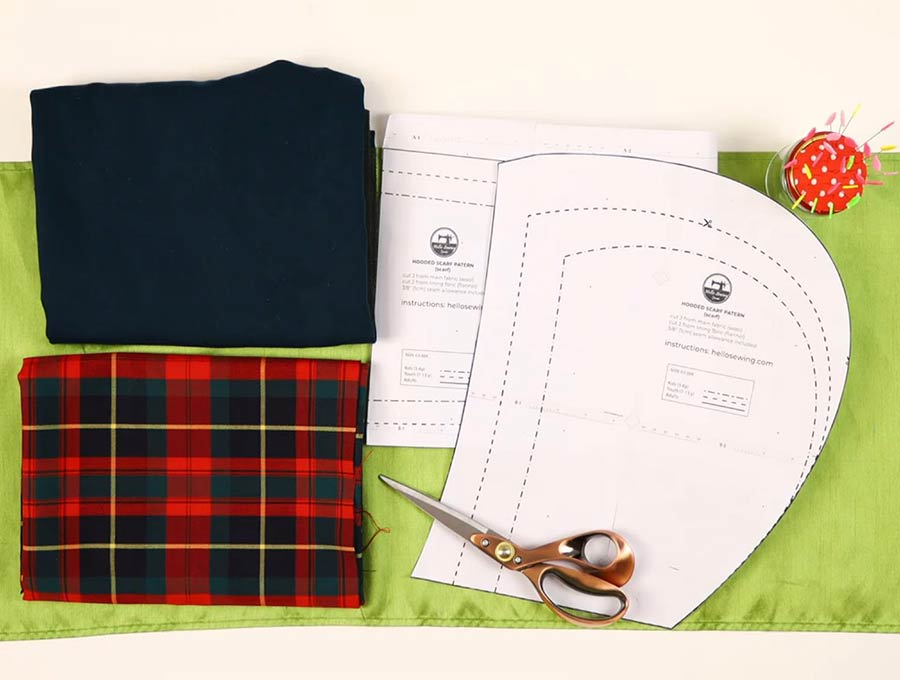
- Outer fabric 1 yards (1 m)
- Lining (fleece is a warm and soft option) 1 yards (1 m)
- matching thread
- scissors (or rotary cutter and a cutting mat)
- ruler or measuring tape
- iron and ironing board
- sewing clips or pins
DOWNLOAD: Hooded scarf pattern consists of 2 patterns [Free pdf file]
Follow us for free patterns & tutorials! [easy-profiles]
How to Sew a Hooded Scarf
Watch the diy scoodie video first and then follow the written step by step instructions below.
Please enjoy and don’t forget to Like and SUBSCRIBE over on YouTube to be kept up to date with new videos as they come out.
DIY hooded scarf VIDEO TUTORIAL
Scoodie INSTRUCTIONS:
STEP 1:
Print out our hooded scarf pattern at 100% (no scaling), tape the sheets together and decide on the size DIY hooded scarf you would like to make. You can choose between three sizes for the Scoodie:
- Kid (3-6y)
- Youth (7-13 y)
- Adult
The usual length for the scarf is one that reaches the end of your jeans’ pockets. If you want to make this hooded scarf with pockets then check out our FAQ section for the steps to take before going any further.
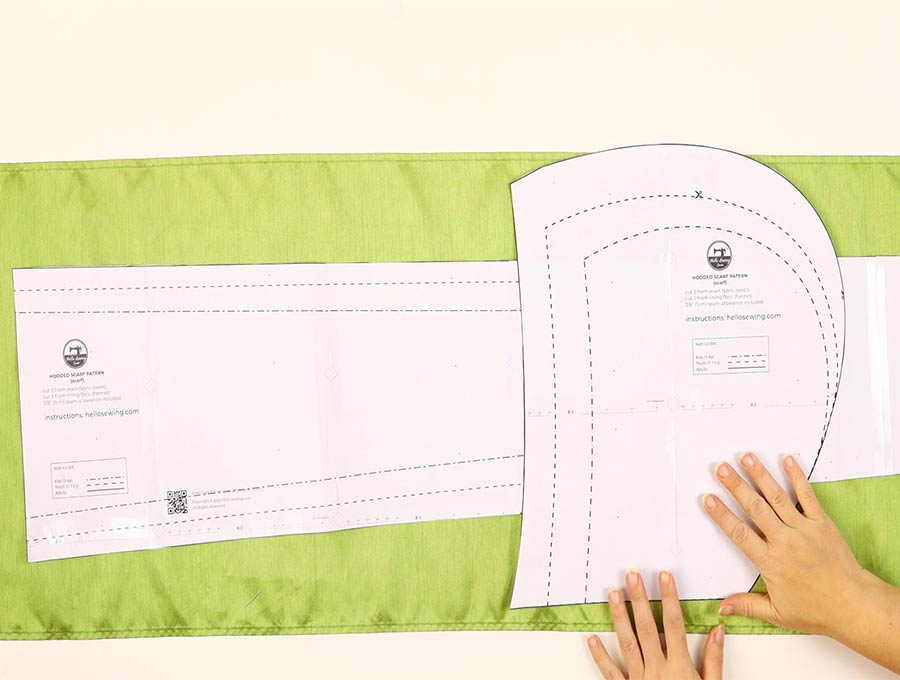
Cut out the pattern after choosing the size you want. You will have a hood piece and a scarf end piece.
STEP 2:
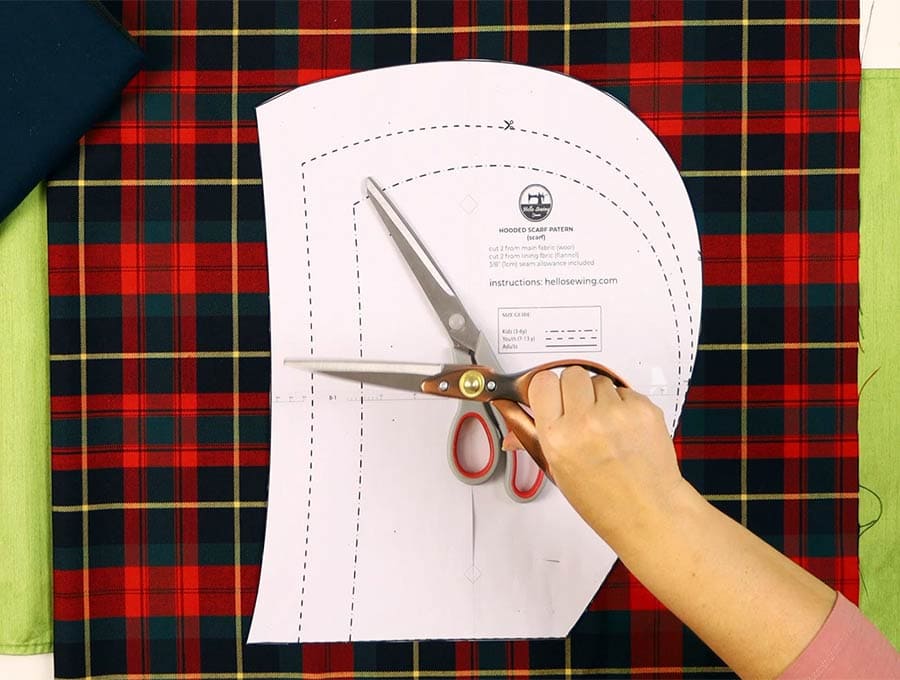
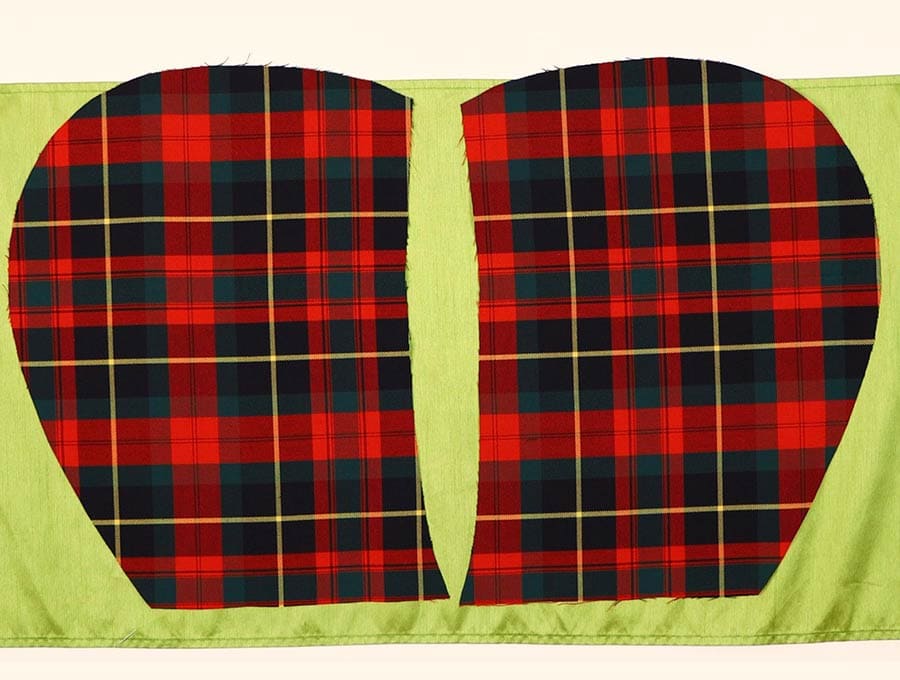
Fold over the outer fabric, right side facing right side, so you can fit the hood and the scarf pattern pieces, then pin them into place before cutting out. Once you have cut them out remove the pins and set the 2 hood and 2 scarf pieces aside. Make sure you fold the fabric so you end up with mirror pieces like these:
Fold over the lining fabric, right side facing right side and fit the hood and scarf patterns in place, pin and then cut them out. Remove the pins and the pattern pieces.
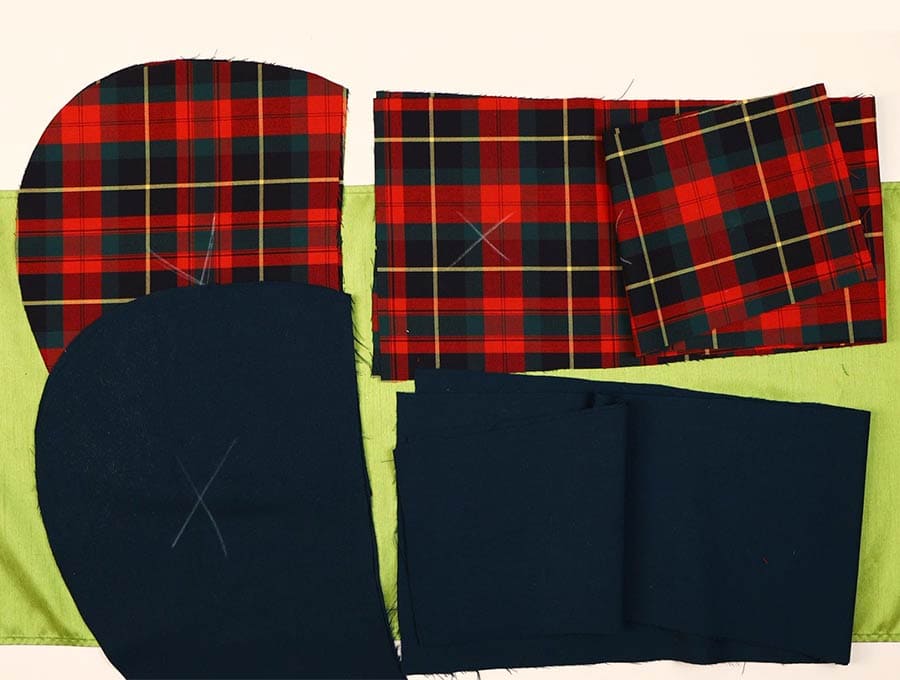
You will end up with 8 fabric pieces total.
STEP 3:
Take the two scarf pieces from the outer fabric and place them right side up on the worktop. Then lay the lining pieces over them, right side facing right side. Make sure they line up neatly before pinning in place.
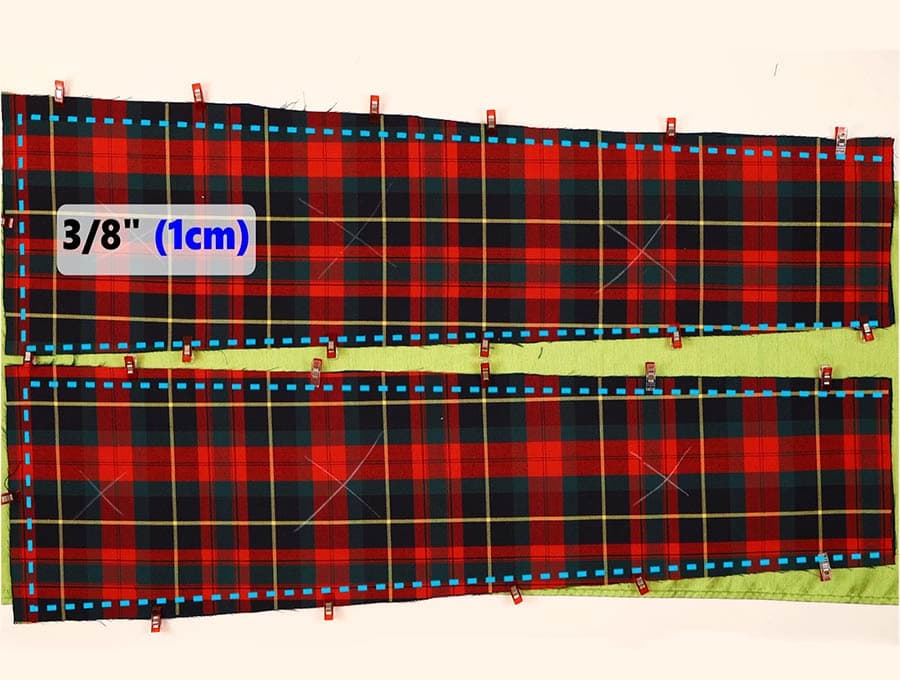
STEP 4:
Sew a seam around three edges of the two scarf pieces, leaving the smaller end open. The seam will be just under ½ inch (1 cm) from the edge.
STEP 5:

Clip off the corners at the base of the scarf end to make for less bulk when turning, then turn the right way by pulling through the open end. Press with an iron after making sure seams are lying flat and the edges are neatly lined up. Set aside.
STEP 6:
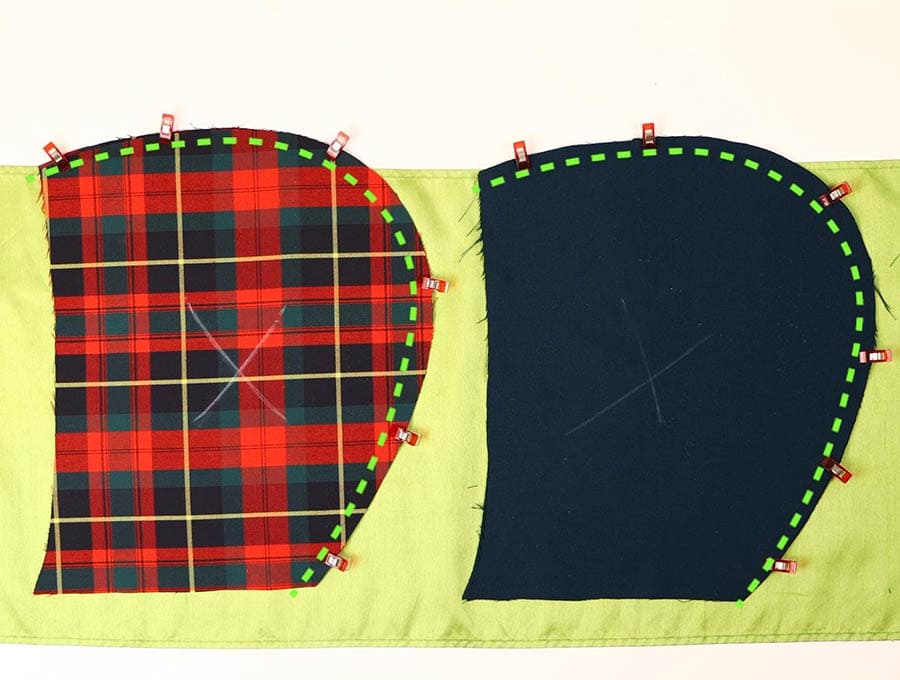
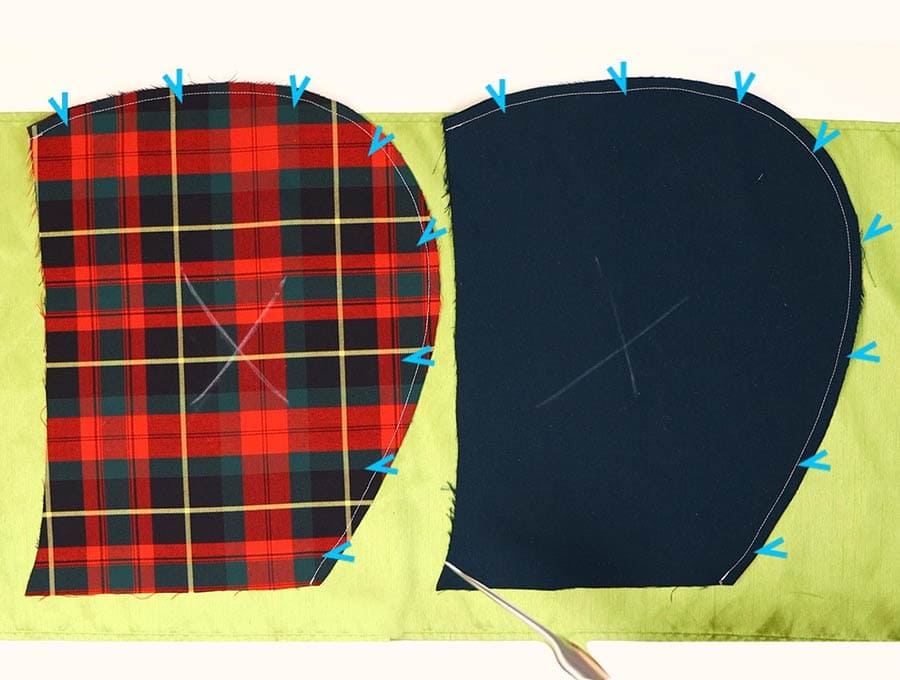
Take the outer pieces for the hood. They should be ready to sew as you placed the right sides facing inwards when you cut them. Simply pin in place on the curve for the back of the head and stitch using a 3/8 inch (1 cm) seam.
Repeat for the lining
STEP 7:
Make small nicks in the fabric along the seam you stitched, taking care not to get too close to the stitch line. These nicks on the curve will make the hood lie flat when you turn it later.
Repeat for the lining
STEP 8:
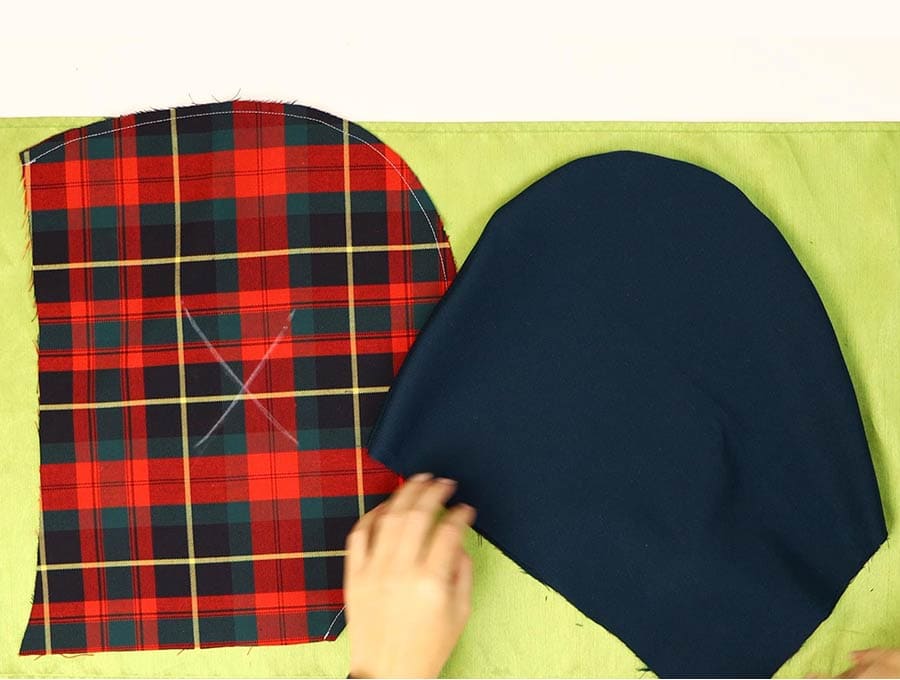
Turn the lining piece for the hood the right way out, then slide it into the outer hood, with the right sides facing each other. Line up the seams and flatten them outwards, then pin in place around the face part, from the base, up to the top of the head seam and down the other side to the base.
STEP 9:
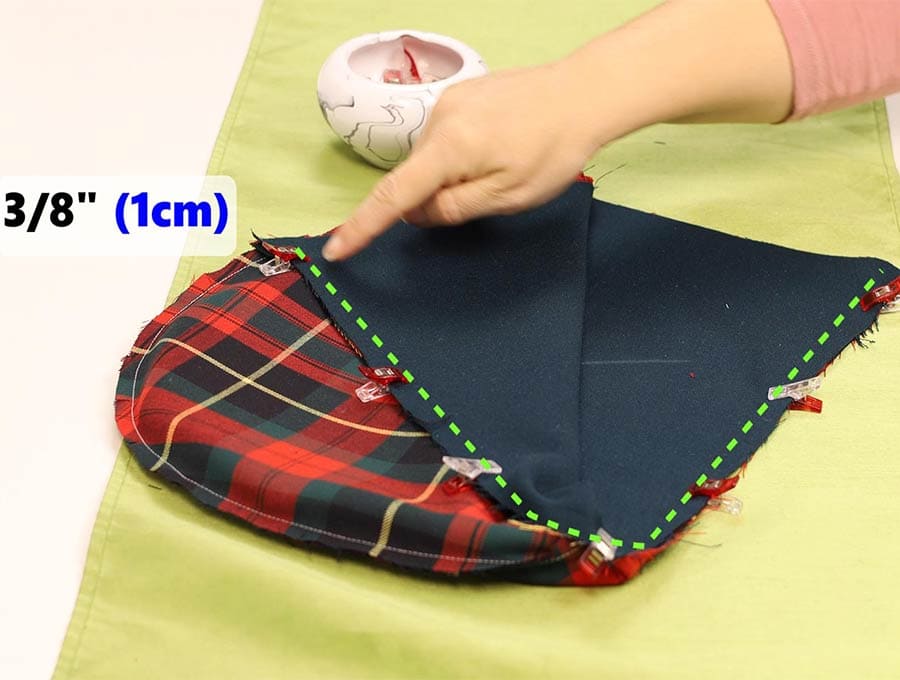
Stitch the face part in place using a 3/8 inch (1 cm) seam. Backtack at the start and finish.
Make small nicks so when turned the curve will lie flat.
STEP 10:

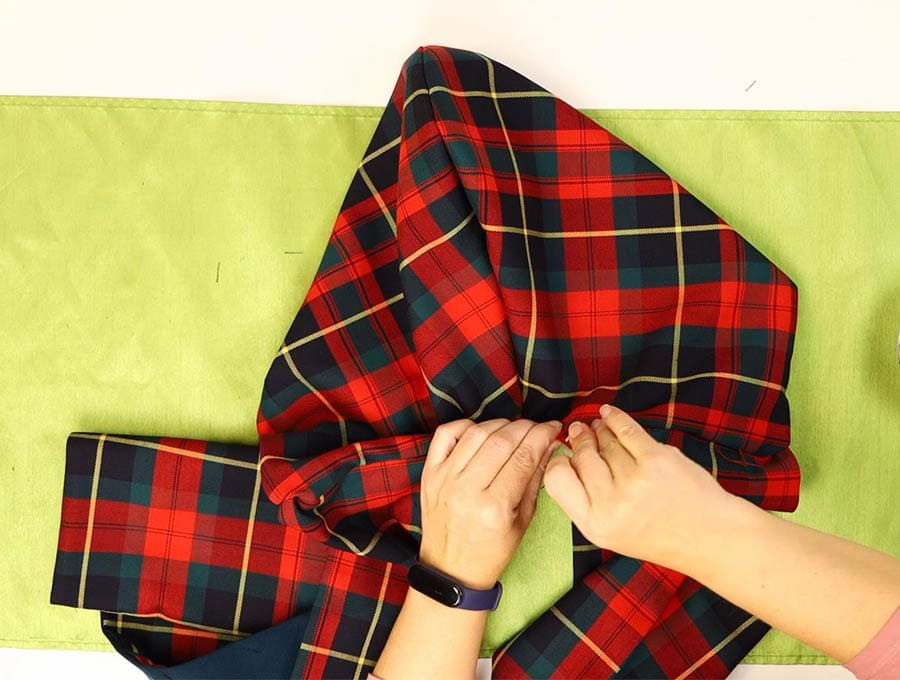
With the hood still inside out, take one scarf piece and roll up from the base and insert the fabric inside the hood, leaving the raw edges to line up with the edge of the hood closest to the face portion. Make sure the right side of the scarf fabric faces the right side of the hood fabric, then pin in place, through all four layers
Repeat for the the other scarf piece, lining it up with the other end of the front of the hood.
STEP 11:
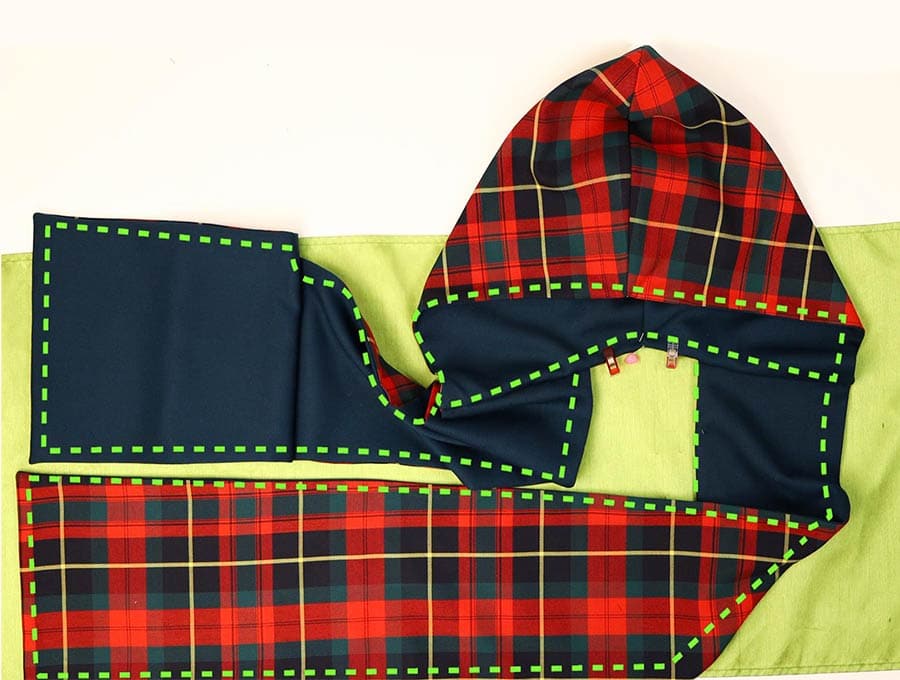
Now line up the edges of the hood and pin leaving a gap on either side of the seam at the base of the neck. This makes a gap through which you will eventually turn the whole hooded scarf right way out.
STEP 12:
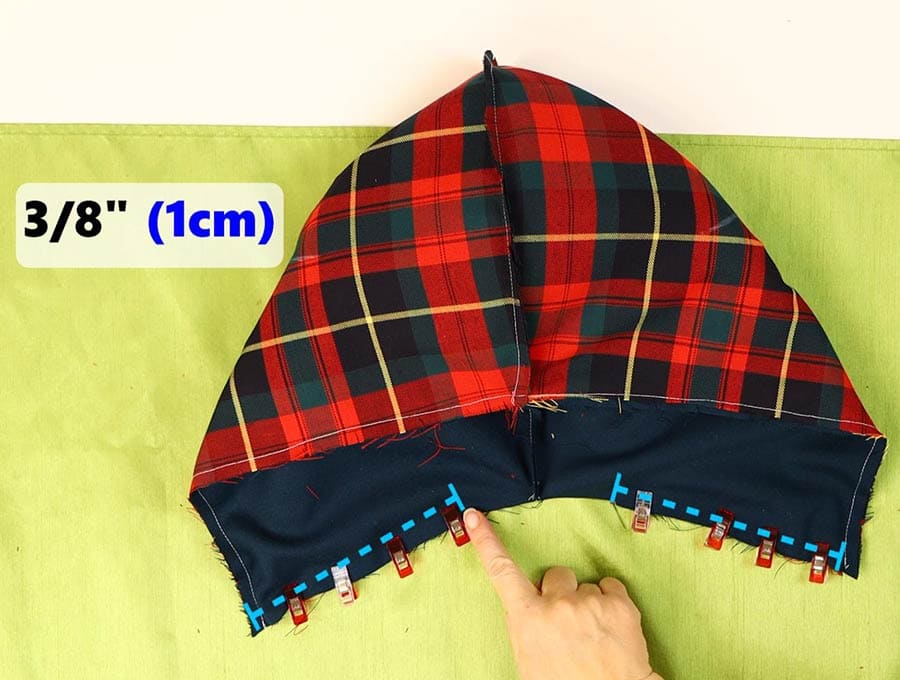
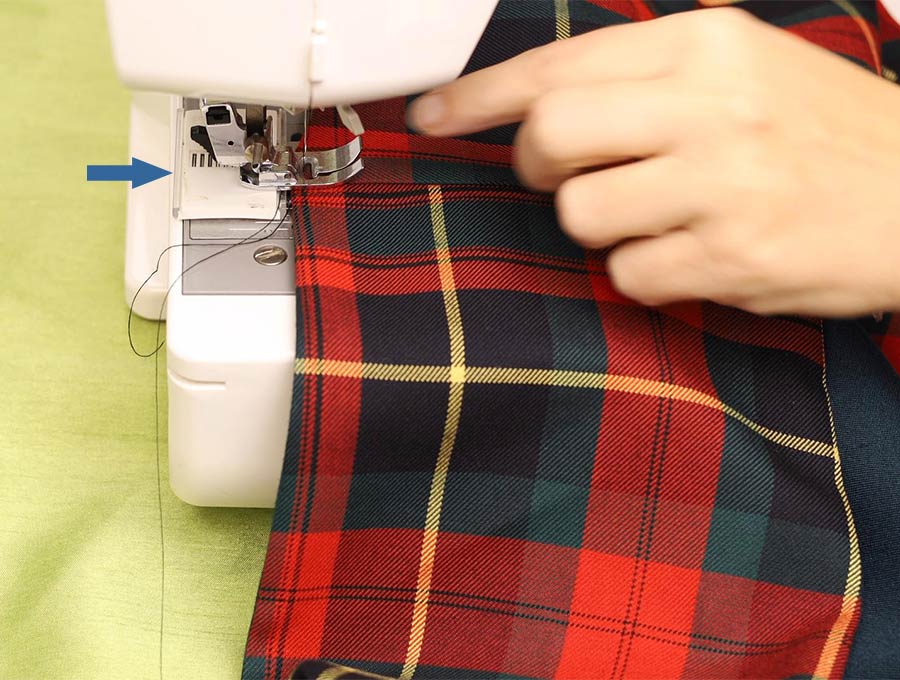
Stitch the scarf ends into place 3/8 inch (1cm) from the edge, making sure to backtack at the start and finish and leaving the gap open in the middle.
STEP 13:
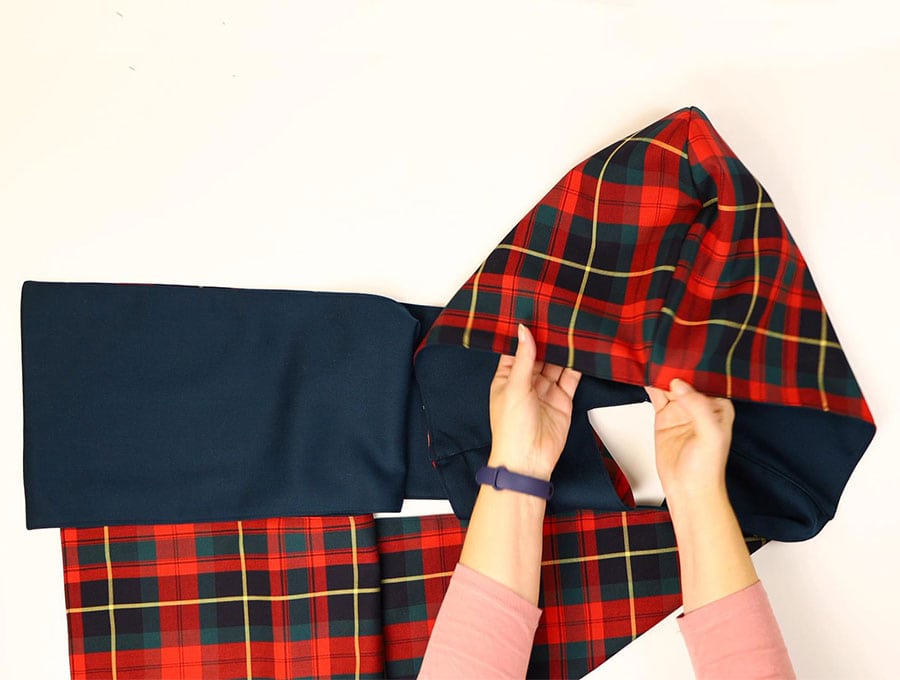
Turn the hood by pulling the scarf ends through the gap and the hood so everything is the right way out.
STEP 14:

Line up the edges of the hood and scarf and press in place, making sure to press in the raw edges of the gap 3/8 inch (1cm) in, in line with the stitching, and press the seam at the back of the neck open. Pin the gap.
STEP 15:
The last step is to topstitch all around the hooded scarf by stitching 1/8 of an inch (3mm) from the edge, and this will also close the gap.
Insert something at the back of the foot to keep it level as there are many thick layers of fabric.
You hooded scarf is now ready to wear!
If you enjoyed this tutorial then please press the follow and like buttons. Feel free to share this idea with your friends, and please post a picture of the person wearing your creation. We love to see what our readers create.
*** FAQs and tips:
Q: Can I add pockets to the hooded scarf?
A: You certainly can. Here’s how:
- You will need to fold over sufficient outer fabric to reach 8 inches (20 cm) up the end of the scarf pattern.
- Place the scarf pattern with the widest end over the fabric and measure 8 inches (20 cm) and cut the fabric across.
- Do not taper the sides right to the top following the pattern, stop around 2 inches from the top of the pocket piece and cut straight up… otherwise when you fold for the pocket top there will not be enough fabric on the sides.
- Take each pocket piece and fold over around ½ inch (1 cm) on the wrong side, press in place, then fold over another 1-inch seam (2.54 cm) and press.
- Stitch along the lower edge of the seam 1/8 of an inch (3 mm) from the edge, and do the same across the top edge of the pocket.
- Place the pocket piece right side up over the scarf end which will also be right side up and pin in place. Repeat with the other scarf end.
- You can stitch the pocket to the scarf end on the right side of the fabric just ¼ (6 mm) in from the edge to make sure it is secured and doesn’t move when you stitch on the lining later. Repeat with the other pocket piece.
- Proceed from Step 5 to compete your DIY hooded scarf.
Do you like this? Pin for later:

Wanna be friends? Click HERE and follow me on Pinterest
RELATED:
Fleece hat – made to measure!
Winter hat with pleats and gathers (so stylish)
Beanie with a twist you can wear in 4 different ways