")
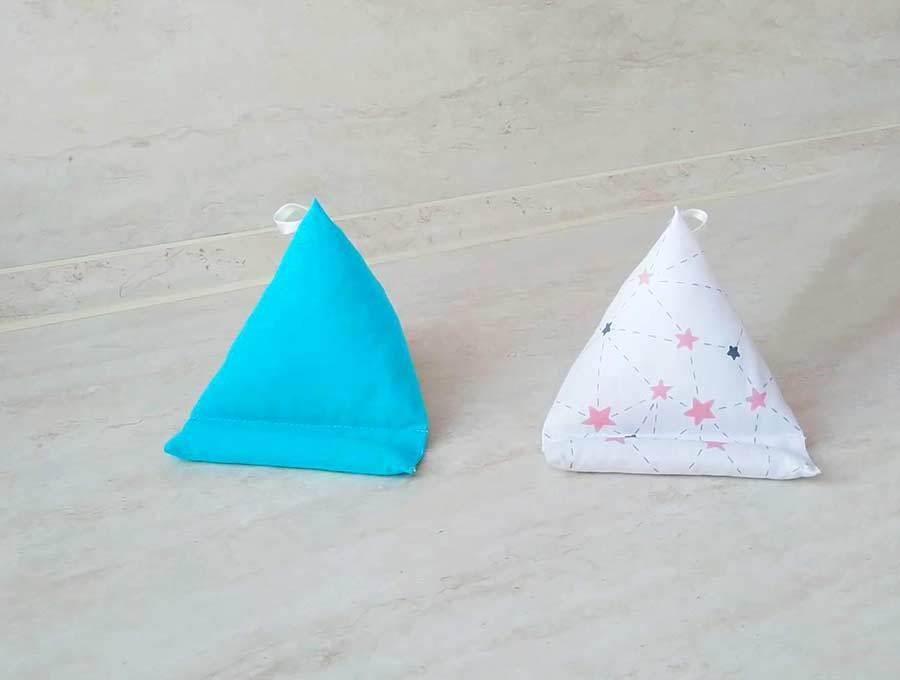
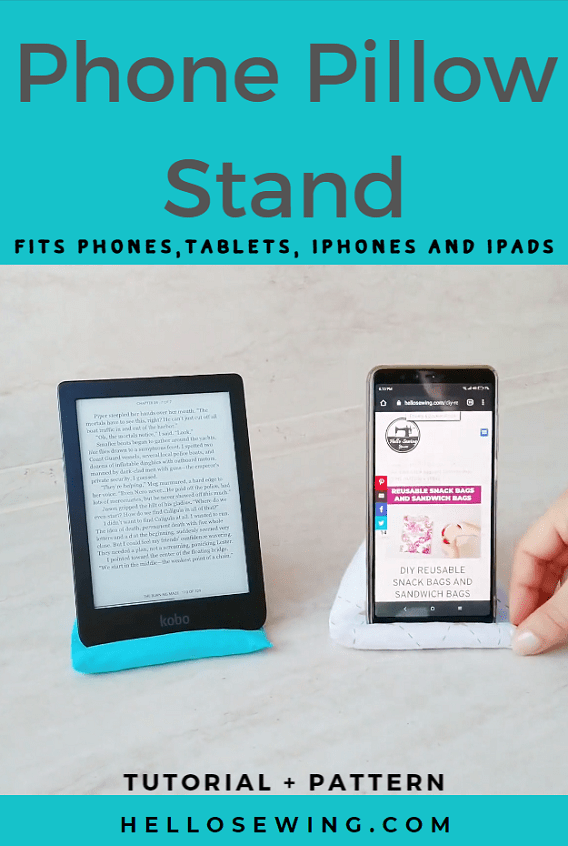
DIY Phone Pillow Stand / Holder tutorial (+ FREE Pattern)
I have always had a struggle with keeping my phone upright while watching something on it. Whenever I wanted to look at a video as I’m sewing or follow a recipe as I’m cooking, I ended up wasting time trying to balance the phone on whatever I could find.
Until I saw a bean bag cell phone holder. With a phone pillow stand, you can set your phone to stay upright securely in just a few seconds. Finally, we can easily watch sewing instructions while doing the actual sewing simultaneously!
Plus, this DIY iphone pillow holder is also great for binge-watching popular series, a crime I’m definitely guilty for.
Here’s a tutorial that will teach you how to make a phone pillow stand quickly.
We occasionally link to goods offered by vendors to help the reader find relevant products. Some of the links may be affiliate meaning we earn a small commission if an item is purchased.
Table of Contents
- 1 How to make iphone pillow
- 2 Supplies and tools
- 3 How To Sew a phone holder
- 3.1 CELL PHONE BEAN BAG VIDEO TUTORIAL
- 3.2 INSTRUCTIONS:
- 3.3 STEP 1: Prepare the pattern and use it
- 3.4 STEP 2: Prepare the fabric for sewing
- 3.5 STEP 3: Start sewing the fabric cell phone holder
- 3.6 STEP 4: Turn around
- 3.7 STEP 5: Mark and sew the bottom section
- 3.8 STEP 6: Insert the pellets into the bottom section
- 3.9 STEP 7: Stitch the top
- 3.10 STEP 7: Insert stuffing
- 3.11 STEP 8: Finish the DIY phone pillow stand
How to make iphone pillow
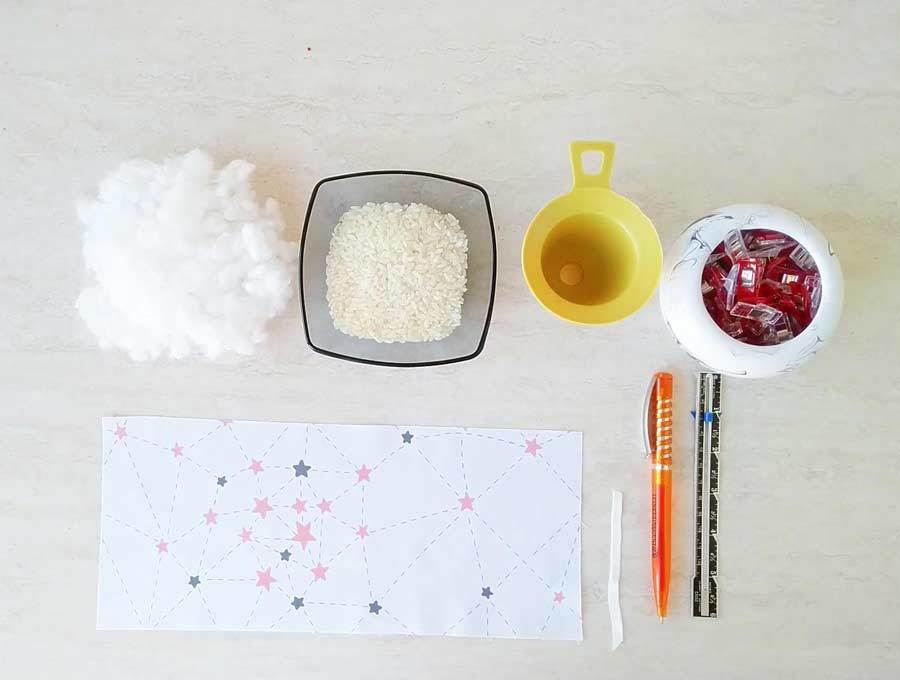
Supplies and tools
For this project, you will need the following materials and tools:
- Our downloadable phone stand sewing pattern (link below)
- fabric – 5 x 12″ piece of cotton (upholstery fabric such as duck cotton also works well)
- matching thread
- short thin ribbon for the loop (optional)
- stuffing
- polyester pellets, or something similar with a bit of weight. Rice or wheat is a good option, too
- scissors (or rotary cutter and a cutting mat)
- ruler or measuring tape
- iron and ironing board
- sewing clips or pins
- fabric marking pen or sewist chalk
- A sewing machine with its usual supplies like threads and needles (it’s an easy sew, you don’t need a special upholstery sewing machine, any will do)
When you get all that ready, you can proceed to the next step of the tutorial.
DOWNLOAD: phone pillow holder sewing pattern (Free PDF file)
Follow us for free patterns & tutorials! [easy-profiles]
How To Sew a phone holder
Watch the diy tablet or ipad stand video first and then follow the written step by step instructions below.
Please enjoy and don’t forget to Like and SUBSCRIBE over on YouTube to be kept up to date with new videos as they come out.
CELL PHONE BEAN BAG VIDEO TUTORIAL
INSTRUCTIONS:
STEP 1: Prepare the pattern and use it
Download the phone pillow pad pattern and print it out on a piece of paper in full size. Cut out any excess paper and the pattern will be ready for use.
Use the pattern as a guide and cut out the fabric accordingly. If you don’t have a printer cut a piece of fabric 5 x 12.
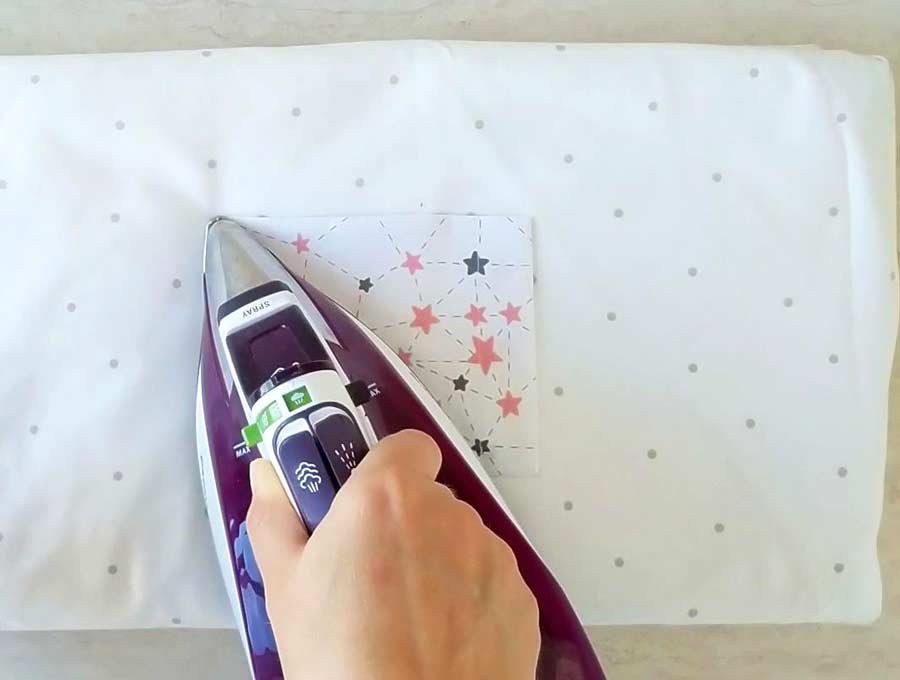
STEP 2: Prepare the fabric for sewing
Fold the fabric in half so that the short sides are aligned and the right sides are in. Fold the upper edge inward about 3/8″ and press.
Measure out about one inch from the bottom fold, on both long edges of the fabric. Mark with a pen or sewist chalk.
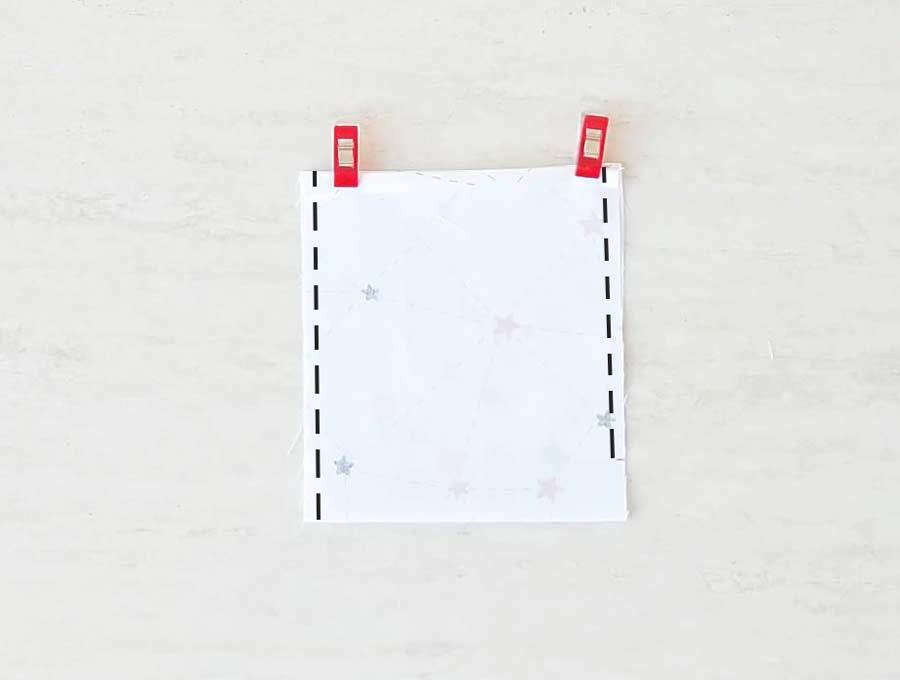
STEP 3: Start sewing the fabric cell phone holder
Make a stitch along both side edges of the fabric piece. Leave the section you marked unstitched.
STEP 4: Turn around
Turn the entire pillow inside out through the opening on the upper side.
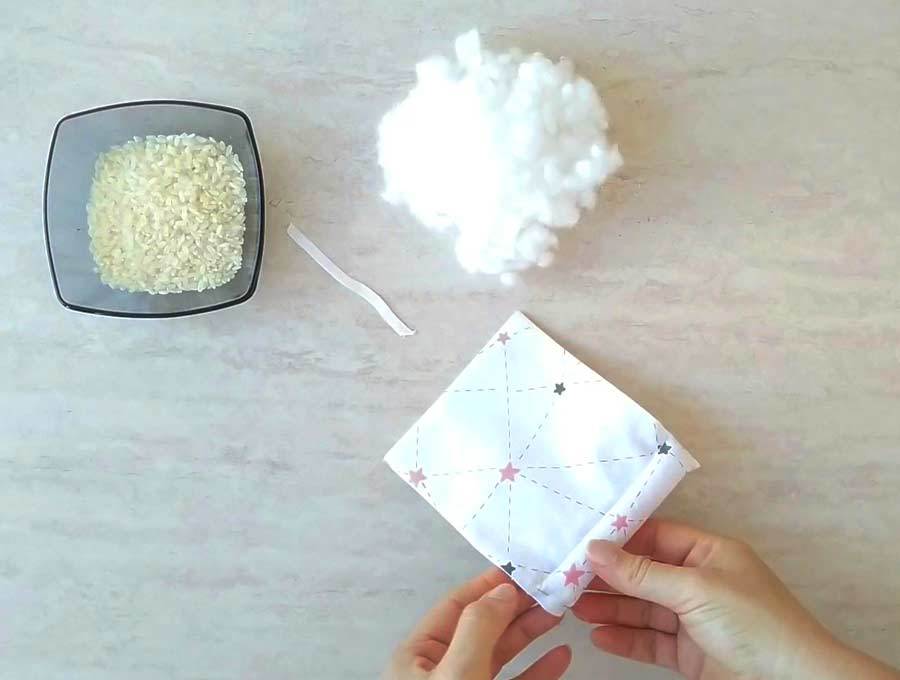
STEP 5: Mark and sew the bottom section
Using your fabric marking pen mark two parallel lines: first 1 inch from the bottom fold, and the second 3/8″ from the first line. Both lines should be parallel to the bottom.
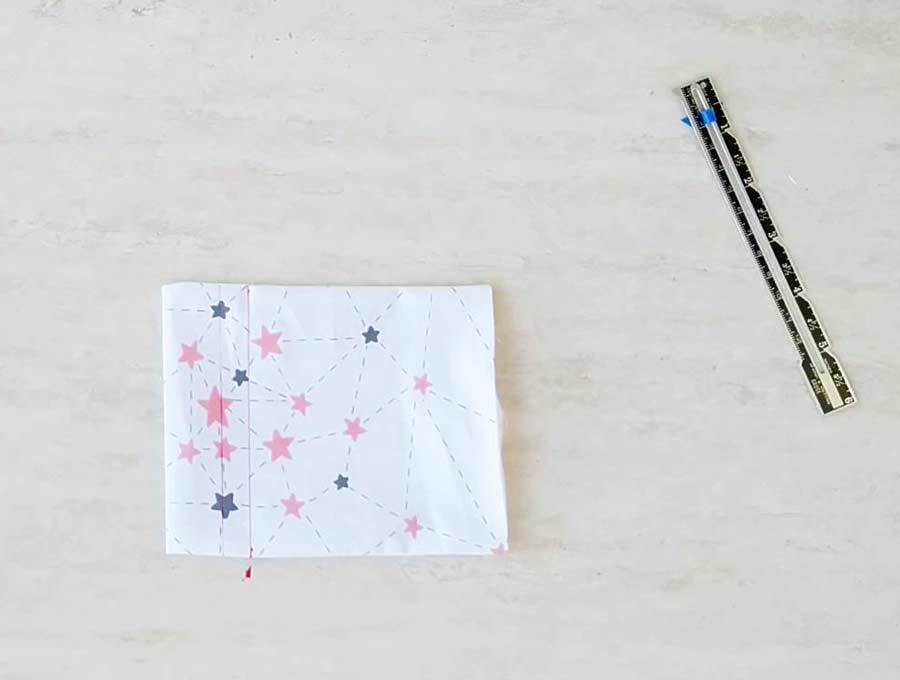
Stitch along these marked lines. This will be the bottom section of the phone holder that keeps the entire thing stable. Press with an iron to remove the heat erasable marks.
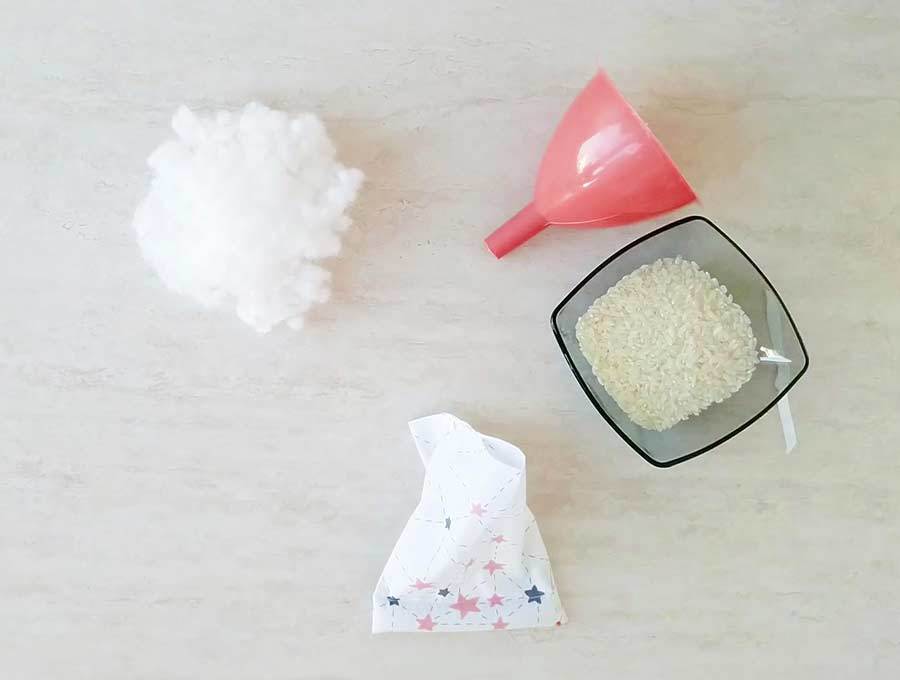
STEP 6: Insert the pellets into the bottom section
Make a small funnel from paper and insert it into the little gap near the bottom you left unstitched . Fill that section with microbeads, pellets or rice. Push the pellets inside and pin. Hand or machine sew the opening shut.
STEP 7: Stitch the top
Now bring the two corners of the upper edge together so that the upper edge is perpendicular to the bottom edge of the phone holder. Secure with pins or clips. Stitch the top, leaving the last 1 1/2 inches unsewn so you can stuff it up.
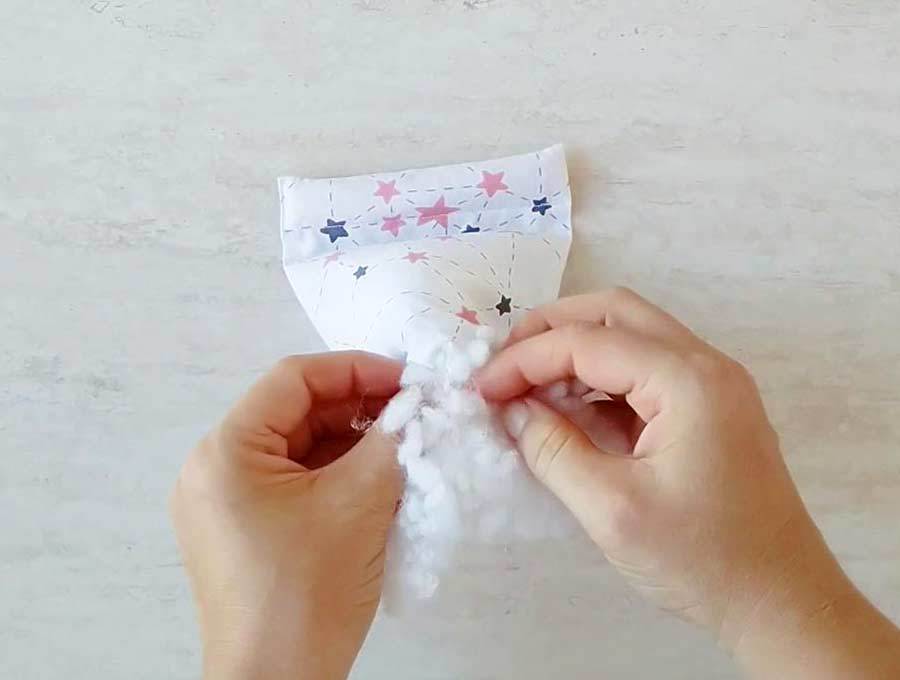
STEP 7: Insert stuffing
Using a funnel, pour the microbeads/rice into the upper section, about half a cup is enough.
After that, you can insert the stuffing into the phone holder. Don’t fill it with stuffing all the way up, leave a bit of space so that you can do the final steps more easily.
STEP 8: Finish the DIY phone pillow stand
Fold the ribbon in half and set it inside the two layers, next to the fold. Keep the fold of the ribbon away from the edge, aligning its opposite end with the long edge of the fabric piece. Secure everything in place with pins or clips.

Sew a final stitch across the upper edge to close the gap.
Your DIY phone stand is complete!
You will notice it’s not very big, but thanks to the design, it can hold large phones or even tablets without any difficulties.
Now you know how to sew a cell phone pillow holder / stand in minutes! Make a few for your loved ones, they make great Christmas presents and everyone likes them. Let us know what you think about this bean bag cell phone holder tutorial in the comment section below. Have fun watching videos hands-free!
Do you like this? Pin for later:
Wanna be friends? Click HERE and follow me on Pinterest
OTHER GIFT IDEAS:
- DIY Travel Pillow
- DIY Sleep mask
- DIY Jar opener
- Drawstring backpack tutorial
- Reading pillow / Book pillow with handle
- How to make scrunchies
- Fabric flower tutorial
- Hair ties tutorial and pattern
- How to make fabric bows
- how to sew a bow tie
- DIY Kimono cardigan
- DIY Pillowcase pattern in three sizes
- headrest pillow (VIDEO tutorial + free pattern)
OTHER HOME DEC SEWING PATTERNS:
- How to make bunting
- Triangular pattern weights