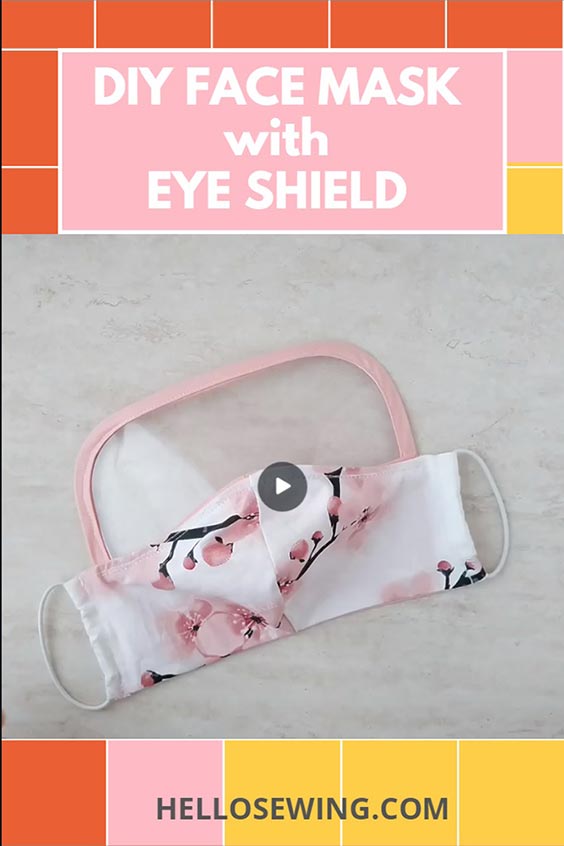
LEVEL UP: Face Mask with Eye Shield Protection DIY
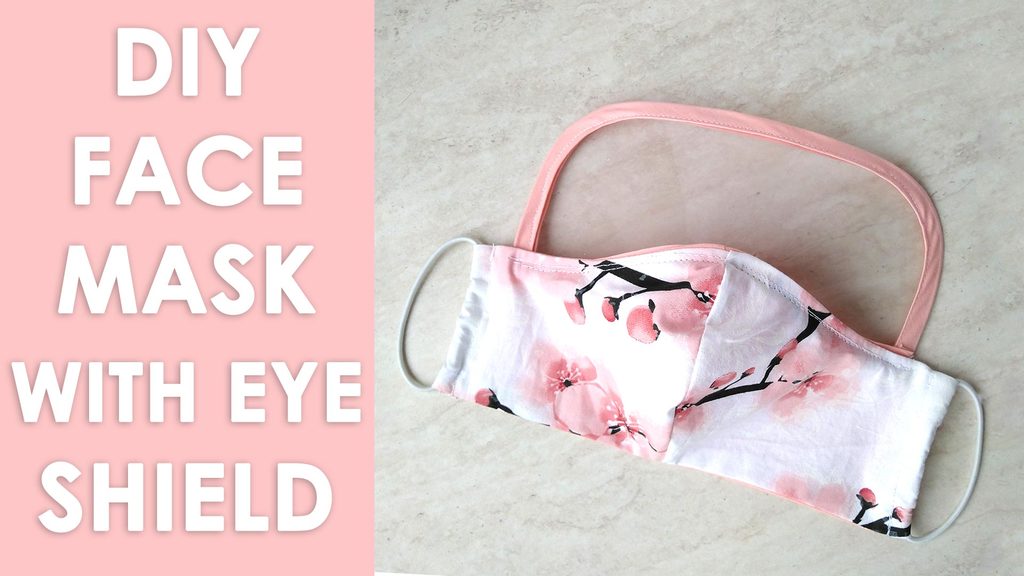
Make yourself a face mask with eye shield in just minutes. These fabric face masks can be used when going out in public and while wearing a homemade face mask will not prevent you from catching a respiratory virus, it can help reduce the spread of large particles caused when someone sneezes or coughs. Cloth face masks also serve as a reminder not to touch your face and mouth. Upgrade your DIY protection and make yourself a face mask with eye protection today!
We occasionally link to goods offered by vendors to help the reader find relevant products. Some of the links may be affiliate meaning we earn a small commission if an item is purchased.
How to make a Face mask with Eye Shield:
Watch the video first and then follow the written step by step instructions below.
Please enjoy and don’t forget to Like and SUBSCRIBE over on YouTube to be kept up to date with new videos as they come out.
DIY FACE MASK WITH EYE PROTECTION VIDEO TUTORIAL
Supplies and tools:
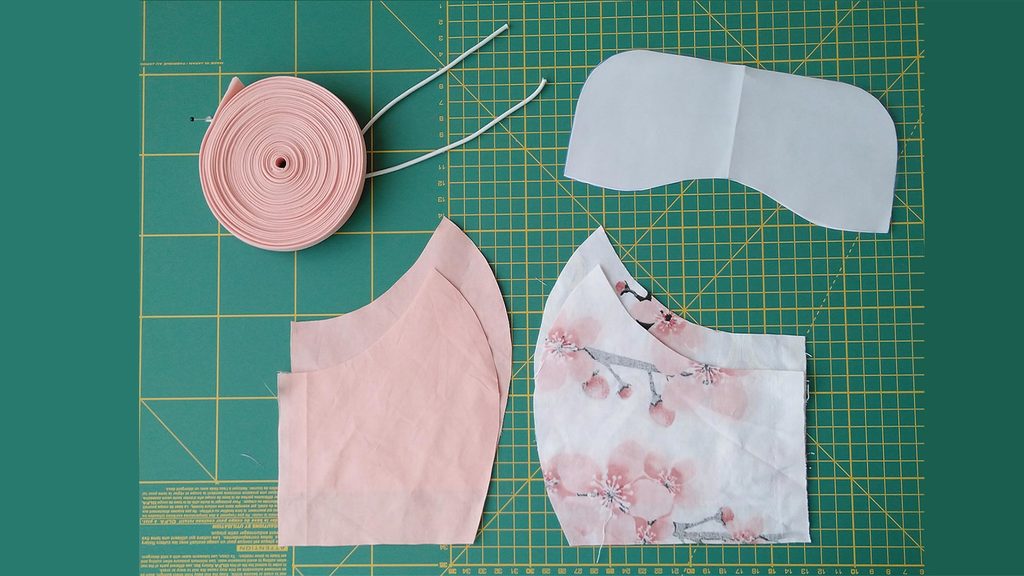
You actually need very little in terms of materials and tools:
- main fabric – 13″x 7″ cotton (tightly woven, prewashed) – e.g. this cherry blossom
- lining fabric – 13″x 6″ cotton (tightly woven, prewashed) – e.g. peach
- No products found. (letter sized, 8,5″ x 11″)
- bias tape – 1/2 inch double folded – 25″ long
(or you can make your own bias tape – here’s how) - 1/16″ round elastic (preferable), 1/8″ or 1/4″ flat elastic, you can also use ties instead of elastic
- thread
- filter (optional)
- scissors (or rotary cutter and a cutting mat)
- iron and ironing board
- sewing clips or pins
- sewing machine or sew it by hand
Downloads:
Follow us for free patterns & tutorials! [easy-profiles]
Free EYE shield pattern (PDF pattern, currently size L only)
Mask pattern download from the supplies section HERE
Make sure both patterns are printed at 100% (no scale) on US letter paper. Measure the test line/box to ensure the sizing is correct before you cut your fabric!
If you are low on printer ink or paper, it’s time to replenish your printer’s supplies.
INSTRUCTIONS:
If you already have the mask, skip right to step 10. If you need more details how to sew it, check out the original free face mask instructions here
I suggest that you go up one size when making the mask to allow some space for the shield overlap.
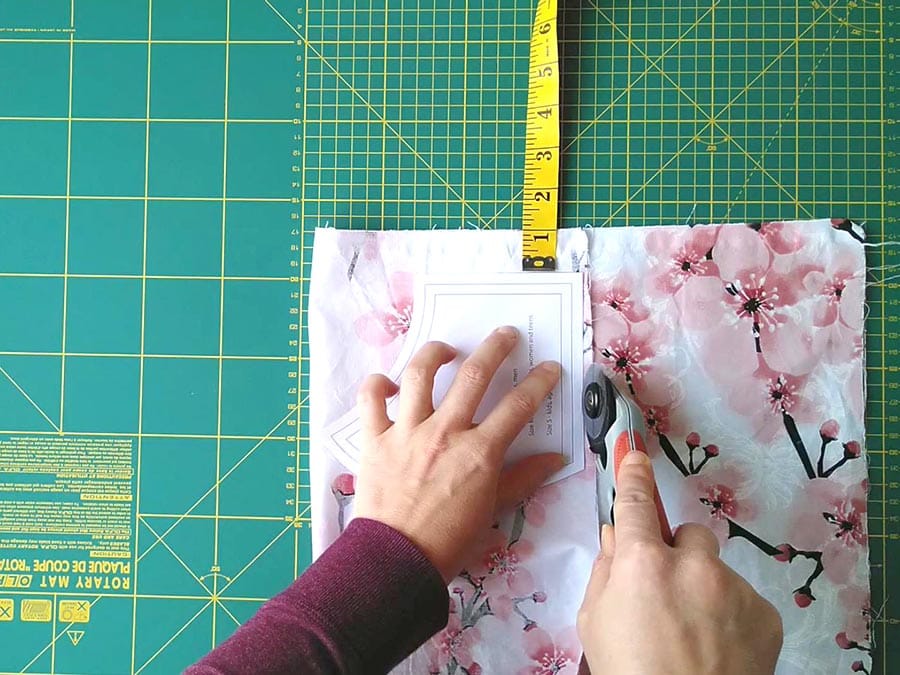
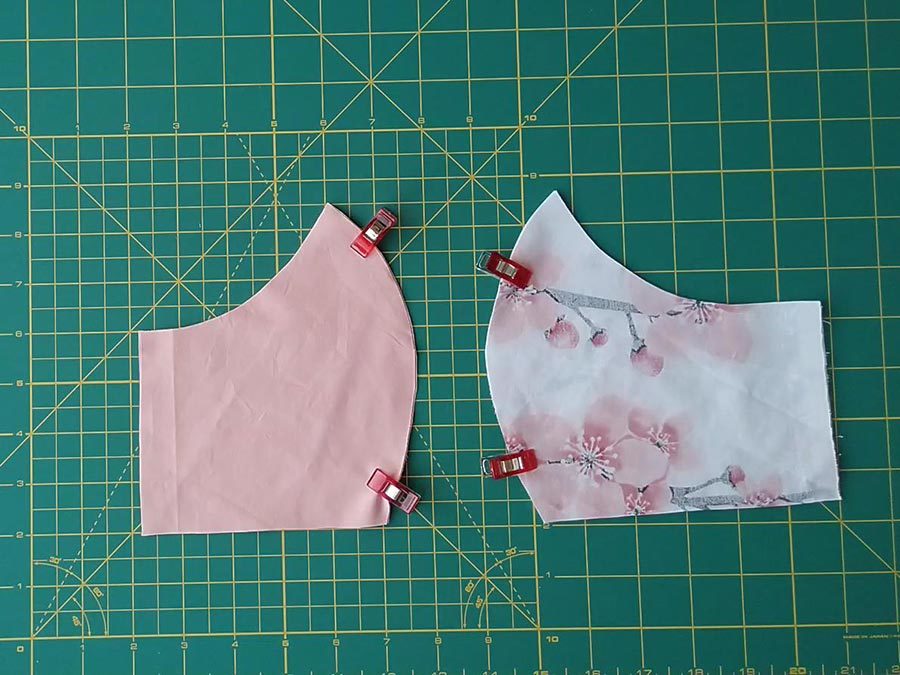
1. Cut the fabric pieces (cut 2 from the main fabric and 2 from the lining fabric). Place the fabric so that the right (pretty sides) are facing each other. Cut the lining pieces according to the pattern, and add one inch to the ear side of the main fabric before you cut it. The seam allowance is 1/2 inch and is already included.
2. Sew the curved center seams of the outer piece. Repeat with the lining piece
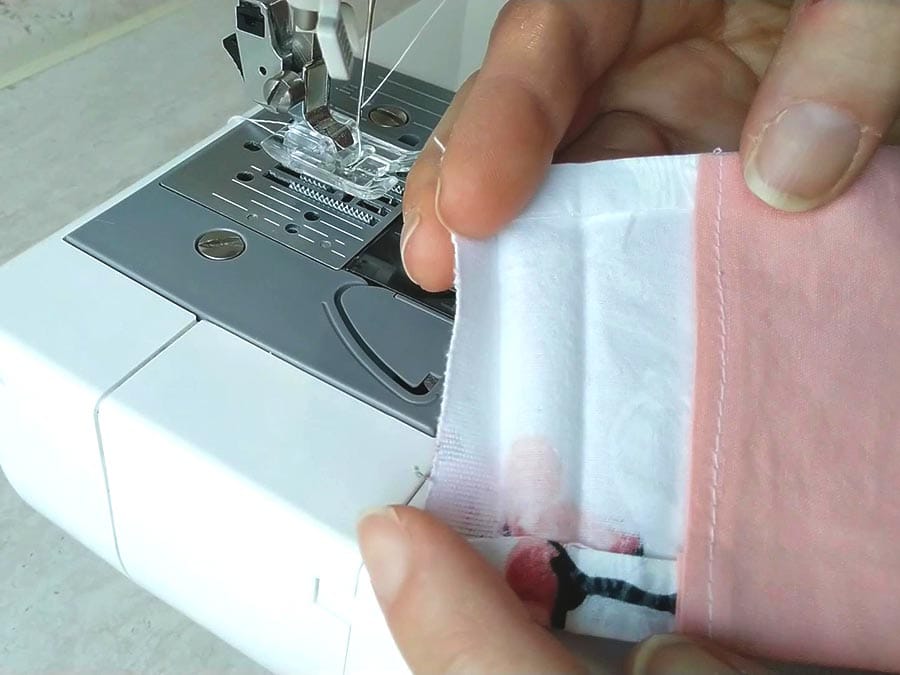
3. Fold ear sides of the lining twice towards the middle and sew in place
4. Trim the curved seam allowance and clip it 1/2″ apart being careful not to cut into your stitches!
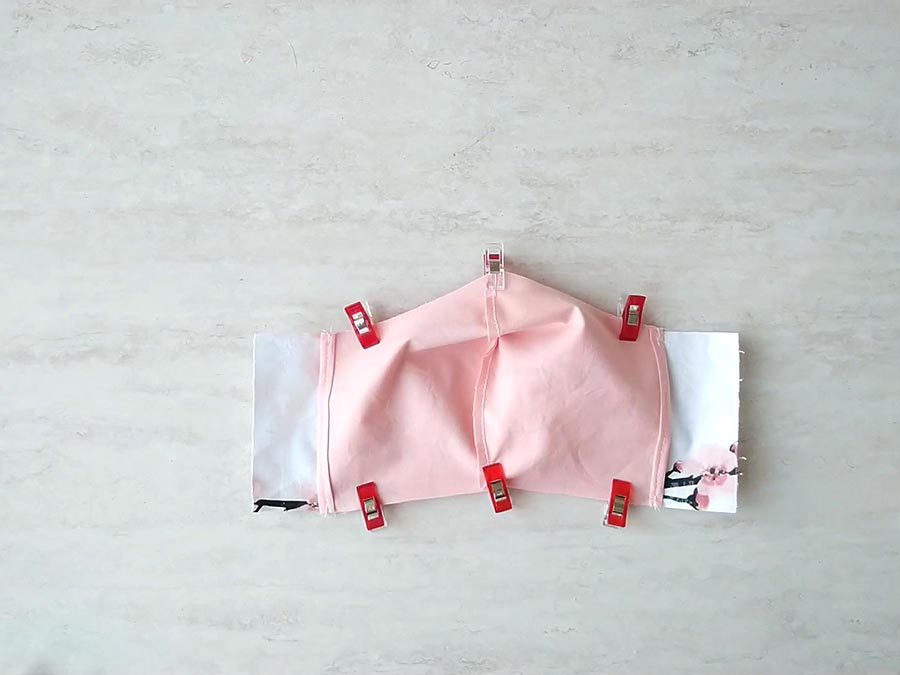
5. Join the inner and outer layers together. Put the inner layer on top of the outer layer with the pretty sides facing each other so that the upper and lower edges align and pin. Stitch at the bottom and top seam lines. Clip the top seam allowance.
At this point the side edge of the outer layer should be more than an inch away from the side edge of the inner layer.
6. Turn the mask inside out, use your fingers to push all seams well and give them a sharper look. Press well with an iron.
7. Fold the raw side edge of the outer layer over twice to make a casing. Pin or iron it to make creases. Before you sew make sure that it meets the edge of the lining and does not overlap it. Sew. (Repeat for the opposite side)
8. (Optional) Topstitch top and bottom parts 1/8 from the edge to give it a professional look
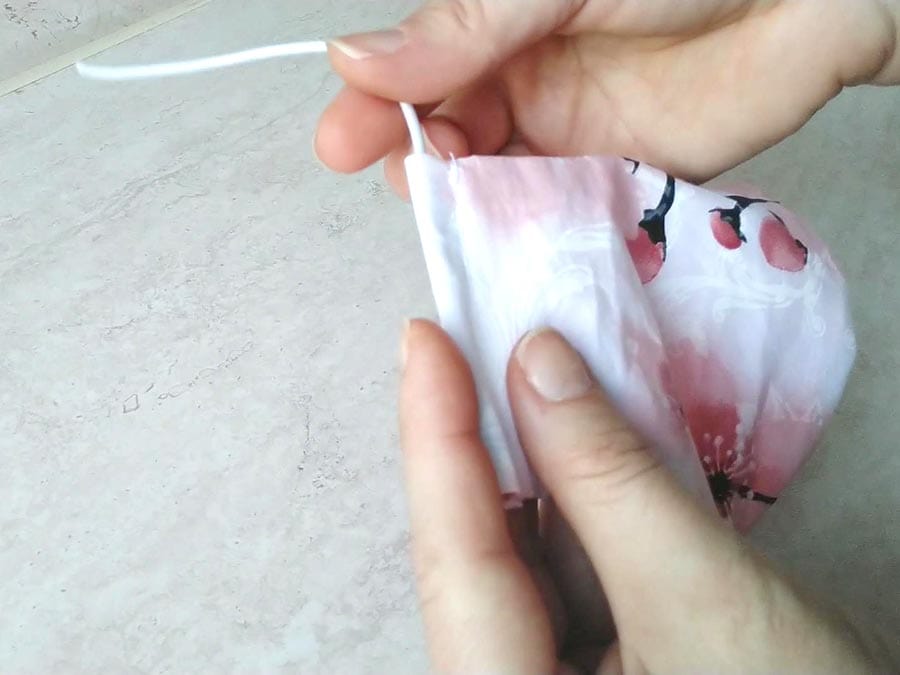
9. Insert the elastic through the casings and tie the ends in a knot. Hide the knot in the casing by pulling it.
10. Cut the clear plastic according to the pattern
I used regular clear plastic cover that is usually used for binding. One of No products found. is enough for two visors!
Currently the pattern is only in the most popular “L” size, so you may need to make it smaller in order to fit the smaller sizes.
NOTE: I got a ton of requests to release the pattern and I just haven’t got the time to make patterns for the smaller sized masks. It just takes a really long time and there are only so much hours in a day. However, definitely let me know in the comments below if you need me to make the mask in another size, and if there is enough interest, I’ll make it.
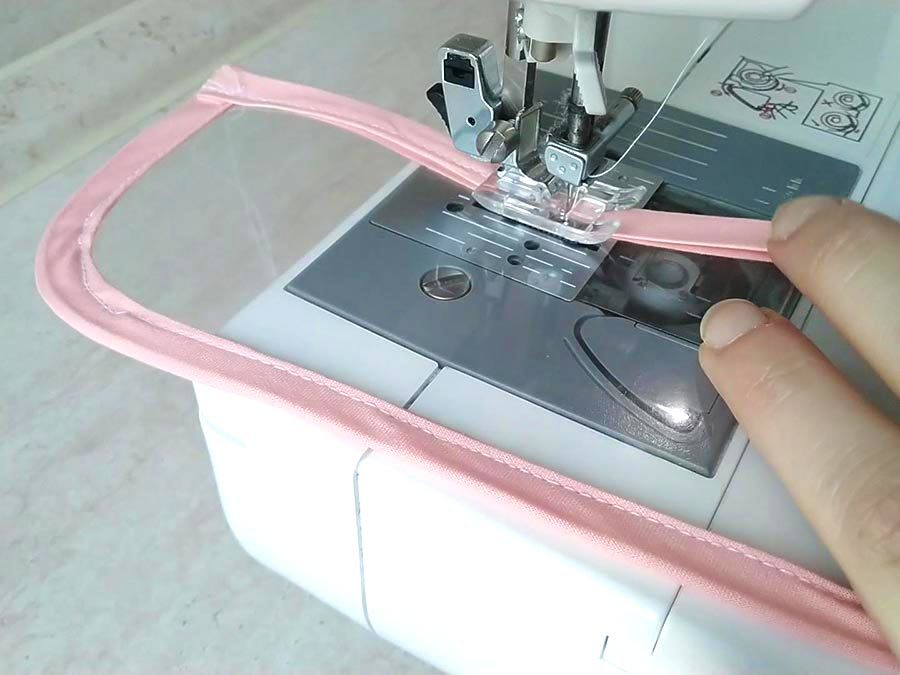
11. Sew the bias tape around the edge of the clear plastic visor.
You can buy the bias tape, or make your own. It’s very easy!
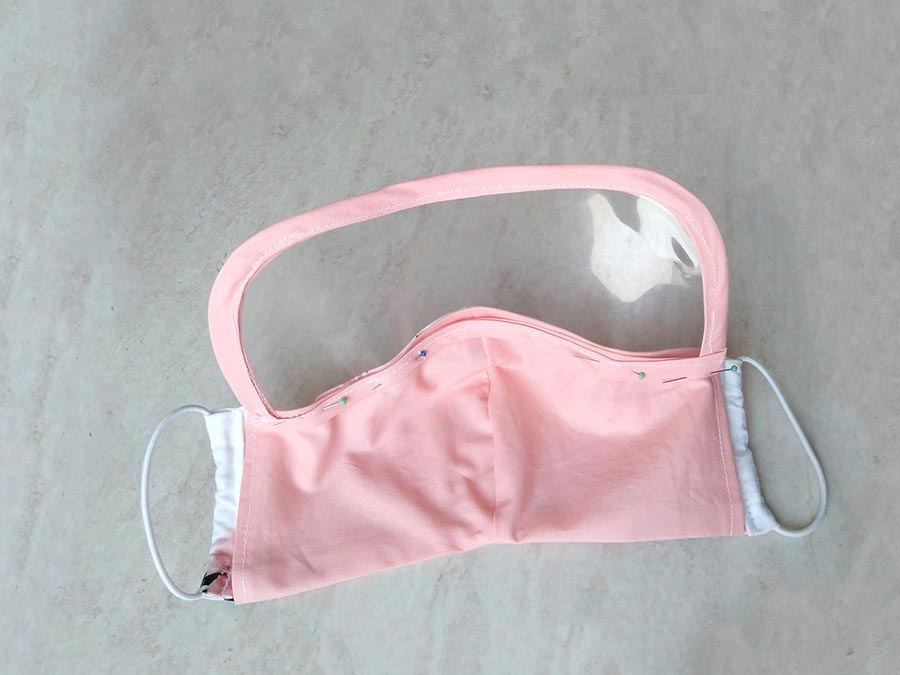
12. Align the bottom center edge of the visor at the top center of the mask. Pin the visor to the mask. Make sure that the bias tape at the bottom does not show on the outside.
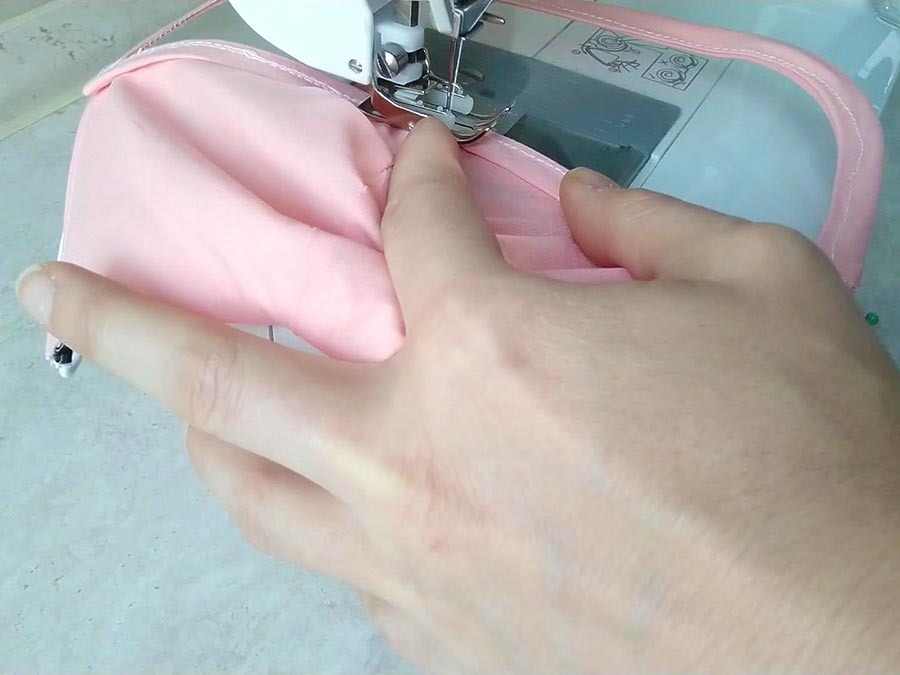
13. Sew the visor to the mask very carefully. Sew slowly and take your time. Pivot at the corners. Backstitch at the beginning and the end of your seams
14. (Optional) You can stitch a second seam very close to the first one to make sure the visor is attached securely to the mask
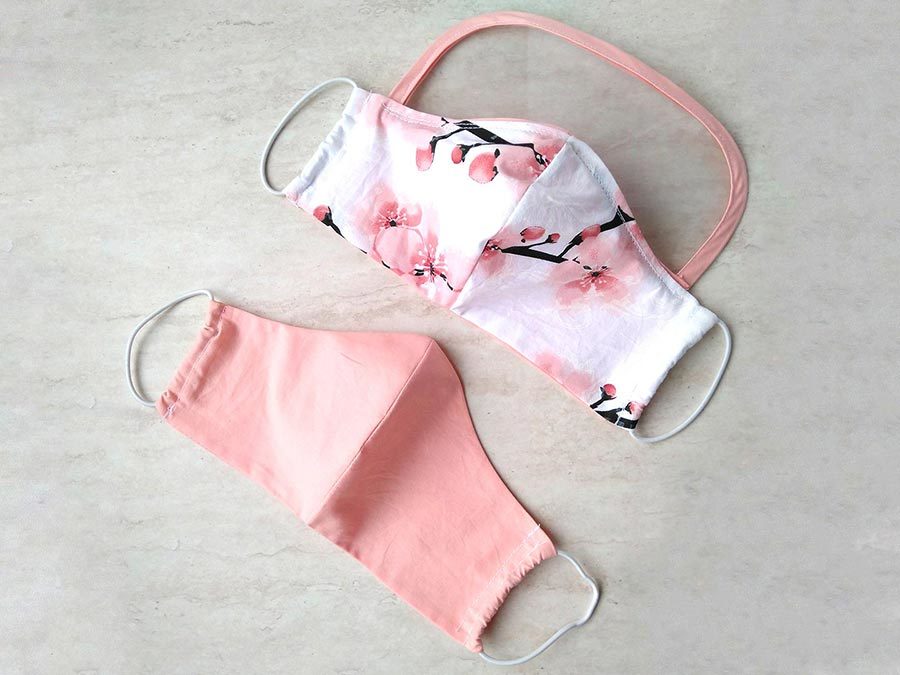
Voila.
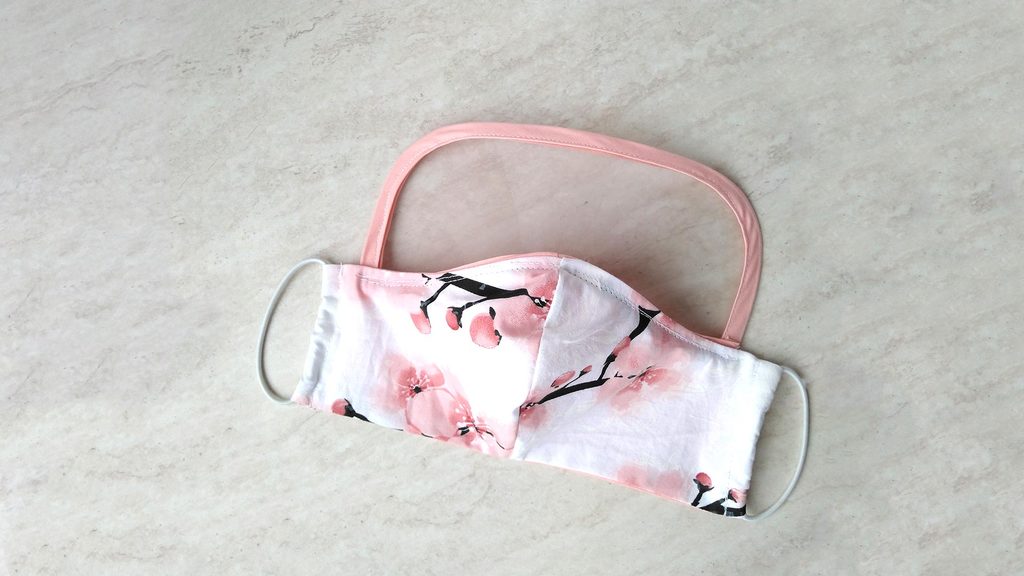
The mask with eye protection is now ready! Here’s how it looks compared to the same mask without a shield:
Both are really comfortable and look great when worn. Try these now!
TIPS:
- Backstitch at the beginning and end of each seam to prevent the stitching from coming undone
- If the thread keeps breaking when you sew over the pleats, go as slow as possible and/or use a walking foot attachment
- Use clips instead of pins – they help you sew faster and you won’t accidentally prick your fingers
FAQs and pattern troubleshooting:
I’m out of elastic what should I do?
Don’t sweat it – there is a number of other options you can use instead. I’ve just published an article what you can use instead of elastic and some ideas how to re-purpose some elastic you probably already have at home. You won’t believe how much elastic you can find scavenging your house!
Can I use fabric or t-shirt ties instead of elastic?
Sure you can! You can either stitch the fabric ties to the sides or push them through the side channels for more adjustable fit.
Do I need a special presser foot to sew the eye shield to the face mask?
No! Using the bias tape allows you to use your universal presser foot! If you want to be able to see where you are sewing, you can use the clear plastic applique foot.
I’m out of bias tape! What should I do?
No worries! You can make your own bias tape without any tools and just using a paper template. Check out my article How to sew bias tape or bias ties blazing fast with NO tools!
Mayra over at So Sew Easy has a cool pattern for a similar mask that uses vinyl and fabric ties instead of clear plastic and elastic. Very clever!
My visor fogs up.. please help
This is an easy fix! There are few ways you can eliminate fogging.
- add a nose piece – stitch a straight line just under the bottom edge of the visor, through both layers of the mask and pop in a pipe cleaner, a piece of craft wire or any of these clever nose wire materials you probably already have at home
- the Soap method – The easiest and cheapest one is to rub a bit of soap/dishwashing luquid/shampoo over the inside of the plastic and let it sit for a few minutes. Scrub well with a rug to remove any remaining residue. Boom! No fogging!
- use antifog – anti fog sprays like these are dirt cheap to get and you won’t have to remember to use the soap method after every washing. Just pop it in your purse/glove box and it’s always on hand
- use shaving cream – similar to the soap method above, some people used shaving cream to reduce fogging and report good results.
.. or you can just roll with it – our masks don’t fog up much at all. Since these are open on three sides, any fogging evaporates pretty quickly in my opinion and I’m fine with it as it is.
Hope you find that helpful. If you do, please share it with your friends!
Pin for later!
Wanna be friends? Click HERE and follow me on Pinterest
Did you make this face mask with an eye shield? How did it turn out? Do you have an idea for improvement? Drop a comment below
Sharing is caring! If you find the pattern and tutorial useful please share with your friends on social media
RELATED:
DIY Mouth mask pattern (fitted, contoured model)
DIY cloth facemask with fabric ties (pleated)
How to make surgical face mask with elastic ear loops
No elastic face mask (No elastic model, around the head ties – great for medical staff)
Ear relief for nurses and doctors
Scrub cap – tutorial and free pattern (unisex model with ties)
How to make a plastic face shield

