Skip to content
46

Best FITTING Face Mask with Size Calculations for Custom Fit

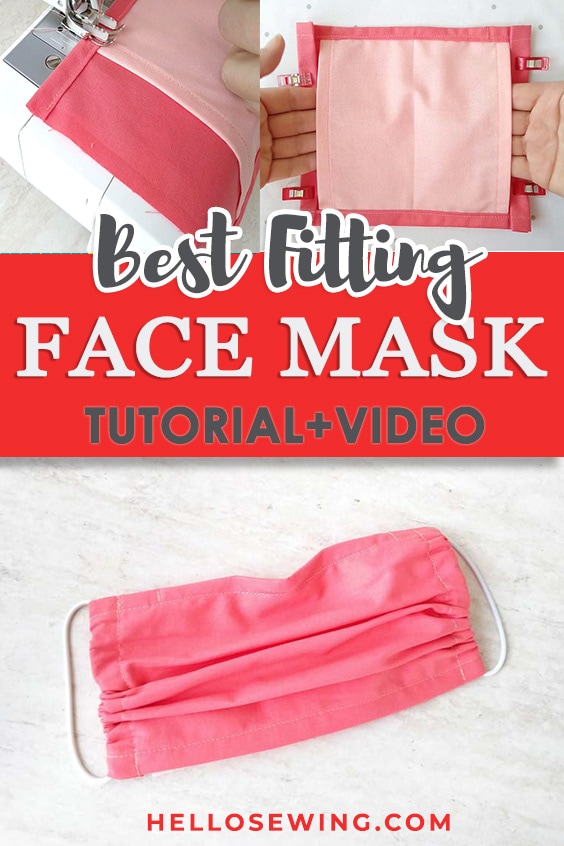
Why I call this the best fitting face mask? Ever since the coronavirus (COVID-19) hit, I’ve been searching for a better fitting mask. I’ve already made 5 different face masks (links at the bottom of the article) to fit a variety of faces and needs, but as we all have different facial shapes and features, so some people need custom fit face mask. This is why I decided to make a DIY face mask with size calculations and elastic sides – to allow for the best possible fit and still be an easy to sew mask.

Below you will find my step by step written tutorial how to make a custom fitted face mask without pattern. All you need are two fabric squares! I’ve also made a VIDEO for all the visual learners.

We occasionally link to goods offered by vendors to help the reader find relevant products. Some of the links may be affiliate meaning we earn a small commission if an item is purchased.

How to Make Form Fitting Face Mask

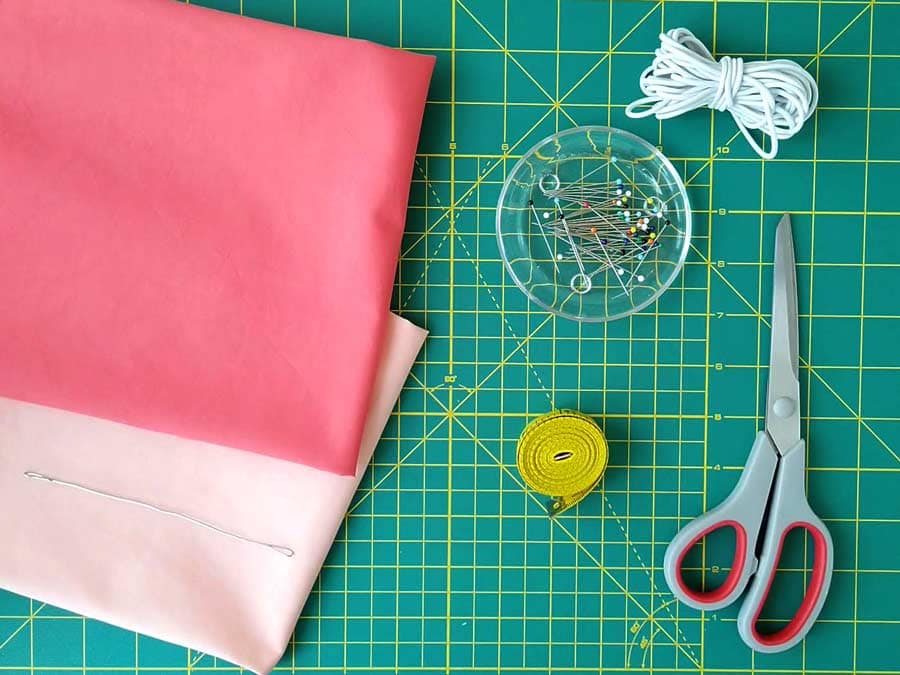
Supplies and tools

Follow us for free patterns & tutorials! [easy-profiles]

How To Sew the Best Fit Face Mask

Watch the diy face mask video first and then follow the written directions below.
Please enjoy and don’t forget to Like and SUBSCRIBE over on YouTube to be kept up to date with new videos as they come out.

BEST Fitting Facemask VIDEO TUTORIAL

INSTRUCTIONS:

STEP 1: Measure your face

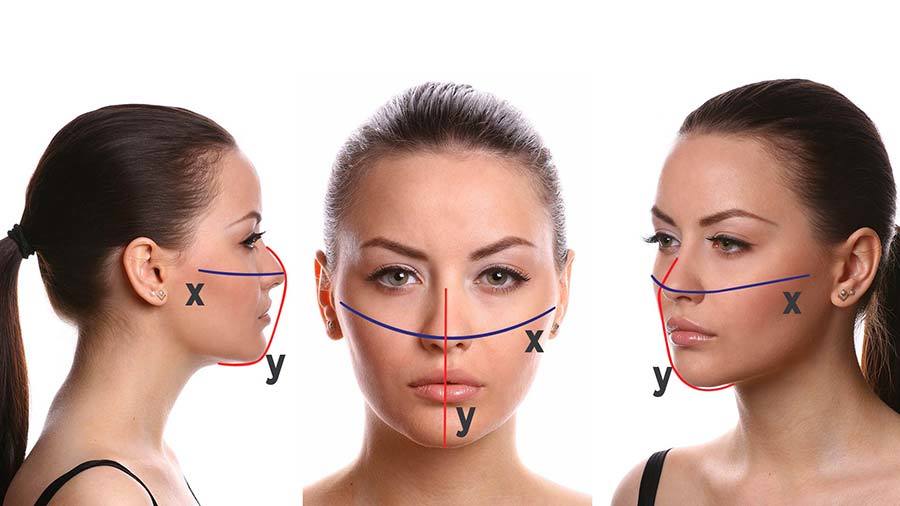
Take your measurements as shown in this image. You should have 2 measurements – X and Y.

  • Measure X from temple to temple through the tip of your nose
  • Measure Y from the bridge of your nose to under your chin

STEP 2: Cut fabrics

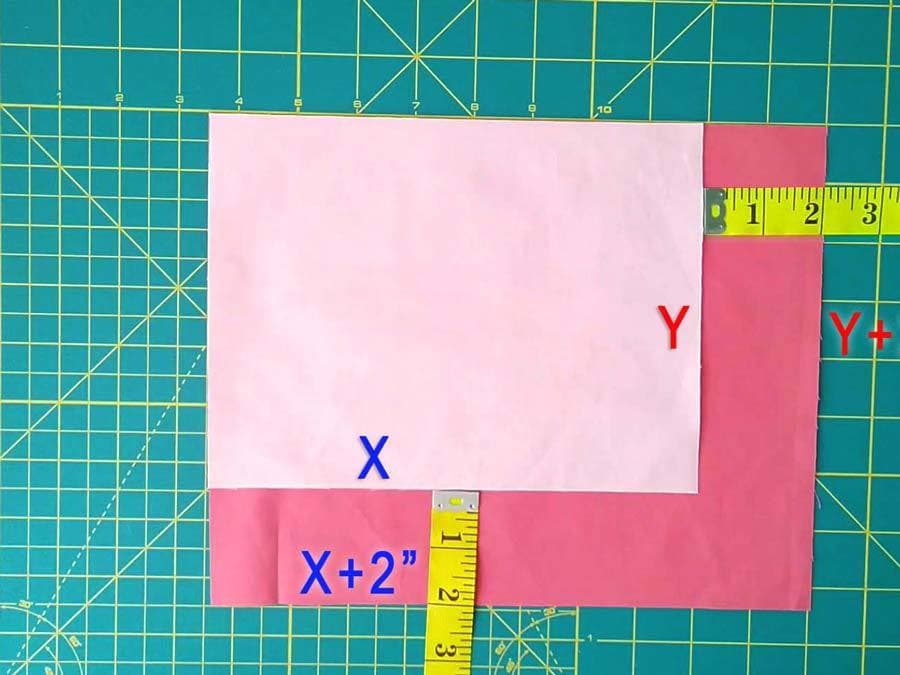
You’ll need to cut 2 rectangles out of your fabric – rectangle A and rectangle B as shown. You don’t need any pattern or template for your custom fit face mask as the patterns are simple rectangles.

Your lining is rectangle A with sides X and Y

The main (outer) fabric is rectangle B which is 2 inches wider and higher than the lining.

STEP 3: Prepare lining

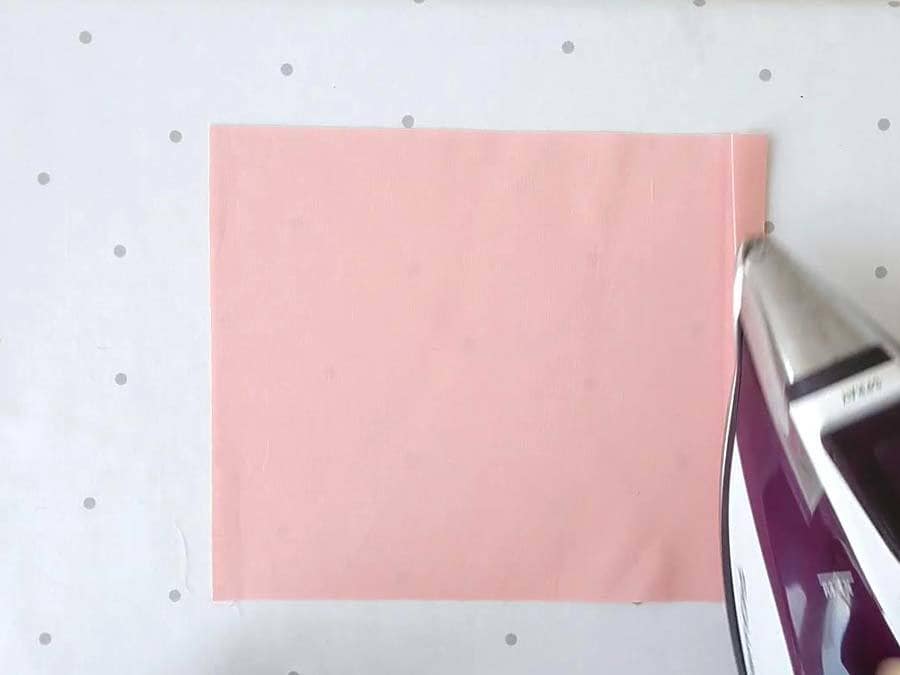
Fold the short sides of the lining fabric 3/8″  twice and press them with a lot of steam. Pin in place and sew.

STEP 4: Align fabrics

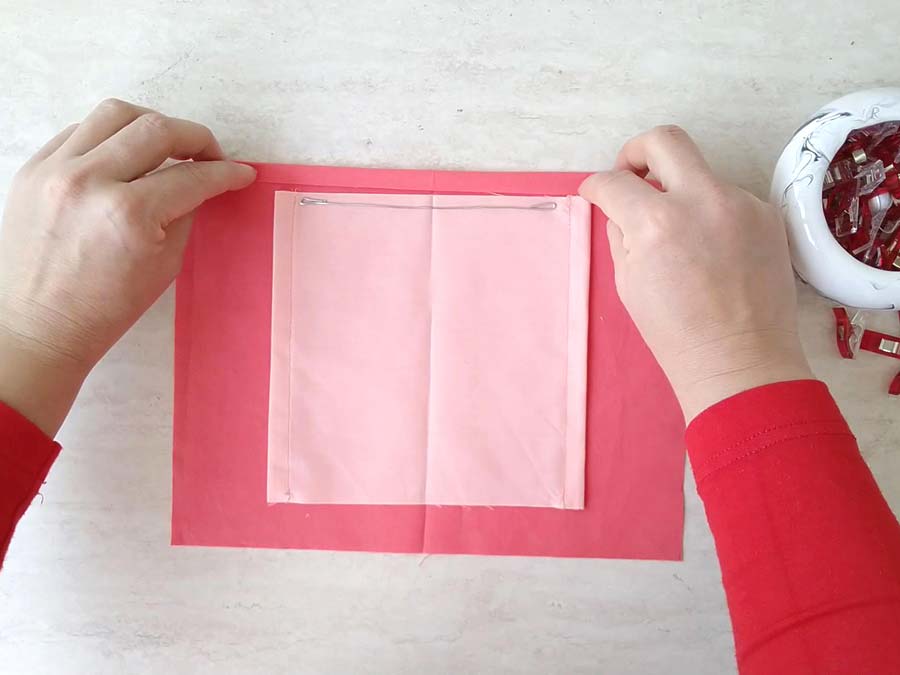
Place the lining on top of the outer layer, wrong sides facing each other, so that the lining is exactly in the center. To place it precisely you can create creases along the middle of the both layers. Fold each of the fabrics in half widthwise and fingerpress to make creases. Align the creases as shown below.

STEP 5: (OPTIONAL): Insert nose wire

If you want to reduce glass fogging, it would be a smart idea to insert a nose wire stay. You can make the nose wire of multiple materials you probably already have at home. We’ve tested and rounded up the best materials for nose wire here.

STEP 6: Fold top and bottom

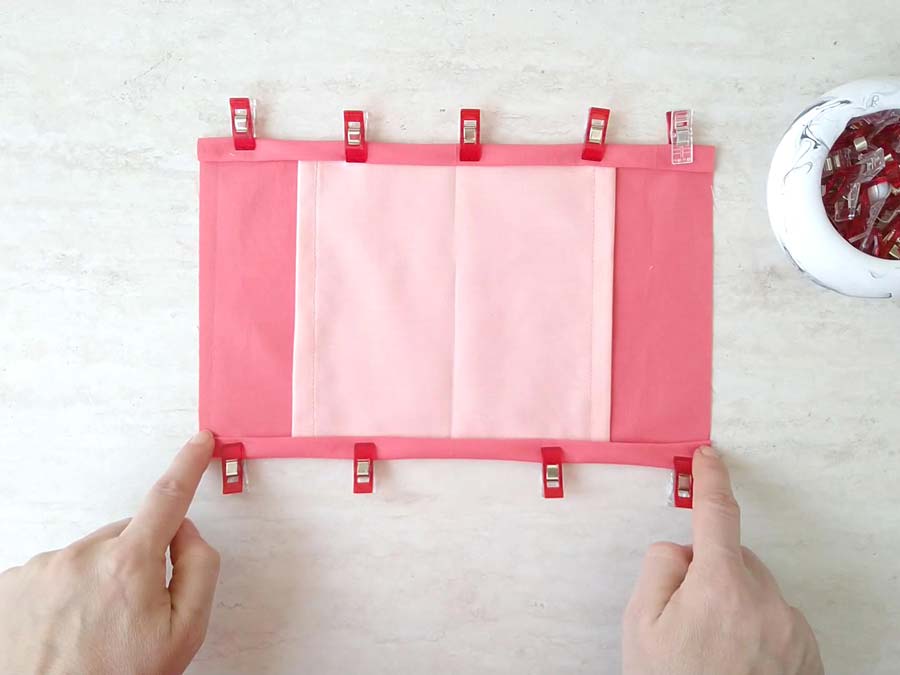
Fold the top and bottom of the outer layer twice so that they overlap the inner layer. Either pin in place or use clips and sew from edge to edge.

If you have inserted a nose wire, sew right next to both it’s ends to secure it in place.

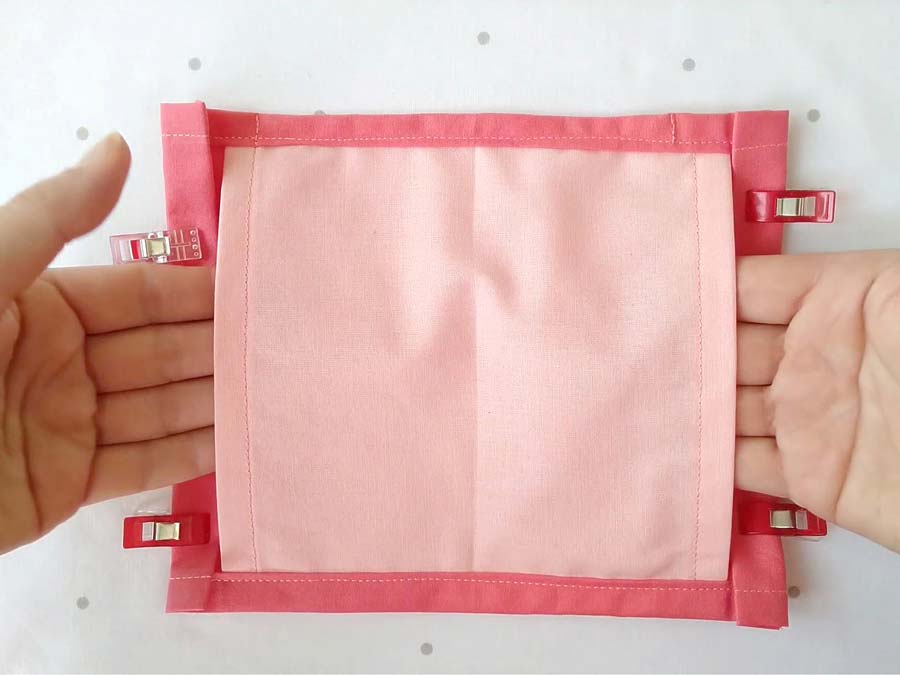
STEP 7: Fold sides and create filter pocket

Fold the left and right side of the outer layer twice so that the folded edges meet the edges of the inner layer. They should NOT overlap as the opening is the filter pocket.

STEP 8: Sew sides

Sew along the folded edges of the outer fabric as close to the edge as possible. Backstitch at the beginning and the end several times to reinforce the seams. Both seams should be as durable as possible as they will be pulled by the elastic.

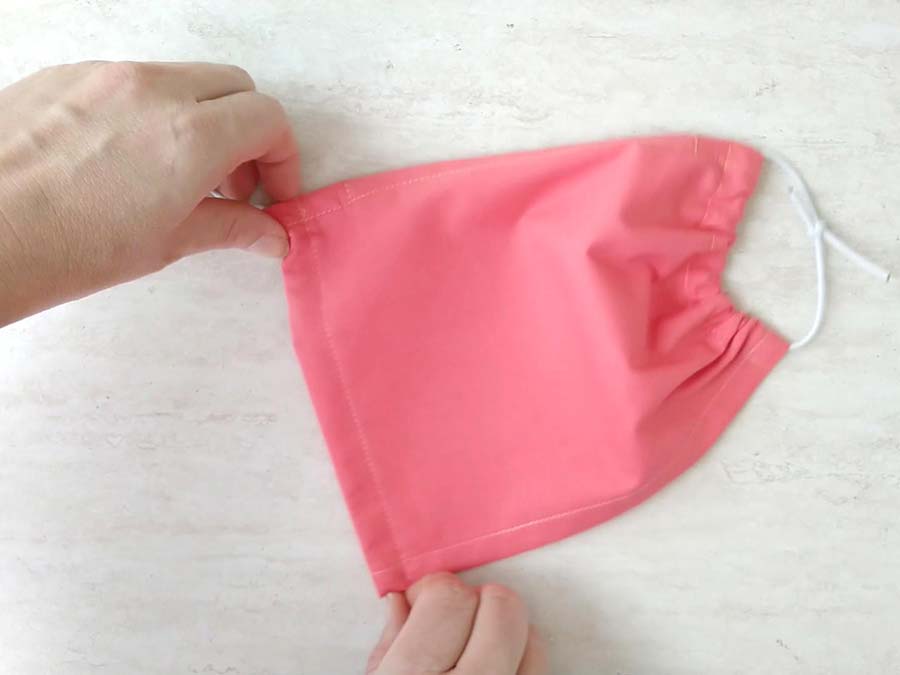
STEP 9: Insert elastic/ties

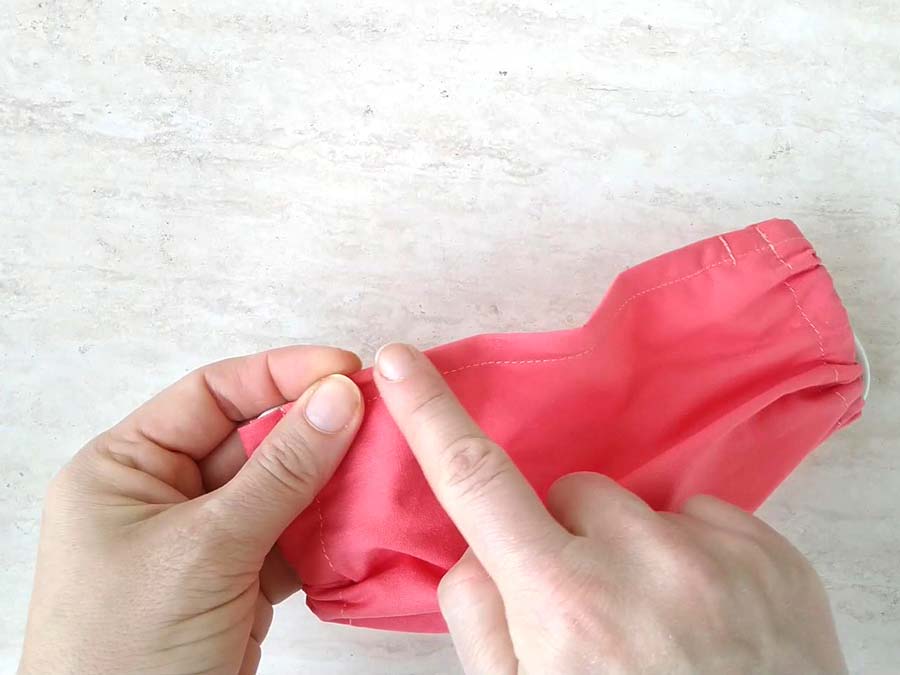
Use a safety pin to thread the elastic through the casing on the side of the mask. Repeat for the opposite side. You can either create two separate ear loops as shown or make one continuous elastic tie that goes around the head. If you or the person who will be wearing the mask will use it for a prolonged period of time, use one continuous piece of elastic or add an ear saver to reduce the stress on the ears. Elastic ear loops alone rub the back of the ears when worn continuously.

STEP 10: Finish the mask

Tie the ends of the elastic in a secure knot. Pull the elastic to secure the knot and pull it inside the casing to hide it.

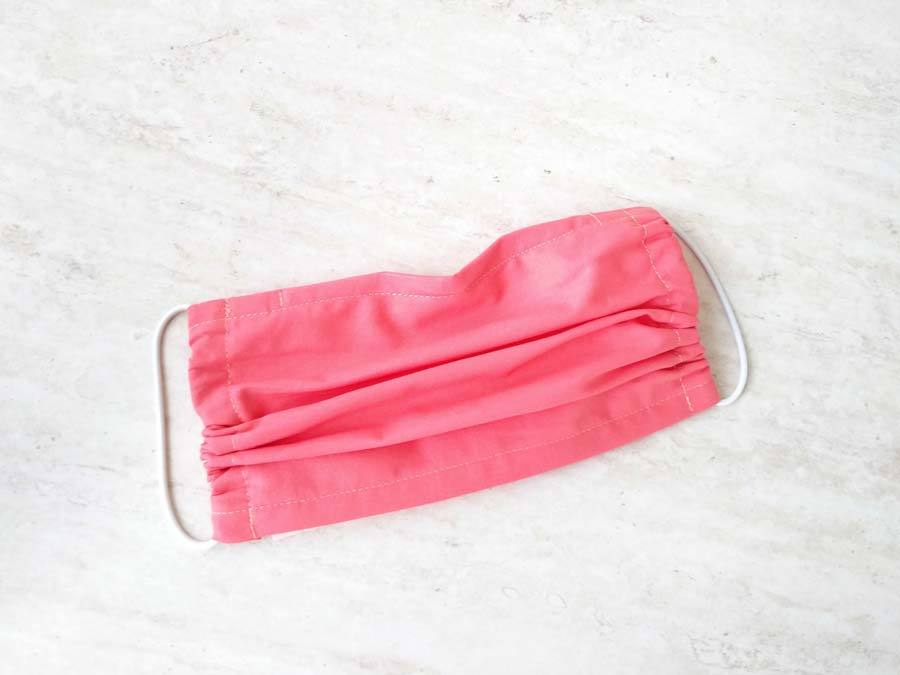
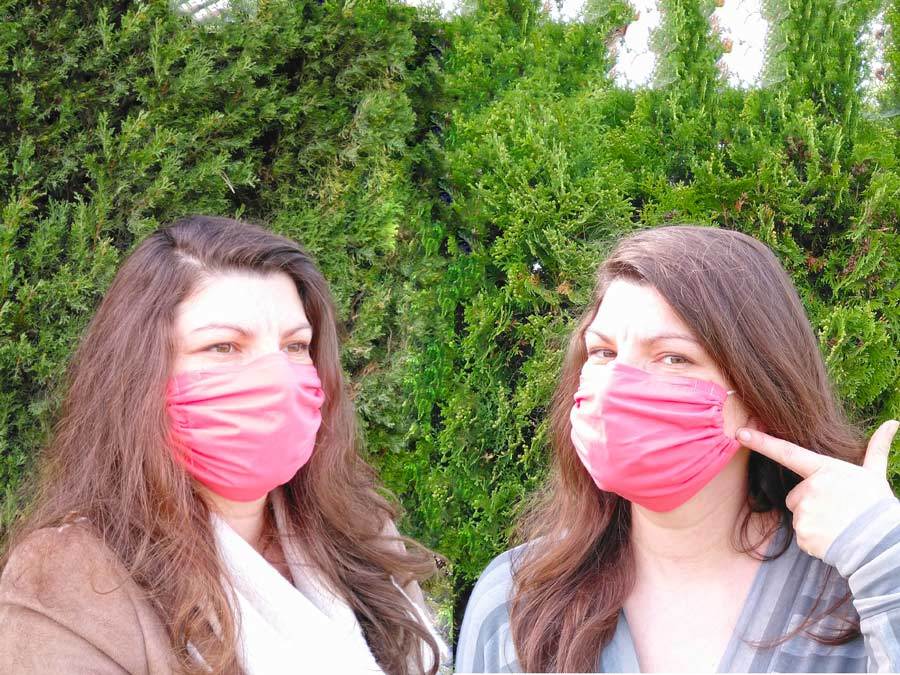
That’s it! The best fitting face mask is ready. It simply molds to the face and it’s custom fit ensures the much needed comfort

Form fitting mask OPTIONS:

  1. Ear loops or one continuous head piece
  2. Elastic alternatives – you can use t-shirt ties instead of elastic
  3. With or without nose wire

According to CDC (as of 31 March 2020): HCP (health care providers) use of homemade masks:
In settings where facemasks are not available, HCP might use homemade masks (e.g., bandana, scarf) for care of patients with COVID-19 as a last resort. However, homemade masks are not considered PPE, since their capability to protect HCP is unknown. Caution should be exercised when considering this option. Homemade masks should ideally be used in combination with a face shield that covers the entire front (that extends to the chin or below) and sides of the face.

Do you like this? Pin for later:

Best fitting face mask - how to create your own custom fit mask

Wanna be friends? Click HERE and follow me on Pinterest

RELATED:

Free face mask pattern (fitted, contoured model)

Face mask with visor / eye shield

DIY cloth face mask with fabric ties (pleated)

Surgical face mask with elastic ear loops

Medical face mask (No elastic model, around the head ties – great for medical staff)

Nose wire piece materials

Ear saver for nurses and doctors

Surgical scrub cap (unisex model with ties)

Scarf mask diy

Breathable mask tutorial

3D face mask tutorial

DIY gaiter face mask

Click Here to Leave a Comment Below 46 comments
Aletha Oglesby, M.D. - May 22, 2020

Thanks I like the idea of using measurements as a guide, since we are not all the same size-one size does not fit all. And I appreciate you mentioned the difference between cloth vs medical grade masks.

Reply
    Helen - May 24, 2020

    Thanks for stopping by and for your kind words.
    Stay safe and healthy!

    Reply
Antionette Blake - May 22, 2020

Thank you for sharing your face mask tutorial at the #TrafficJamWeekend Linky party.

Stay healthy and safe.

Reply
    Helen - May 24, 2020

    Thanks for stopping by!

    Reply
Mariannette - May 23, 2020

If choosing to use one continuous headpiece of elastic, is it fastened through each of the ear loops or does it replace elastic ear loops. i.e. how is it attached to the sides of the mask?

Reply
Michele Morin - May 23, 2020

If we have to wear them, it’s nice to have them fit well.

Reply
Cindy - May 24, 2020

I know this is fitted but is there a “standard” size dimensions you can propose since we may not have the users nearby? Thanks so much

Reply
    Helen - May 24, 2020

    Hi Cindy, can you ask them to measure their faces? This will ensure the best fit.
    If that is not possible, I would assume 8.5 x 7″ (women) and 9 x 7.5″ (men)

    Reply
Michelle - May 26, 2020

What an improvement! I think the masks are here to stay for awhile.

Thanks for linking up to Creative Compulsions!
Michelle
https://mybijoulifeonline.com

Reply
    Helen - May 27, 2020

    Indeed they are here to stay. They new way to live

    Reply
Lucrative Hullea - May 27, 2020

The best tutorial I’ve seen. Thank you for this❤️

Reply
Of Goats and Greens - May 28, 2020

This one actually looks very useful. I am still wearing the dust masks I got from Harbor Freight last fall (intended for my chicken coop cleanout details.) Thanks for posting at Fiesta Friday.

Reply
Catherine Sokolowski - May 28, 2020

I love that there are no pleats in your mask which is the hardest part of making the masks for me along with trying to attach the elastic by sewing it into the mask. Well what I am trying to say is that your mask looks a lot easier to make than the ones I have been making!!

Reply
    Helen - May 28, 2020

    I’m glad to hear you liked it! It really is easy and fits great
    As for making the pleats – I have tutorials on that, too. Go check my blue mask (DIY cloth mask) tutorial if you’d like to see the easiest way to do the pleats.
    Also – trim the SA down and sew further in as to not catch it as you sew. It makes sewing the pleats so much easier. Walking foot also helps a ton 🙂

    Reply
Mary - May 28, 2020

Could you use something like shoe laces to tie it instead of elastic??

Reply
    Helen - May 28, 2020

    Yes, you can! I would thread the shoelace through both side channels and tie it behind the head

    Reply
Shelbee on the Edge - May 28, 2020

My neighbor has been making face masks and keeping us abundantly supplied. It has been interesting to watch all the improvements she has made over the months from her first one to much more effective ones now. Thanks for sharing your tutorial and linking up. I will pass it on to friends who are making masks.

Shelbee
http://www.shelbeeontheedge.com

Reply
    Helen - May 29, 2020

    She’s an angel, isn’t she? I’m happy to hear you are well supplied with masks! Thanks for the share

    Reply
Nancy - May 28, 2020

I apologize if I missed it in the tutorial, but what do you use for a filter?

Reply
    Helen - May 29, 2020

    Currently – activated carbon filters [amazon link="B087NHPSLS" title="such as these" /]. Some people use paper towels, HEPA filters (without fiberglass), non-woven materials etc. Do your own research to find what’s best for you and your family

    Reply
Sheryl - May 29, 2020

How do i print out you worded tutorial for making a face mask for myself and family. Have everything i need to complete one. Just need to read on paper how its done. Thank you so kindly???

Reply
    Helen - May 31, 2020

    You can copy the text, paste it in Word and print from there

    Reply
Linda R. - May 31, 2020

Thank you for your easy to put together best fit face mask. The built-in pocket is an excellent idea! It is very comfortable, and I like that it can be secured in various ways

Reply
Karen - June 3, 2020

Thank you so much for a mask that fits. Good job!

Reply
    Helen - June 4, 2020

    You are welcome! So glad you liked it

    Reply
Pat F - June 23, 2020

Very clear tutorial. What is the measurement fir the elastic?

Reply
    Helen - June 24, 2020

    Hi Pat, you need two pieces of elastic, 10-11″ long each

    Reply
Sarah - June 30, 2020

This is a great way to measure and for sure make the mask. Really like how you did the layers and the sides!

Reply
    Helen - July 2, 2020

    Thank you for the kind words, Sarah!

    Reply
DD - August 29, 2020

Hi!
Love ur mask tutorial. Have made over 500 masks now with pleated style. This one seems much better as comments to me have been elastics too short or too long, this way they can adjust. I am having trouble with chin area gapping ? Why is that happening?
Thank you

Reply
Tamara - September 17, 2020

I’m just wondering about a child sized version of this mask. My 10 year old son is very picky about his masks and only wants to wear the first two he got all of the time. Would you still add two inches to the rectangle measurements or change that?

Reply
    Helen - September 17, 2020

    Hi Tamara,
    Yes, I would as these are for the seam allowances. You can also look up my free 3d face mask pattern – it sits further from the face and allows for easy breathing

    Reply
Tyler Johnson - September 17, 2020

That’s a good idea to makes sure that you measure across your nose. I could see how that would be a good way to make sure the mask fits properly. I’ll make sure to measure my face like that if I decide to get a custom face mask made.

Reply
    Helen - September 18, 2020

    Thank you! Indeed getting these two measurements ensures that the mask will fit properly

    Reply
Laura - September 19, 2020

I love your website I have already made one mask and can’t wait to start a different pattern thank you,!

Reply
    Helen - September 23, 2020

    Thank you! You can give the 3d mask a try! These are a huge hit at the moment because they don’t press against your face and allow more room for breathing

    Reply
Jennifer - November 12, 2020

I am tying to make one for my 5 year old. Her measurements are X: 8″ and Y: 4 3/4″. I am confused at how much bigger the fabric needs to be cut. The above mentioned of 15x 10 seems way too large. Do I just take those measurements and add 3/8″ times two to accommodate the folds I am confused on how to make this a custom fit. Sorry if this is obvious. I am new to sewing. Thank you so much for your time. Without this tutorial I would be completely lost.

Reply
    Helen - January 22, 2022

    Hi Jennifer, you probably figured this out yourself, but here’s what you need to do:
    Cut lining fabric according to her measurements
    cut the main/outer fabric 2″ inches longer and 2″ wider than lining fabric.
    You don’t need to add anything else for seam allowance
    home that helps

    Reply
Kim Carberry - December 28, 2020

I think we could all do with learning to make face masks at the moment.
What a great tutorial x

Reply
Emily Traylor - May 23, 2021

I was very pleased to find this website. I wanted to thank you for your time for this wonderful read!! I definitely enjoy every little bit of it and I have you bookmarked to check out new stuff in your blog post.

Reply
    Helen - May 24, 2021

    Thank you, Emily

    Reply
Taylor Hicken - August 4, 2021

I appreciated it when you shared that some people need a custom-fit face mask that fits their face nicely. My friend just mentioned the other day that she could not find the right face mask since her face is bigger than normal people’s. I will suggest to her getting it custom-made so she can have the one that fits her face nicely.

Reply
Jenna - August 10, 2021

Wow this is by far one of the best custom face mask tutorial. I really love how systematic you are with this blog. Keep it up, thanks for this!

Reply
Custom Face Masks for every mood - May 26, 2022

Owing to this pandemic, we all learnt to tolerate them and develop a habit of wearing them even during hot summers. There are certain circumstances for which people can purchase personalized face masks in India.

Reply
Carissa - October 13, 2022

After Covid-19 everyone’s life has changed drastically, and to keep ourselves safe we all must need to use masks all the time even during our day-to-day work. The custom face mask helps you to match your style.

Reply

Leave a Reply: